
arborio
An elegant, flexible Treeview with Animation. Display hierarchical data in Flutter.

- Stars
- 14
- Forks
- 4
- Last push (UTC)
- Dec 15, 2024
- Project status
- Active
Original README
English project snapshot. Visit GitHub for the latest content.
Arborio


An elegant, flexible Treeview with Animation. Display hierarchical data in Flutter.

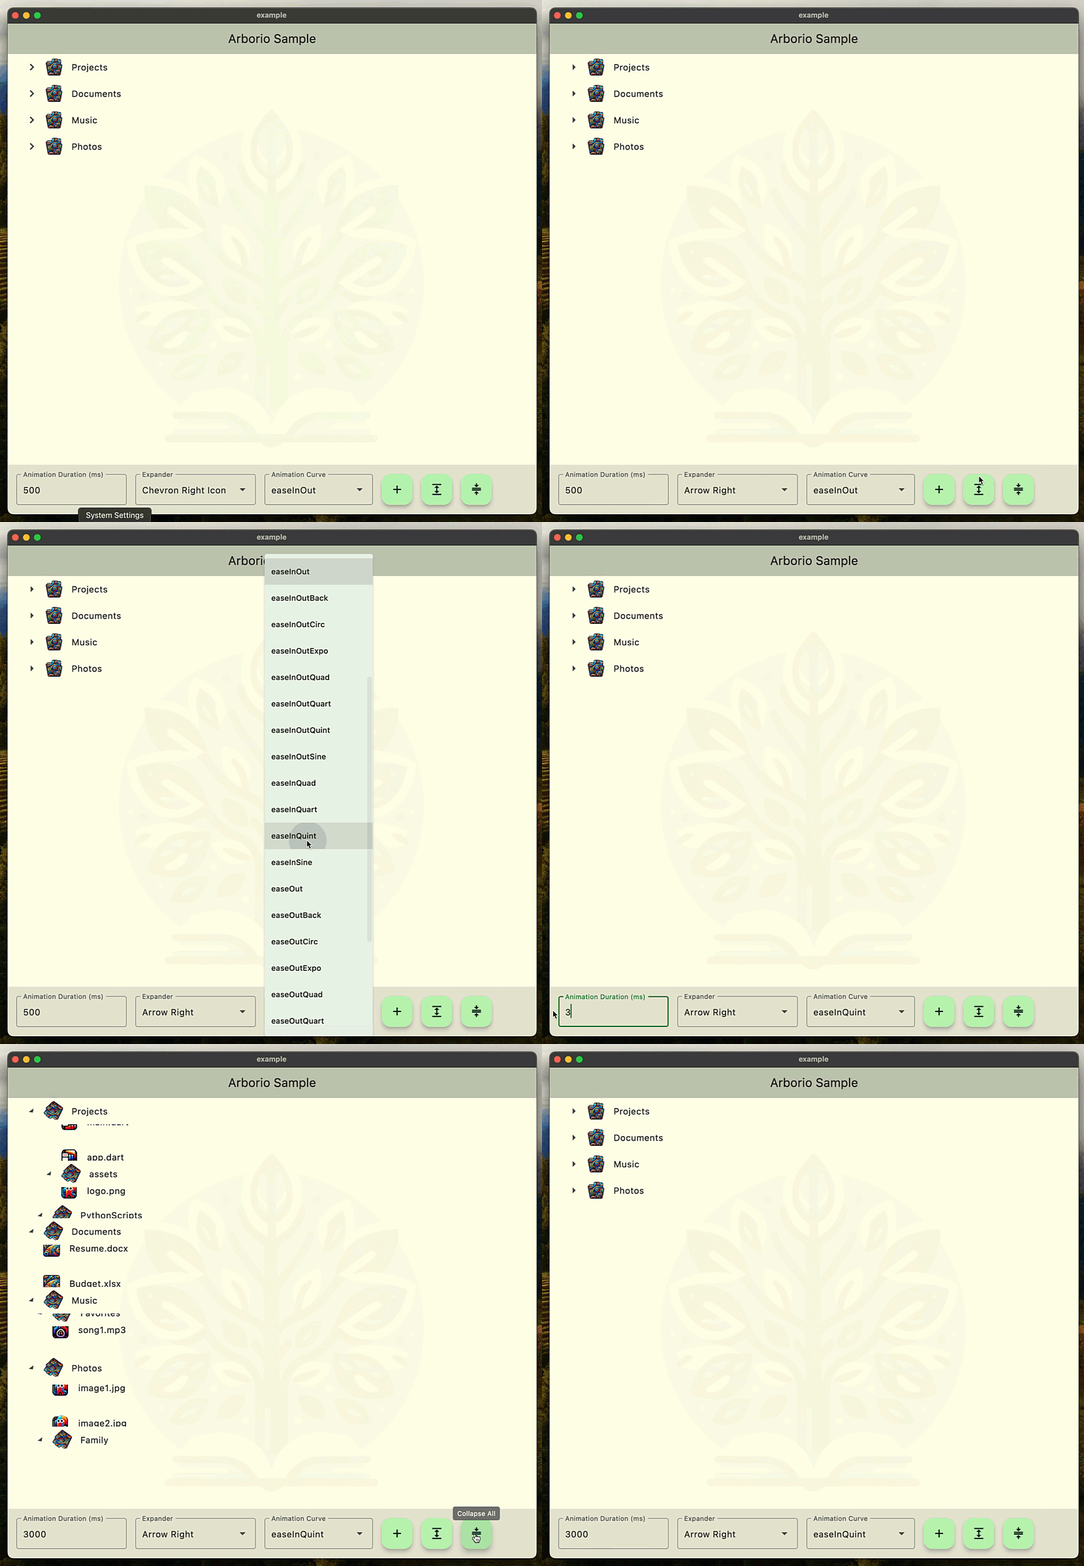
Check out the live sample app here
Features
- 🌳 Hierarchical data display with unlimited nesting
- ✨ Smooth animations for expand/collapse operations
- 🎨 Fully customizable node and expander appearance
- 🔑 Global key support for programmatic control
- 🎯 Type-safe with generics support
- 📱 Responsive and mobile-friendly
Basic Usage
Here's a simple example of how to create a tree view:
import 'package:arborio/tree_view.dart';
import 'package:flutter/material.dart';

enum ElementType { file, folder }

// Define your data type
class FileSystemElement {
  FileSystemElement(this.name, this.type);
  final String name;
  final ElementType type;
}

// Create tree nodes
final nodes = [
  TreeNode<FileSystemElement>(
    const Key('root'),
    FileSystemElement('Documents', ElementType.folder),
    [
      TreeNode<FileSystemElement>(
        const Key('child1'),
        FileSystemElement('report.pdf', ElementType.file),
      ),
    ],
  ),
];

void main() {
  runApp(const MyApp());
}

class MyApp extends StatelessWidget {
  const MyApp({super.key});

  @override
  Widget build(BuildContext context) => MaterialApp(
        home: Scaffold(
          body: TreeView<FileSystemElement>(
            nodes: nodes,
            builder: (context, node, isSelected, animation, select) => Row(
              children: [
                Icon(
                  node.data.type == ElementType.folder
                      ? Icons.folder
                      : Icons.file_copy,
                ),
                Text(node.data.name),
              ],
            ),
            expanderBuilder: (context, isExpanded, animation) =>
                RotationTransition(
              turns: animation,
              child: const Icon(Icons.chevron_right),
            ),
          ),
        ),
        debugShowCheckedModeBanner: false,
      );
}
Using TreeViewKey
The TreeViewKey allows programmatic control of the tree view:
// Create a key
const treeViewKey = TreeViewKey<FileSystemElement>();

// Use it in your TreeView
TreeView<FileSystemElement>(
  key: treeViewKey,
  nodes: nodes,
  builder: (context, node, isSelected, animation, select) {
    // ... node builder implementation
  },
  expanderBuilder: (context, isExpanded, animation) {
    return RotationTransition(
      turns: animation,
      child: const Icon(Icons.chevron_right),
    );
  },
)
Node Management
You can dynamically add or remove nodes using the tree's state. This example uses mutable state for simplicitly, but you can achieve the same result with immutable data classes.
// Add a new node
FloatingActionButton(
  onPressed: () => setState(() {
    nodes.add(
      TreeNode(
        const Key('newnode'),
        FileSystemElement('New Folder', ElementType.folder),
      ),
    );
  }),
  child: const Icon(Icons.add),
),

// Expand/collapse all nodes
FloatingActionButton(
  onPressed: () => setState(() {
    treeViewKey.currentState?.expandAll();
  }),
  child: const Icon(Icons.expand),
),

FloatingActionButton(
  onPressed: () => setState(() {
    treeViewKey.currentState?.collapseAll();
  }),
  child: const Icon(Icons.compress),
),
Handling Node Events
TreeView<FileSystemElement>(
  onExpansionChanged: (node, expanded) {
    print('Node ${node.data.name} is now ${expanded ? 'expanded' : 'collapsed'}');
  },
  onSelectionChanged: (node) {
    print('Selected node: ${node.data.name}');
  },
  expanderBuilder: (context, isExpanded, animation) {
    return RotationTransition(
      turns: animation,
      child: const Icon(Icons.chevron_right),
    );
  },
)
Customizing Node Appearance
The builder parameter gives you full control over node appearance, along with an animation variable so you can respond to changes over time:
builder: (context, node, isSelected, animation, select) {
  return InkWell(
    onTap: () => select(node),
    child: Container(
      color: isSelected ? Colors.blue.withOpacity(0.1) : null,
      padding: const EdgeInsets.all(8),
      child: Row(
        children: [
          if (node.data.type == ElementType.folder)
            RotationTransition(
              turns: animation,
              child: const Icon(Icons.folder),
            )
          else
            const Icon(Icons.file_copy),
          const SizedBox(width: 8),
          Text(node.data.name),
        ],
      ),
    ),
  );
}
Contributing
Contributions are welcome! Please feel free to submit a Pull Request.
License
This project is licensed under the BSD 3-Clause - see the LICENSE file for details.

Christian Findlay ↗
Categories
Dependencies used
Dependency list 6 items
- cupertino_icons
^1.0.2 - flutter
{"sdk":"flutter"} - arborio_sampleDevelopment
{"path":"example"} - austerityDevelopment
^1.1.0 - flutter_lintsDevelopment
^2.0.0 - flutter_testDevelopment
{"sdk":"flutter"}
How do I choose a repository?
Start with your use case, compare repository activity, and check the original project before adopting it.
- Search by repository name, owner or description, then narrow the results by topic.
- Compare stars, forks and recent pushes. Stars show community interest, not a guarantee of quality.
- Read the README, license and issues on GitHub before using a project.
Sources and maintenance
“A repository is the most basic element of GitHub.”
GitHub Docs — About repositories ↗
- MelbourneDeveloper/arborio · GitHub ↗
- GitHub Docs — Saving repositories with stars ↗
- Directory maintained by Ducafecat ↗