

 v3.0.1
photofilters
一个用于对图像应用各种类型滤镜的 Flutter 包。您还可以创建自己的滤镜和子滤镜。
265喜欢 758近 30 天下载130Pub 分数
AndroidiOSmacOSWindowsLinux
适用于 Flutter 的 photofilters 库

以下为英文项目原文快照,最新内容请访问 GitHub。
A flutter package for iOS and Android for applying filter to an image. A set of preset filters are also available. You can create your own filters too.
First, add photofilters and image as a dependency in your pubspec.yaml file.
No configuration required - the plugin should work out of the box.
No configuration required - the plugin should work out of the box.
import 'dart:async';
import 'dart:io';

import 'package:flutter/material.dart';
import 'package:path/path.dart';
import 'package:photofilters/photofilters.dart';
import 'package:image/image.dart' as imageLib;
import 'package:image_picker/image_picker.dart';

void main() => runApp(new MaterialApp(home: MyApp()));

class MyApp extends StatefulWidget {
  @override
  _MyAppState createState() => new _MyAppState();
}

class _MyAppState extends State<MyApp> {
  String fileName;
  List<Filter> filters = presetFiltersList;
  File imageFile;

  Future getImage(context) async {
    imageFile = await ImagePicker.pickImage(source: ImageSource.gallery);
    fileName = basename(imageFile.path);
    var image = imageLib.decodeImage(imageFile.readAsBytesSync());
    image = imageLib.copyResize(image, width: 600);
     Map imagefile = await Navigator.push(
      context,
      new MaterialPageRoute(
        builder: (context) => new PhotoFilterSelector(
              title: Text("Photo Filter Example"),
              image: image,
              filters: presetFiltersList,
              filename: fileName,
              loader: Center(child: CircularProgressIndicator()),
              fit: BoxFit.contain,
            ),
      ),
    );
    if (imagefile != null && imagefile.containsKey('image_filtered')) {
      setState(() {
        imageFile = imagefile['image_filtered'];
      });
      print(imageFile.path);
    }
  }

  @override
  Widget build(BuildContext context) {
    return new Scaffold(
      appBar: new AppBar(
        title: new Text('Photo Filter Example'),
      ),
      body: Center(
        child: new Container(
          child: imageFile == null
              ? Center(
                  child: new Text('No image selected.'),
                )
              : Image.file(imageFile),
        ),
      ),
      floatingActionButton: new FloatingActionButton(
        onPressed: () => getImage(context),
        tooltip: 'Pick Image',
        child: new Icon(Icons.add_a_photo),
      ),
    );
  }
}
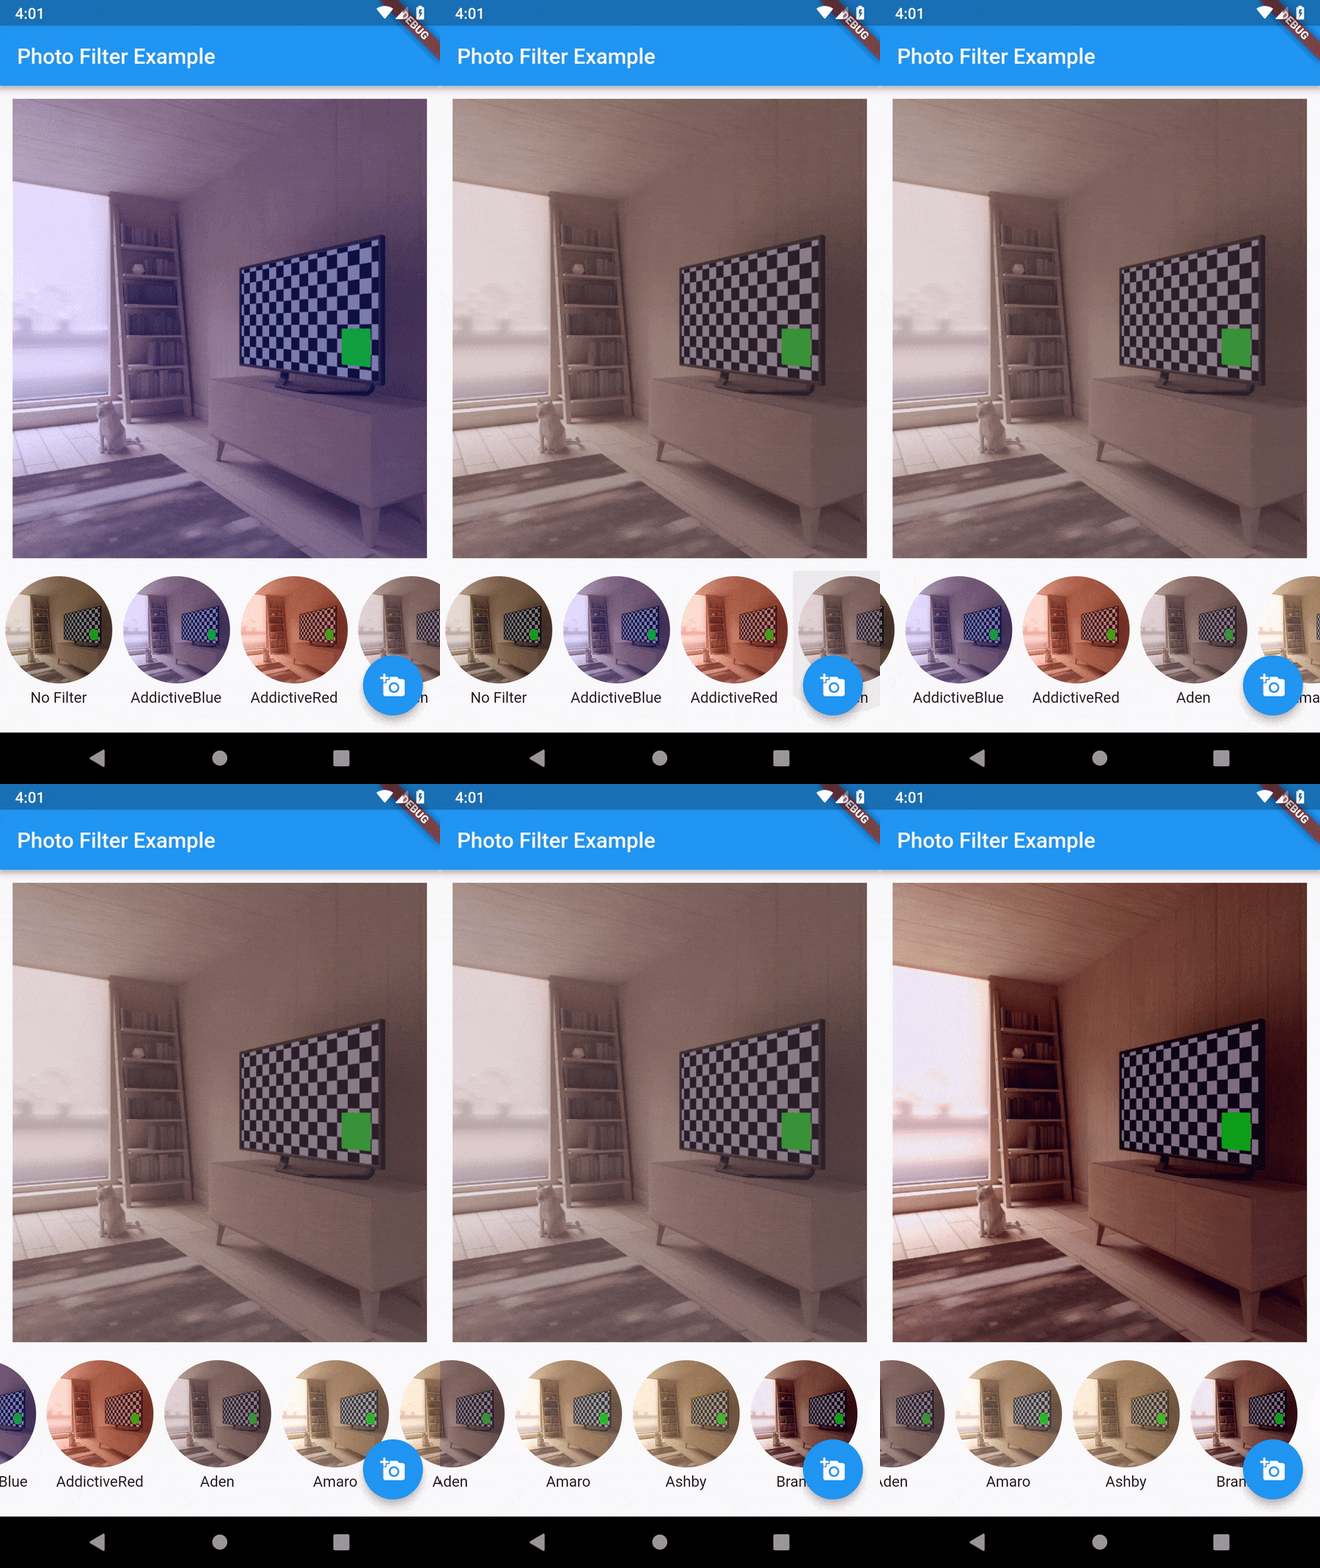
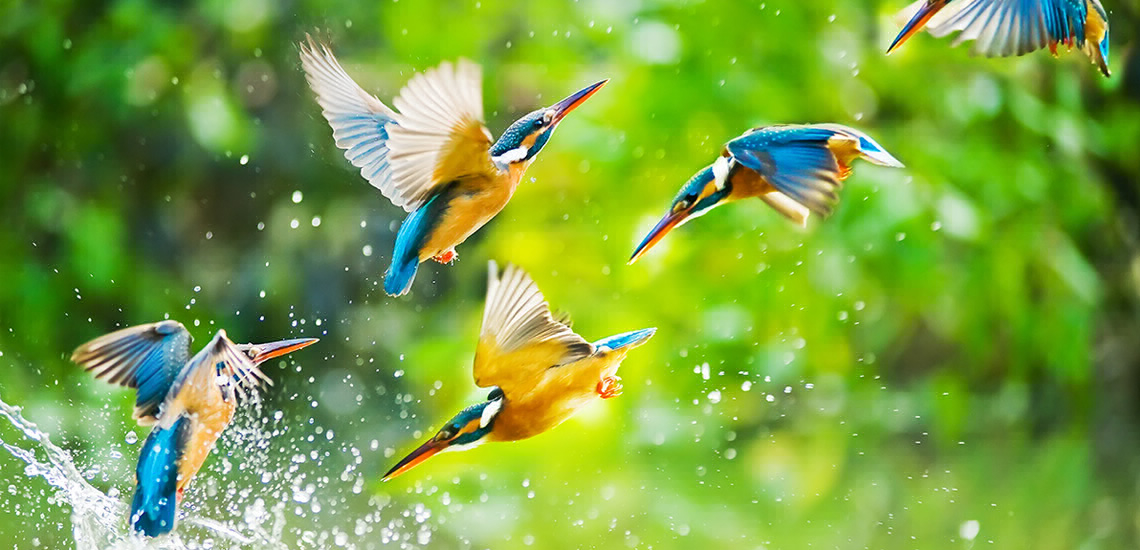 No Filter |
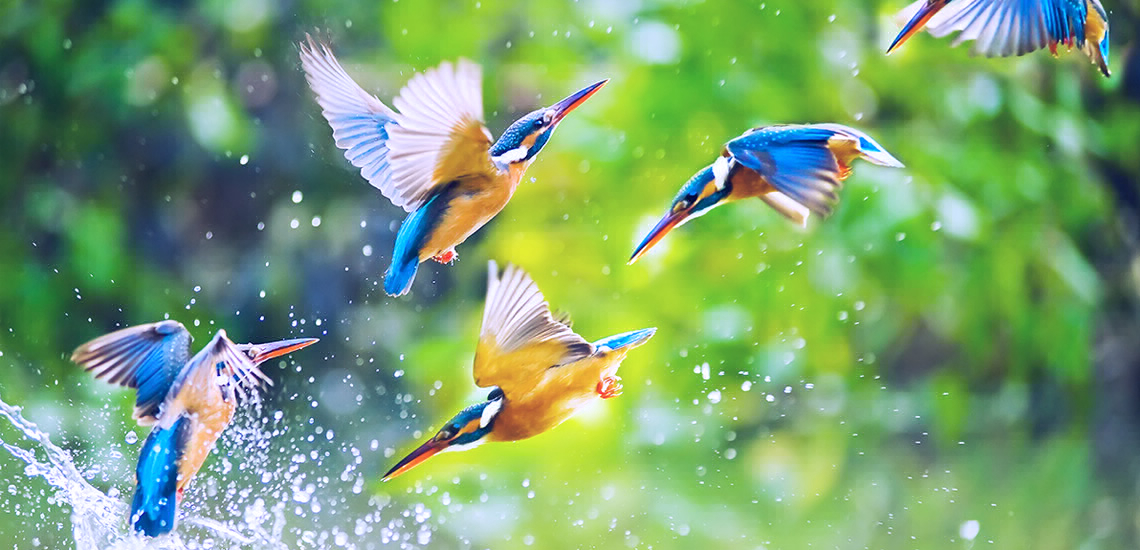 AddictiveBlue |
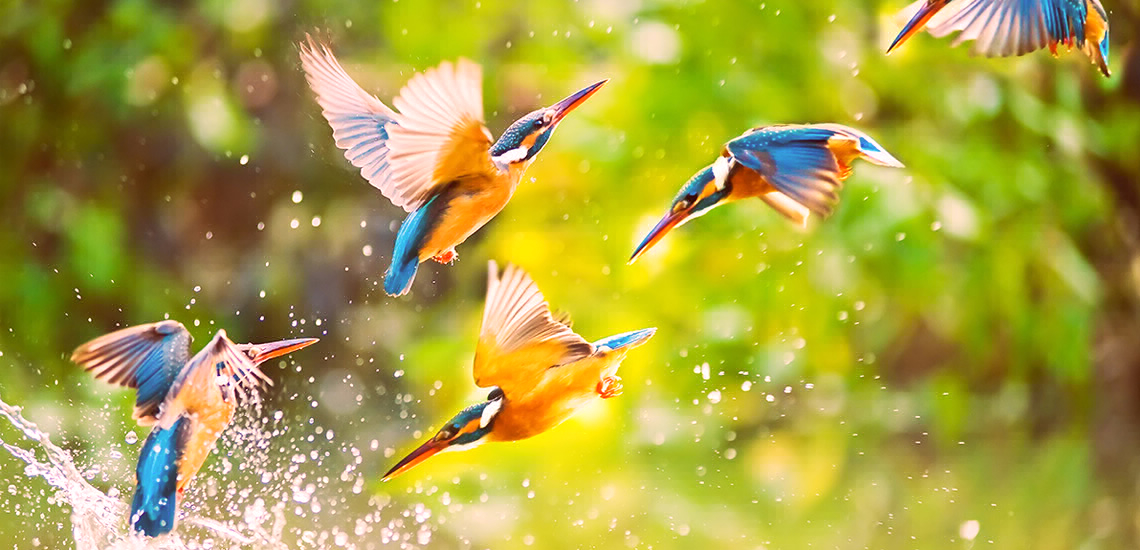 AddictiveRed |
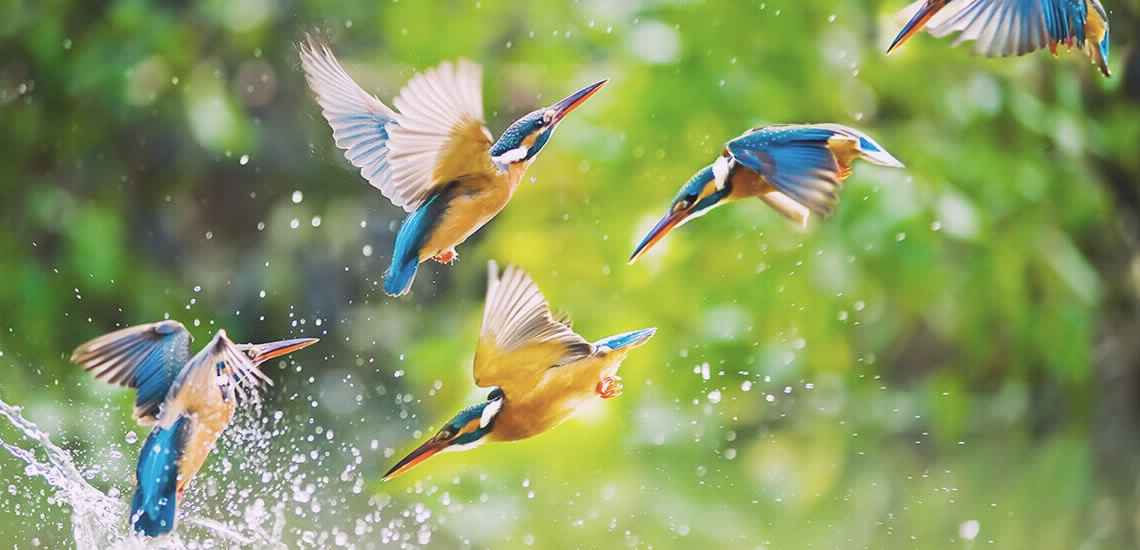 Aden |
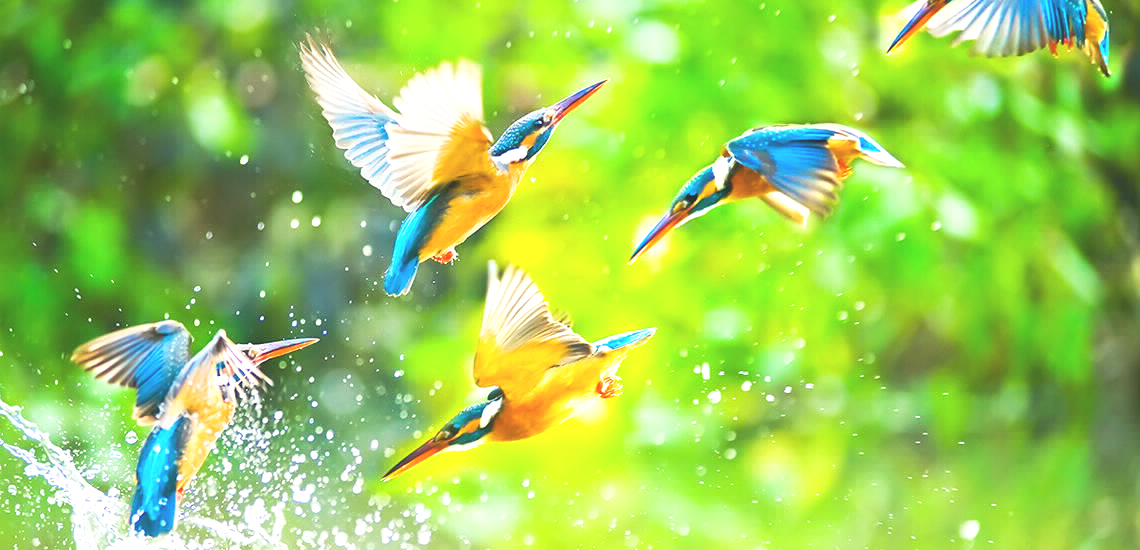 Amaro |
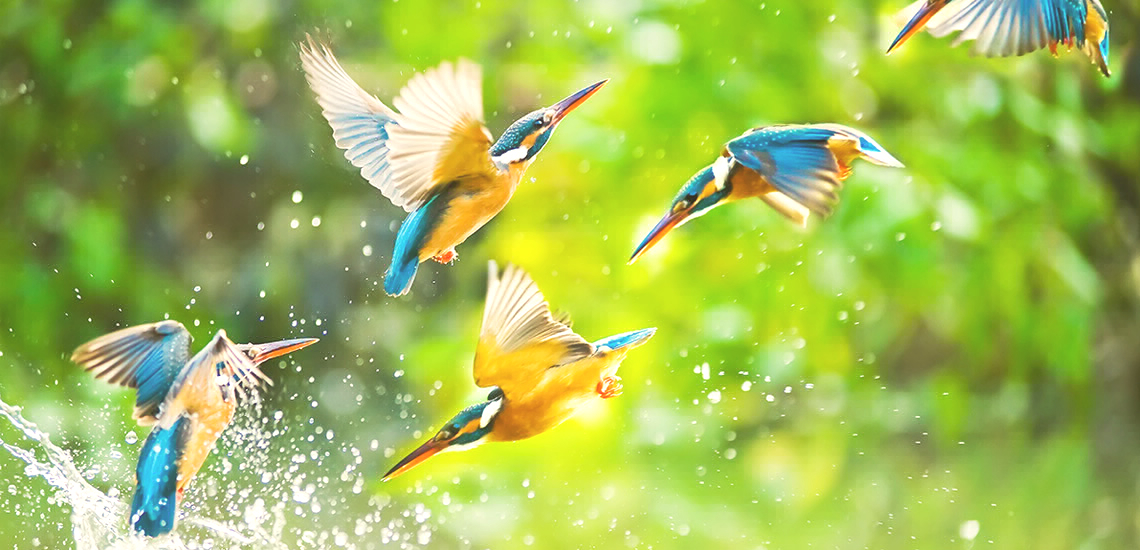 Ashby |
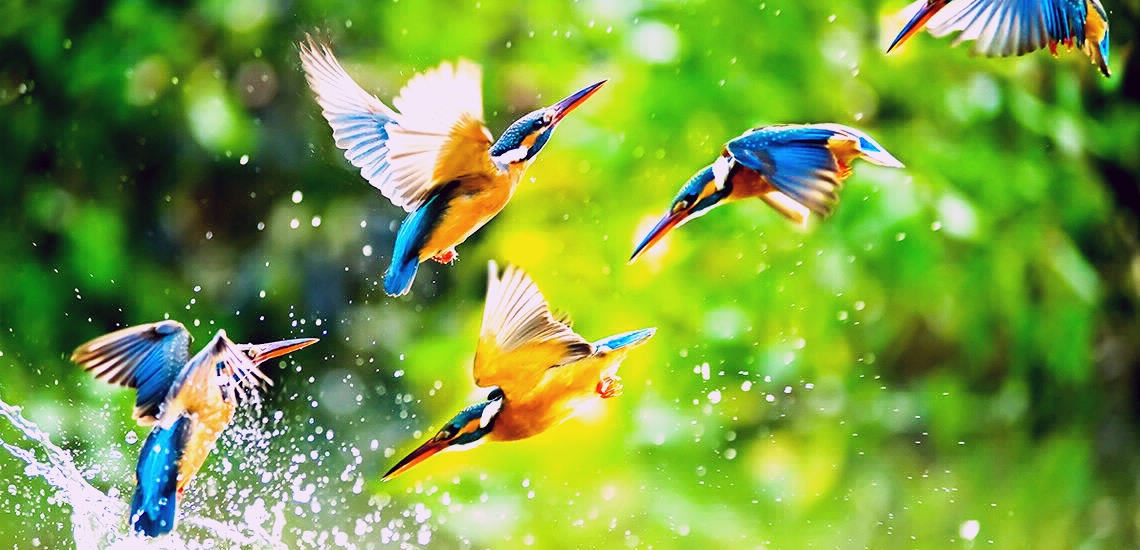 Brannan |
 Brooklyn |
 Charmes |
 Clarendon |
 Crema |
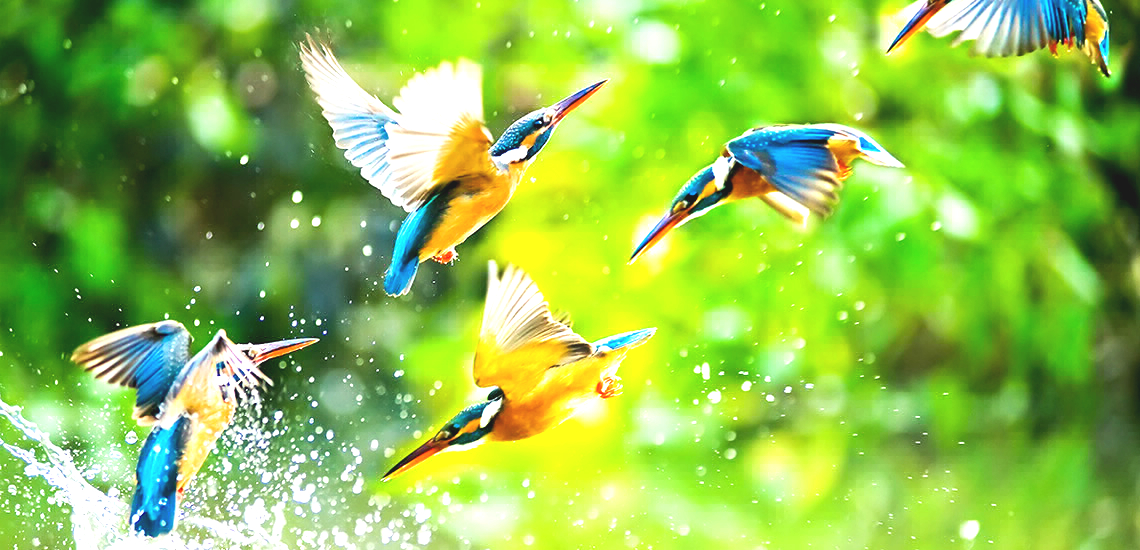 Dogpatch |
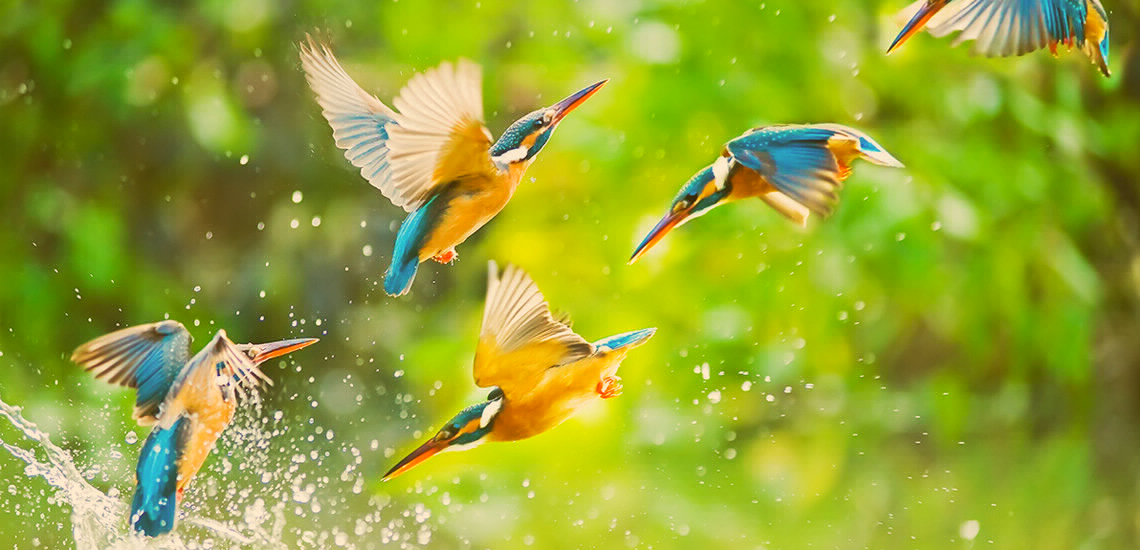 Earlybird |
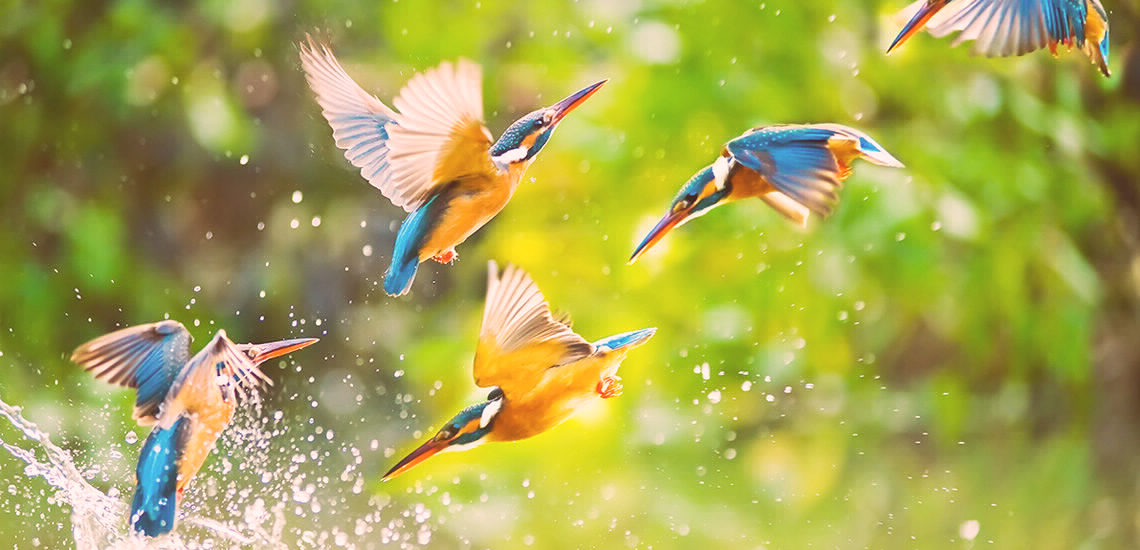 1977 |
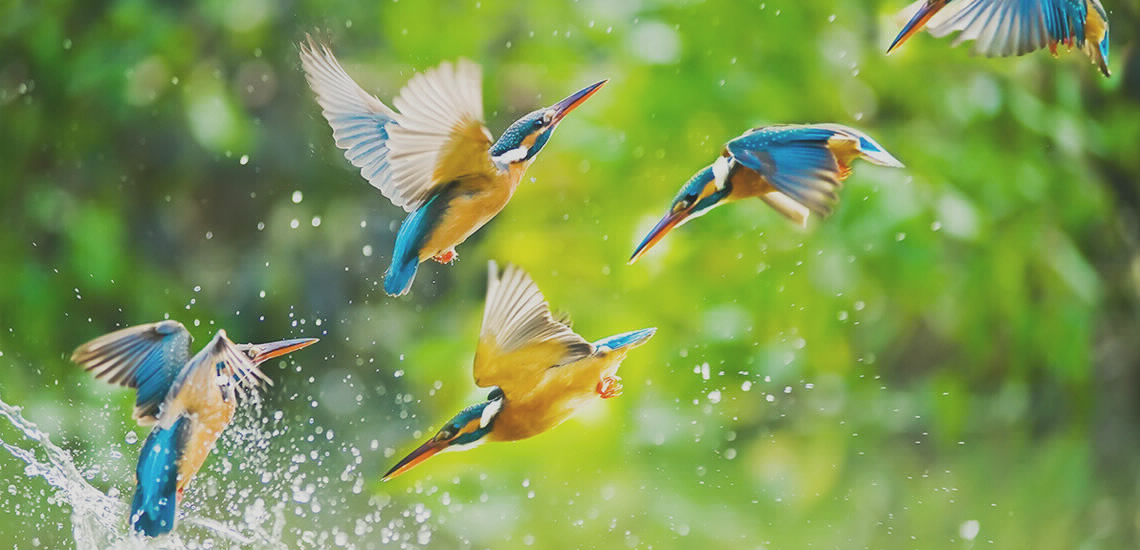 Gingham |
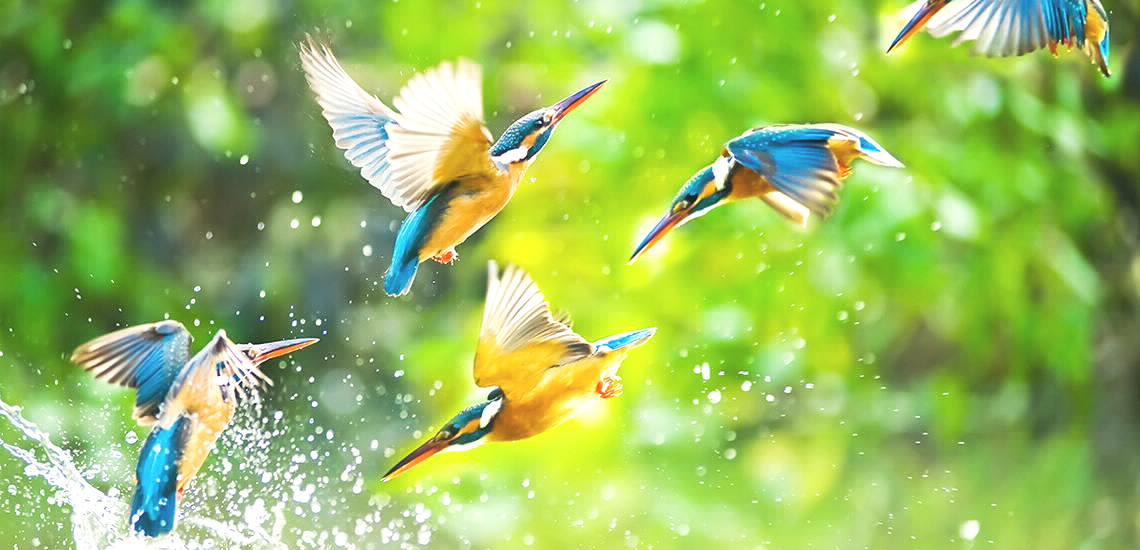 Ginza |
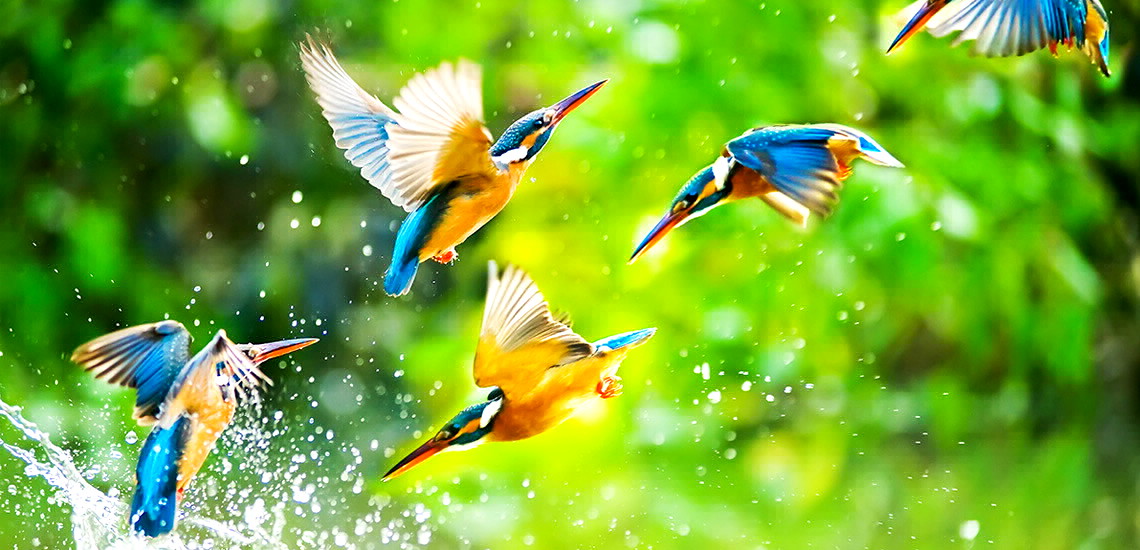 Hefe |
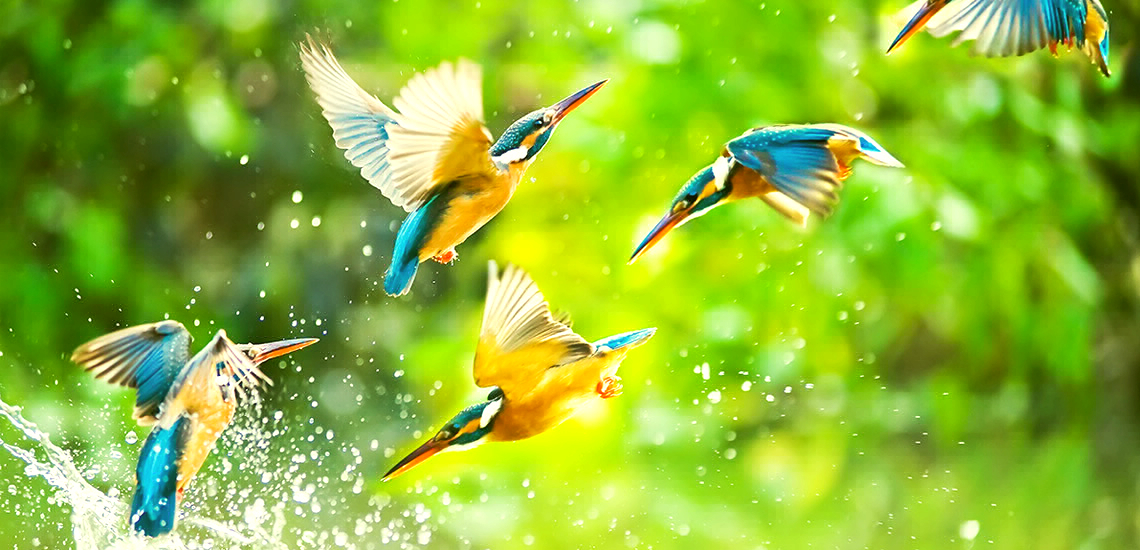 Helena |
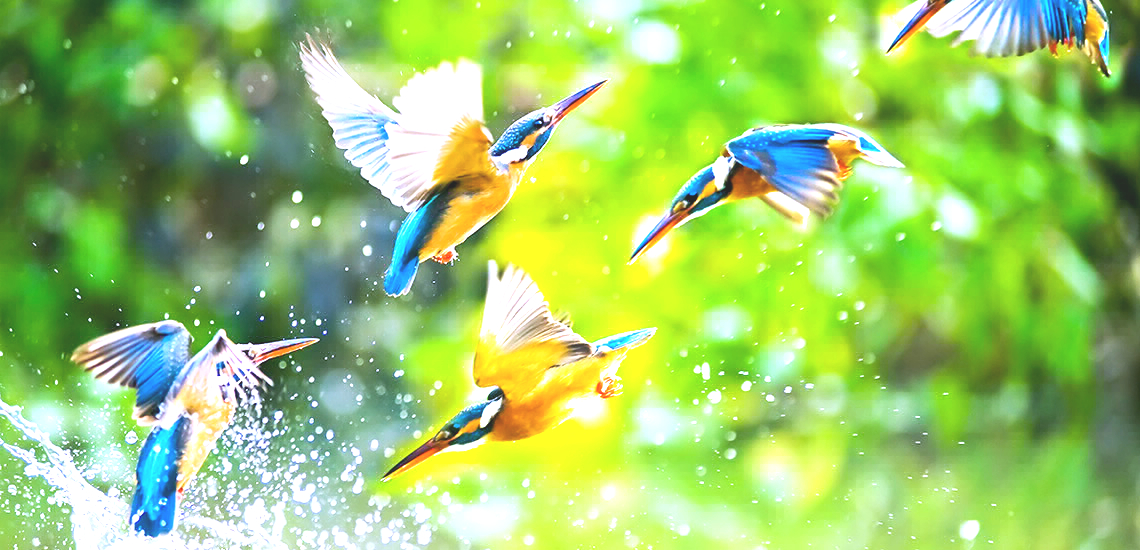 Hudson |
 Inkwell |
 Juno |
 Kelvin |
 Lark |
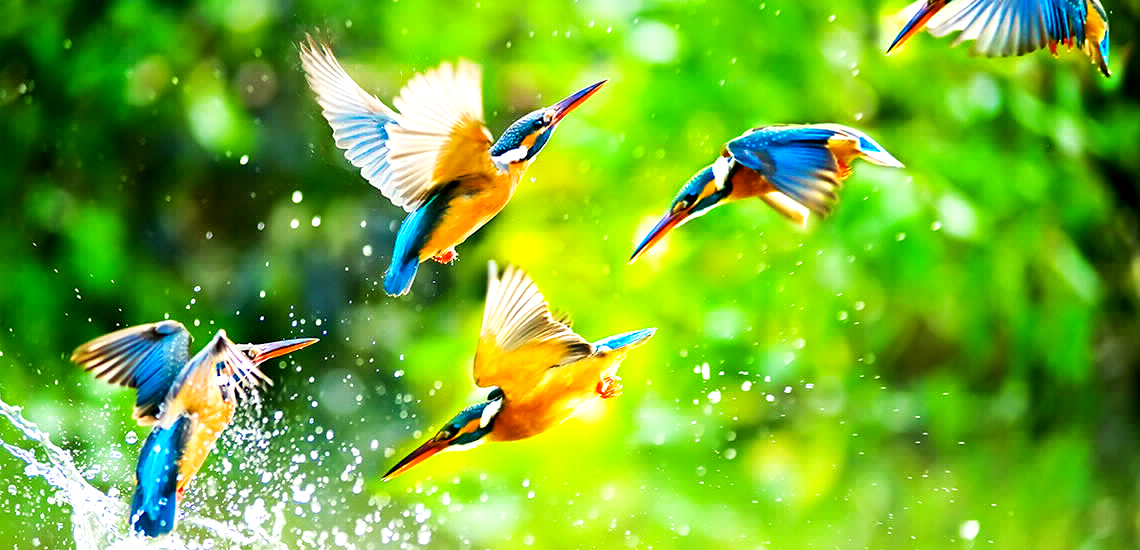 Lo-Fi |
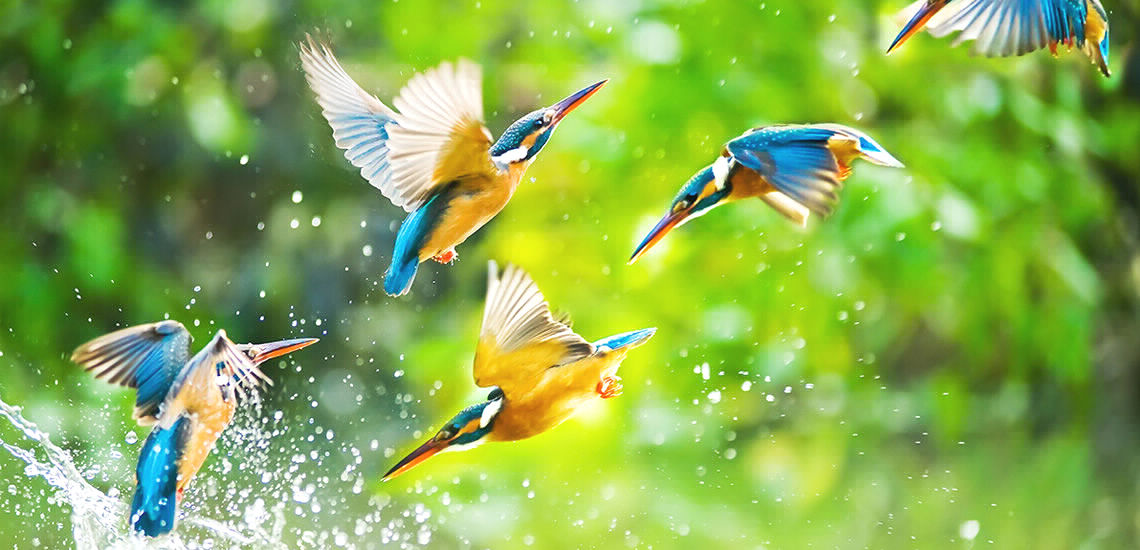 Ludwig |
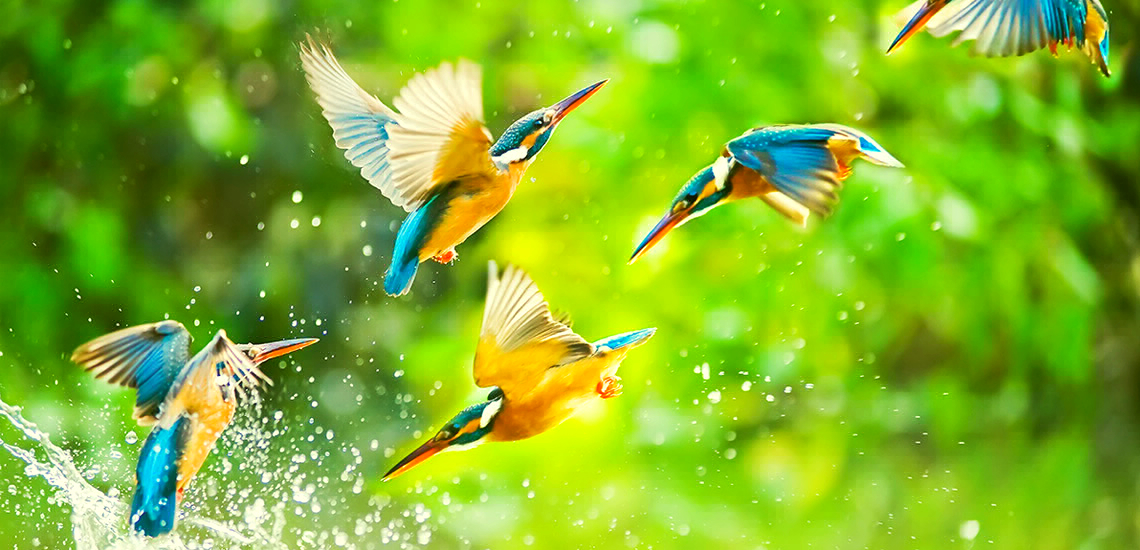 Maven |
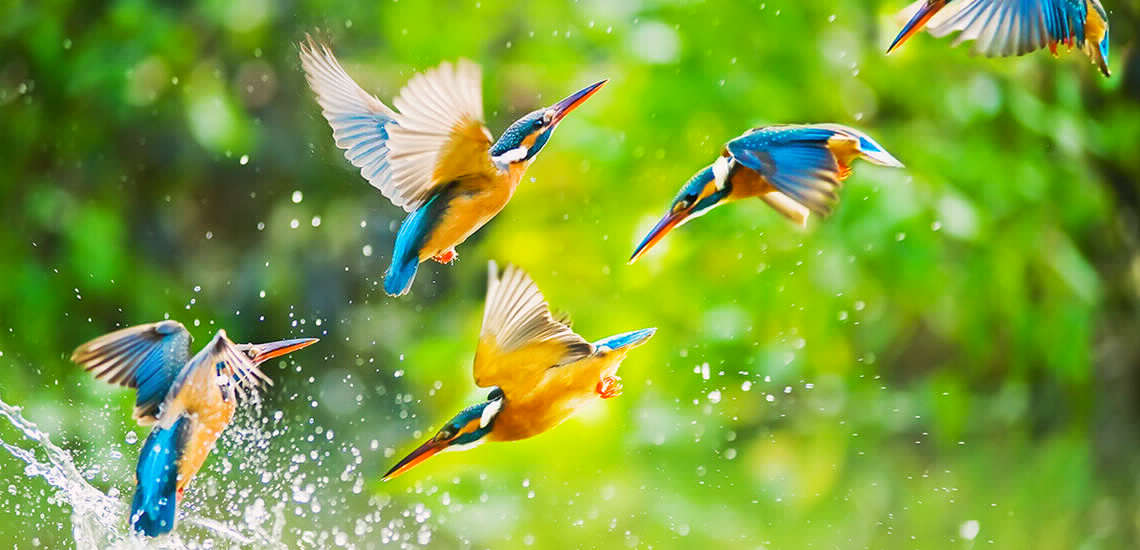 Mayfair |
 Moon |
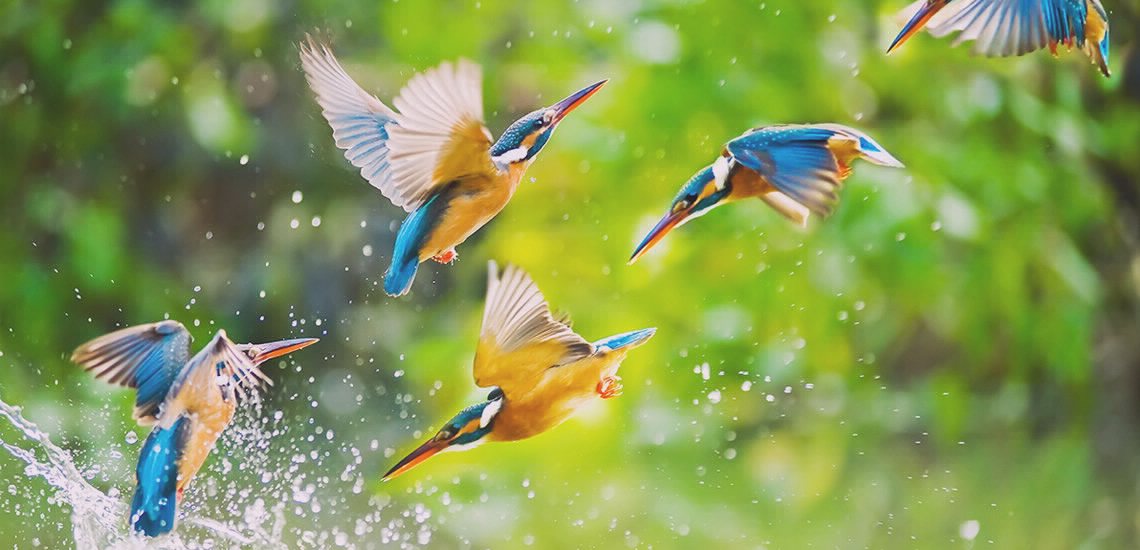 Nashville |
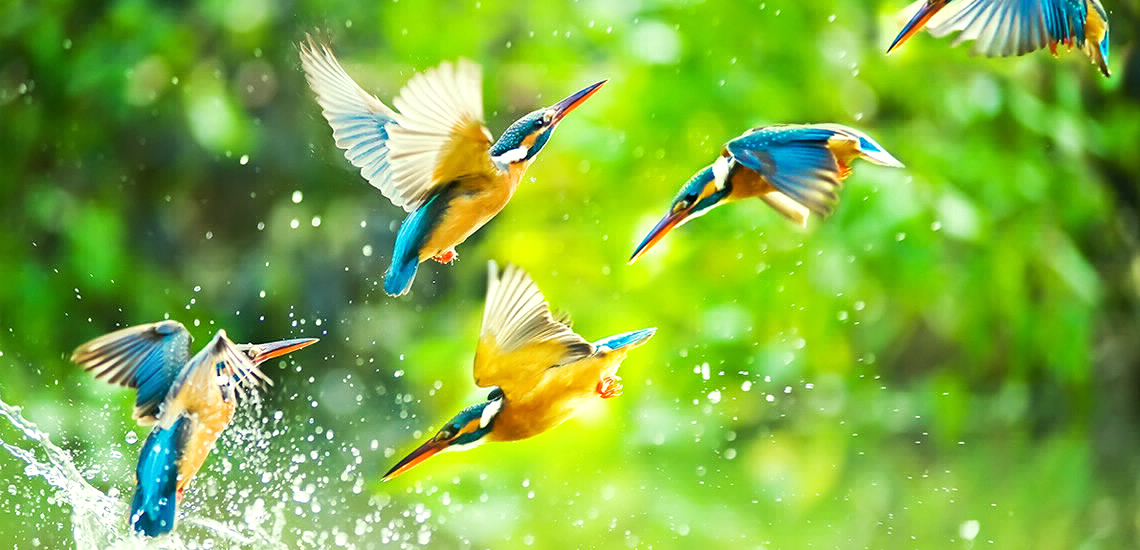 Perpetua |
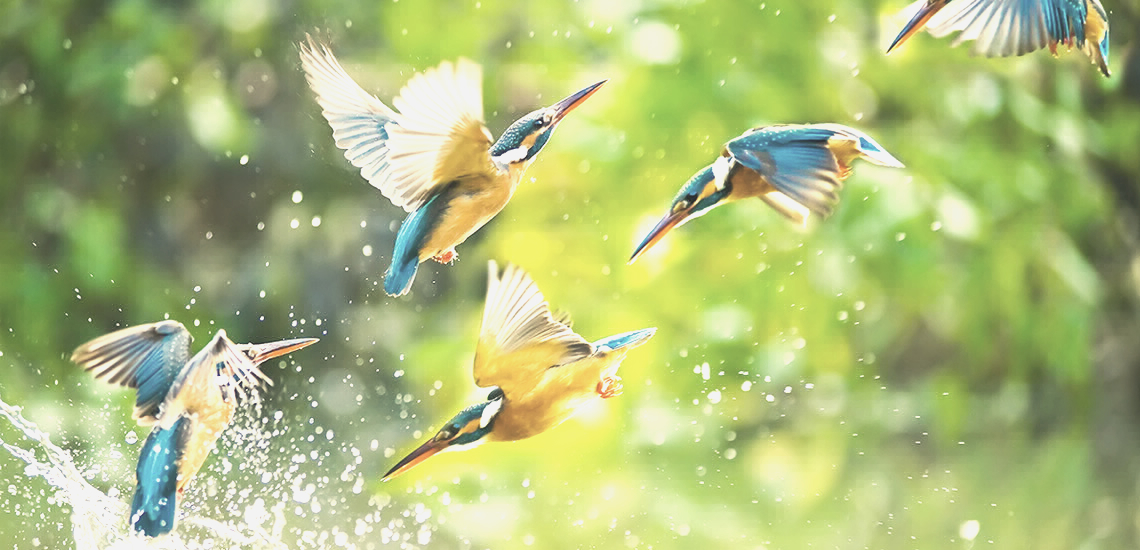 Reyes |
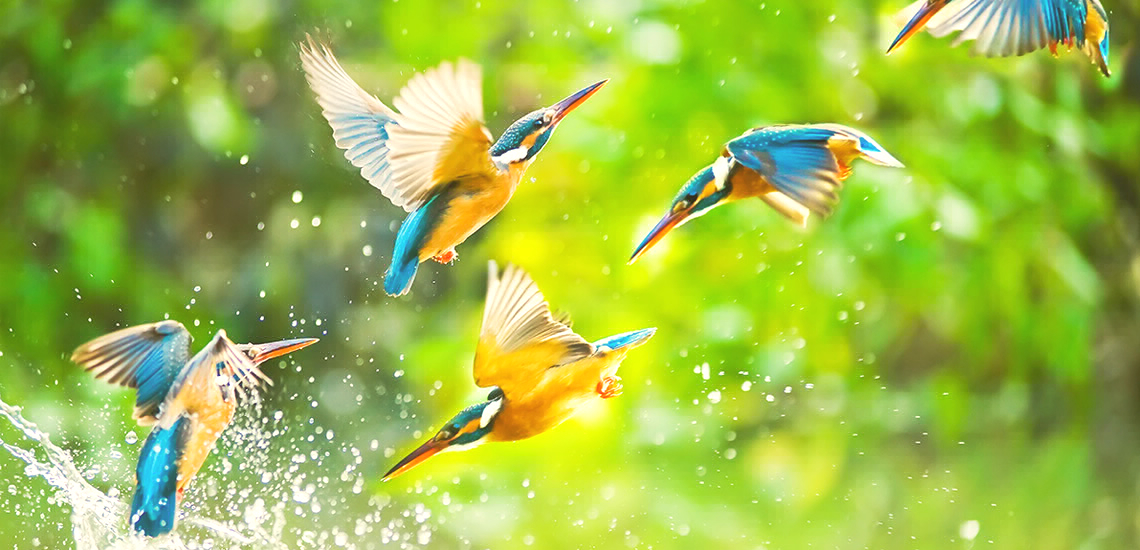 Rise |
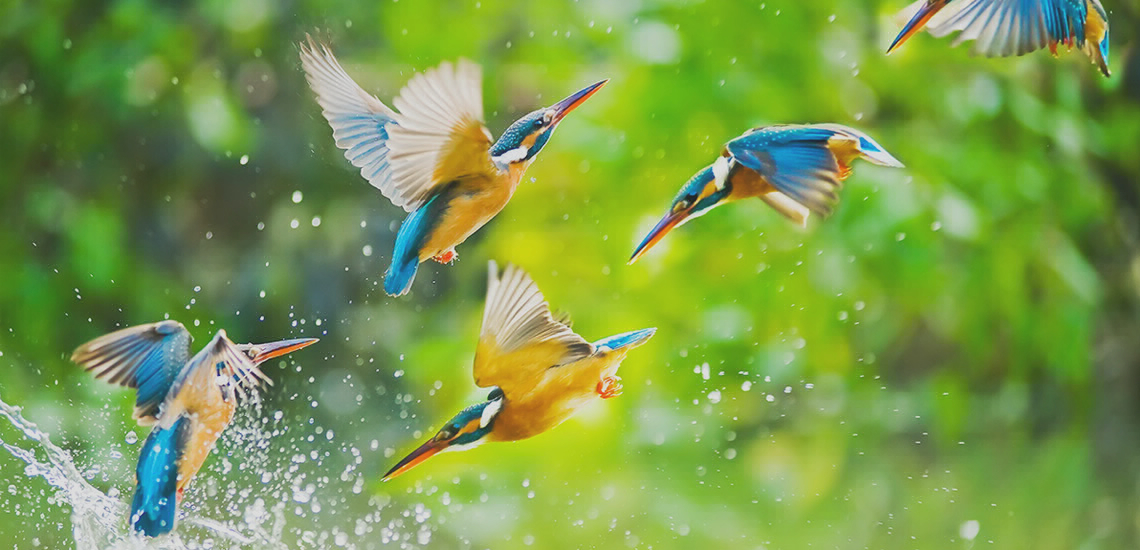 Sierra |
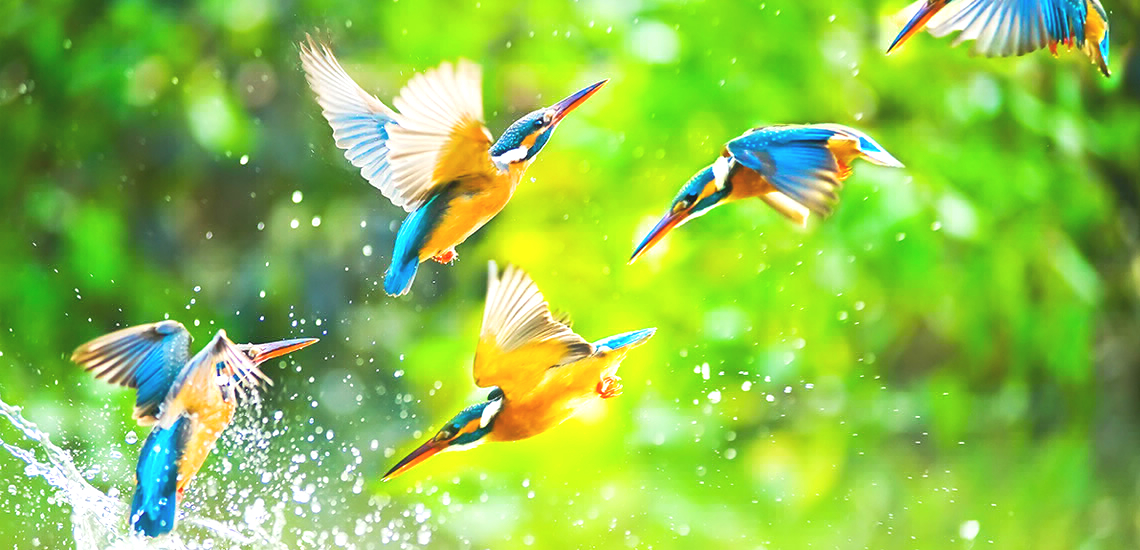 Skyline |
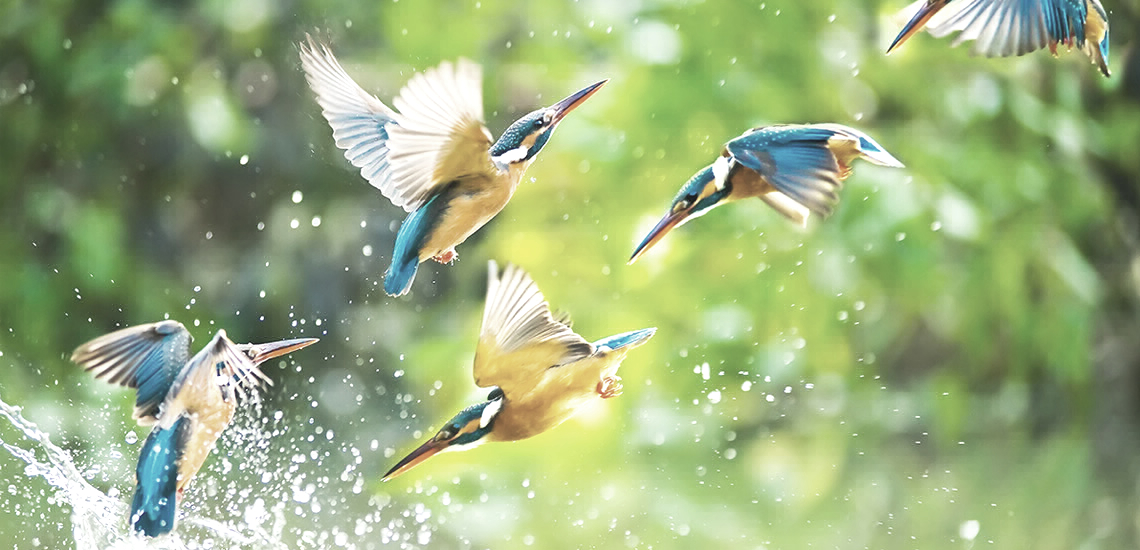 Slumber |
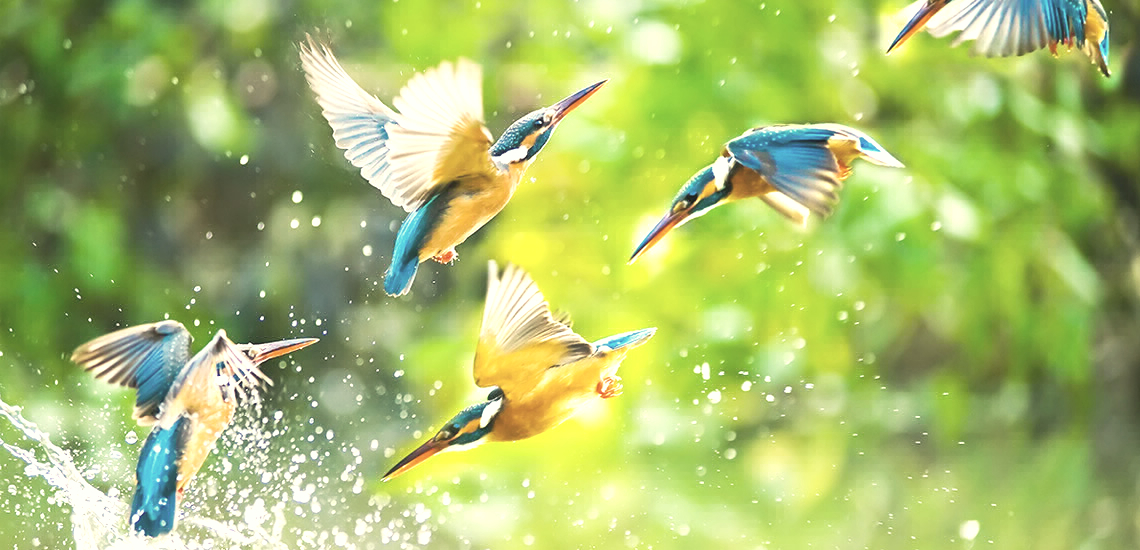 Stinson |
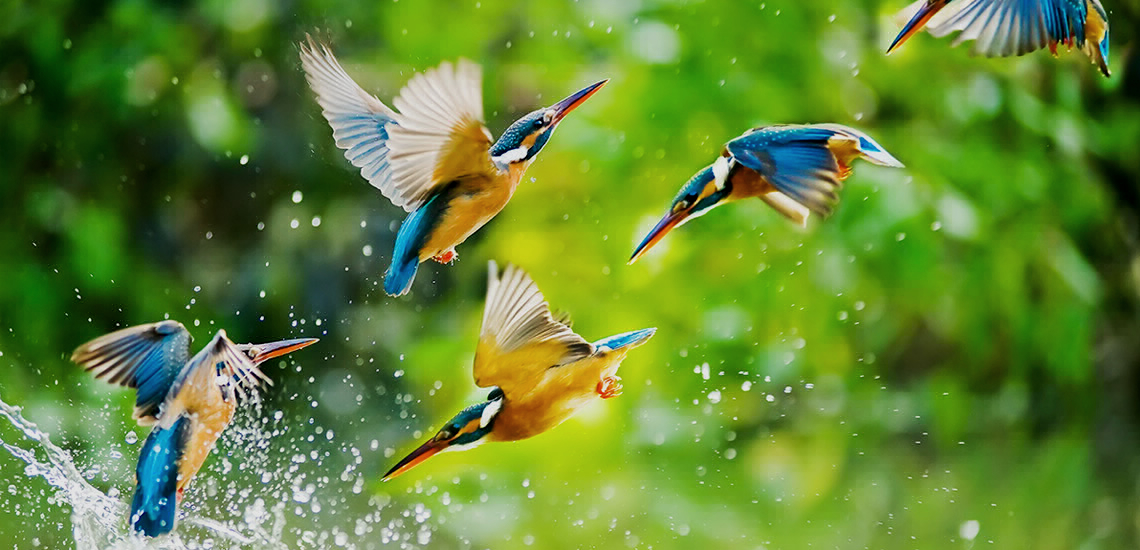 Sutro |
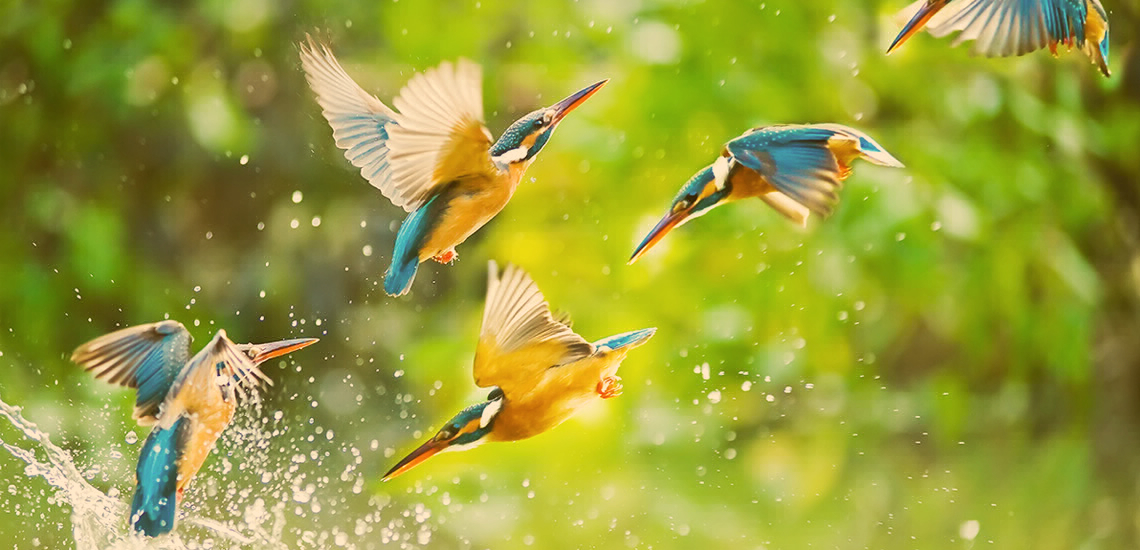 Toaster |
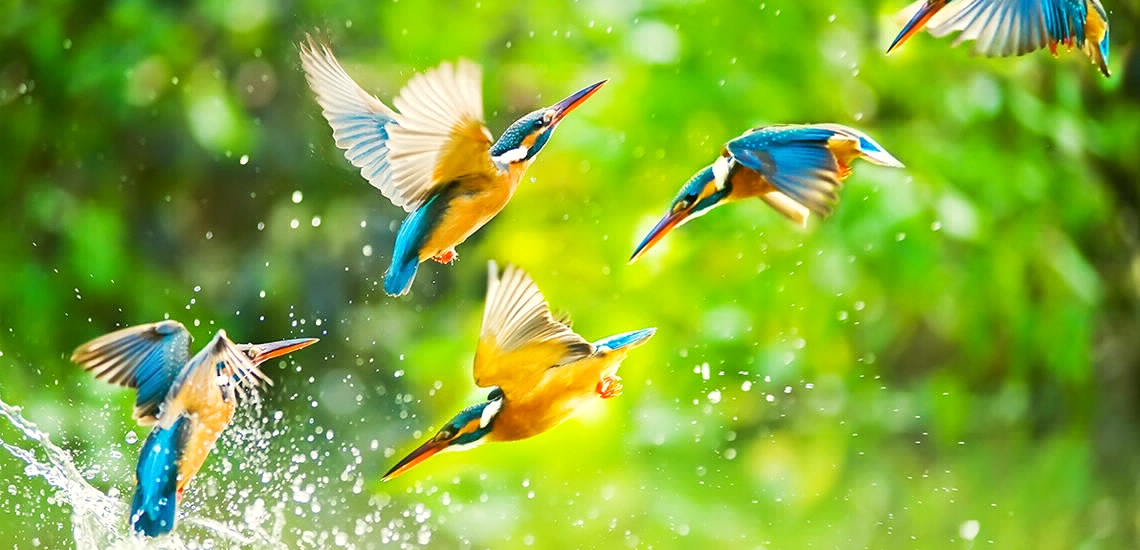 Valencia |
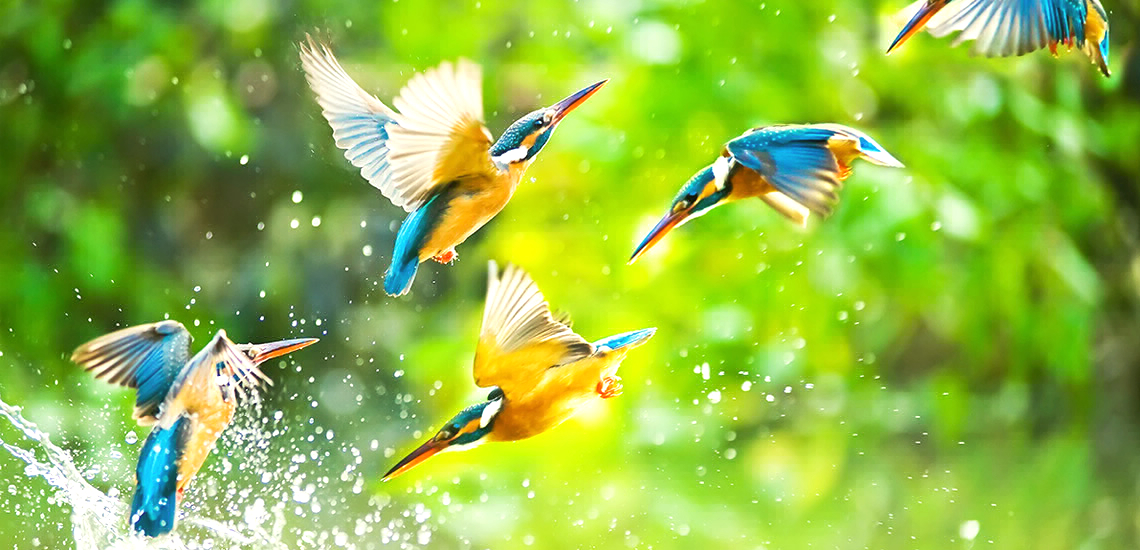 Vesper |
 Walden |
 Willow |
 X-Pro II |
 Identity |
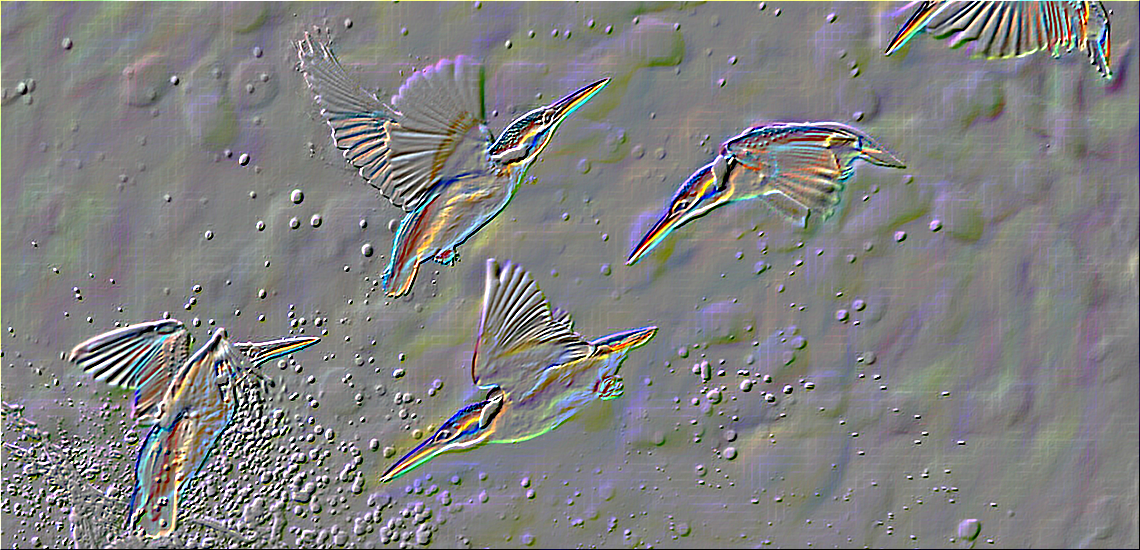 Emboss |
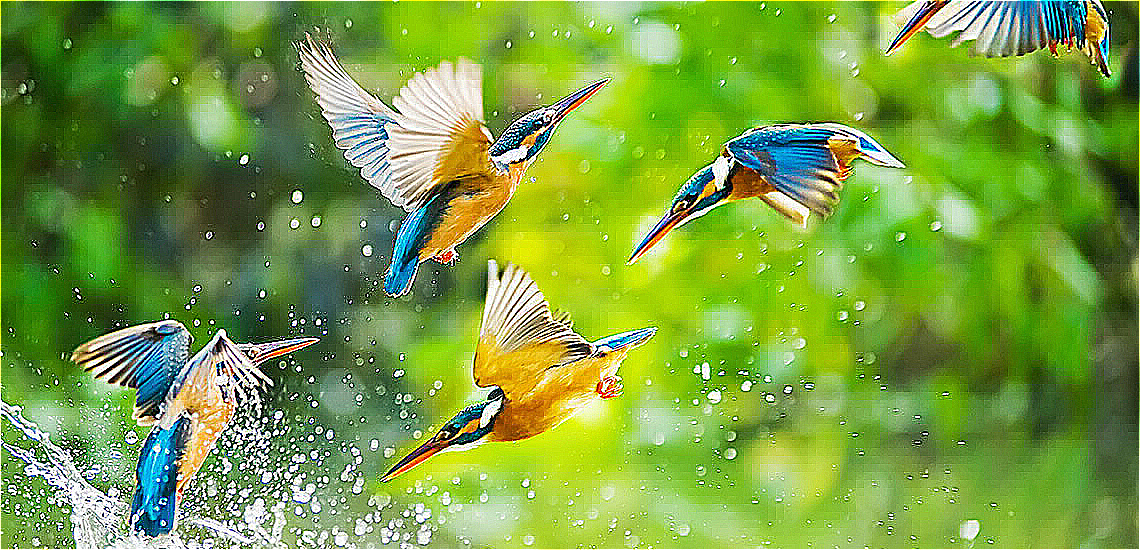 Sharpen |
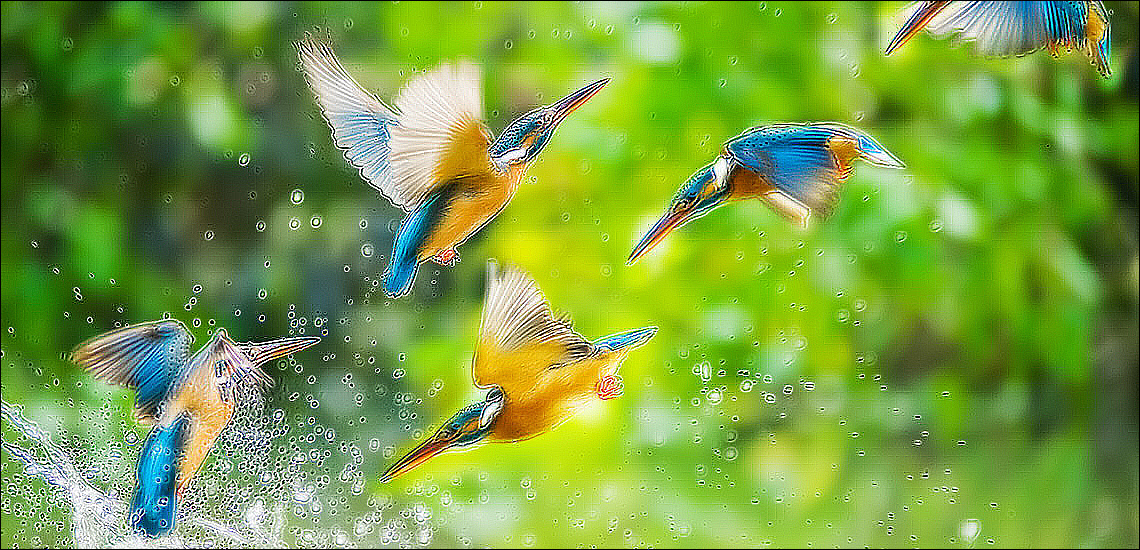 Colored Edge Detection |
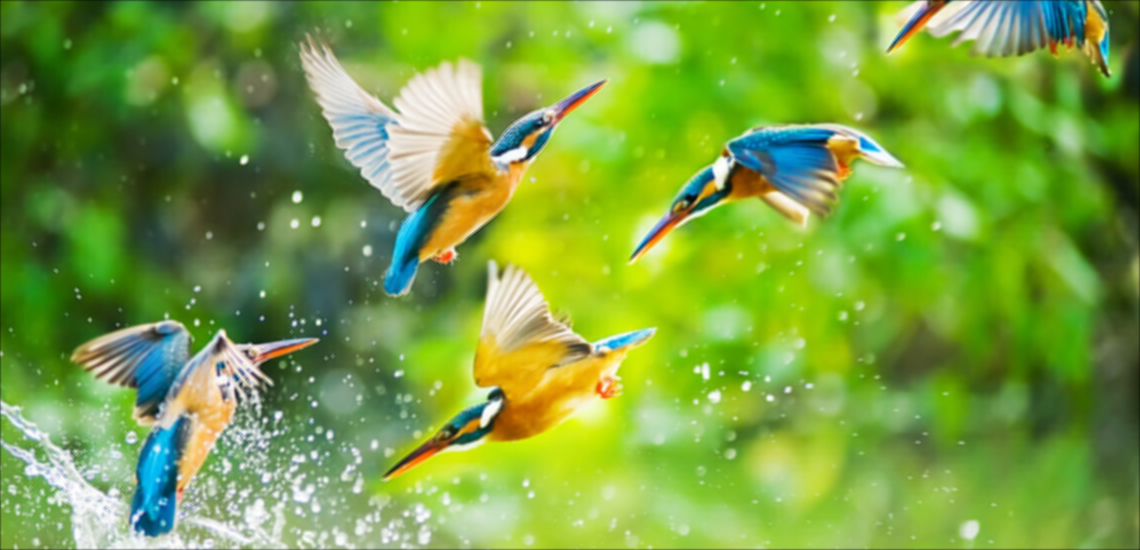 Blur |
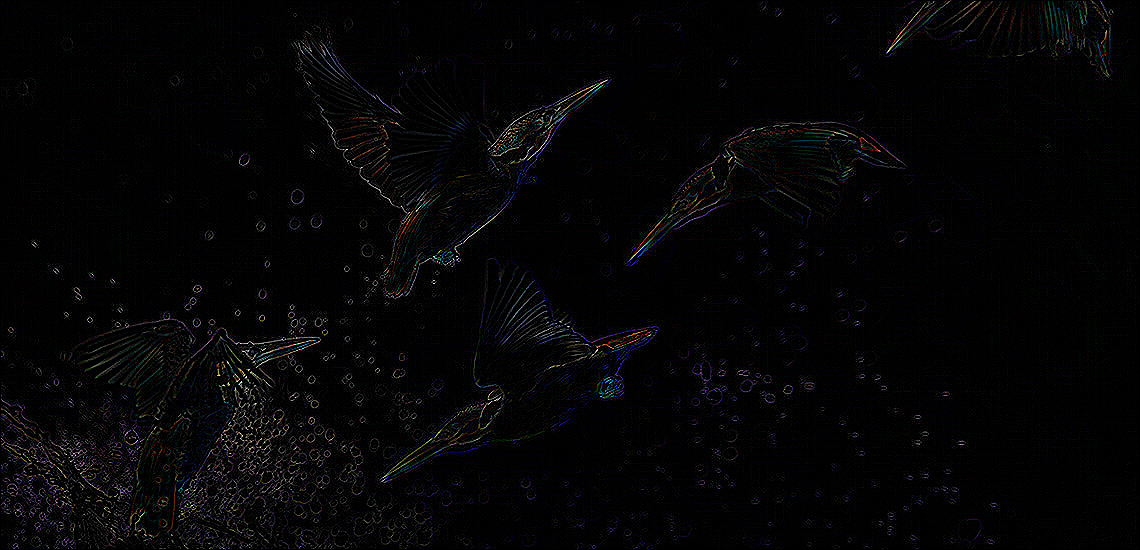 Edge Detection Medium |
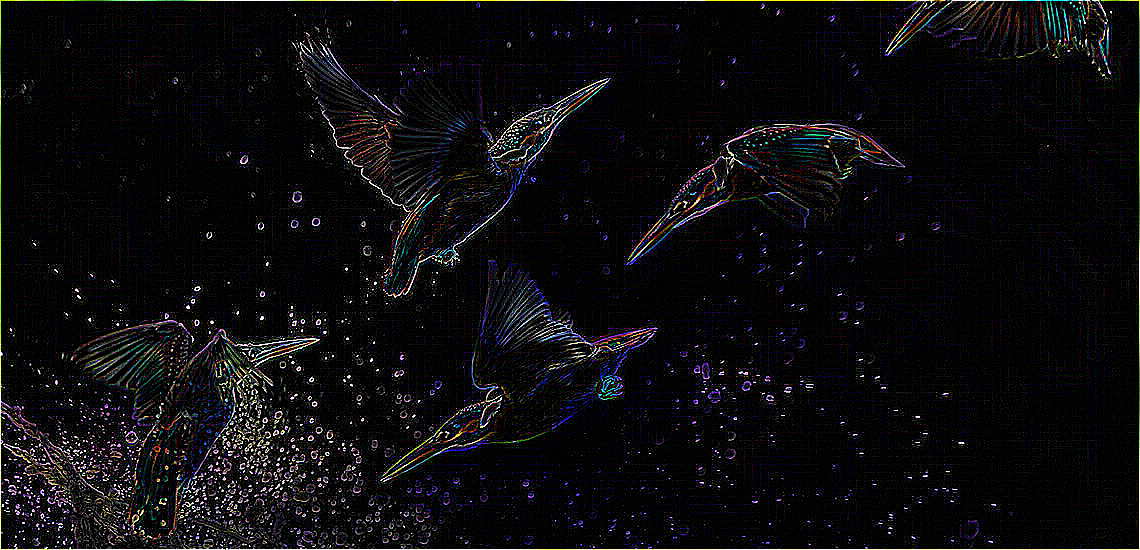 Edge Detection Hard |
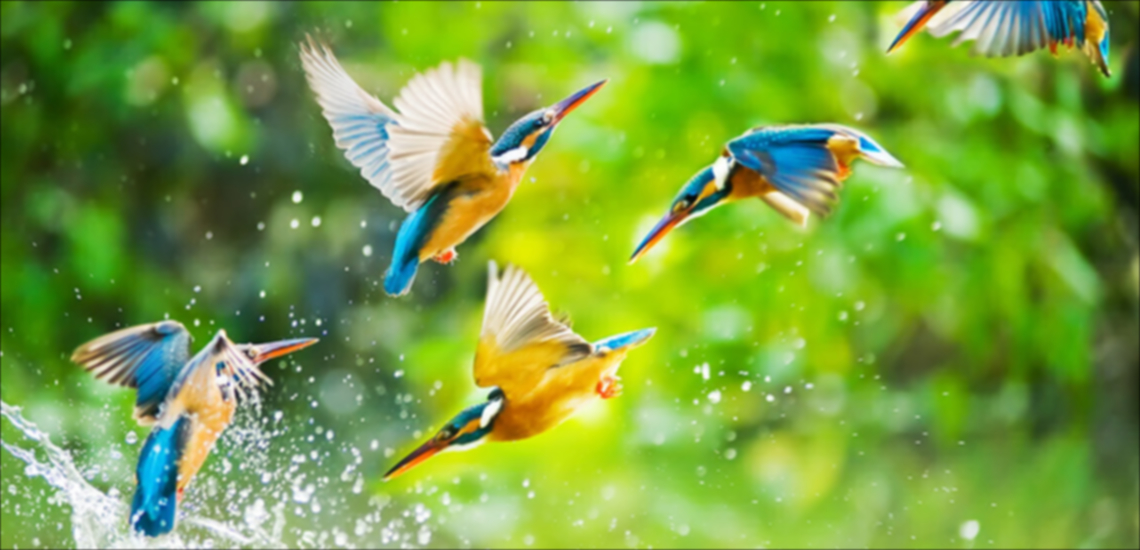 Guassian Blur |
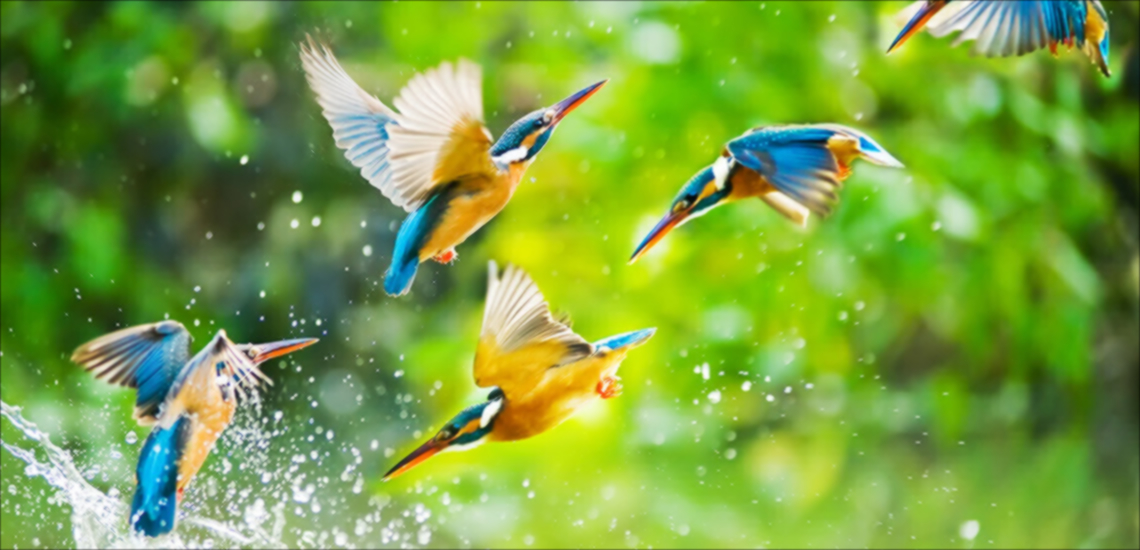 Low Pass |
 High Pass |
 Mean |
There are two types of filters. ImageFilter and ColorFilter.
Image filter applies its subfilters directly to the whole image one by one. It is computationally expensive since the complexity & time increases as the number of subfilters increases.
You can create your own custom image filter as like this:
    import 'package:photofilters/filters/image_filters.dart';

    var customImageFilter = new ImageFilter(name: "Custom Image Filter");
    customImageFilter.subFilters.add(ConvolutionSubFilter.fromKernel(
      coloredEdgeDetectionKernel,
    ));
    customImageFilter.subFilters.add(ConvolutionSubFilter.fromKernel(
      gaussian7x7Kernel,
    ));
    customImageFilter.subFilters.add(ConvolutionSubFilter.fromKernel(
      sharpenKernel,
    ));
    customImageFilter.subFilters.add(ConvolutionSubFilter.fromKernel(
      highPass3x3Kernel,
    ));
    customImageFilter.subFilters.add(ConvolutionSubFilter.fromKernel(
      lowPass3x3Kernel,
    ));
    customImageFilter.subFilters.add(SaturationSubFilter(0.5));
You can also inherit the ImageFilter class to create another image filter.
class MyImageFilter extends ImageFilter {
  MyImageFilter(): super(name: "My Custom Image Filter") {
    this.addSubFilter(ConvolutionSubFilter.fromKernel(sharpenKernel));
  }
}
Color filter applies its subfilters to each pixel one by one. It is computationally less expensive than the ImageFilter. It will loop through the image pixels only once irrespective of the number of subfilters.
You can create your own custom color filter as like this:
    import 'package:photofilters/filters/color_filters.dart';

    var customColorFilter = new ColorFilter(name: "Custom Color Filter");
    customColorFilter.addSubFilter(SaturationSubFilter(0.5));
    customColorFilter
        .addSubFilters([BrightnessSubFilter(0.5), HueRotationSubFilter(30)]);
You can inherit the ColorFilter class too
class MyColorFilter extends ColorFilter {
  MyColorFilter() : super(name: "My Custom Color Filter") {
    this.addSubFilter(BrightnessSubFilter(0.8));
    this.addSubFilter(HueRotationSubFilter(30));
  }
}
There are two types of subfilters. One can be added to the ColorFilter and the other can be added to the ImageFilter. You can inherit ColorSubFilter class to implement the former and you can use the ImageSubFilter mixin to implement the latter. You can create a same subfilter that can be used for both Image and Color Filters. The BrightnessSubFilter is an example of this.
class BrightnessSubFilter extends ColorSubFilter with ImageSubFilter {
  final num brightness;
  BrightnessSubFilter(this.brightness);

  ///Apply the [BrightnessSubFilter] to an Image.
  @override
  void apply(Uint8List pixels, int width, int height) =>
      image_filter_utils.brightness(pixels, brightness);

  ///Apply the [BrightnessSubFilter] to a color.
  @override
  RGBA applyFilter(RGBA color) =>
      color_filter_utils.brightness(color, brightness);
}
For help getting started with Flutter, view our online documentation.
For help on editing package code, view the documentation.
依赖清单 9 项
{"sdk":"flutter"}^4.0.17^1.9.1^2.0.15^0.8.7+5^1.8.3{"sdk":"flutter"}^1.24.1^2.0.1先按使用场景筛选,再比较项目活跃情况,最后到原始仓库核对使用要求。
“A repository is the most basic element of GitHub.”
GitHub Docs — About repositories ↗