
메뉴 바
Flutter 데스크톱 앱용 사용자 정의 가능한 애플리케이션 메뉴 바 및 하위 메뉴

- 스타
- 16
- 포크
- 6
- 최근 푸시(UTC)
- 2023. 6. 18.
- 프로젝트 상태
- 활성
원본 README
아래는 영문 원문 스냅샷입니다. 최신 내용은 GitHub에서 확인하세요.






A customizable application menu bar with submenus for your Flutter Desktop apps.
The menu bar is rendered inside your Flutter app (i.e. not as a native menu bar like in macOS). Native menu bars (at least for macOS) are since lately supported by Flutter. In the future, a native option in this package could get added.
Table of Contents
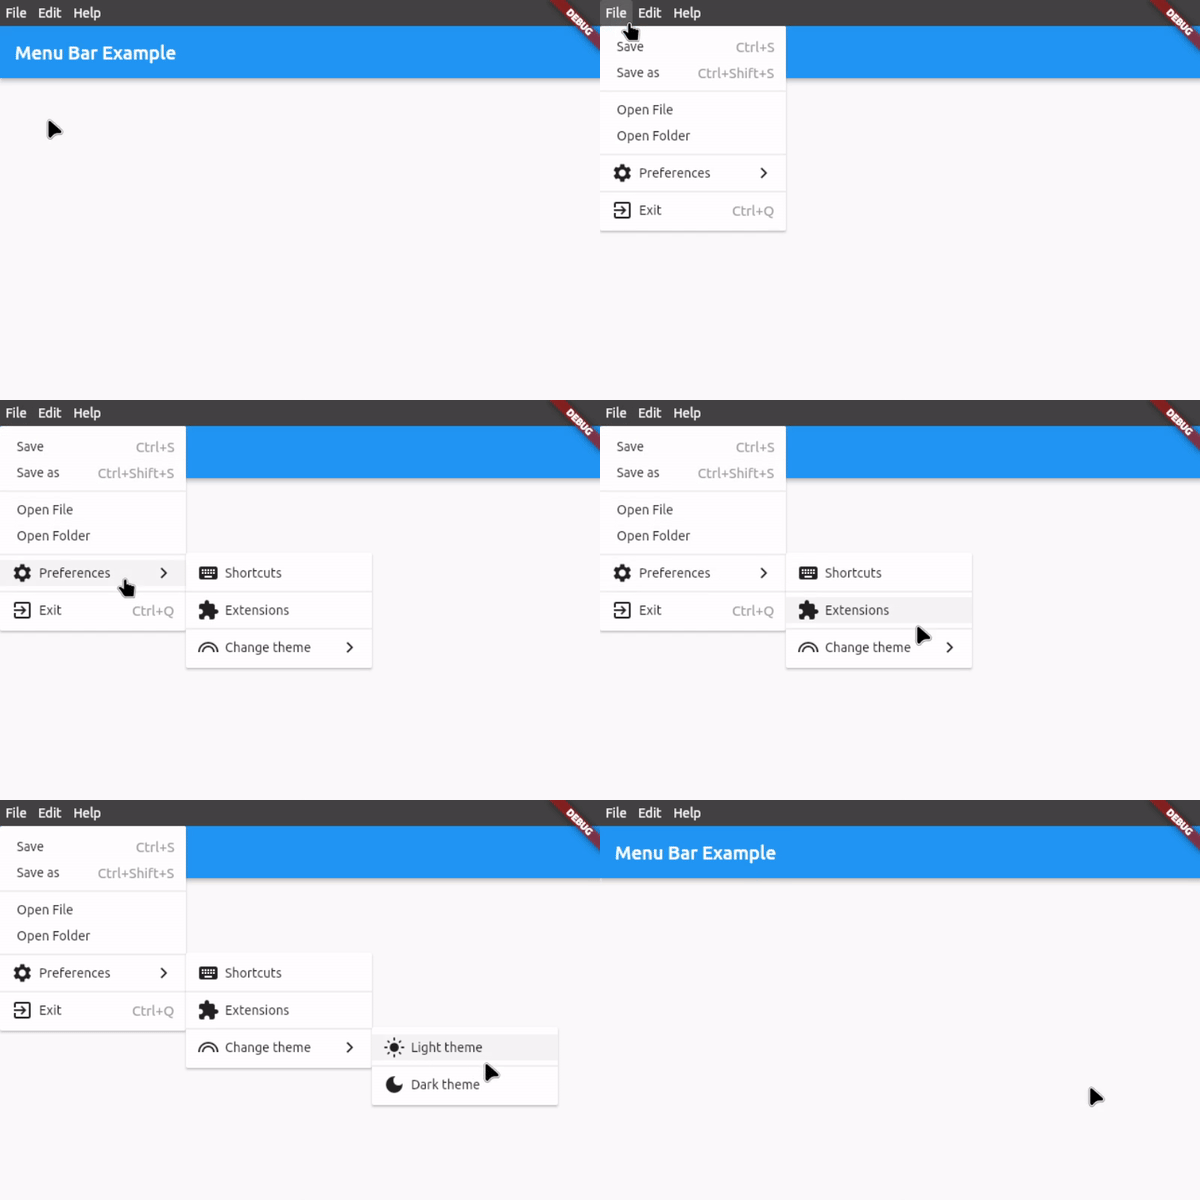
Preview
Features
- Application menu bar for Flutter Desktop
- Nested submenus support
- Dividers to structure submenus
- Icon in submenu buttons (optional)
- Keyboard shortcuts for button functions
- Shortcut text in submenu buttons (optional)
- Open menus and submenus on hover
- Fully customizable
- Easy to implement
- Rich widget documentation
Usage
First, download and import the package:
import 'package:menu_bar/menu_bar.dart';
1. Integrate the menu bar
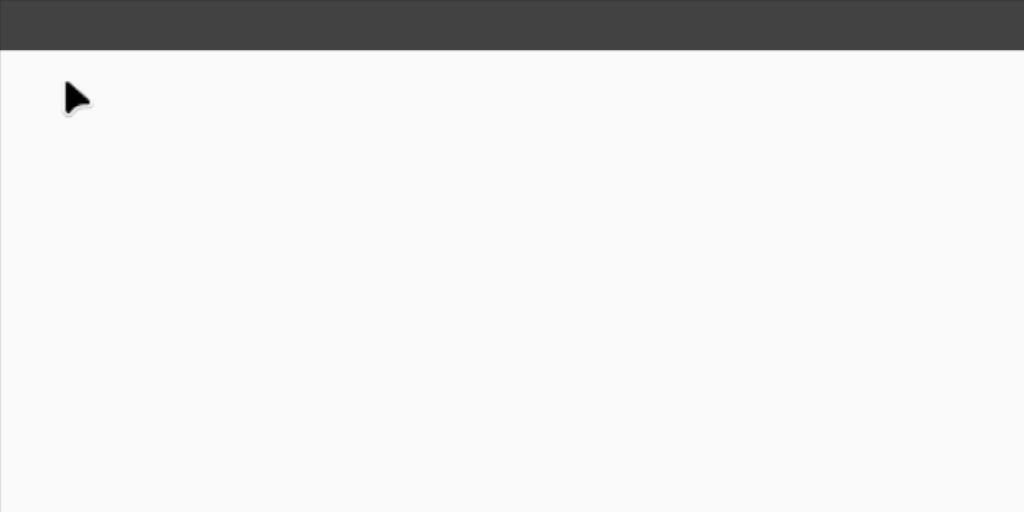
Wrap your application around the MenuBarWidget widget and add an empty list to barButtons so that you have assigned the 2 necessary fields. The child is your application under the menu bar:
MenuBarWidget(
    barButtons: [],
    child: Scaffold(...),
),
You should now see an empty menu bar above your application (see picture below). To add buttons with menus, proceed to step 2.
2. Create your menus
To add buttons with menus, use the following widget structure:
MenuBarWidget
    BarButton
        SubMenu
            MenuButton
            MenuButton
            ...
    BarButton
        SubMenu
            MenuButton
            MenuButton
            ...
In this example, we will add the following menu bar:
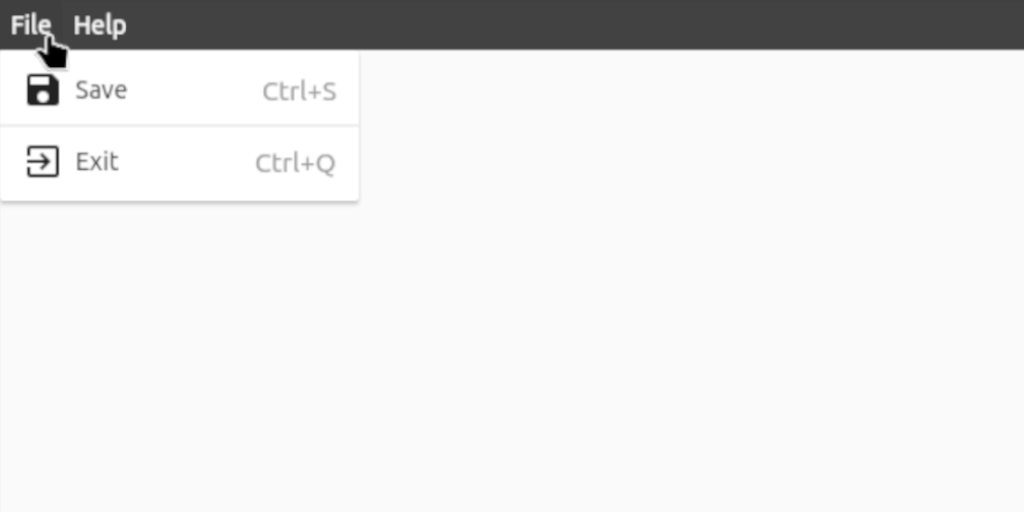
MenuBarWidget(
    // The buttons in this List are displayed as the buttons on the bar itself
    barButtons: [
        BarButton(
            text: const Text('File', style: TextStyle(color: Colors.white)),
            submenu: SubMenu(
                menuItems: [
                    MenuButton(
                        text: const Text('Save'),
                        onTap: () {},
                        icon: const Icon(Icons.save),
                        shortcutText: 'Ctrl+S',
                    ),
                    const MenuDivider(),
                    MenuButton(
                        text: const Text('Exit'),
                        onTap: () {},
                        icon: const Icon(Icons.exit_to_app),
                        shortcutText: 'Ctrl+Q',
                    ),
                ],
            ),
        ),
        BarButton(
            text: const Text('Help', style: TextStyle(color: Colors.white)),
            submenu: SubMenu(
                menuItems: [
                    MenuButton(
                      text: const Text('View License'),
                      onTap: () {},
                    ),
                    MenuButton(
                      text: const Text('About'),
                      onTap: () {},
                      icon: const Icon(Icons.info),
                    ),
                ],
            ),
        ),
    ],

    // Set the child, i.e. the application under the menu bar
    child: Scaffold(...),
),
3. Customize the menu bar
For customization options, see #Customization below or hover over the widgets for all the options in your preferred IDE when integrating the menu bar.
For a complete example, check out example.dart
Customization
Bar customization
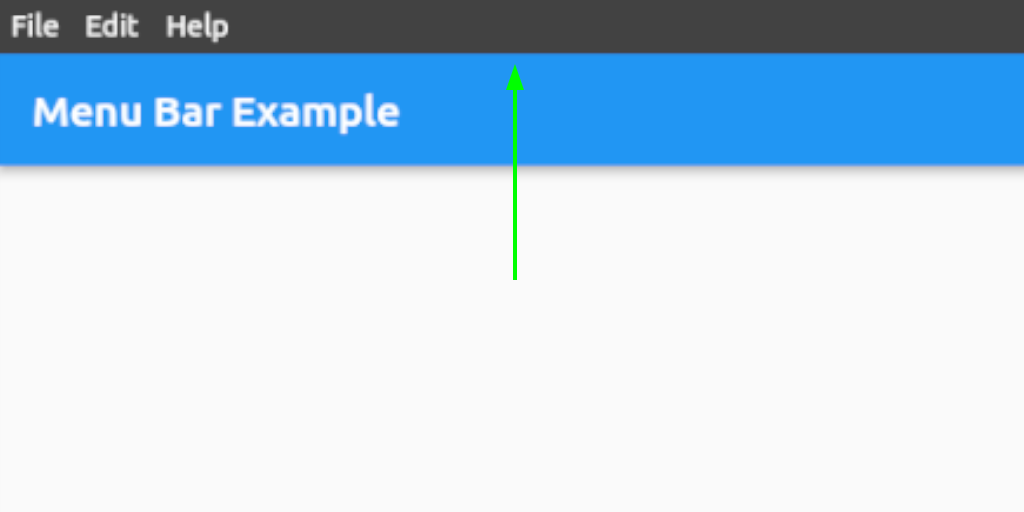
See class MenuStyle in https://api.flutter.dev/flutter/material/MenuStyle-class.html.
Bar button customization
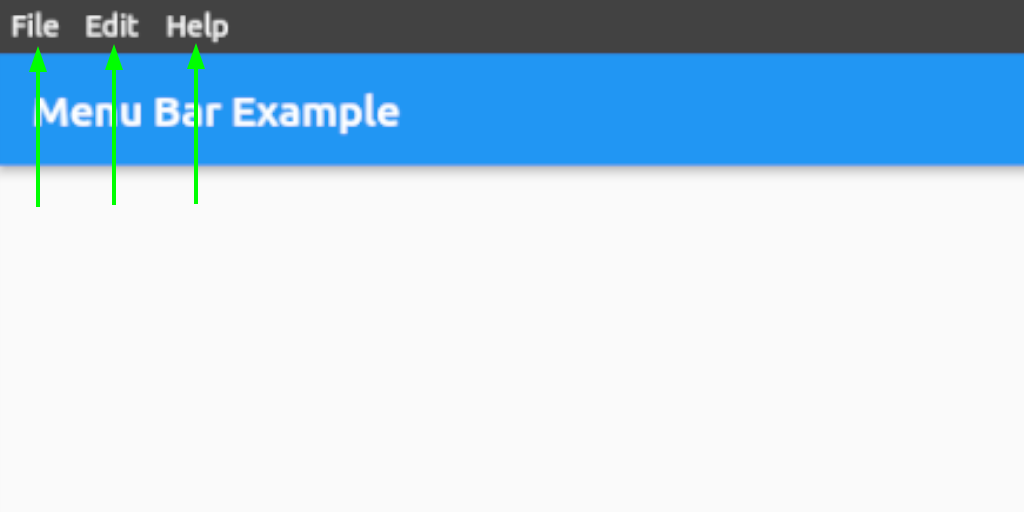
See class ButtonStyle in https://api.flutter.dev/flutter/material/ButtonStyle-class.html.
Menu and submenu customization
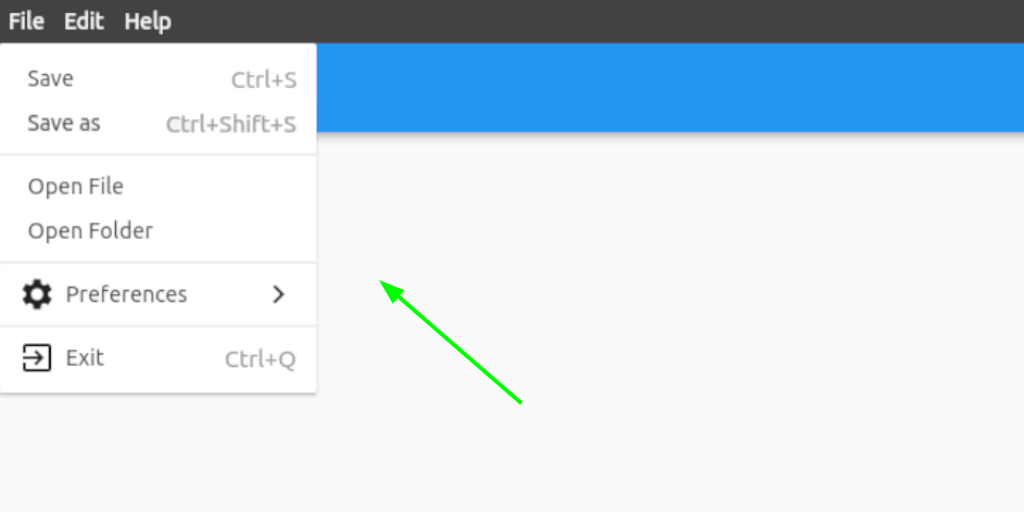
See class MenuStyle in https://api.flutter.dev/flutter/material/MenuStyle-class.html.
Menu and submenu buttons customization
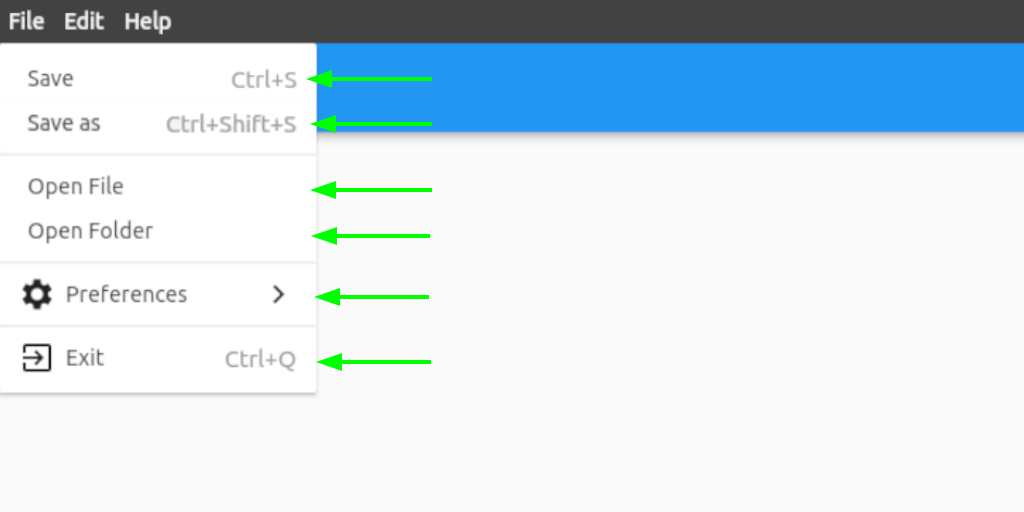
See class ButtonStyle in https://api.flutter.dev/flutter/material/ButtonStyle-class.html.
Contact
If you want to report a bug, request a feature or improve something, feel free to file an issue in the GitHub repository.

iakdis ↗
분류
사용 중인 의존성
프로젝트에 맞는 저장소를 선택하려면?
사용 목적에 따라 검색하고 개발 활동을 비교한 뒤 원본 저장소에서 요구 사항을 확인하세요.
- 이름, 작성자 또는 설명으로 검색하고 기술 주제로 범위를 좁힙니다.
- 스타, 포크, 최근 푸시를 함께 비교하세요. 스타는 관심의 지표이며 품질을 보장하지 않습니다.
- 사용하기 전에 GitHub에서 README, 라이선스, Issues를 확인하세요.
출처 및 관리
“A repository is the most basic element of GitHub.”
GitHub Docs — About repositories ↗