
miniplayer
一個輕量級的 Flutter 套件,用於簡化迷你播放器的建立。

- 星標
- 107
- 分支
- 80
- 最近推送(UTC)
- 2024年5月21日
- 專案狀態
- 未封存
原始 README
以下為英文專案原文快照,最新內容請造訪 GitHub。

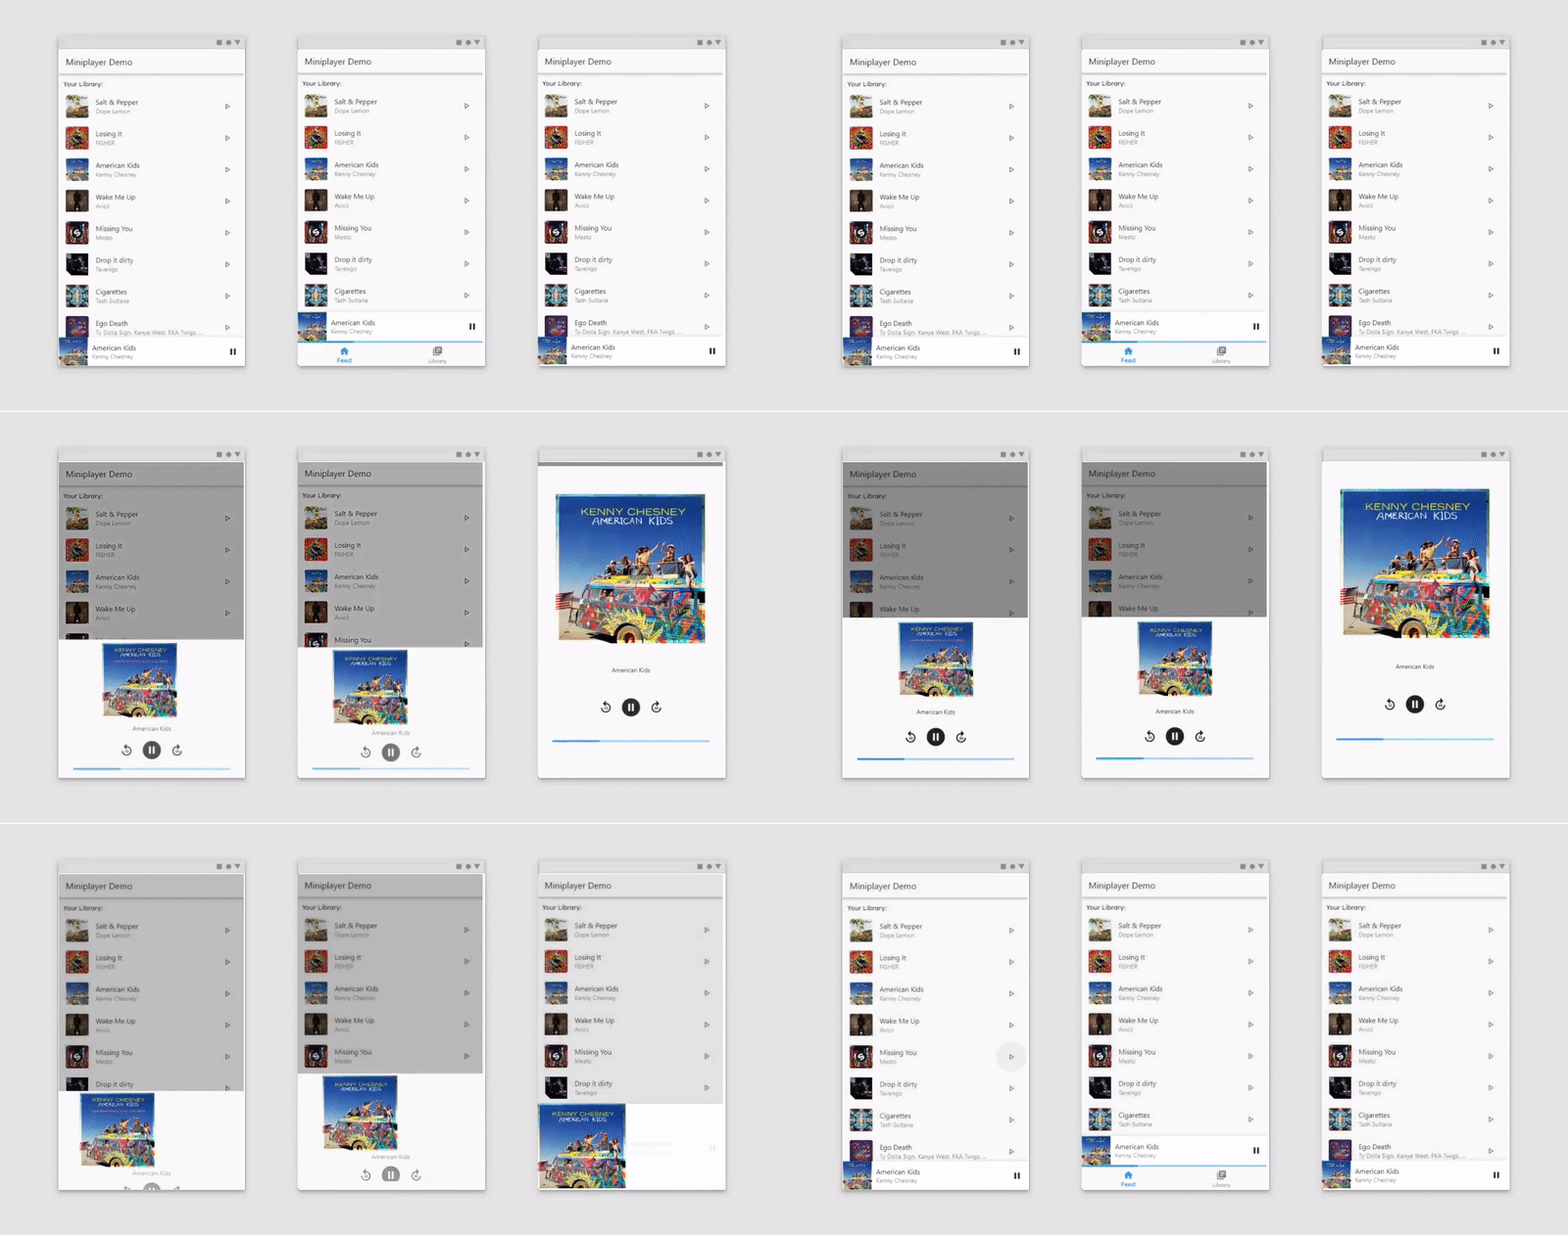
A lightweight flutter package to simplify the creation of a miniplayer by providing a builder function with the current height and percentage progress. The widget responds to tap and drag gestures and is highly customizable. What is a miniplayer? Miniplayers are commonly used in media applications like Spotify and Youtube. A miniplayer can be expanded and minified and remains on the screen when minified until dismissed by the user. See the demo below for an example.
Tutorial: https://www.youtube.com/watch?v=umhl2hakkcY
Demo
Usage
Stack(
  children: <Widget>[
    YourApp(),
    Miniplayer(
      minHeight: 70,
      maxHeight: 370,
      builder: (height, percentage) {
        return Center(
          child: Text('$height, $percentage'),
        );
      },
    ),
  ],
),
Options
| Parameter | Implementation | Example |
|---|---|---|
| onDismiss |
Miniplayer(
   onDismiss: () {
      //Handle onDismissed here
   },
),
|
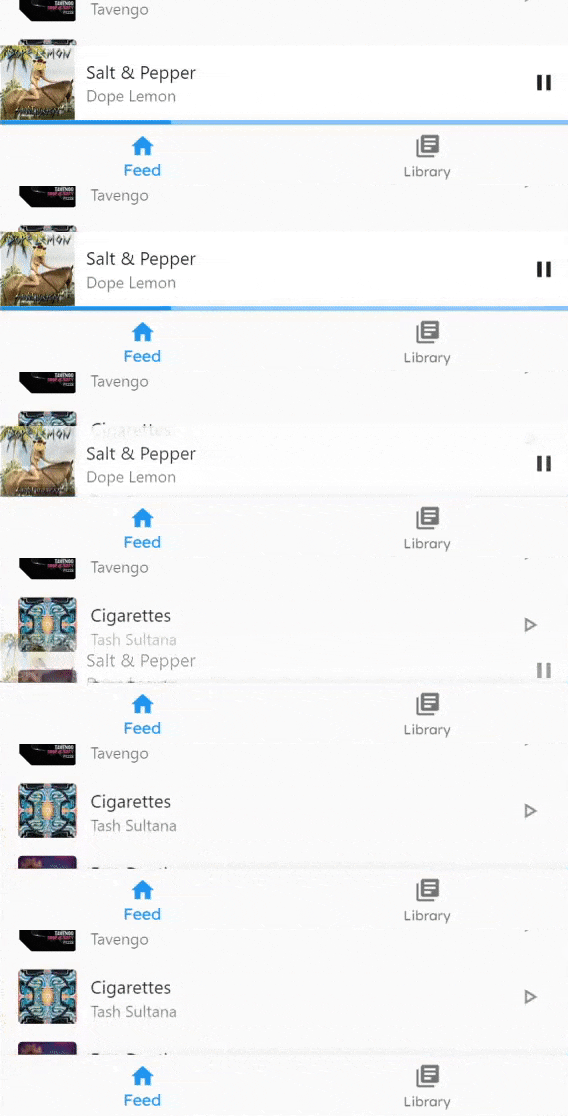
If onDismiss is set, the miniplayer can be dismissed |
| valueNotifier |
final ValueNotifier<double> playerExpandProgress =
ValueNotifier(playerMinHeight);
|
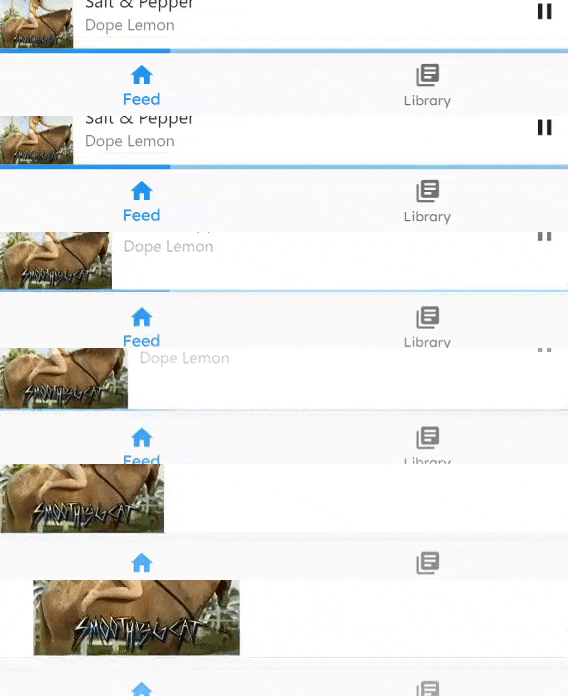
Allows you to use a global ValueNotifier with the current progress. This can be used to hide the BottomNavigationBar. |
| controller |
final MiniplayerController controller = MiniplayerController();
|
Persistence
Implementing the miniplayer as described under usage - for instance by wrapping it inside a Stack in the Scaffold body - would work out of the box but has some disadvantages. If you push a new screen via Navigator.push the miniplayer would disappear. What we want is a persistent miniplayer which stays on the screen.
If you want to archive persistency, you have the choice between two embedding options, which depends on your use case. The first method is only recommended for simple apps. If you want to use dialogs or other persistent widgets such as a BottomNavigationBar, the second (slightly more advanced) method is the right fit for you.
First method (Simple)
Using a Stack in the builder method
import 'package:flutter/material.dart';
import 'package:miniplayer/miniplayer.dart';

void main() => runApp(MyApp());

class MyApp extends StatelessWidget {
  @override
  Widget build(BuildContext context) {
    return MaterialApp(
      title: 'Miniplayer example',
      theme: ThemeData(
        visualDensity: VisualDensity.adaptivePlatformDensity,
      ),
      home: MyHomePage(),
      builder: (context, child) { // <--- Important part
        return Stack(
          children: [
            child,
            Miniplayer(
              minHeight: 70,
              maxHeight: 370,
              builder: (height, percentage) {
                if(percentage > 0.2)
                  //return Text('!mini');
                else
                  //return Text('mini');
              },
            ),
          ],
        );
      },
    );
  }
}
Second method (Advanced)
Using a Stack in combination with a custom Navigator
import 'package:flutter/material.dart';
import 'package:miniplayer/miniplayer.dart';

void main() => runApp(MyApp());

final _navigatorKey = GlobalKey();

class MyApp extends StatelessWidget {
  @override
  Widget build(BuildContext context) {
    return MaterialApp(
      title: 'Miniplayer example',
      debugShowCheckedModeBanner: false,
      theme: ThemeData(
        primaryColor: Color(0xFFFAFAFA),
      ),
      home: MyHomePage(),
    );
  }
}

class MyHomePage extends StatelessWidget {
  @override
  Widget build(BuildContext context) {
    return MiniplayerWillPopScope(
      onWillPop: () async {
        final NavigatorState navigator = _navigatorKey.currentState;
        if (!navigator.canPop()) return true;
        navigator.pop();

        return false;
      },
      child: Scaffold(
        body: Stack(
          children: <Widget>[
            Navigator(
              key: _navigatorKey,
              onGenerateRoute: (RouteSettings settings) => MaterialPageRoute(
                settings: settings,
                builder: (BuildContext context) => FirstScreen(),
              ),
            ),
            Miniplayer(
              minHeight: 70,
              maxHeight: 370,
              builder: (height, percentage) => Center(
                child: Text('$height, $percentage'),
              ),
            ),
          ],
        ),
        bottomNavigationBar: BottomNavigationBar(
          currentIndex: 0,
          fixedColor: Colors.blue,
          items: [
            BottomNavigationBarItem(
              icon: Icon(Icons.home),
              label: 'Home',
            ),
            BottomNavigationBarItem(
              icon: Icon(Icons.mail),
              label: 'Messages',
            ),
            BottomNavigationBarItem(
              icon: Icon(Icons.person),
              label: 'Profile',
            )
          ],
        ),
      ),
    );
  }
}

class FirstScreen extends StatelessWidget {
  @override
  Widget build(BuildContext context) {
    return Scaffold(
      appBar: AppBar(title: Text('Demo: FirstScreen')),
      body: Container(
        constraints: BoxConstraints.expand(),
        child: Column(
          mainAxisAlignment: MainAxisAlignment.center,
          crossAxisAlignment: CrossAxisAlignment.center,
          children: [
            ElevatedButton(
              onPressed: () => Navigator.push(
                context,
                MaterialPageRoute(builder: (context) => SecondScreen()),
              ),
              child: const Text('Open SecondScreen'),
            ),
            ElevatedButton(
              onPressed: () => Navigator.of(context, rootNavigator: true).push(
                MaterialPageRoute(builder: (context) => ThirdScreen()),
              ),
              child: const Text('Open ThirdScreen with root Navigator'),
            ),
          ],
        ),
      ),
    );
  }
}

class SecondScreen extends StatelessWidget {
  @override
  Widget build(BuildContext context) {
    return Scaffold(
      appBar: AppBar(title: Text('Demo: SecondScreen')),
      body: Center(child: Text('SecondScreen')),
    );
  }
}

class ThirdScreen extends StatelessWidget {
  @override
  Widget build(BuildContext context) {
    return Scaffold(
      appBar: AppBar(title: Text('Demo: ThirdScreen')),
      body: Center(child: Text('ThirdScreen')),
    );
  }
}
Roadmap
- [ ] Provide better examples
- [ ] Add an option to handle horizontal gestures as well (like Spotify does)
- [ ] Rewrite the API for onDismiss (breaking change)
- [x] Marked onDismiss ad deprecated

DP ↗
使用的依賴
依賴清單 1 項
- flutter
{"sdk":"flutter"}
如何選擇適合專案的儲存庫?
先依使用情境篩選,再比較專案活躍情況,最後到原始儲存庫確認使用要求。
- 透過儲存庫名稱、作者或描述搜尋,再依技術分類縮小範圍。
- 綜合星標、分支與最近推送比較專案;星標反映社群關注,不保證品質。
- 使用前在 GitHub 確認 README、授權條款與 Issues。
來源與維護
“A repository is the most basic element of GitHub.”
GitHub Docs — About repositories ↗