

 v0.3.4
particular
Particular 是一個高效率的粒子效果 Flutter 小工具。
50喜歡 61近 30 天下載160Pub 分數
AndroidiOSWebmacOSWindowsLinux
使用此高效能 Flutter 粒子系統組件來增強您的應用程式或遊戲視覺效果

以下為英文專案原文快照,最新內容請造訪 GitHub。

Whether you're a designer or developer, Particular empowers you to bring your creative visions with ease.
Add particular to your pubspec.yaml file:
For detailed installation instructions, refer to the installation guide on pub.dev.
You have two options for configuring your particles:
Generate your particles system configurations by Particular Editor.
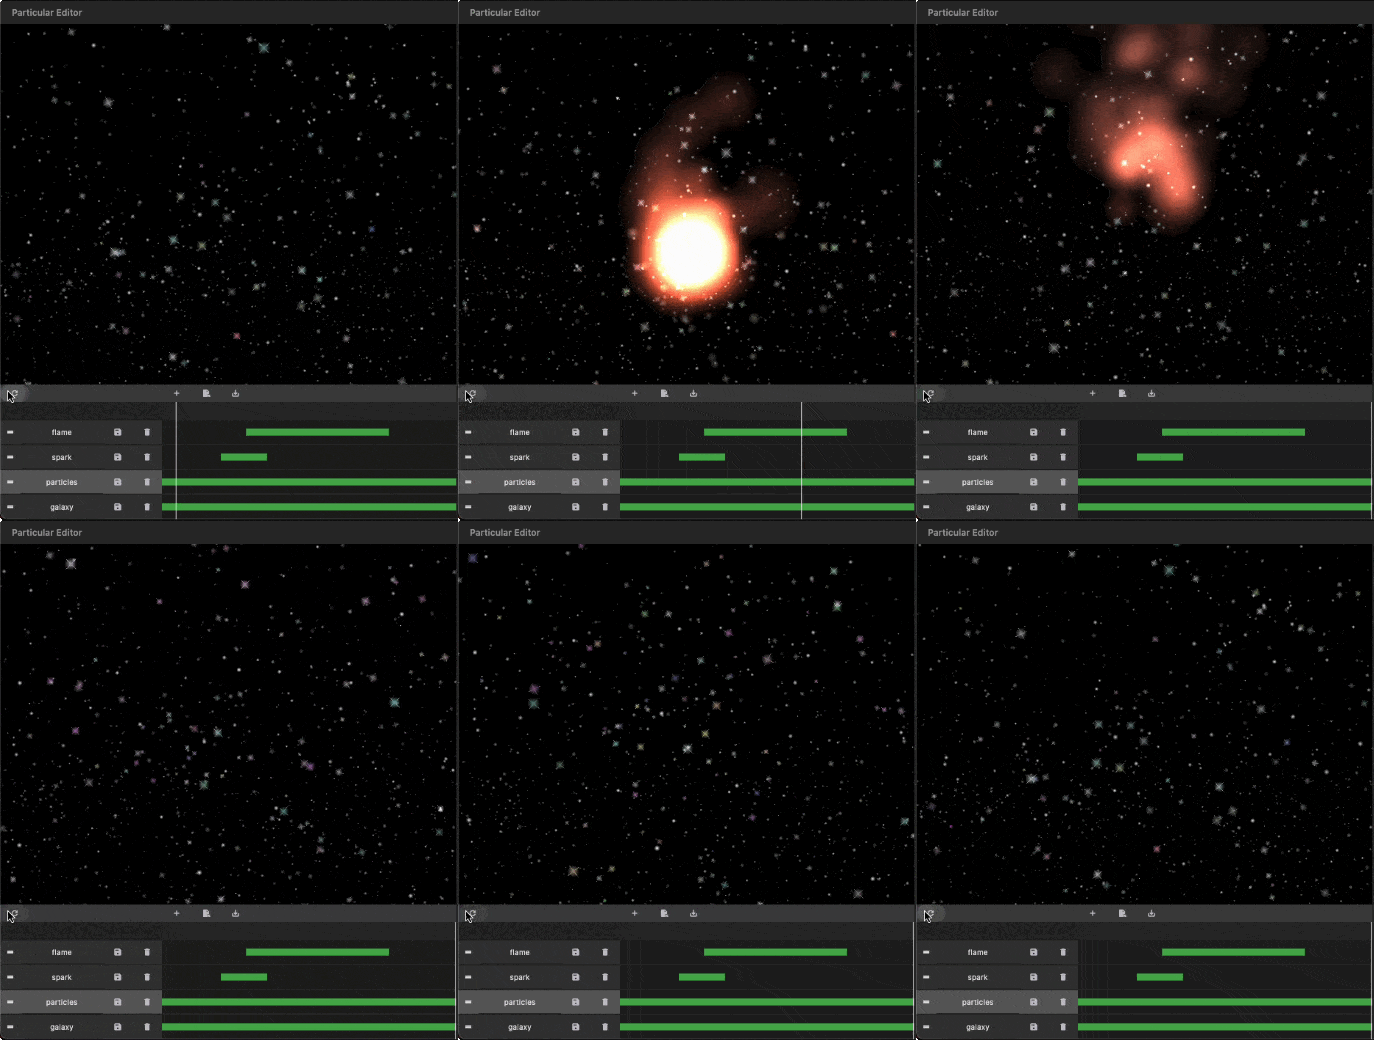
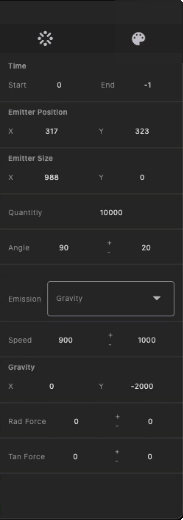
Follow these steps to integrate the particles system into your Flutter app:
I. Insert Particle Files into Your Project:
The Particular Editor exports one or multiple particle layers. For each particle layer, it generates a configuration file (configs.json) and a related image file (texture.png). In the configuration file, there is a node named textureFileName, which refers to the image file. Place the image and configs.json file in your project's assets folder, and add the necessary assets entry in your pubspec.yaml file.
assets:
  - assets/configs.json
  - assets/texture.png
https://docs.flutter.dev/ui/assets/assets-and-images
To use this library, import package:particular/particular.dart.
final _particleController = ParticularController();
...
@override
void initState() {
  _loadParticleAssets();
  super.initState();
}

// Load configs and texture of particle
Future<void> _loadParticleAssets() async {

  // Load particle configs file
  String json = await rootBundle.loadString("assets/configs.json");
  final configsData = jsonDecode(json);

  // Load particle texture file
  ByteData  bytes = await rootBundle.load("assets/${configsData["textureFileName"]}");
  ui.Image texture = await loadUIImage(bytes.buffer.asUint8List());

  // Add particles layer
  _particleController.addLayer(
    texture: frameInfo.image, // Remove in default-texture case
    configsData: configsData, // Remove in programmatic configuration case
  );
}
III. Add the Particular widget in your widget three:
@override
Widget build(BuildContext context) {
  return MaterialApp(
    home: Scaffold(
      backgroundColor: Colors.black,
      body: Particular(
        controller: _particleController,
      ),
    ),
  );
}
IIII. Live Update Particle Layer:
_particleController.layers.first.update(
    maxParticles: 100,
    lifespan:1.2,
    speed:100,
    angle:30,
);
You can also use different image types supported by Flutter, with varying names and locations, following the guidelines below:
{
  "textureFileName": "images/particle_snow.webp"
}
assets:
  - assets/data/particle_snow.json
  - assets/images/particle_snow.webp
...

// Load particle configs file
String json = await rootBundle.loadString("assets/data/particle_snow.json");

...
This revised README provides clear installation instructions, options for configuring particles, and steps for integrating and customizing the particle system in your Flutter app. If you have any questions or need further assistance, don't hesitate to ask!
依賴清單 4 項
{"sdk":"flutter"}^4.2.0{"sdk":"flutter"}^5.0.0先依使用情境篩選,再比較專案活躍情況,最後到原始儲存庫確認使用要求。
“A repository is the most basic element of GitHub.”
GitHub Docs — About repositories ↗