

 v0.2.0
flurry_navigation
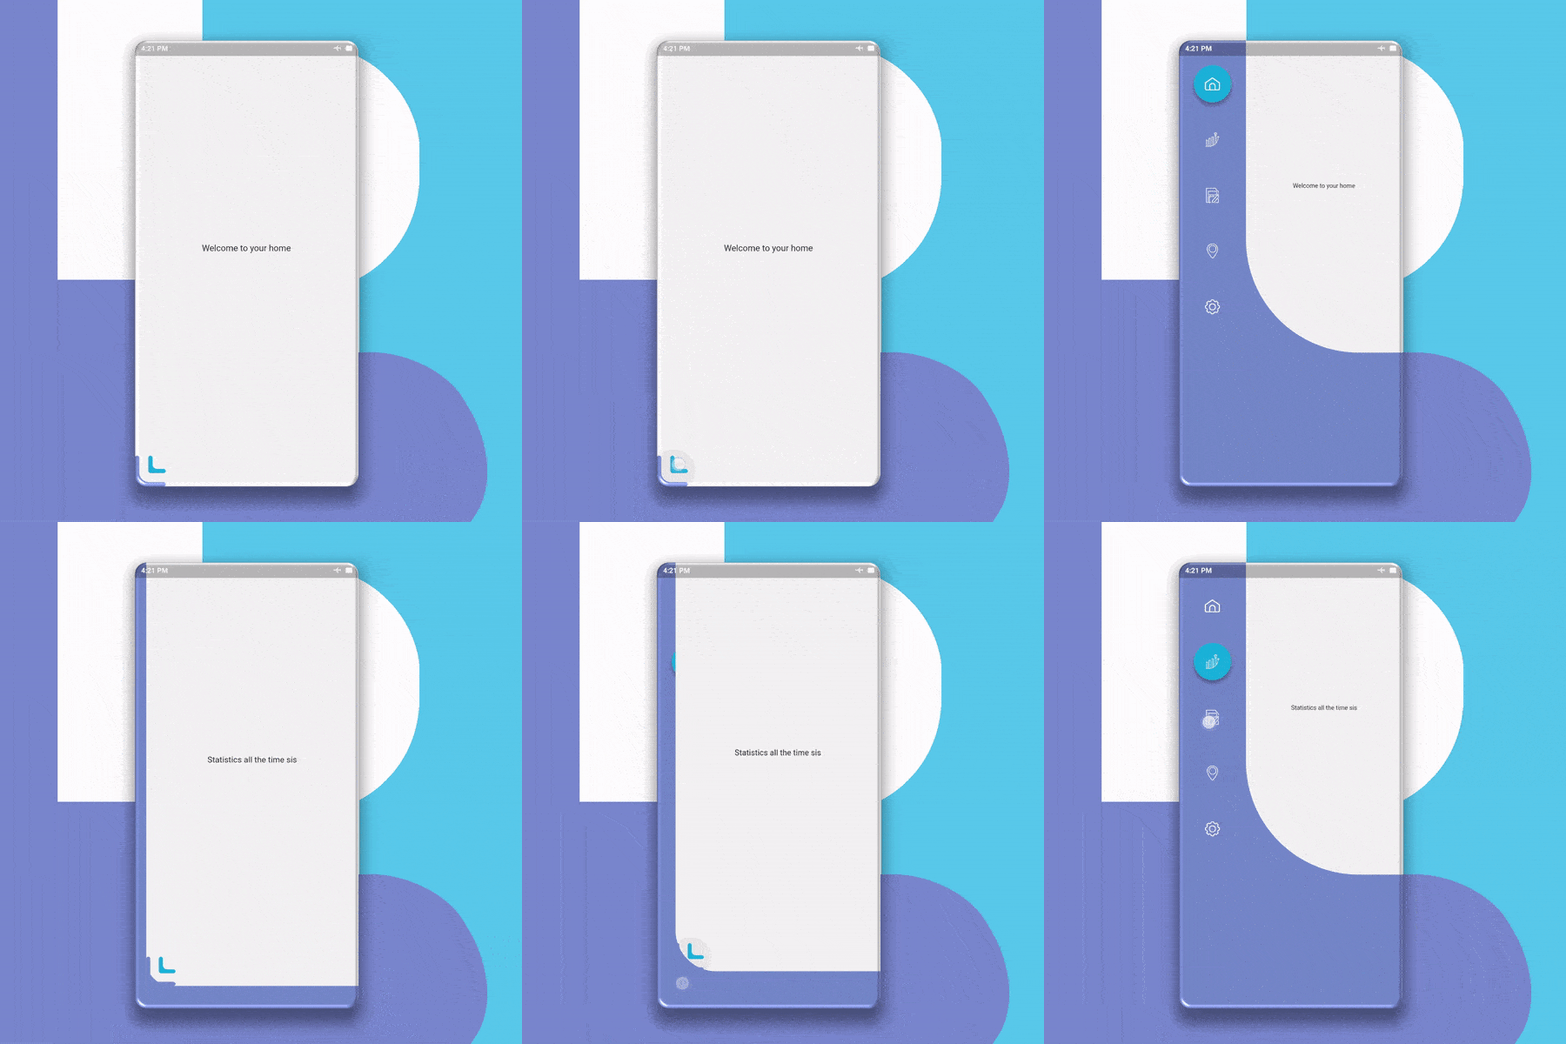
A Smooth and Animated navigation package for flutter that doesn’t interfere with the Screen with adjustable colors, shapes, and navigation logic.
34Likes 4530-day downloads60Pub points
Platforms unavailable
A Smooth and Animated navigation package for flutter that doesn’t interfere with the content with adjustable colors, shapes, and navigation logic.

English project snapshot. Visit GitHub for the latest content.
A Smooth and Animated navigation package for flutter that doesn’t interfere with the Screen with adjustable colors, shapes, and navigation logic.

First of all, Depend on the package.
dependencies:
  ...
  flurry_navigation: ^0.2.0 #May not be the latest version
Add your code inside this variable below in every screen you want to navigate.
import 'package:flurry_navigation/flurry_navigation.dart';
//The variable name must be unique
final firstscreen = new Screen(

);
First You should declare a variable called activeScreen.
var activeScreen;
Now add a Widget builder class that returns new FlurryNavigation.
Widget build(BuildContext context) {
  return new FlurryNavigation(

  );
}
Add values to these attributes to FlurryNavigation.
Widget build(BuildContext context) {
  new FlurryNavigation(
    // The Icon data of the icon the BottomLeft
    expandIcon: Image.asset("Put your path here"),
    // The size of the icon on the BottomLeft
    iconSize: 50.0,
    // The content of the screen. leave it as it is
    contentScreen: activeScreen,
   )
}
Now add the menuScreen attribute FlurryNavigation and set it to the value below. [If you want to use your own menu, contact me and I will provide you with the instructions].
Widget build(BuildContext context) {
  new FlurryNavigation(
    ...
    menuScreen: new MenuScreen(

    )
  );
}
Add the bgColor attribute to MenuScreen and set it to the Background color you want.
Widget build(BuildContext context) {
  new FlurryNavigation(
    ...
    menuScreen: new MenuScreen(
      bgColor: Colors.white, //background color
    )
  )
}
Now add the menu attribute to MenuScreen and set it to the below value
Widget build(BuildContext context) {
  return new FlurryNavigation(
    ...
    menuScreen: new MenuScreen(
      ...
      menu: new Menu(

      )
    )
  )
}
Then add the "items" attribute to "Menu" and set it to the list of items you want in the menu "which usually matches the no. of screens", with "new MenuItem" like the example below.
Widget build(BuildContext context) {
  return new FlurryNavigation(
    ...
    menuScreen: new MenuScreen(
       menu: new Menu(
         items: [
            //You can add as many items as you want, it's scrollable!!
          new MenuItem(
            id: 'hom',//Set this to whatever you want but do not duplicate it. !Required!
            icon: 'assets/hom.png',//Set this to the path of the data for the icon of the button !Required!
            isSelected: true ,//make sure the default item "isSelected" attribute is set to "true" !Required!
            selectedBtnColor: Color.fromRGBO(38, 198, 218, 1
            //the color of the item if activated !Required!
            btnShape: BoxShape.rectangle
                    //the shape of the item !Required!
            #disabledBtnColor: Colors.transparent, //this have a default value of Colors.transparent
            #selectedShadowColor: Colors.blueGrey, //this have a default value of Colors.blueGrey
            #disabledShadowColor: Colors.transparent
          ), //this have a default value of Colors.transparent,
          new MenuItem(
             id: 'sta',
            icon: 'assets/sta.png',
            isSelected: false,
            selectedBtnColor: Color.fromRGBO(38, 198, 218, 1),
            btnShape: BoxShape.rectangle
          )
         ]
       )
    )
  )
}
Now add the onMenuItemSelected attribute to "MenuScreen" to specify the logic for the navigation.
Widget build(BuildContext context) {
  new FlurryNavigation(
    ...
    menuScreen: new MenuScreen(
      ...
      //this is the logic behind the navigation. tailor the code below to fit your needs. If you want any help message me.
      onMenuItemSelected: (String itemId) {
        if (itemId == 'hom') {
          setState(() => activeScreen = firstscreen);
        } else if (itemId == 'sta') {
          setState(() => activeScreen = secondscreen);
        }
      },
    ),
  );
}
Pull requests are welcome. For major changes, please open an issue first to discuss what you would like to change.
Dependency list 2 items
{"sdk":"flutter"}{"sdk":"flutter"}Start with your use case, compare repository activity, and check the original project before adopting it.
“A repository is the most basic element of GitHub.”
GitHub Docs — About repositories ↗