
 v2.0.0
blobs
सुंदर ब्लॉब बनाएं - निर्धारित/यादृच्छिक ब्लॉब उत्पादन, एनीमेशन, svgs और अधिक
363लाइक 1.6 हज़ार30-दिन डाउनलोड140Pub अंक
AndroidiOSWebmacOSWindowsLinux
Flutter ऐप्स के लिए Blob आकृतियाँ बनाएँ

{"sdk":"flutter"}{"sdk":"flutter"}^1.11.0यह अंग्रेज़ी मूल स्नैपशॉट है। नवीनतम सामग्री GitHub पर देखें।
Blobs
Generate blob in any size
Control the randomness and complexity
Animate the blob
Set ID for a fixed blob
Shuffle between the fixed blobs
Loop animation
Blob clipper
Get SVG path
Debug, Child widget, controller and few more
Blobs App
There are four widgets,
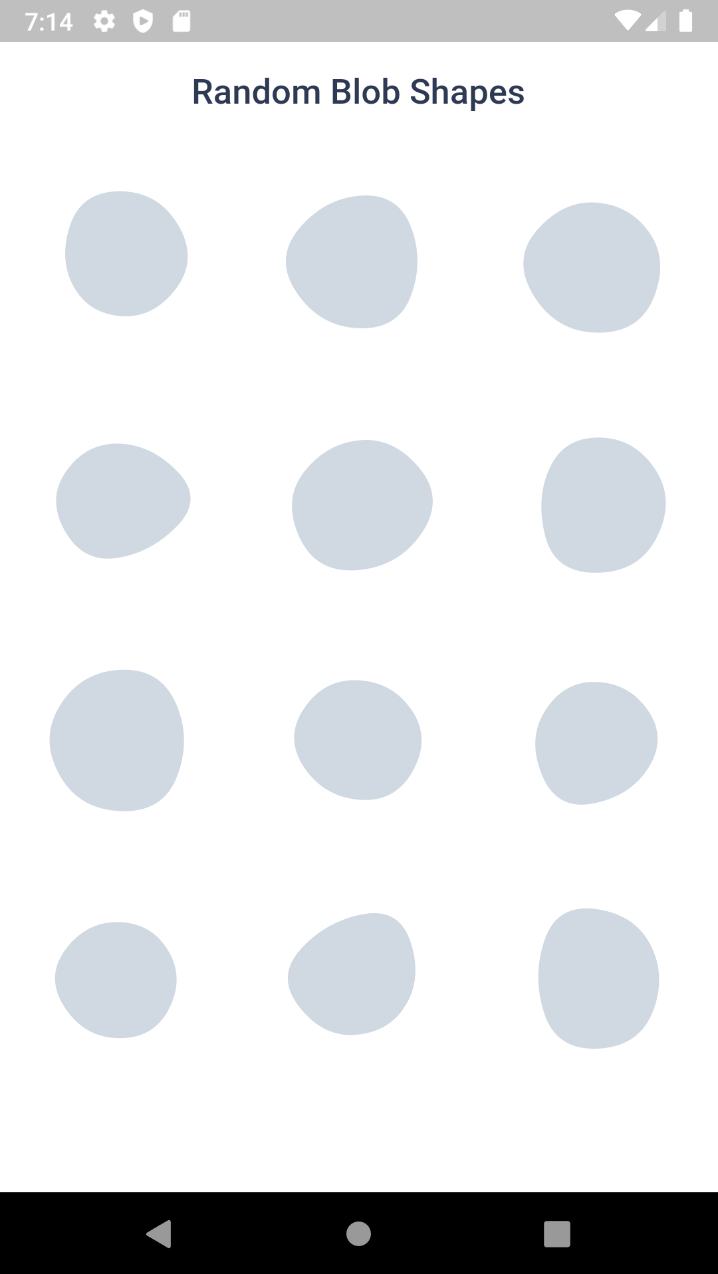
Blob.random() - Generate random blobs
Blob.animatedRandom() - Generate blobs and animate the shape change
Blob.fromID() - Use one or more ID's for fixed blobs
Blob.animatedFromID() - Animate the shape change
Size of the blob (mandatory).
Blob.random(size:200),
edgesCount is the nodes count. More the value, more the complexity. Minimum is 3 and max is 300. But for cool shapes you can stick between 3-20. Default is 7
minGrowth is the minimum size of the blob. Smaller the value, more the randomness. Value should be an interger between 2-9. Default is 4.
Blob.random(
 size:200,
 edgesCount:5,
 minGrowth:4,
),
You can use BlobController, if you want to change the shape programatically. As o now it has only one method called change(). When you call this, the shape will be changed and returns some useful info of the blob (BlobData).
BlobController blobCtrl = BlobController();
Blob.random(
 size:200,
 edgesCount:5,
 minGrowth:4,
 controller: blobCtrl,
),
BlobData blobData = blobCtrl.change();
In most scenarios you wanted a same blob to be rendered every time. This can be achieved using ID. It is just a plain string contains the shape data.
You can get the ID from the blobData from the controller's change() method. Or you can also generate blobs and get ID from https://blobs.app/
ID looks like 5-6-43178
id option accepts one or multiple id's. If it has only one id, then it will be a fixed blob.
Blob.fromID(
 size:200,
 id:['X-Y-ZZZZ'],
 controller: blobCtrl,
),
If you provide multiple id's, then it will show each one in order on changing.
Blob.fromID(
 size:200,
 id:['X-Y-ZZZZ','X-Y-ZZZZ','X-Y-ZZZZ'],
 controller: blobCtrl
),
You can change the color, add gradient, make outlined using BlobStyles()
Blob.random(
 size:200,
 styles:  BlobStyles(
   color:  Colors.green,
   fillType:  BlobFillType.stroke,
   gradient:  LinearGradient(),
   strokeWidth:3,
 ),
),
Gradient can be Linear or Radial. LinearGradient will look like this,
LinearGradient(colors: [Colors.red, Colors.green])
.createShader(Rect.fromLTRB(0, 0, 300, 300))
style_gradient style_custom_color style_outline
You can use child property to display a child which looks like the blob as background.
Blob.random(
 size:200,
 child:  Text('I am a child!'),
),
Whenever the blobs are changing, this widget will animate the shape change.
Blob.animatedRandom(
 size:200,
 edgesCount:5,
 minGrowth:4,
 duration:  Duration(milliseconds:500),
),
duration is optional. Default is 500 milliseconds.
animated_basic
When you want to change the shapes automatically you can set loop property to true.
Blob.animatedRandom(
 size:200,
 edgesCount:5,
 minGrowth:4,
 loop:  true,
),
If you use loop in Blob.fromAnimatedID() widget, it will change shapes within the provided blobs.
Blob.animatedFromID(
 size:200,
 id:['X-Y-ZZZZ','X-Y-ZZZZ','X-Y-ZZZZ'],
 loop:  true,
),
animated_fixed_blobs
When you set debug to true, it will show you circles and lines that connect the blob points.
Blob.random(
 size:200,
 debug:  true,
),
Sometime you might want to clip the widget by blob shape. In such cases you can use BlobClipper(). You can either provide id or edgesCount and minGrowth options.
Container(
 child:  ClipPath(
  clipper: BlobClipper(<OPTIONS>),
  child: Image.network("https://bit.ly/2nirIxg"),
 ),
)
clipper
Blobs shape are created by BlobGenerator(). Both widgets and clipper uses this internally to create the shape and then it is painted to canvas. This will return BlobData.
BlobData blobData =  BlobGenerator(
 edgesCount:  7,
 minGrowth:  4,
 size:  Size(30, 30),
 id:  null,
).generate();
It is the raw data, which contains the path definitions, coordinates and other basic info about the blob.
BlobData(
 dots,
 innerRad,
 svgPath,
 coords,
 id,
 edgesCount,
 minGrowth,
 size,
 originalSize,
)
BlobData contains svgPath info. It is just a path string which will look like this,
M326.0,251.5Q282.0,303.0,226.5,315.0Q171.0,327.0,118.5,296.0Q66.0,265.0,90.0,211.5Q114.0,158.0,145.0,126.0Q176.0,94.0,228.5,96.0Q281.0,98.0,325.5,149.0Q370.0,200.0,326.0,251.5Z
from this you can easily create SVG like
<svg viewBox="0 0 400 400" xmlns="http://www.w3.org/2000/svg">
 <path fill="#474787" d="M326.0,251.5Q282.0,303.0,226.5,315.0Q171.0,327.0,118.5,296.0Q66.0,265.0,90.0,211.5Q114.0,158.0,145.0,126.0Q176.0,94.0,228.5,96.0Q281.0,98.0,325.5,149.0Q370.0,200.0,326.0,251.5Z" />
</svg>
We can create cool visual elements with blobs. Here's a few things that came to my mind.
ins#1 ins#2 #ins3
This project is licensed under MIT.
Any kind of contributions are welcome :)
For any issues and suggestions please create a issue card in Github repository