
メニューバー
Flutter デスクトップアプリ用のカスタマイズ可能なアプリケーションメニューバーとサブメニュー

- スター
- 16
- フォーク
- 6
- 最終プッシュ(UTC)
- 2023/06/18
- プロジェクト状態
- 公開中
元の README
以下は英語原文のスナップショットです。最新版は GitHub をご覧ください。






A customizable application menu bar with submenus for your Flutter Desktop apps.
The menu bar is rendered inside your Flutter app (i.e. not as a native menu bar like in macOS). Native menu bars (at least for macOS) are since lately supported by Flutter. In the future, a native option in this package could get added.
Table of Contents
Preview
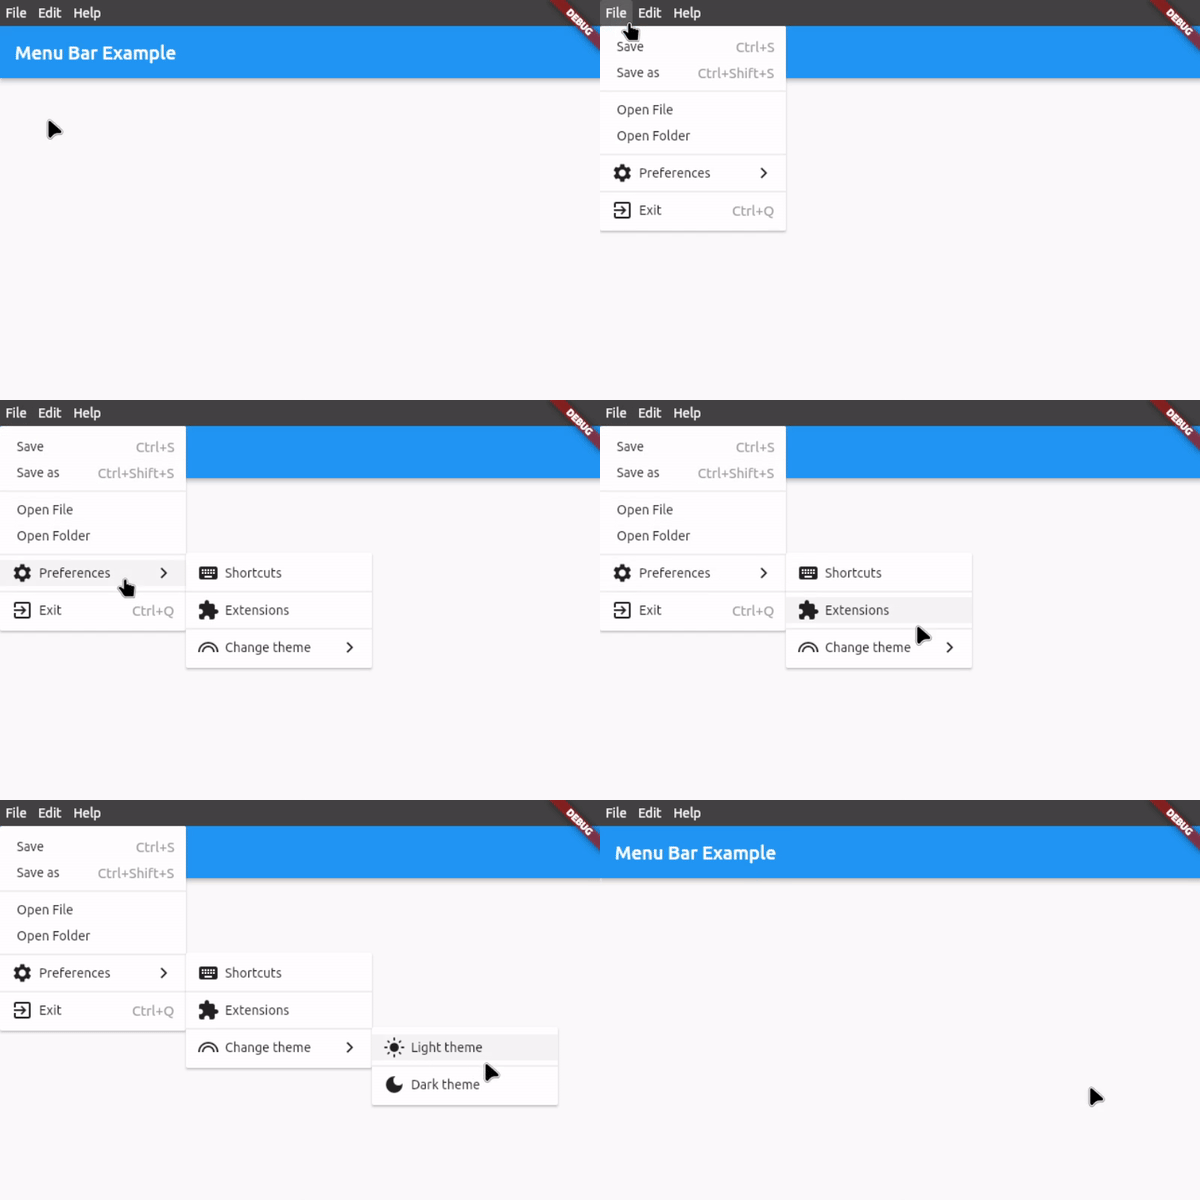
Features
- Application menu bar for Flutter Desktop
- Nested submenus support
- Dividers to structure submenus
- Icon in submenu buttons (optional)
- Keyboard shortcuts for button functions
- Shortcut text in submenu buttons (optional)
- Open menus and submenus on hover
- Fully customizable
- Easy to implement
- Rich widget documentation
Usage
First, download and import the package:
import 'package:menu_bar/menu_bar.dart';
1. Integrate the menu bar
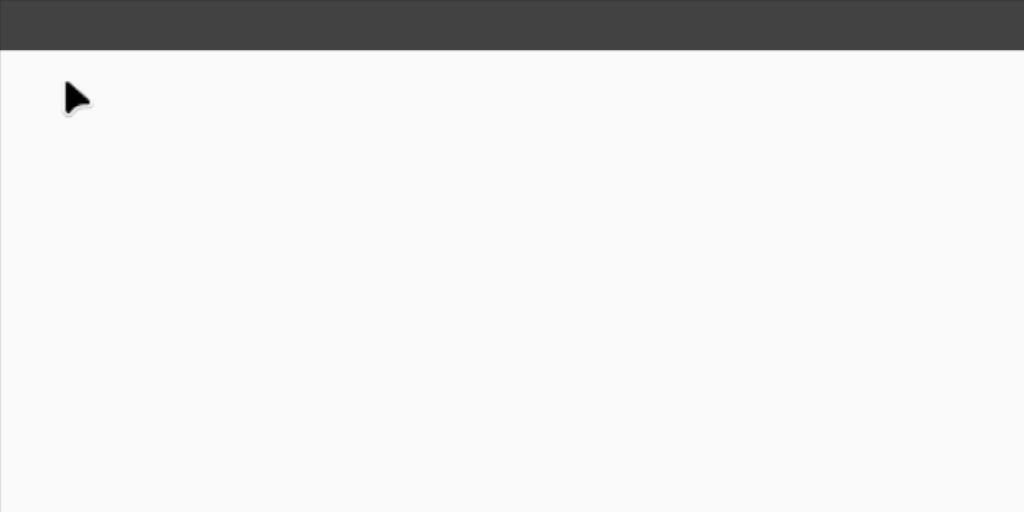
Wrap your application around the MenuBarWidget widget and add an empty list to barButtons so that you have assigned the 2 necessary fields. The child is your application under the menu bar:
MenuBarWidget(
    barButtons: [],
    child: Scaffold(...),
),
You should now see an empty menu bar above your application (see picture below). To add buttons with menus, proceed to step 2.
2. Create your menus
To add buttons with menus, use the following widget structure:
MenuBarWidget
    BarButton
        SubMenu
            MenuButton
            MenuButton
            ...
    BarButton
        SubMenu
            MenuButton
            MenuButton
            ...
In this example, we will add the following menu bar:
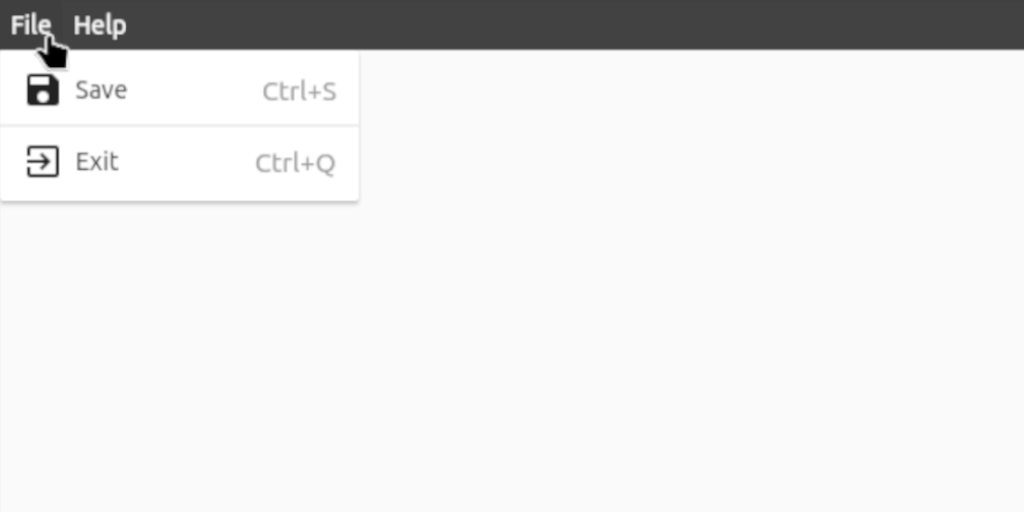
MenuBarWidget(
    // The buttons in this List are displayed as the buttons on the bar itself
    barButtons: [
        BarButton(
            text: const Text('File', style: TextStyle(color: Colors.white)),
            submenu: SubMenu(
                menuItems: [
                    MenuButton(
                        text: const Text('Save'),
                        onTap: () {},
                        icon: const Icon(Icons.save),
                        shortcutText: 'Ctrl+S',
                    ),
                    const MenuDivider(),
                    MenuButton(
                        text: const Text('Exit'),
                        onTap: () {},
                        icon: const Icon(Icons.exit_to_app),
                        shortcutText: 'Ctrl+Q',
                    ),
                ],
            ),
        ),
        BarButton(
            text: const Text('Help', style: TextStyle(color: Colors.white)),
            submenu: SubMenu(
                menuItems: [
                    MenuButton(
                      text: const Text('View License'),
                      onTap: () {},
                    ),
                    MenuButton(
                      text: const Text('About'),
                      onTap: () {},
                      icon: const Icon(Icons.info),
                    ),
                ],
            ),
        ),
    ],

    // Set the child, i.e. the application under the menu bar
    child: Scaffold(...),
),
3. Customize the menu bar
For customization options, see #Customization below or hover over the widgets for all the options in your preferred IDE when integrating the menu bar.
For a complete example, check out example.dart
Customization
Bar customization
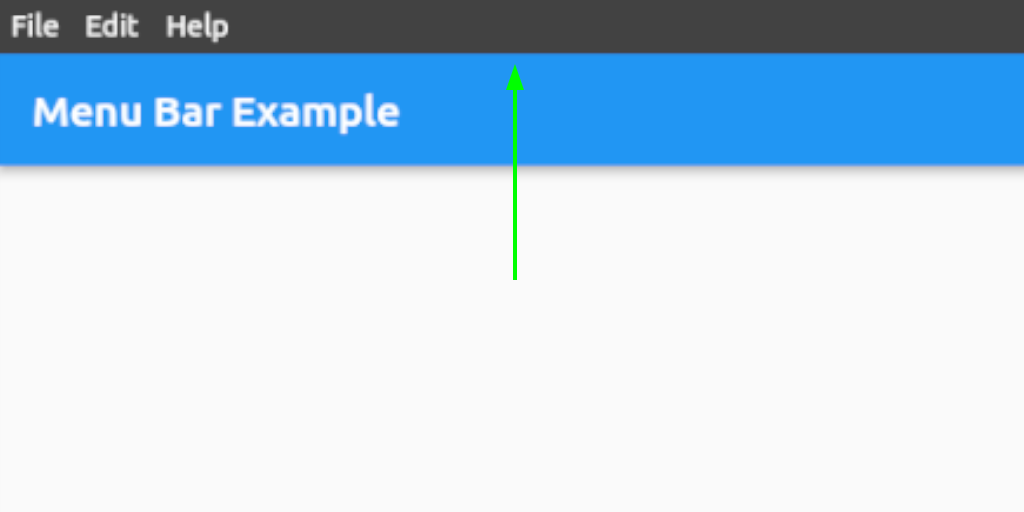
See class MenuStyle in https://api.flutter.dev/flutter/material/MenuStyle-class.html.
Bar button customization
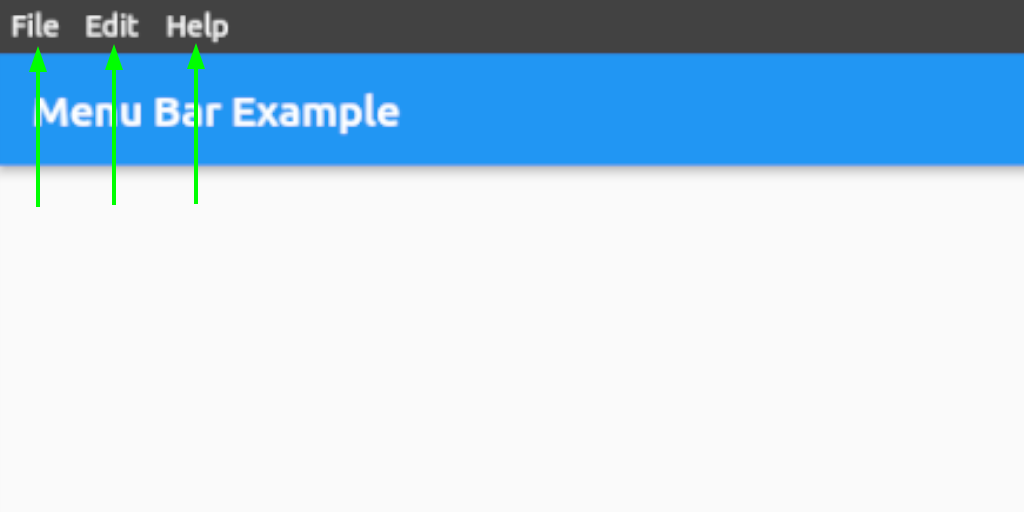
See class ButtonStyle in https://api.flutter.dev/flutter/material/ButtonStyle-class.html.
Menu and submenu customization
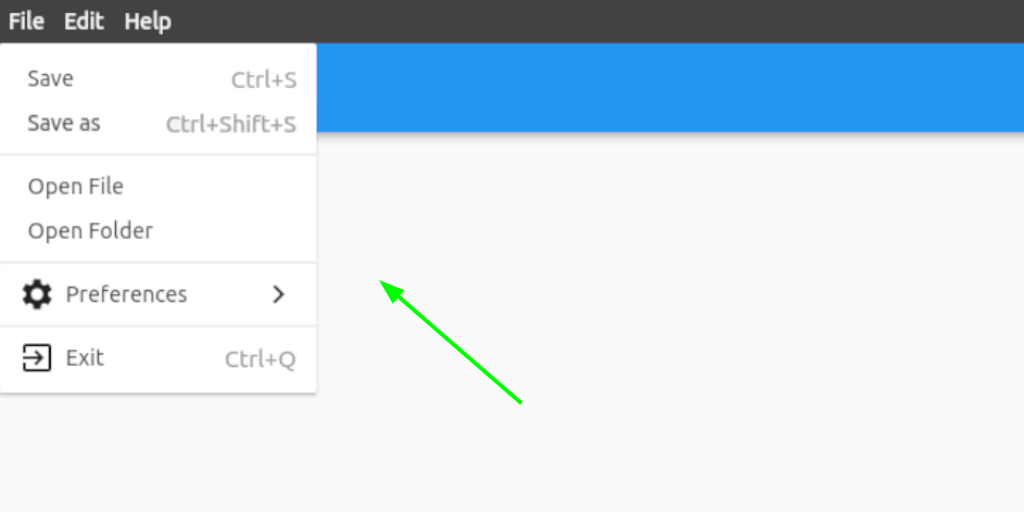
See class MenuStyle in https://api.flutter.dev/flutter/material/MenuStyle-class.html.
Menu and submenu buttons customization
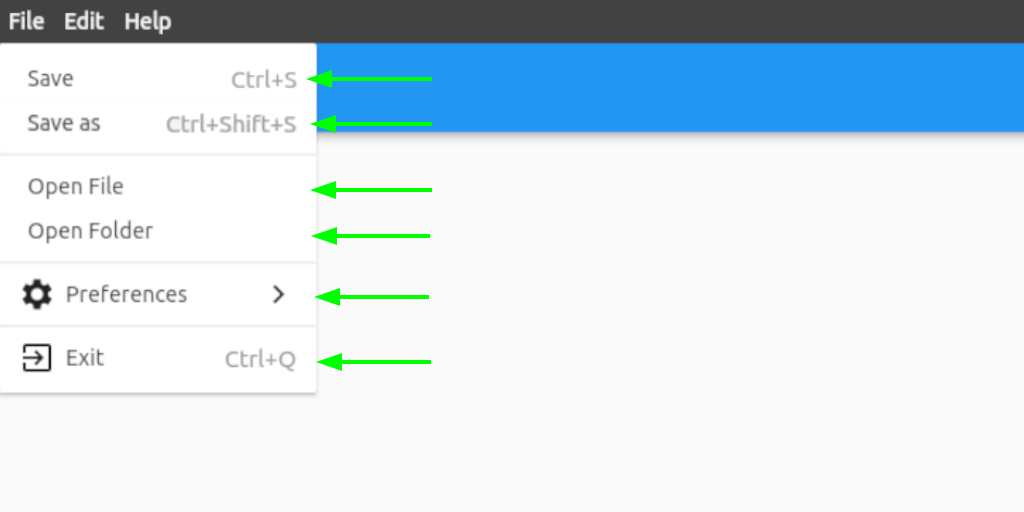
See class ButtonStyle in https://api.flutter.dev/flutter/material/ButtonStyle-class.html.
Contact
If you want to report a bug, request a feature or improve something, feel free to file an issue in the GitHub repository.

iakdis ↗
カテゴリー
使用している依存関係
プロジェクトに合うリポジトリを選ぶには?
用途で絞り込み、開発状況を比較し、採用前に元のリポジトリで要件を確認しましょう。
- 名前・作者・説明で検索し、技術トピックで絞り込みます。
- スター、フォーク、最近のプッシュを比較します。スターは関心の目安であり、品質の保証ではありません。
- 利用前に GitHub で README、ライセンス、Issues を確認します。
情報源と管理
“A repository is the most basic element of GitHub.”
GitHub Docs — About repositories ↗