
 v3.0.0
overlay_tutorial
위젯에 구멍을 내어 오버레이 튜토리얼을 표시하는 Flutter 패키지입니다. 구멍 옆에 힌트를 추가할 수도 있습니다.
69좋아요 54230일 다운로드140Pub 점수
AndroidiOSWebmacOSWindowsLinux
오버레이 튜토리얼을 표시하기 위한 Flutter 패키지입니다.

{"sdk":"flutter"}^1.15.0^2.5.0^2.0.3^1.11.1{"git":{"url":"https://github.com/TabooSun/dart_taboosun_lints.git","ref":"v1.0.1"}}{"sdk":"flutter"}아래는 영문 원문 스냅샷입니다. 최신 내용은 GitHub에서 확인하세요.
A Flutter package for displaying overlay tutorial.
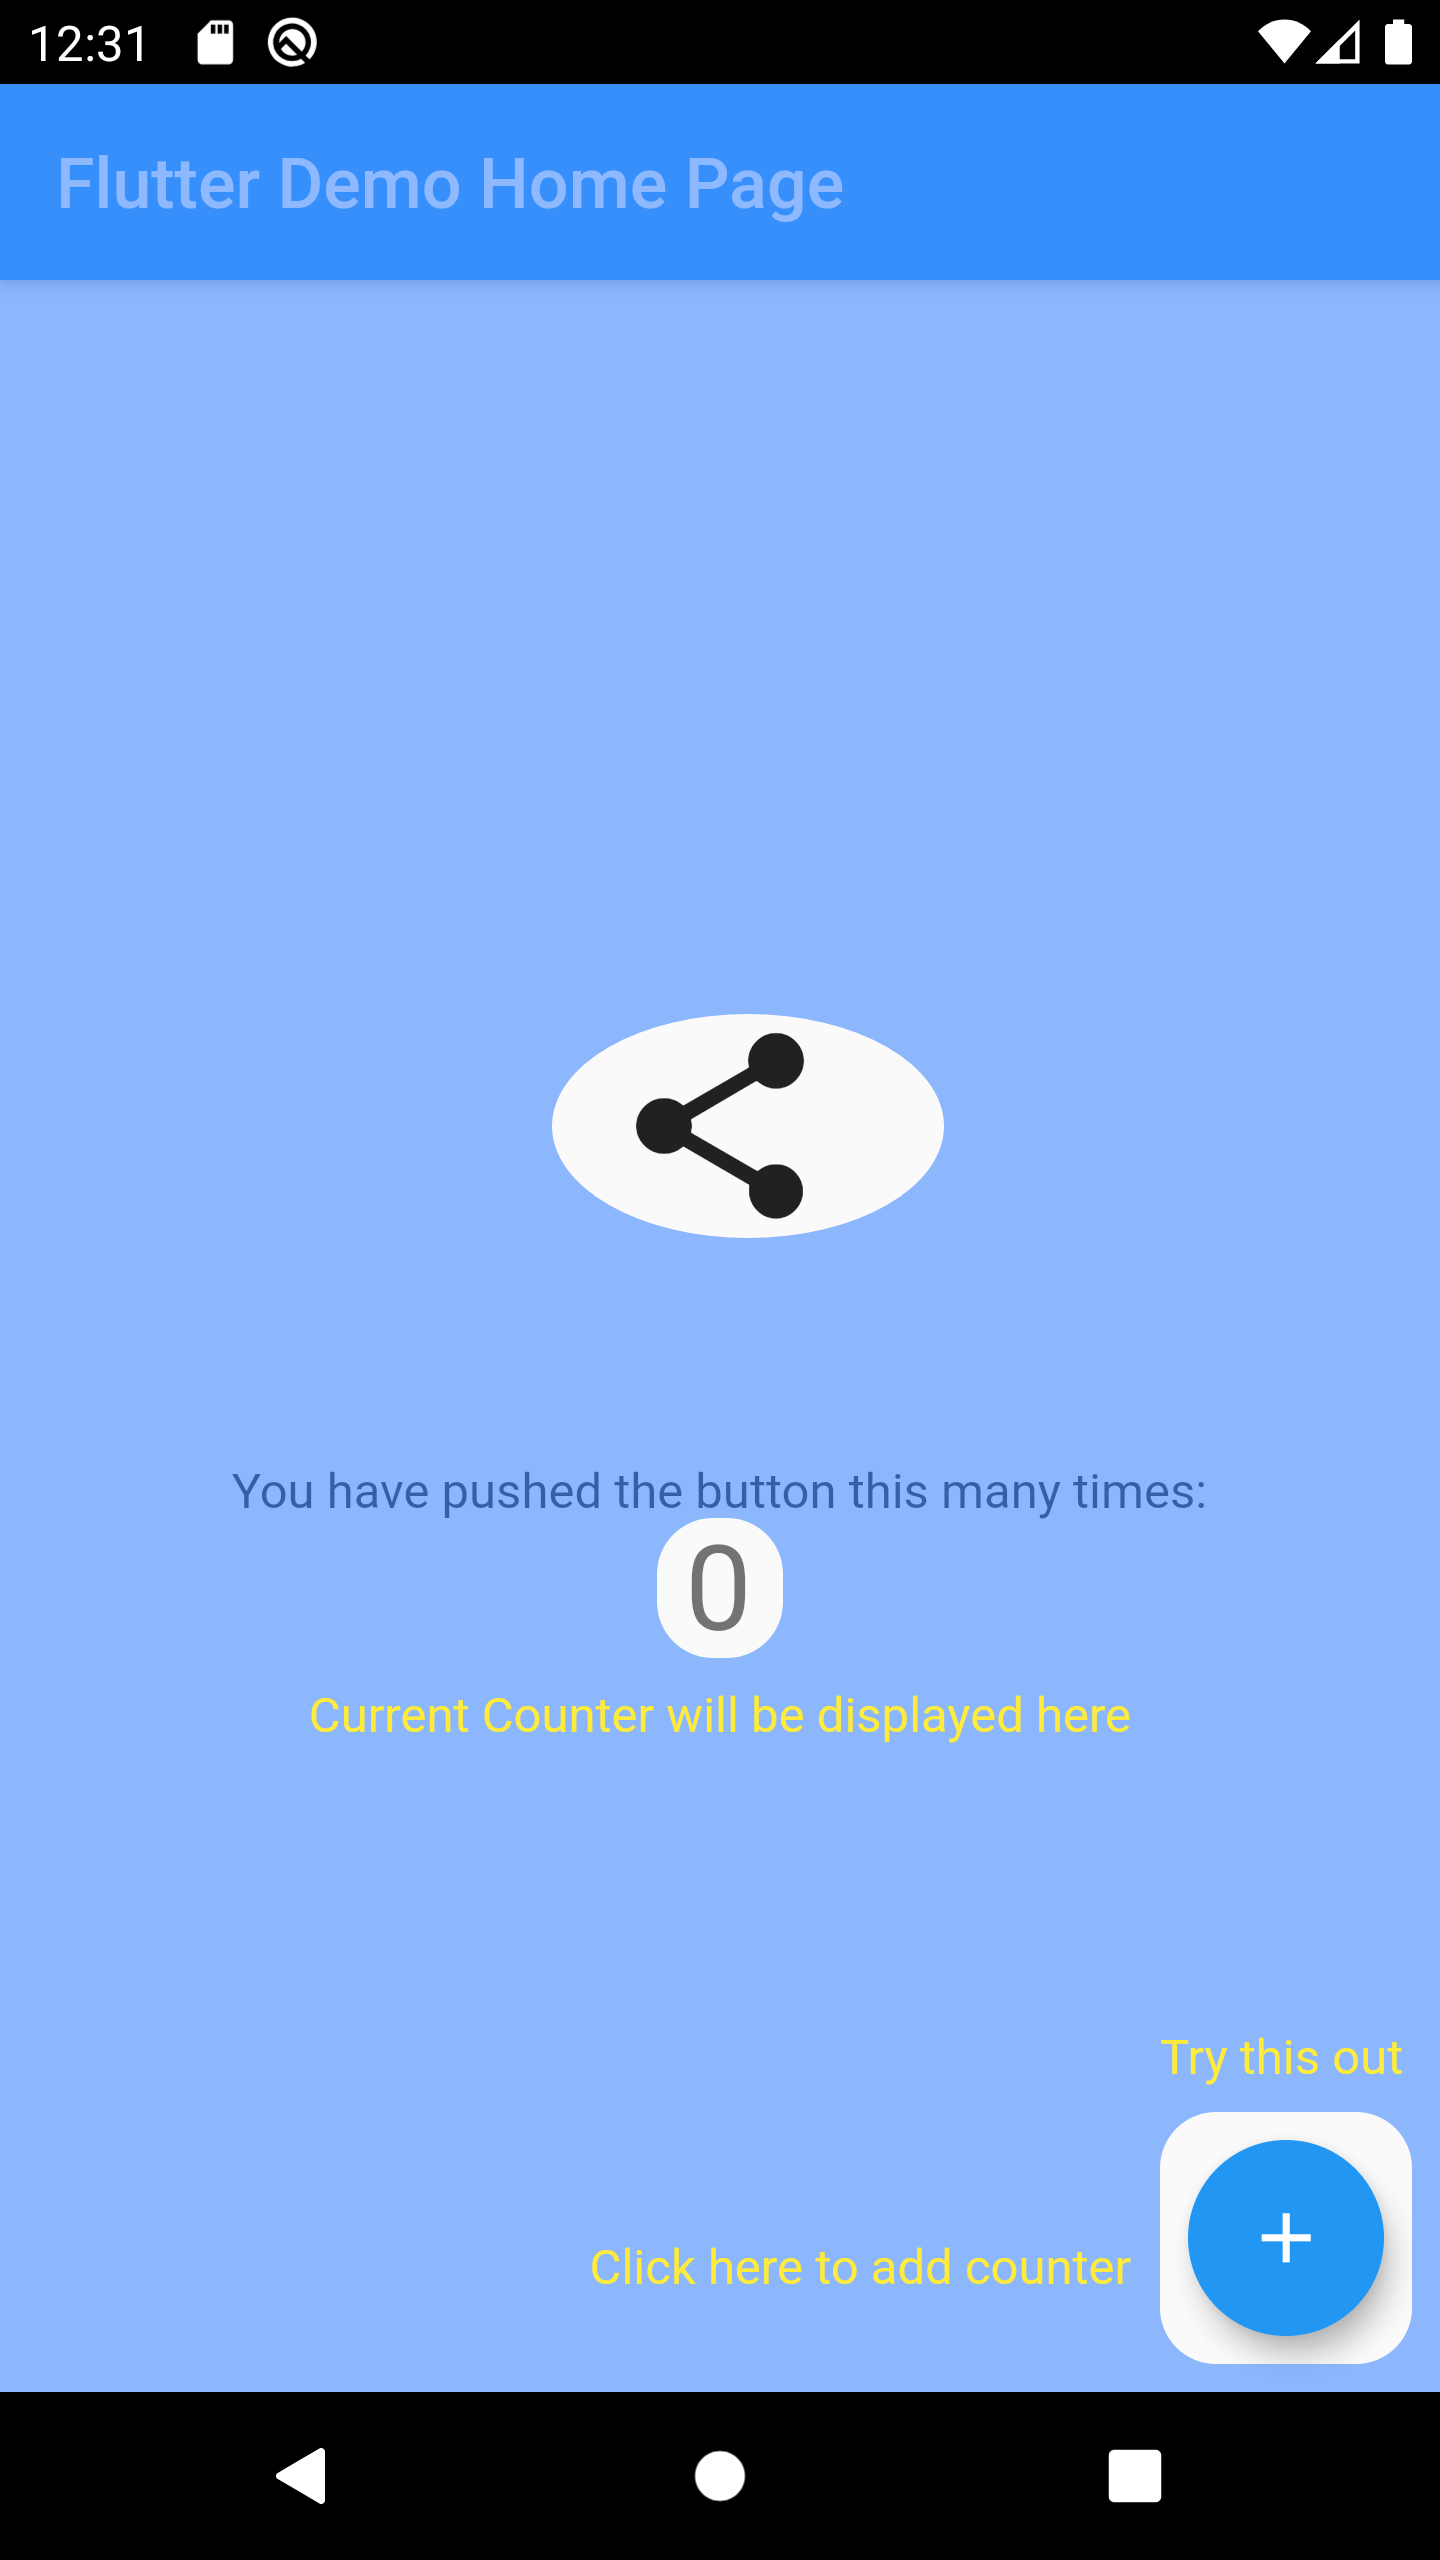
Wrap the widget that you want to create a hole using OverlayTutorialHole. Ensure you have OverlayTutorialScope as a parent of these holes.
OverlayTutorialScope.enabled property to control the visibility of the overlay tutorial. If this is false, the entire overlay tutorial will be hidden.OverlayTutorialHole.enabled property to control the visibility of the holes.
Widget build(BuildContext context) {
  final textTheme = Theme.of(context).textTheme;
  const tutorialColor = Colors.yellow;
  return SafeArea(
    child: Stack(
      children: [
        OverlayTutorialScope(
          enabled: _isTutorialEnabled,
          overlayColor: Colors.blueAccent.withOpacity(.6),
          // Disable all the widgets. All the widgets are now non-interactive.
          child: AbsorbPointer(
            absorbing: _isTutorialEnabled,
            child: Scaffold(
              appBar: AppBar(
                title: Text(widget.title),
              ),
              body: Center(
                child: Column(
                  mainAxisAlignment: MainAxisAlignment.center,
                  children: <Widget>[
                    AnimatedBuilder(
                      animation: _tweenAnimation,
                      builder: (context, child) {
                        return SlideTransition(
                          position: _tweenAnimation,
                          child: child,
                        );
                      },
                      child: OverlayTutorialHole(
                        enabled: true,
                        overlayTutorialEntry: OverlayTutorialCustomShapeEntry(
                          shapeBuilder: (rect, path) {
                            path = Path.combine(
                              PathOperation.difference,
                              path,
                              Path()
                                ..addOval(Rect.fromLTWH(
                                  rect.left - 16,
                                  rect.top,
                                  112,
                                  64,
                                )),
                            );
                            return path;
                          },
                        ),
                        child: const Icon(
                          Icons.share,
                          size: 64,
                        ),
                      ),
                    ),
                    const SizedBox(height: 64),
                    const Text(
                      'You have pushed the button this many times:',
                    ),
                    OverlayTutorialHole(
                      enabled: true,
                      overlayTutorialEntry: OverlayTutorialRectEntry(
                        padding: const EdgeInsets.symmetric(horizontal: 8.0),
                        radius: const Radius.circular(16.0),
                        overlayTutorialHints: <OverlayTutorialWidgetHint>[
                          OverlayTutorialWidgetHint(
                            position: (rect) => Offset(0, rect.bottom),
                            builder: (context, entryRect) {
                              return SizedBox(
                                width: MediaQuery.of(context).size.width,
                                child: Center(
                                  child: Padding(
                                    padding: const EdgeInsets.all(8.0),
                                    child: Text(
                                      'Current Counter will be displayed here',
                                      style: textTheme.bodyText2!
                                          .copyWith(color: tutorialColor),
                                    ),
                                  ),
                                ),
                              );
                            },
                          ),
                        ],
                      ),
                      child: Text(
                        '$_counter',
                        style: Theme.of(context).textTheme.headline4,
                      ),
                    ),
                  ],
                ),
              ),
              floatingActionButton: OverlayTutorialHole(
                enabled: true,
                overlayTutorialEntry: OverlayTutorialRectEntry(
                  padding: const EdgeInsets.all(8.0),
                  radius: const Radius.circular(16.0),
                  overlayTutorialHints: [
                    OverlayTutorialWidgetHint(
                      builder: (context, entryRect) {
                        return Positioned(
                          top: entryRect.rRect!.top - 24.0,
                          left: entryRect.rRect!.left,
                          child: Text(
                            'Try this out',
                            style: textTheme.bodyText2!
                                .copyWith(color: tutorialColor),
                          ),
                        );
                      },
                    ),
                    OverlayTutorialWidgetHint(
                      position: (rect) => Offset(0, rect.center.dy),
                      builder: (context, entryRect) {
                        return SizedBox(
                          width: entryRect.rRect!.left,
                          child: Padding(
                            padding: const EdgeInsets.only(right: 8.0),
                            child: Row(
                              mainAxisAlignment: MainAxisAlignment.end,
                              children: [
                                Flexible(
                                  child: Text(
                                    'Click here to add counter',
                                    style: textTheme.bodyText2!
                                        .copyWith(color: tutorialColor),
                                  ),
                                ),
                              ],
                            ),
                          ),
                        );
                      },
                    ),
                  ],
                ),
                child: FloatingActionButton(
                  onPressed: _incrementCounter,
                  tooltip: 'Increment',
                  child: const Icon(Icons.add),
                ),
              ),
            ),
          ),
        ),
        if (_isTutorialEnabled)
          Align(
            alignment: Alignment.topRight,
            child: GestureDetector(
              onTap: () {
                _isTutorialEnabled = false;
                setState(() {});
              },
              child: Padding(
                padding: const EdgeInsets.all(8.0),
                child: Container(
                  padding: const EdgeInsets.all(16),
                  decoration: const BoxDecoration(
                    shape: BoxShape.circle,
                    color: Colors.black,
                  ),
                  child: const Icon(
                    Icons.close,
                    color: Colors.red,
                  ),
                ),
              ),
            ),
          ),
      ],
    ),
  );
}
OverlayTutorialRectEntry draws a Rectangle shapeOverlayTutorialCircleEntry draws a Circle shapeOverlayTutorialCustomShapeEntry allows to draw a customized shapeDisabling widget is not provided by this package out of the box. You can achieve this using one of the Flutter widget: AbsorbPointer or IgnorePointer. Make sure you do not wrap the OverlayTutorialScope with these widgets as this will disable the widget in OverlayTutorialWidgetHint.
https://github.com/TabooSun/overlay_tutorial/blob/main/example/images/example_gif.gif?raw=true
Check Dart Documentation