
 v0.1.1
overscroll_pop
iOS의 Pinterest 및 Instagram 앱처럼 스크롤을 넘치게 했을 때 팝업되는 스크롤뷰용 플러터 위젯입니다.
123좋아요 3830일 다운로드130Pub 점수
AndroidiOSWeb
스크롤뷰용 플러터 위젯, 오버스크롤 시 팝업

{"sdk":"flutter"}{"sdk":"flutter"}{"sdk":"flutter"}^4.0.0아래는 영문 원문 스냅샷입니다. 최신 내용은 GitHub에서 확인하세요.
A Flutter widget for Scrollview, pop when overscroll like Instagram, Pinterest, ...
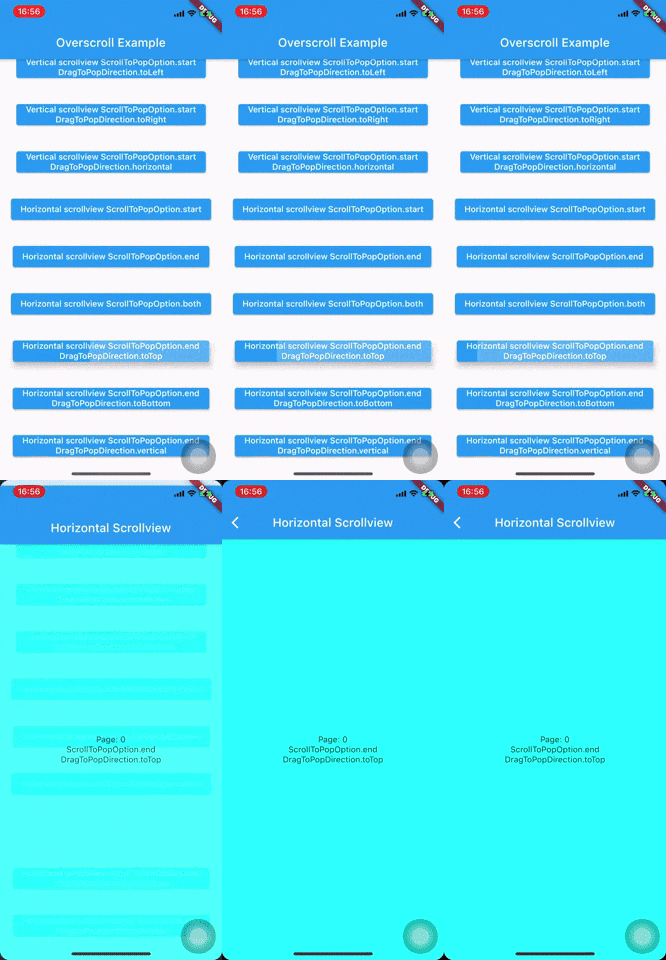
Demo Demo Demo
dependencies:
  	overscroll_pop: <latest version>
Wrap your Scaffold or top widget by OverscrollPop, every ScrollView widget (Listview, GridView, PageView, CustomScrollView, ...) which has scroll physics ClampingScrollPhysics(important) will have overscroll to pop effect.
    MaterialApp(
      home: Scaffold(
        appBar: AppBar(
          title: const Text('Overscroll Example'),
        ),
        body: Builder(
          builder: (c) => Center(
            child: Hero(
              tag: '${ScrollToPopOption.start}${DragToPopDirection.toRight}',
              child: ElevatedButton(
                onPressed: () => pushPage(
                  c,
                  (BuildContext context, _, __) => VerticalScrollview(
                    scrollToPopOption: ScrollToPopOption.start,
                    dragToPopDirection: DragToPopDirection.toRight,
                  ),
                ),
                child: Text('Vertical scrollview ${ScrollToPopOption.start}'),
              ),
            ),
          ),
        ),
      ),
    );

    class VerticalScrollview extends StatelessWidget {
      final ScrollToPopOption scrollToPopOption;
      final DragToPopDirection? dragToPopDirection;

      const VerticalScrollview({
        Key? key,
        this.scrollToPopOption = ScrollToPopOption.start,
        this.dragToPopDirection,
      }) : super(key: key);

      @override
      Widget build(BuildContext context) {
        return OverscrollPop(
          scrollToPopOption: scrollToPopOption,
          dragToPopDirection: dragToPopDirection,
          child: Container(
            clipBehavior: Clip.hardEdge,
            decoration: BoxDecoration(borderRadius: BorderRadius.circular(16.0)),
            child: Scaffold(
              appBar: PreferredSize(
                preferredSize: Size.fromHeight(kToolbarHeight),
                child: Hero(
                  tag: '$scrollToPopOption${dragToPopDirection ?? ''}',
                  child: AppBar(
                    title: Text(
                      'Vertical Scrollview',
                      overflow: TextOverflow.visible,
                    ),
                  ),
                ),
              ),
              body: ListView.builder(
                physics: const ClampingScrollPhysics(),
                itemBuilder: (_, index) => Container(
                  height: 160.0,
                  margin: const EdgeInsets.symmetric(vertical: 8.0),
                  color: index % 2 == 0 ? Colors.cyanAccent : Colors.orangeAccent,
                  alignment: Alignment.center,
                  child: Column(
                    mainAxisAlignment: MainAxisAlignment.center,
                    children: [
                      Text(scrollToPopOption.toString()),
                      if (dragToPopDirection != null)
                        Text(dragToPopDirection.toString()),
                    ],
                  ),
                ),
                itemCount: MediaQuery.of(context).size.height ~/ 160.0 + 2,
              ),
            ),
          ),
        );
      }
    }
If your Scaffold does not contain any ScrollView and want to achieve drag to pop effect, wrap your Scaffold or top widget by DragToPop instead (Example).
Quick push route config helper:
pushOverscrollRoute(
    context: context,
    child: <your scaffold/widget>,
    // scrollToPopOption: <your ScrollToPopOption>,
    // dragToPopDirection: <your DragToPopDirection>,
    // other route configs
)

pushDragToPopRoute(
    context: context,
    child: <your scaffold/widget>,
    // other route configs
)
By default, the effect only apply for overscroll at the start of ScrollView (top edge of vertical scroll, left edge of horizontal scroll)
VStart HStart
To enable the end edge (or both edges) for overscroll to pop, set scrollToPopOption to ScrollToPopOption.end (or ScrollToPopOption.both)
OverscrollPop(
  scrollToPopOption: ScrollToPopOption.end, // or ScrollToPopOption.both
  ...
)
VEnd HEnd
Beside overscroll, you can config the other drag direction to achieve the pop effect by passing dragToPopDirection
OverscrollPop(
  dragToPopDirection: DragToPopDirection.toTop, //  toTop, toBottom, toLeft, toRight, horizontal and vertical
  ...
)
Vertical scroll: drag to left, right or horizontal (both left and right) VStartToLeft VStartToLeft
Horizontal scroll: drag to top, bottom or vertical (both top and bottom) HEndToTop HEndToBottom