


v1.0.2
flutter_shazam_kit
기기의 마이크를 통해 곡을 감지하는 데 도움이 되는 플러그인입니다.
29좋아요 4330일 다운로드140Pub 점수
AndroidiOS
ssttonn/flutter_shazam_kit open-source repository details.

아래는 영문 원문 스냅샷입니다. 최신 내용은 GitHub에서 확인하세요.


A plugin that helps you detect songs through your device's microphone
Note:
ShazamCatalog, it was the default catalog used as library for music detection and I plan to implement CustomCatalog in the future.
AndroidManifest.xml.<uses-permission android:name="android.permission.RECORD_AUDIO" />
<uses-permission android:name="android.permission.INTERNET"/>
libs inside your android’s app folder and place the .aar file inside that libs folder.Your android project’s structure should look like this:

build.gradle, change minSdkVersion to 23 and sync your project again.minSdkVersion 23
In order to use ShazamCatalog on Android, you need to have an Apple Developer Token to access ShazamKit service provided by Apple, please follow this link for more details.
If you don’t know how to do that, please follow those steps below:
1/ Create a media identifier

2/ Create a private key (.p8)


.p8 file) and remember your Key ID.
3/ Generate a Developer Token
Please refer to this link to learn how to generate a developer token.
Due to apple policy, Developer Token can only be valid for up to 6 months. So you should have a remote place to store and refresh your Developer Token once it is generated, you can either use a Backend Server or an alternative solution like Firebase Remote Config or something similar to store, generate and refresh your Developer Token.
For testing purposes you can use the following Node JS snippet or you can use my repository to create it.
Note: This code snippet use the famous jsonwebtoken library so you need to install this library first before using this code snippet.
"use strict";
const fs = require("fs");
const jwt = require("jsonwebtoken");

const privateKey = fs.readFileSync("<YOUR_P8_FILE_NAME>.p8").toString();
const teamId = "<YOUR_TEAM_ID>";
const keyId = "<YOUR_KEY_ID>";
const jwtToken = jwt.sign({}, privateKey, {
    algorithm: "ES256",
    issuer: teamId,
    expiresIn: "180d", // due to apple policy, developer key can only valid for 180 days
    header: {
        alg: "ES256",
        kid: keyId,
        typ: "JWT"
    }
});

console.log(jwtToken);
Info.plist.<key>NSMicrophoneUsageDescription</key>
<string>Need microphone access for detecting musics</string>
Podfile global IOS platform to IOS 15.0# Uncomment this line to define a global platform for your project
platform :ios, '15.0'
Initialization configuration
final _flutterShazamKitPlugin = FlutterShazamKit();

@override
  void initState() {
    super.initState();
    _flutterShazamKitPlugin
        .configureShazamKitSession(developerToken: developerToken);
  }

@override
  void dispose() {
    super.dispose();
    _flutterShazamKitPlugin.endSession();
  }
Listen for the matching event
_flutterShazamKitPlugin.onMatchResultDiscovered((result) {
        if (result is Matched) {
          print(result.mediaItems)
        } else if (result is NoMatch) {
          // do something in no match case
        }
});
Listen for detecting state changed
_flutterShazamKitPlugin.onDetectStateChanged((state) {
        print(state)
});
Listen for errors
_flutterShazamKitPlugin.onError((error) {
        print(error.message);
});
Starting to detect by microphone
_flutterShazamKitPlugin.startDetectingByMicrophone();
End detect
_flutterShazamKitPlugin.endDetecting();
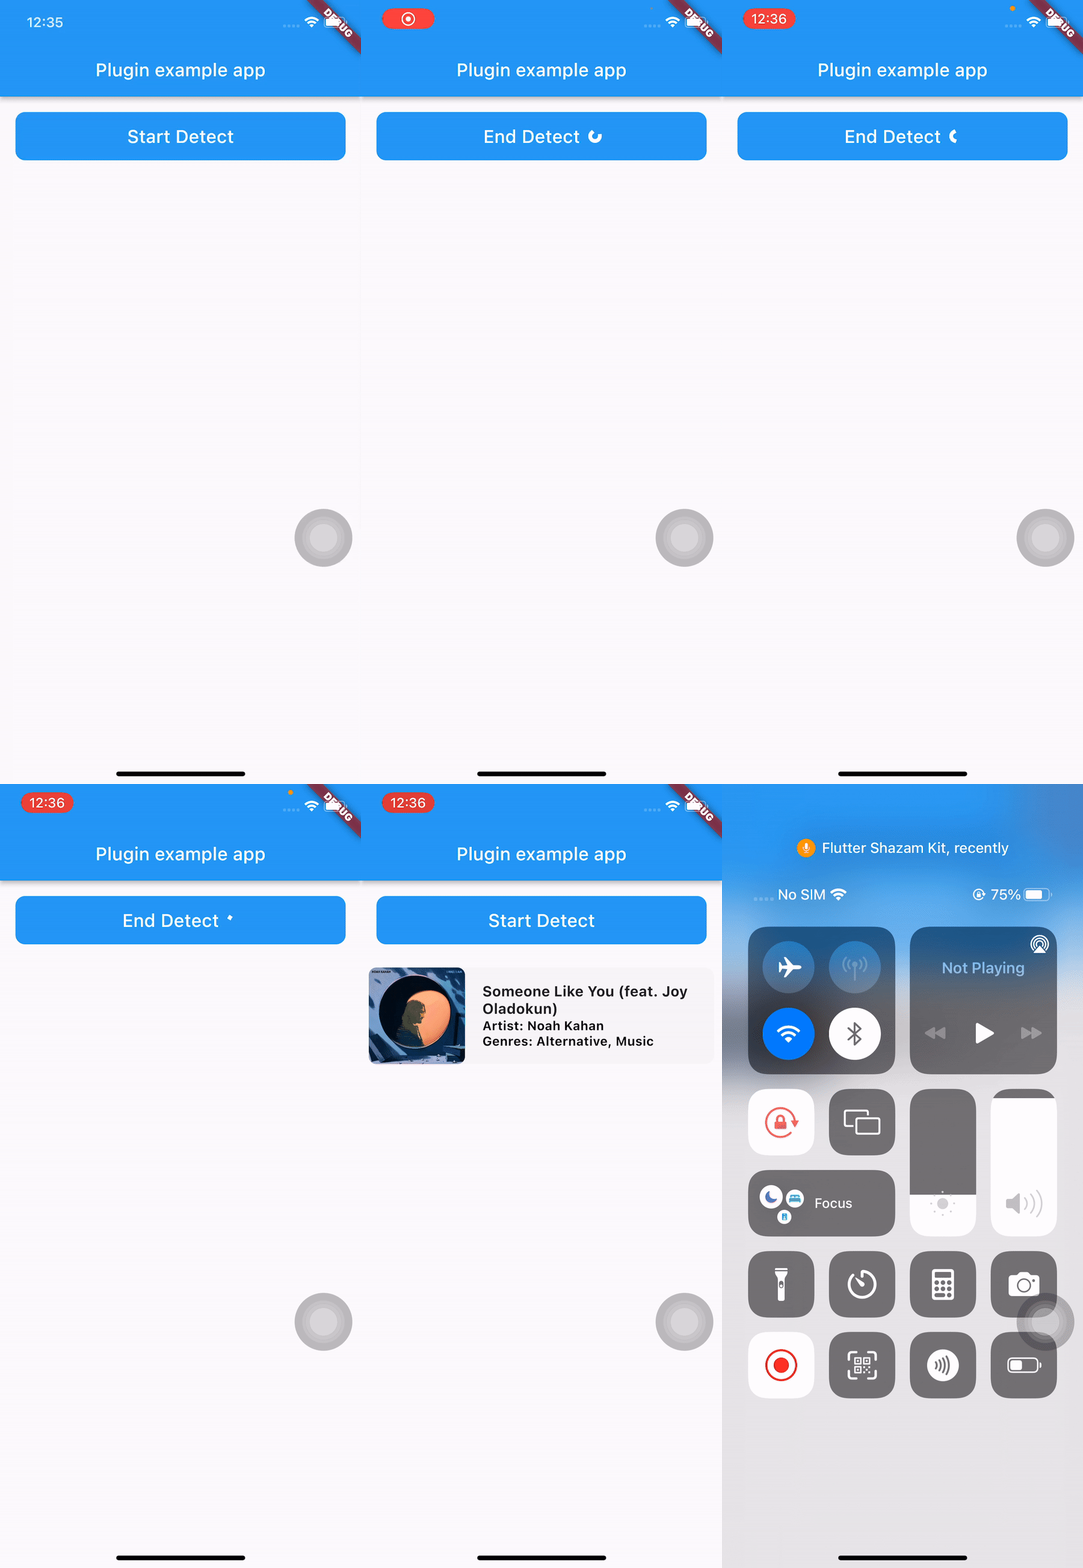
See the main.dart in the example folder for a complete example.
의존성 목록 4 개
{"sdk":"flutter"}^2.0.2{"sdk":"flutter"}^2.0.0사용 목적에 따라 검색하고 개발 활동을 비교한 뒤 원본 저장소에서 요구 사항을 확인하세요.
“A repository is the most basic element of GitHub.”
GitHub Docs — About repositories ↗