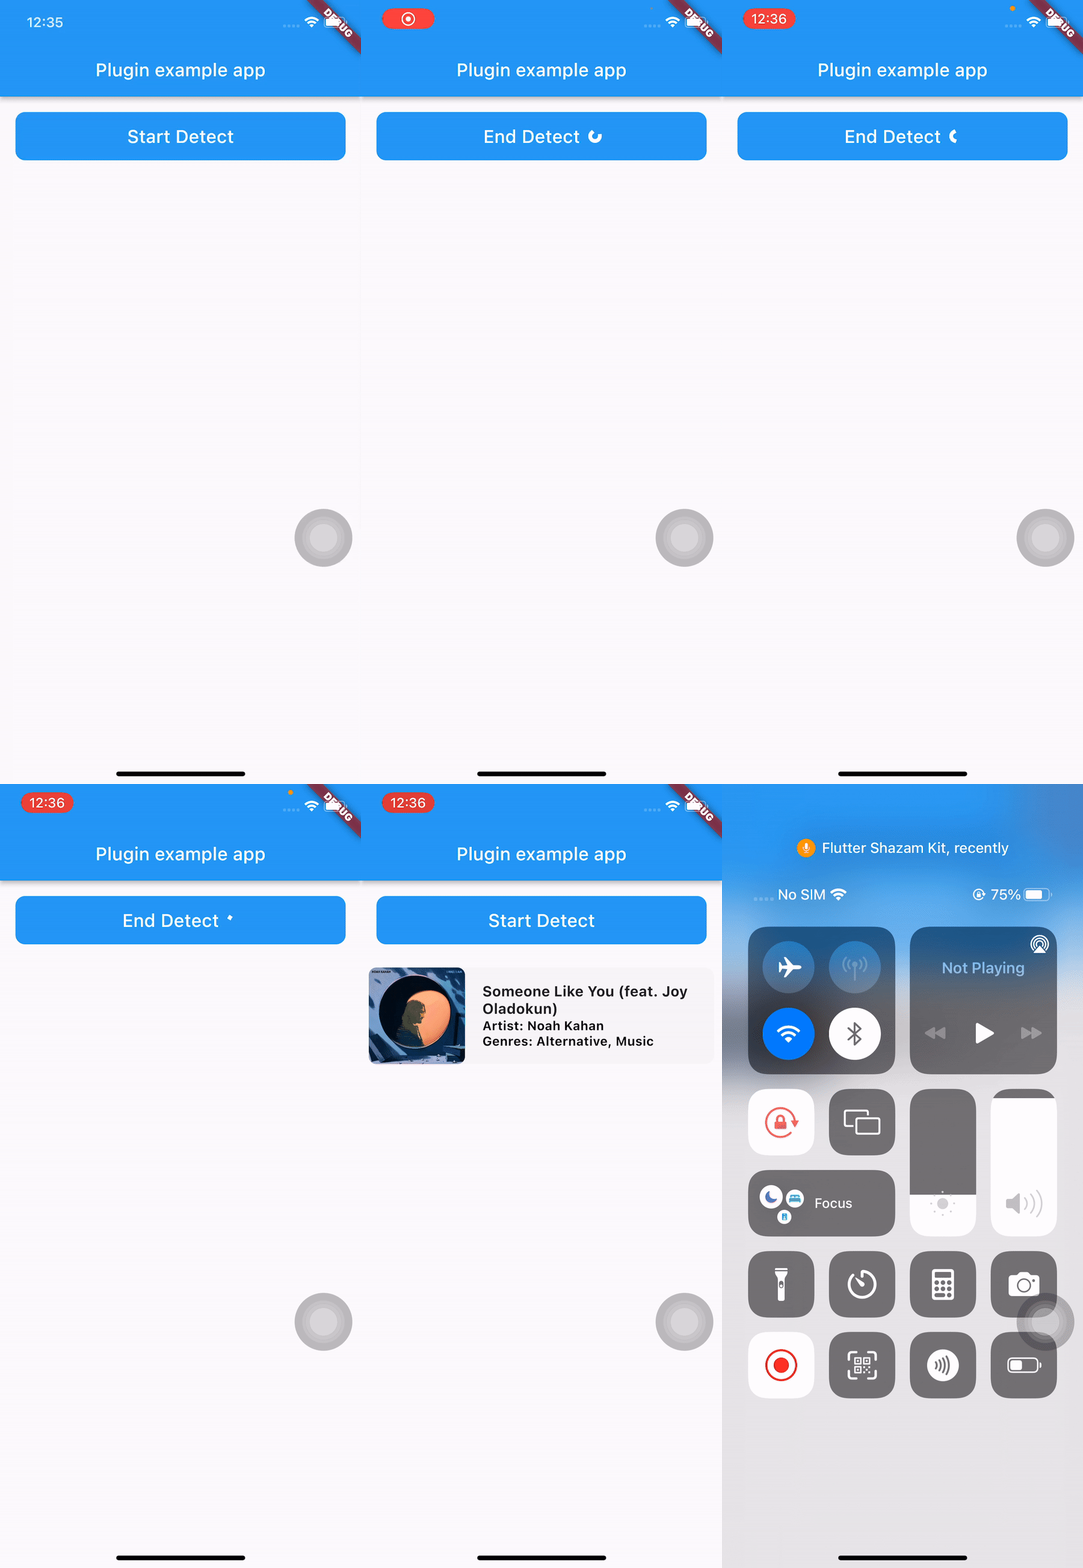
flutter_shazam_kit는 장치의 마이크를 활용하여 실시간으로 음악을 인식할 수 있도록 해주는 Flutter 플러그인입니다. Shazam의 강력한 음악 탐지 기술을 Flutter 애플리케이션에 통합하여 주변에서 재생되는 음악을 사용자가 발견할 수 있게 합니다. 이 플러그인은 Android와 iOS 플랫폼을 모두 지원하며, 음악 탐색 기능을 개발하는 개발자들에게 원활한 경험을 제공합니다. pub add를 통해 최소한의 설정만으로도 곡 탐지 시작 및 트랙 이름, 아티스트, 앨범과 같은 메타데이터를 가져오는 간단한 API를 제공합니다. 음악 탐색 또는 소셜 공유에 초점을 맞춘 앱에 적합합니다.
사용 사례
실시간 음악 탐색
Shazam과 유사한 기능 통합
소셜 미디어 음악 태깅
음성 기반 검색 기능
라이브 이벤트 음악 식별
주요 기능
실시간 곡 감지
Android 및 iOS를 지원합니다
pub add와의 간단한 통합
노래 메타데이터를 검색합니다
장치 마이크 사용
적합한 대상
음악 탐색 앱
소셜 미디어 플랫폼
이벤트 앱
오디오 인식 도구
개발자 프로토타이핑
고려 사항
마이크 권한이 필요합니다
인터넷 연결에 따라 다릅니다
Shazam의 데이터베이스에 한정
백그라운드 감지가 제한될 수 있습니다
정확도는 오디오 품질에 따라 달라집니다
원본 README
연결된 소스 저장소의 README 원문 스냅샷입니다. 최신 내용은 저장소에서 확인하세요.
Flutter Shazam Kit
A plugin that helps you detect songs through your device's microphone
Note:
This plugin depends on Apple's ShazamKit, requires IOS 15 or higher, and requires Android API level 23 (Android 6.0) or higher.
In the early versions of this plugin, I only use ShazamCatalog, it was the default catalog used as library for music detection and I plan to implement CustomCatalog in the future.
Go to this Download Page and download the latest version of ShazamKit for Android, once you have downloaded it, create a new folder called libs inside your android’s app folder and place the .aar file inside that libs folder.
Your android project’s structure should look like this:
Inside your app-level build.gradle, change minSdkVersion to 23 and sync your project again.
minSdkVersion 23
In order to use ShazamCatalog on Android, you need to have an Apple Developer Token to access ShazamKit service provided by Apple, please follow this link for more details.
If you don’t know how to do that, please follow those steps below:
On the top left, click the add button (+), then enter your key name.
Enable Media Services (MusicKit, ShazamKit) checkbox, the click Configure button on the right.
Select the Media ID you created earlier and click Save.
Click Continue and then click Register.
Download the private key (.p8 file) and remember your Key ID.
3/ Generate a Developer Token
Please refer to this link to learn how to generate a developer token.
Due to apple policy, Developer Token can only be valid for up to 6 months. So you should have a remote place to store and refresh your Developer Token once it is generated, you can either use a Backend Server or an alternative solution like Firebase Remote Config or something similar to store, generate and refresh your Developer Token.
For testing purposes you can use the following Node JS snippet or you can use my repository to create it.
Note: This code snippet use the famous jsonwebtoken library so you need to install this library first before using this code snippet.
"use strict";
const fs = require("fs");
const jwt = require("jsonwebtoken");
const privateKey = fs.readFileSync("<YOUR_P8_FILE_NAME>.p8").toString();
const teamId = "<YOUR_TEAM_ID>";
const keyId = "<YOUR_KEY_ID>";
const jwtToken = jwt.sign({}, privateKey, {
algorithm: "ES256",
issuer: teamId,
expiresIn: "180d", // due to apple policy, developer key can only valid for 180 daysheader: {
alg: "ES256",
kid: keyId,
typ: "JWT"
}
});
console.log(jwtToken);
_flutterShazamKitPlugin.onMatchResultDiscovered((result) {
if (result isMatched) {
print(result.mediaItems)
} elseif (result isNoMatch) {
// do something in no match case
}
});