

 v5.3.0
google_speech
用於 Google Cloud GRPC 語音轉文字 API 的 Flutter 插件。
144喜歡 1680近 30 天下載120Pub 分數
AndroidiOSmacOSWindowsLinux
Flutter Google 語音

以下為英文專案原文快照,最新內容請造訪 GitHub。
This package allows the use of Google Speech Api with grpc as a pure Dart implementation. With the support of grpc it is also possible to use the streaming transcription of the Google Speech Api with this package.
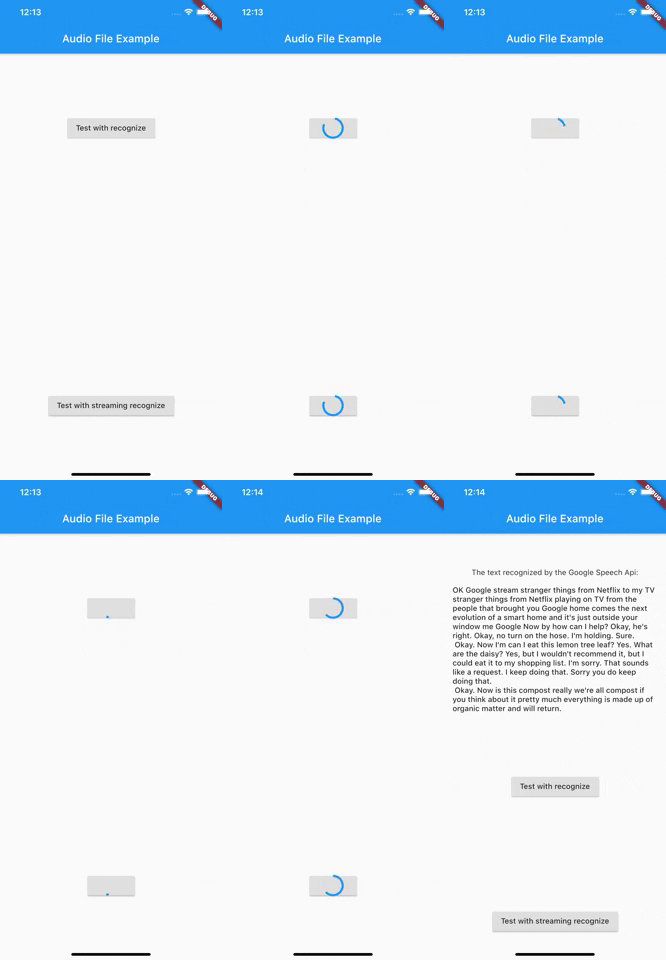
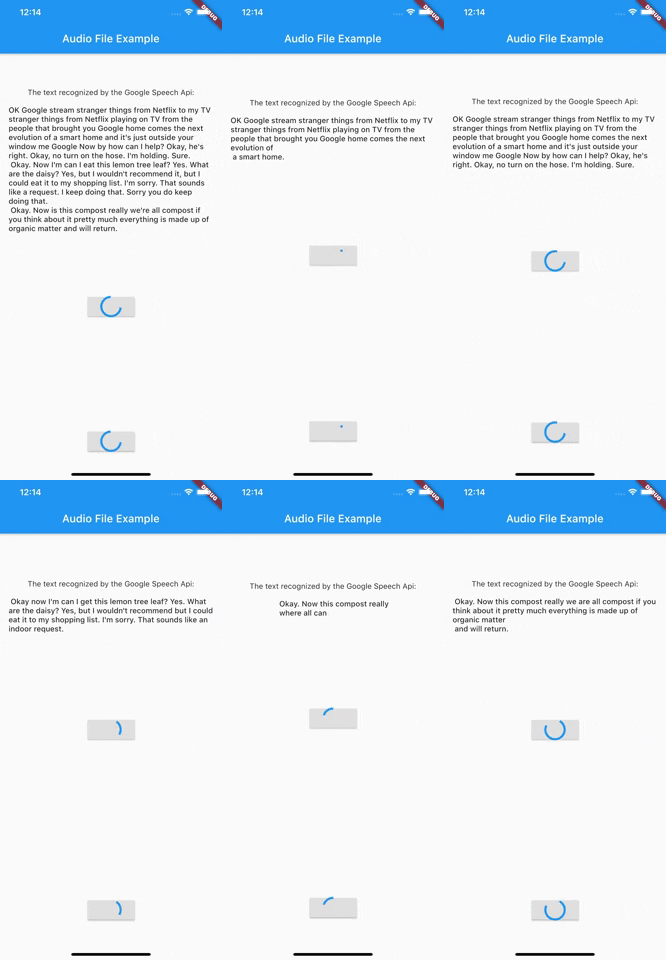
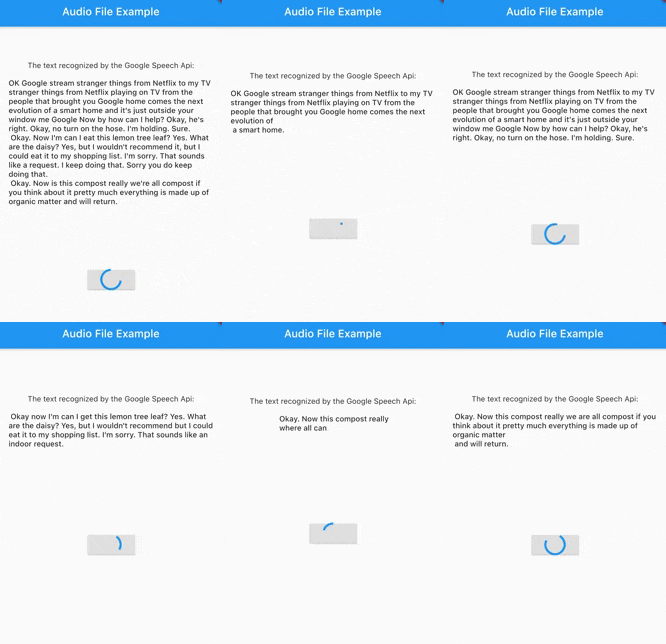
To use the Google Speech Api it is first of all important to create a Google Cloud account and activate the Speech Api. The best way to do this is to follow the first point of this documentation.
After you have created a service account and downloaded the Json file with the necessary access data, you can start using this package.
At this time this package only supports authentication via service account. It is therefore necessary to create a service account and have the necessary Json data ready.
As of version 3.0.0 there are now 3 different ways to authenticate. In addition to the old way viaServiceAccount, there is now also the possibility to authenticate via token or ThirdPartyAuthenticator.
   final speechToText = SpeechToText.viaThirdPartyAuthenticator(
      ThirdPartyAuthenticator(
        obtainCredentialsFromThirdParty: () async {
          // request api to get token
          final json = await requestCredentialFromMyApi();
          return AccessCredentials.fromJson(json);
          },
      ),
    );
Creates a SpeechToText interface using a token. You are responsible for updating the token when it expires.
    final speechToText = SpeechToText.viaToken(
    'Bearer',
    '<token-here>',
    );
There are two ways to log in using a service account. Option number one is the direct transfer of the Json file. Make sure that the file really exists in the path you passed and that the file has a .json extension.
    import 'package:google_speech/speech_client_authenticator.dart';

    final serviceAccount = ServiceAccount.fromFile(File('PATH_TO_FILE'));

    final speechToText = SpeechToText.viaServiceAccount(serviceAccount);
Option number two is to pass the Json data directly as a string. This could be used for example to load the data from an external service first and not have to keep it directly in the app.
    final serviceAccount = ServiceAccount.fromString(r'''{YOUR_JSON_STRING}''');

    /// OR load the data from assets

    final serviceAccount = ServiceAccount.fromString(
        '${(await rootBundle.loadString('assets/test_service_account.json'))}');

    final speechToText = SpeechToText.viaServiceAccount(serviceAccount);
After you have successfully connected the ServiceAccount, you can already start using the Api.
    final config = RecognitionConfig(
                         encoding: AudioEncoding.LINEAR16,
                         model: RecognitionModel.basic,
                         enableAutomaticPunctuation: true,
                         sampleRateHertz: 16000,
                         languageCode: 'en-US');
     Future<List<int>> _getAudioContent(String name) async {
       final directory = await getApplicationDocumentsDirectory();
       final path = directory.path + '/$name';
       return File(path).readAsBytesSync().toList();
     }

    final audio = await _getAudioContent('test.wav');
final response = await speechToText.recognize(config, audio);
final streamingConfig = StreamingRecognitionConfig(config: config, interimResults: true);
     Future<Stream<List<int>>> _getAudioStream(String name) async {
       final directory = await getApplicationDocumentsDirectory();
       final path = directory.path + '/$name';
       return File(path).openRead();
     }

    final audio = await _getAudioStream('test.wav');
    final responseStream = speechToText.streamingRecognize(streamingConfig, audio);
    responseStream.listen((data) {
        // listen for response
    });
More information can be found in the official Google Cloud Speech documentation.
If it happens that google_speech returns an empty response, then this error is probably due to the recorded audio file.
You can find more information here https://cloud.google.com/speech-to-text/docs/troubleshooting#returns_an_empty_response
Since version 1.1.0 google_speech also supports the use of features available in the Google Speech Beta Api. For this you just have to use SpeechToTextBeta instead of SpeechToText.
Since version 4.0.0 google_speech also supports the use of features available in the Google Speech V2. For this you just have to use SpeechToTextV2 instead of SpeechToText. An Example could be found in audio_file_example_v2
Since version 5.0.0 google_speech also supports endless stream. For this you just have to use EndlessStreamingService instead of SpeechToText.
    final serviceAccount = ServiceAccount.fromString(r'''{YOUR_JSON_STRING}''');

    /// OR load the data from assets

    final serviceAccount = ServiceAccount.fromString(
        '${(await rootBundle.loadString('assets/test_service_account.json'))}');

    final speechToText = EndlessStreamingService.viaServiceAccount(serviceAccount);

    final responseStream = speechToText.endlessStream;

    speechToText.endlessStreamingRecognize(
        StreamingRecognitionConfig(config: config, interimResults: true),
        _audioStream!);

    responseStream.listen((data) {...});
依賴清單 12 項
{"sdk":"flutter"}^3.2.4^3.1.0^2.1.2^1.1.0^1.9.1^1.4.1^1.2.0^0.27.7{"sdk":"flutter"}^1.11.1^5.4.2先依使用情境篩選,再比較專案活躍情況,最後到原始儲存庫確認使用要求。
“A repository is the most basic element of GitHub.”
GitHub Docs — About repositories ↗