

 v3.0.0
flutter_alice
Alice 是一個 HTTP 檢查工具,可協助除錯 HTTP 請求。它會捕獲並儲存 HTTP 請求和回應,可透過簡單的 UI 進行檢視。
52喜歡 1.2萬近 30 天下載140Pub 分數
AndroidiOSmacOSWindowsLinux
Flutter 應用程式的 HTTP 請求檢查器

以下為英文專案原文快照,最新內容請造訪 GitHub。



Alice is an HTTP Inspector tool for Flutter which helps debugging http requests. It catches and stores http requests and responses, which can be viewed via simple UI. It is inspired from Chuck (https://github.com/jgilfelt/chuck) and Chucker (https://github.com/ChuckerTeam/chucker).
Overlay bubble version of Alice: https://github.com/jhomlala/alice
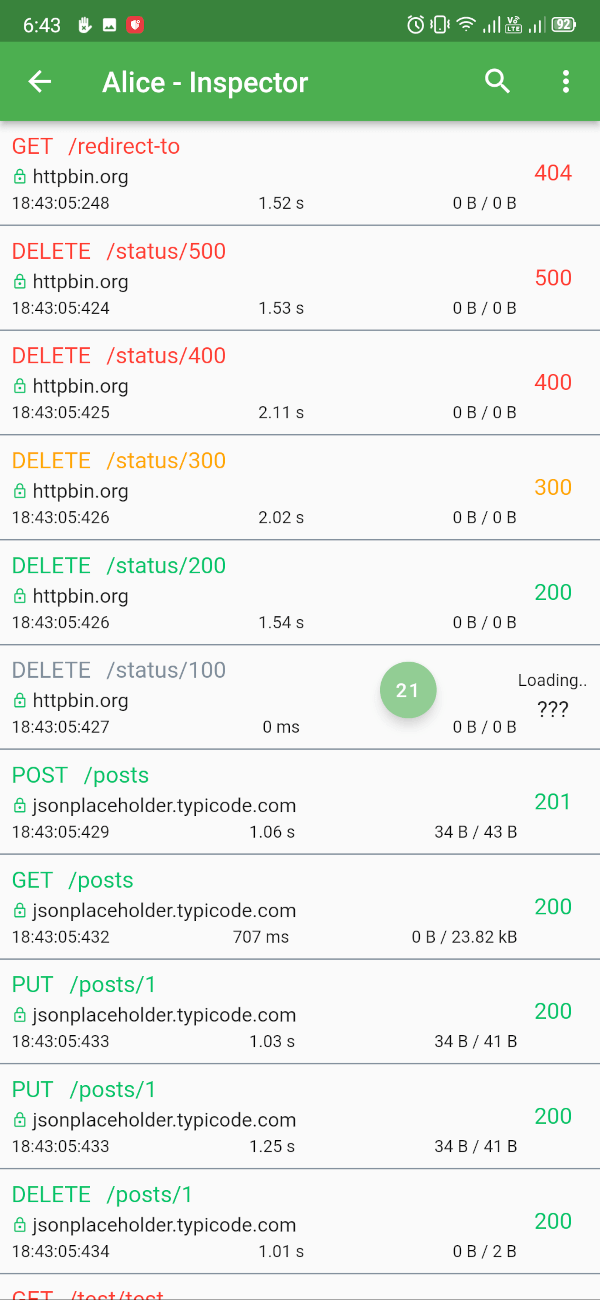
|
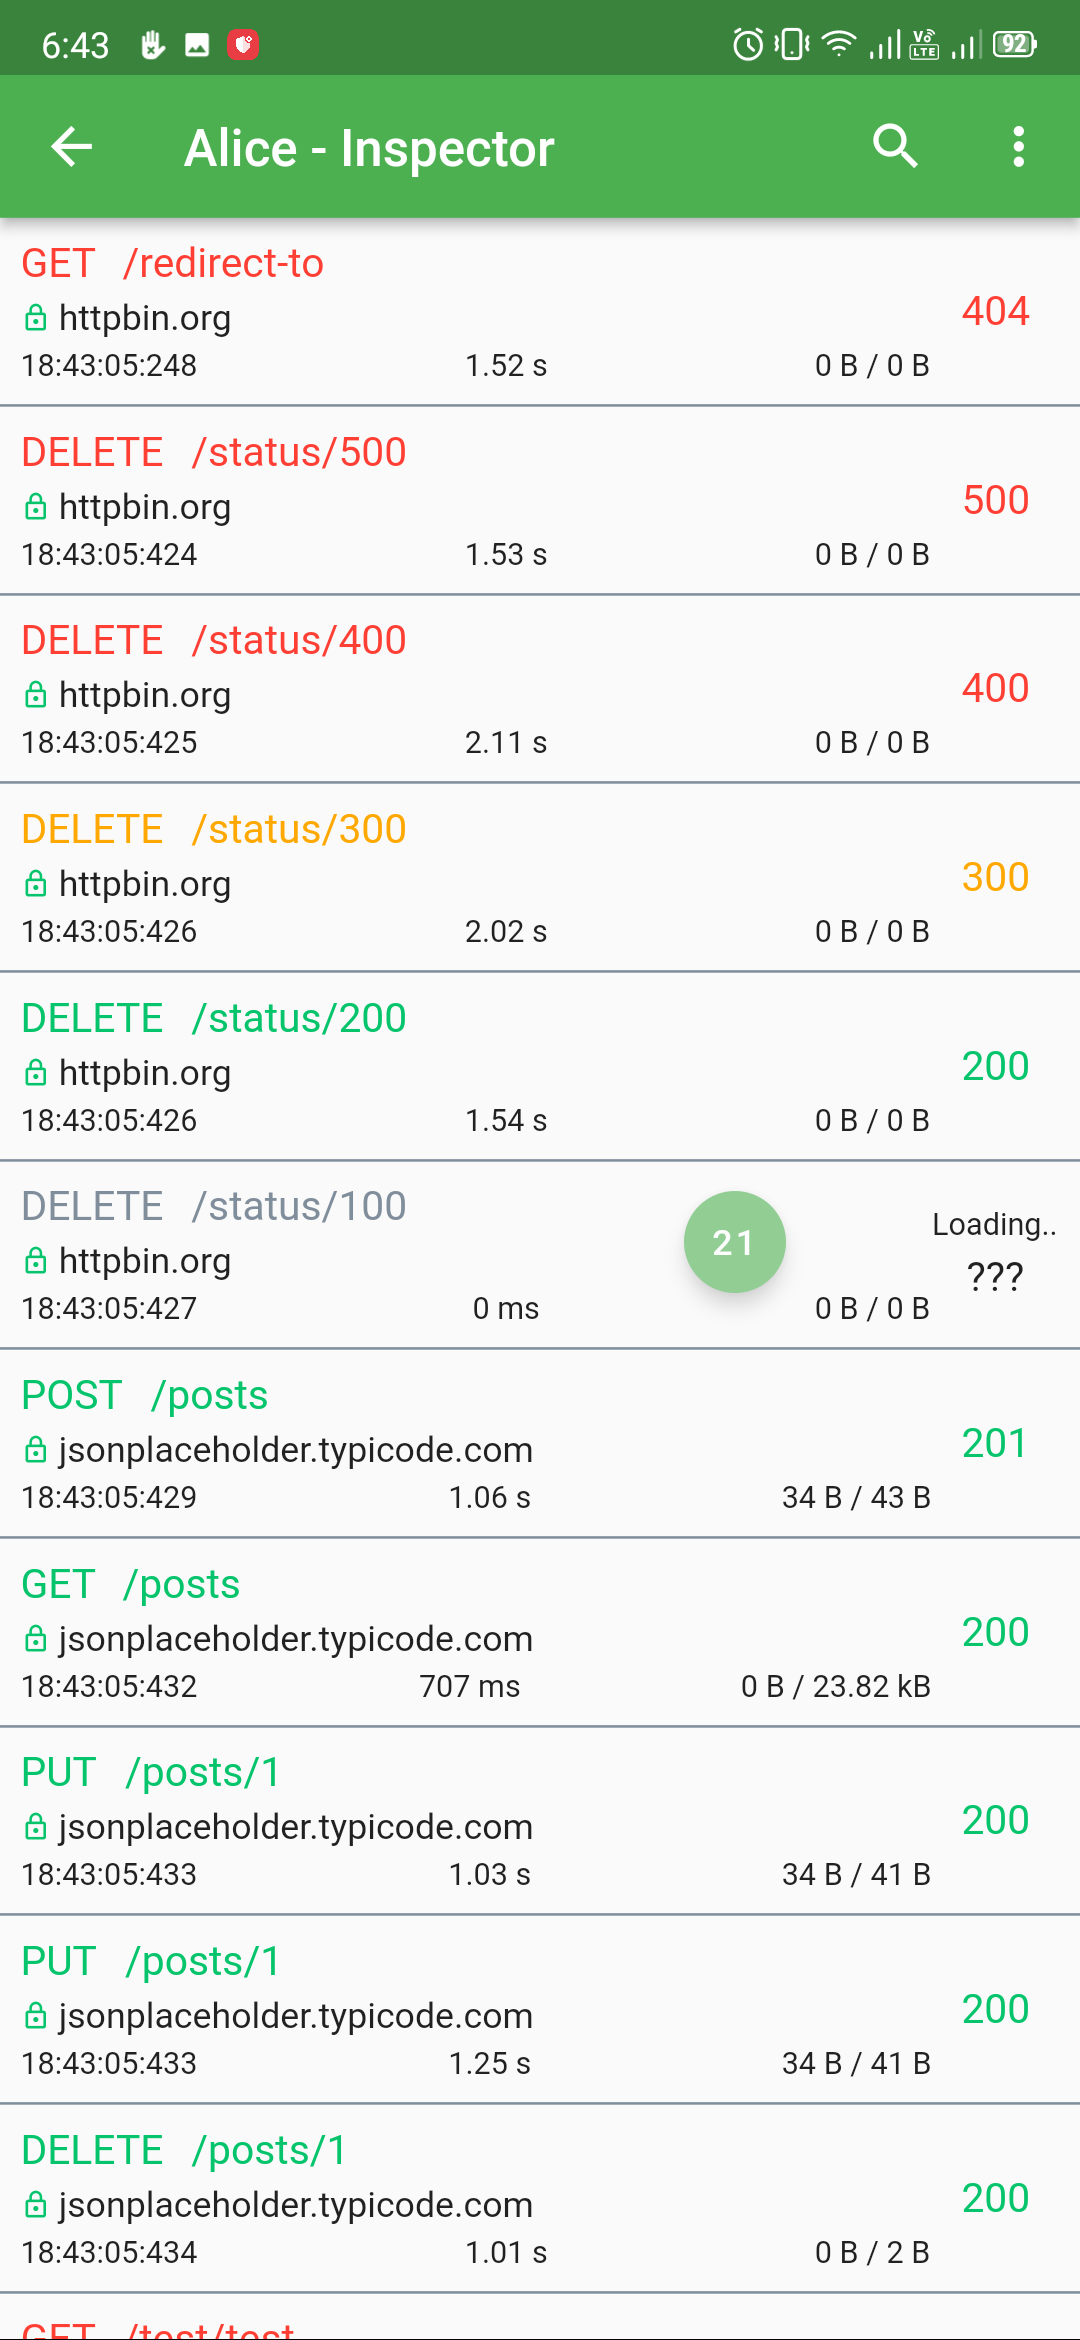
|
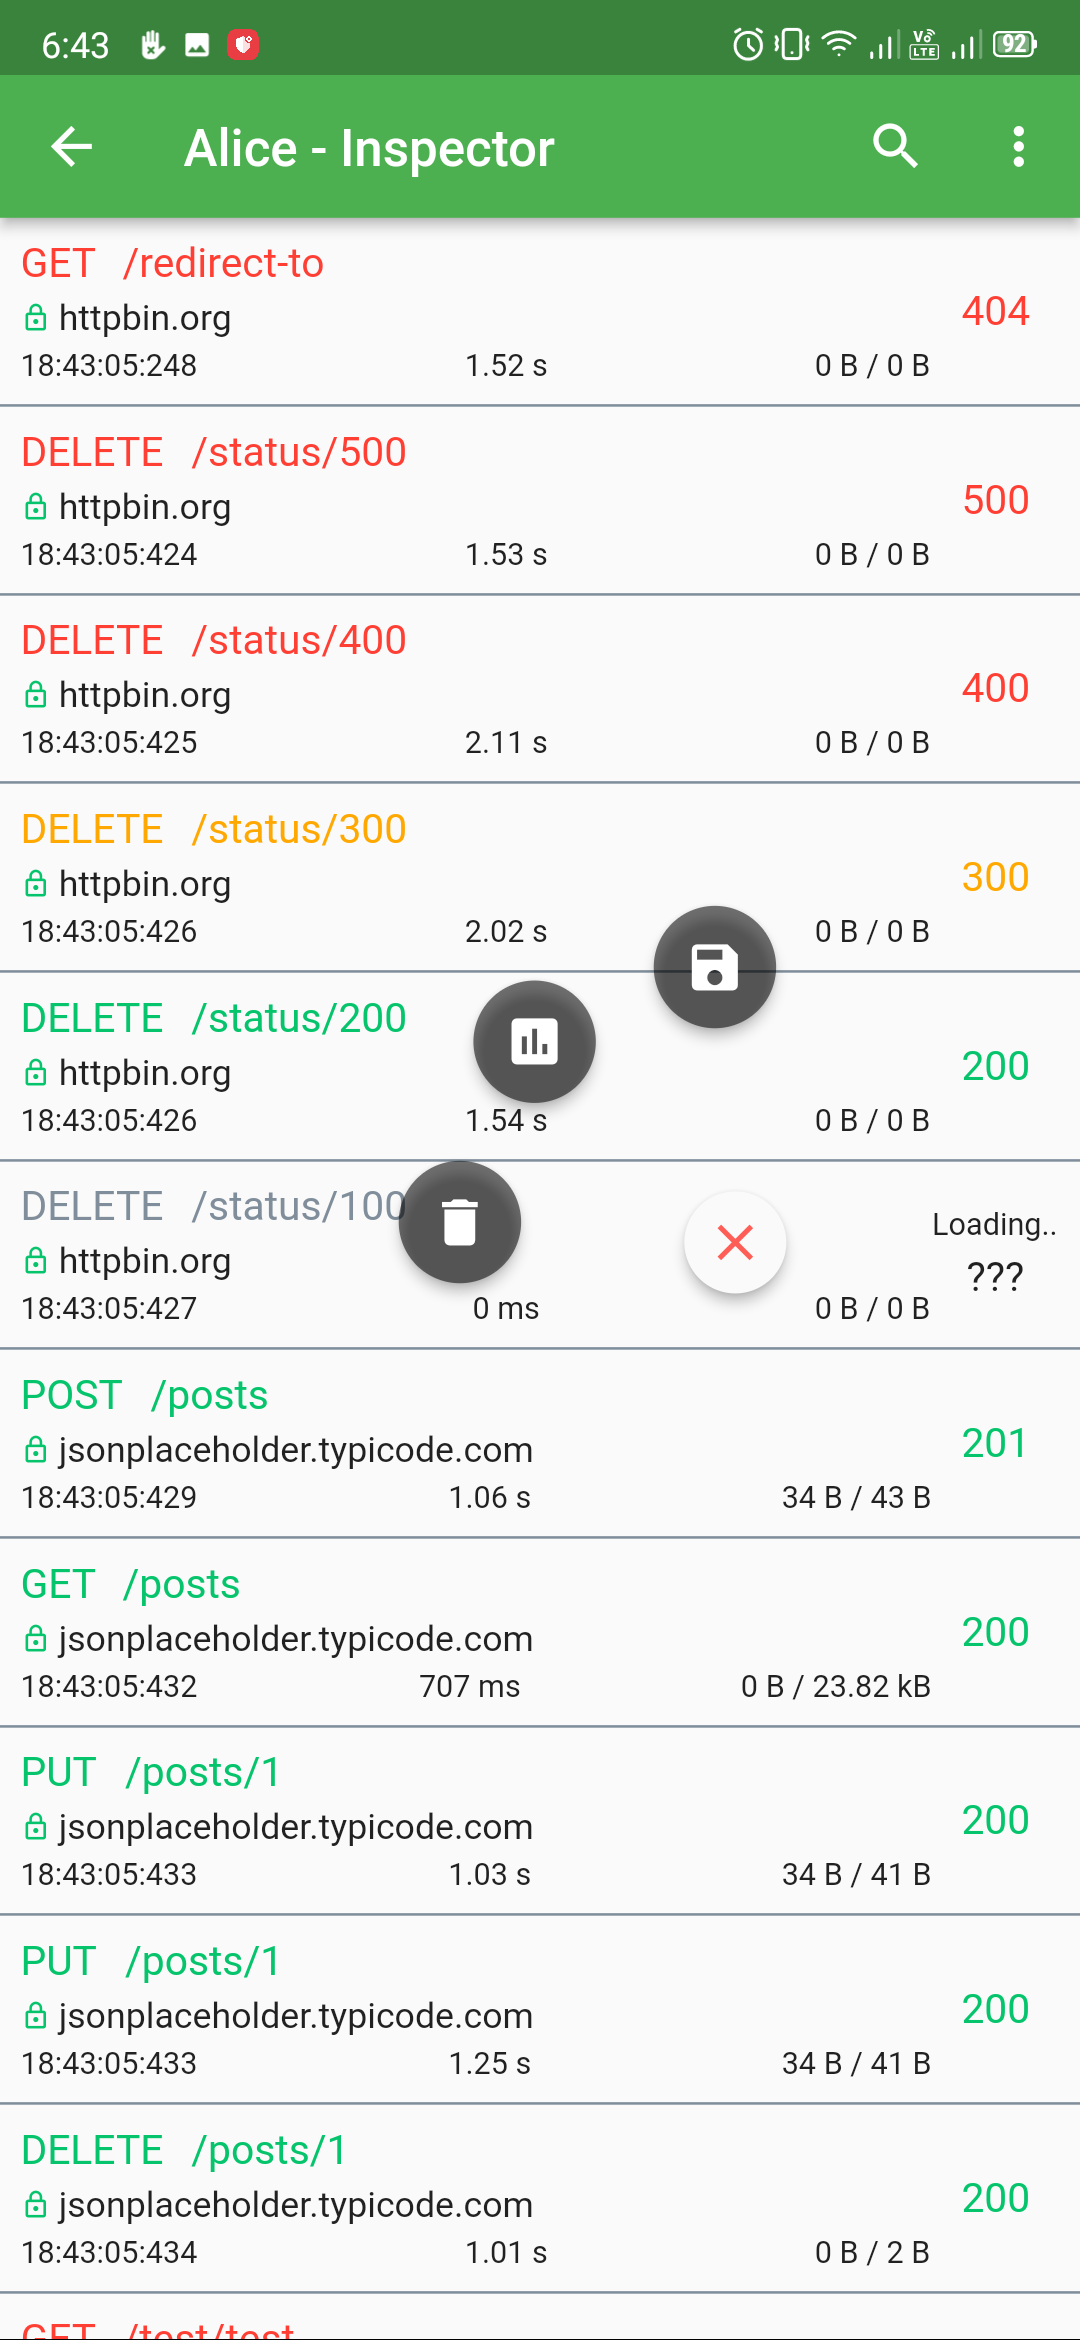
|
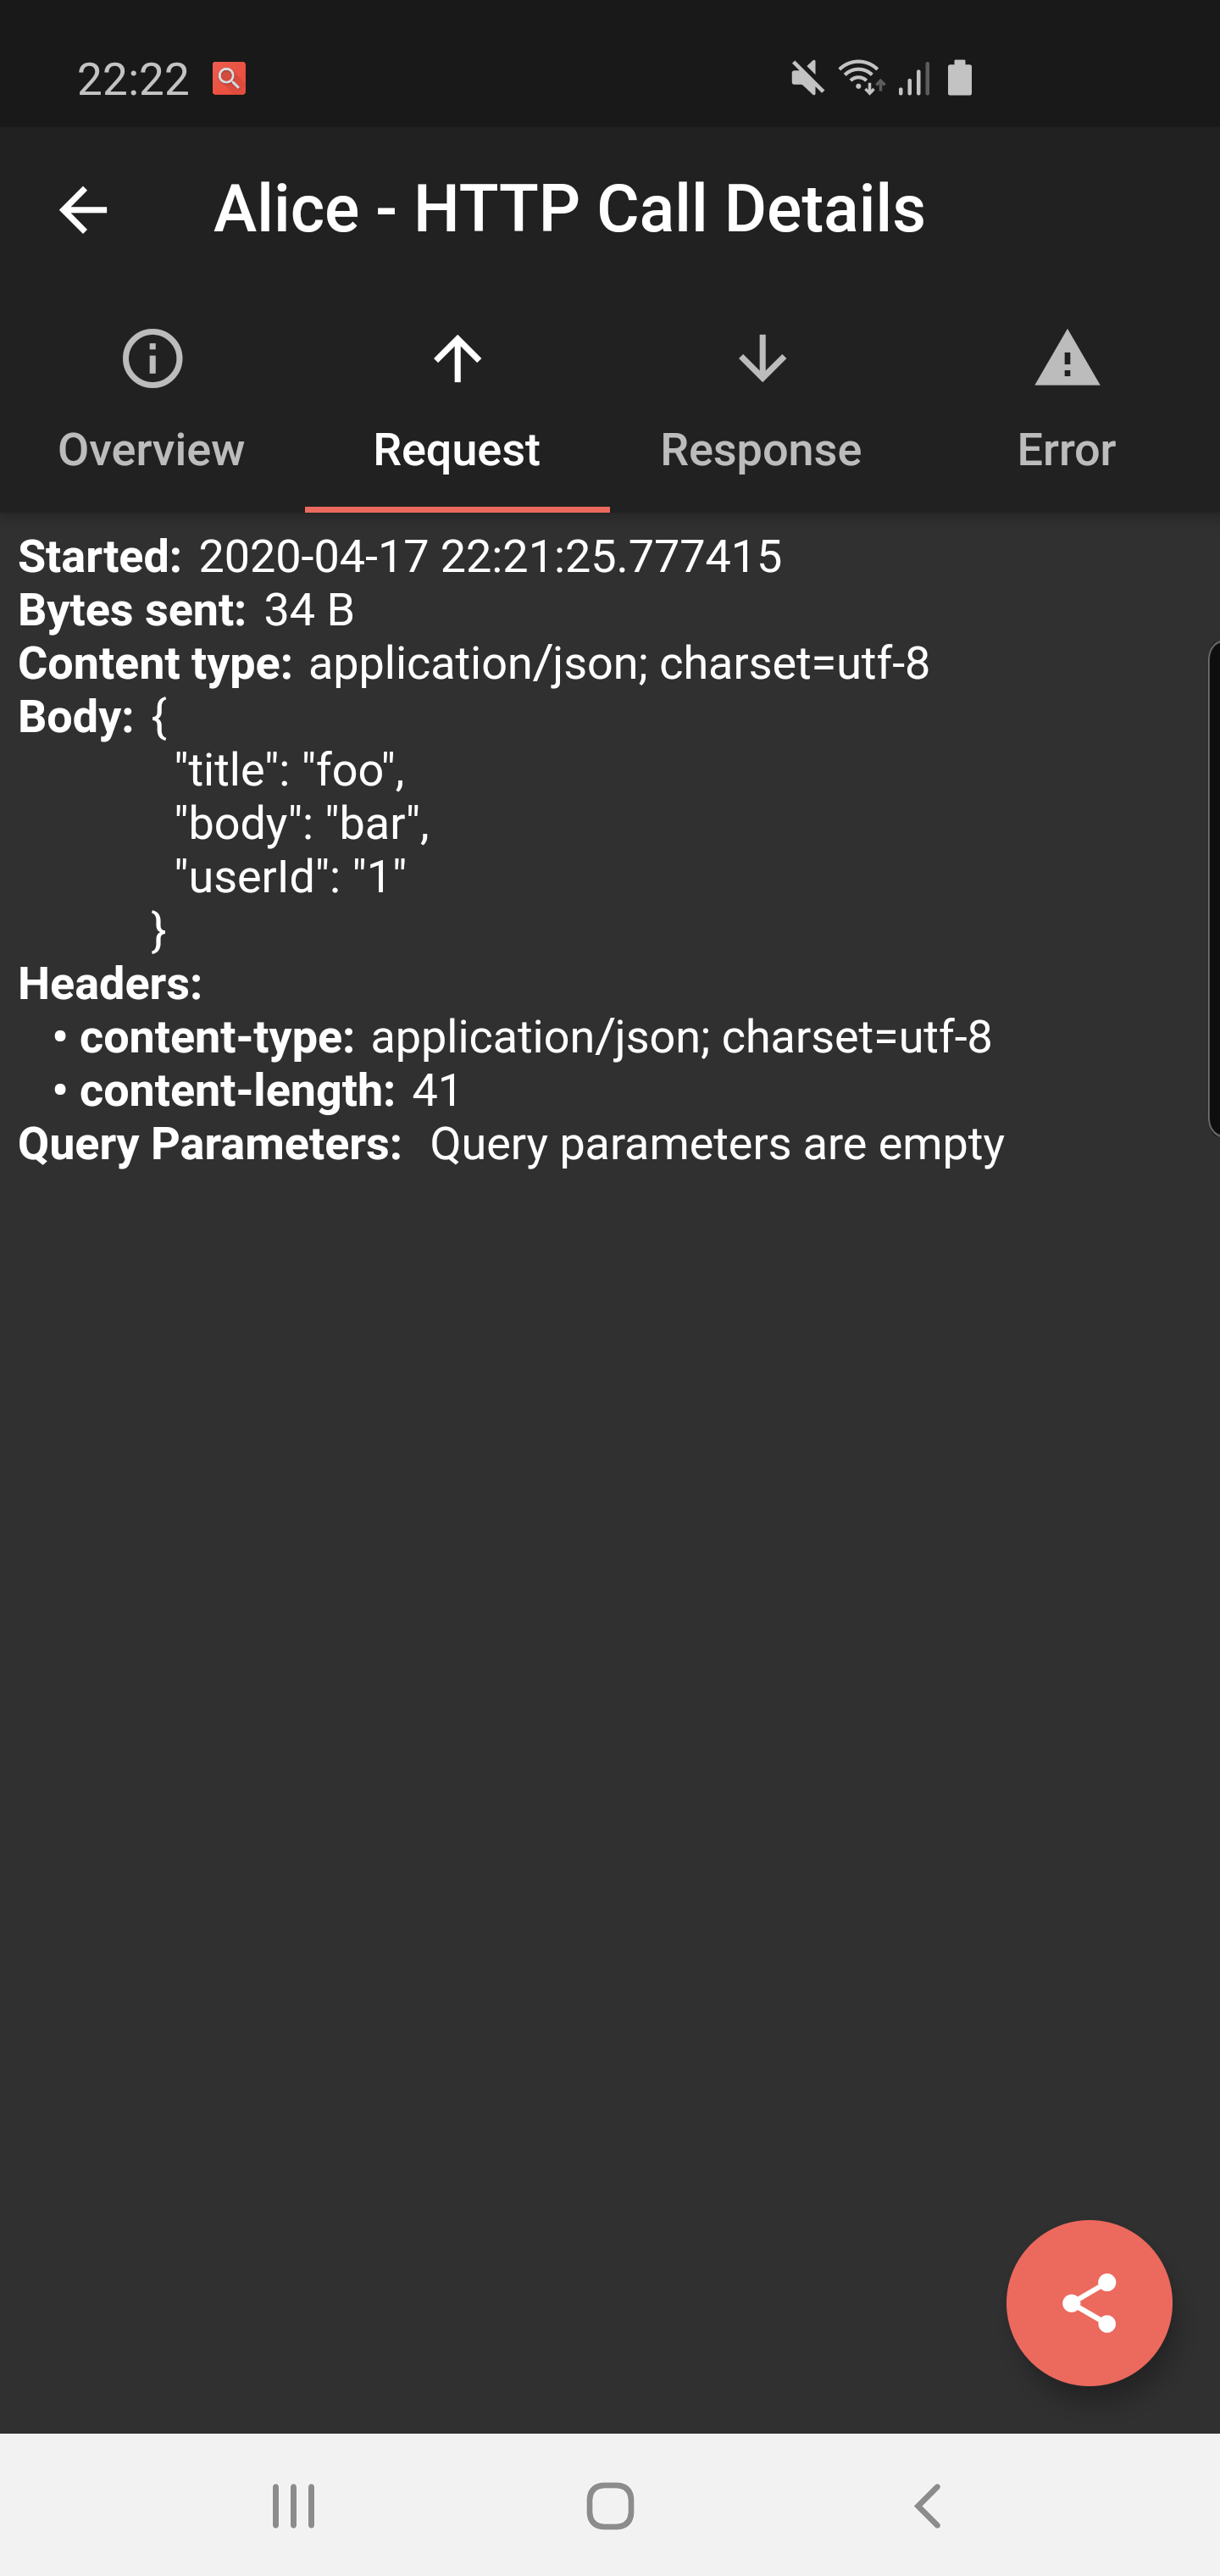
|
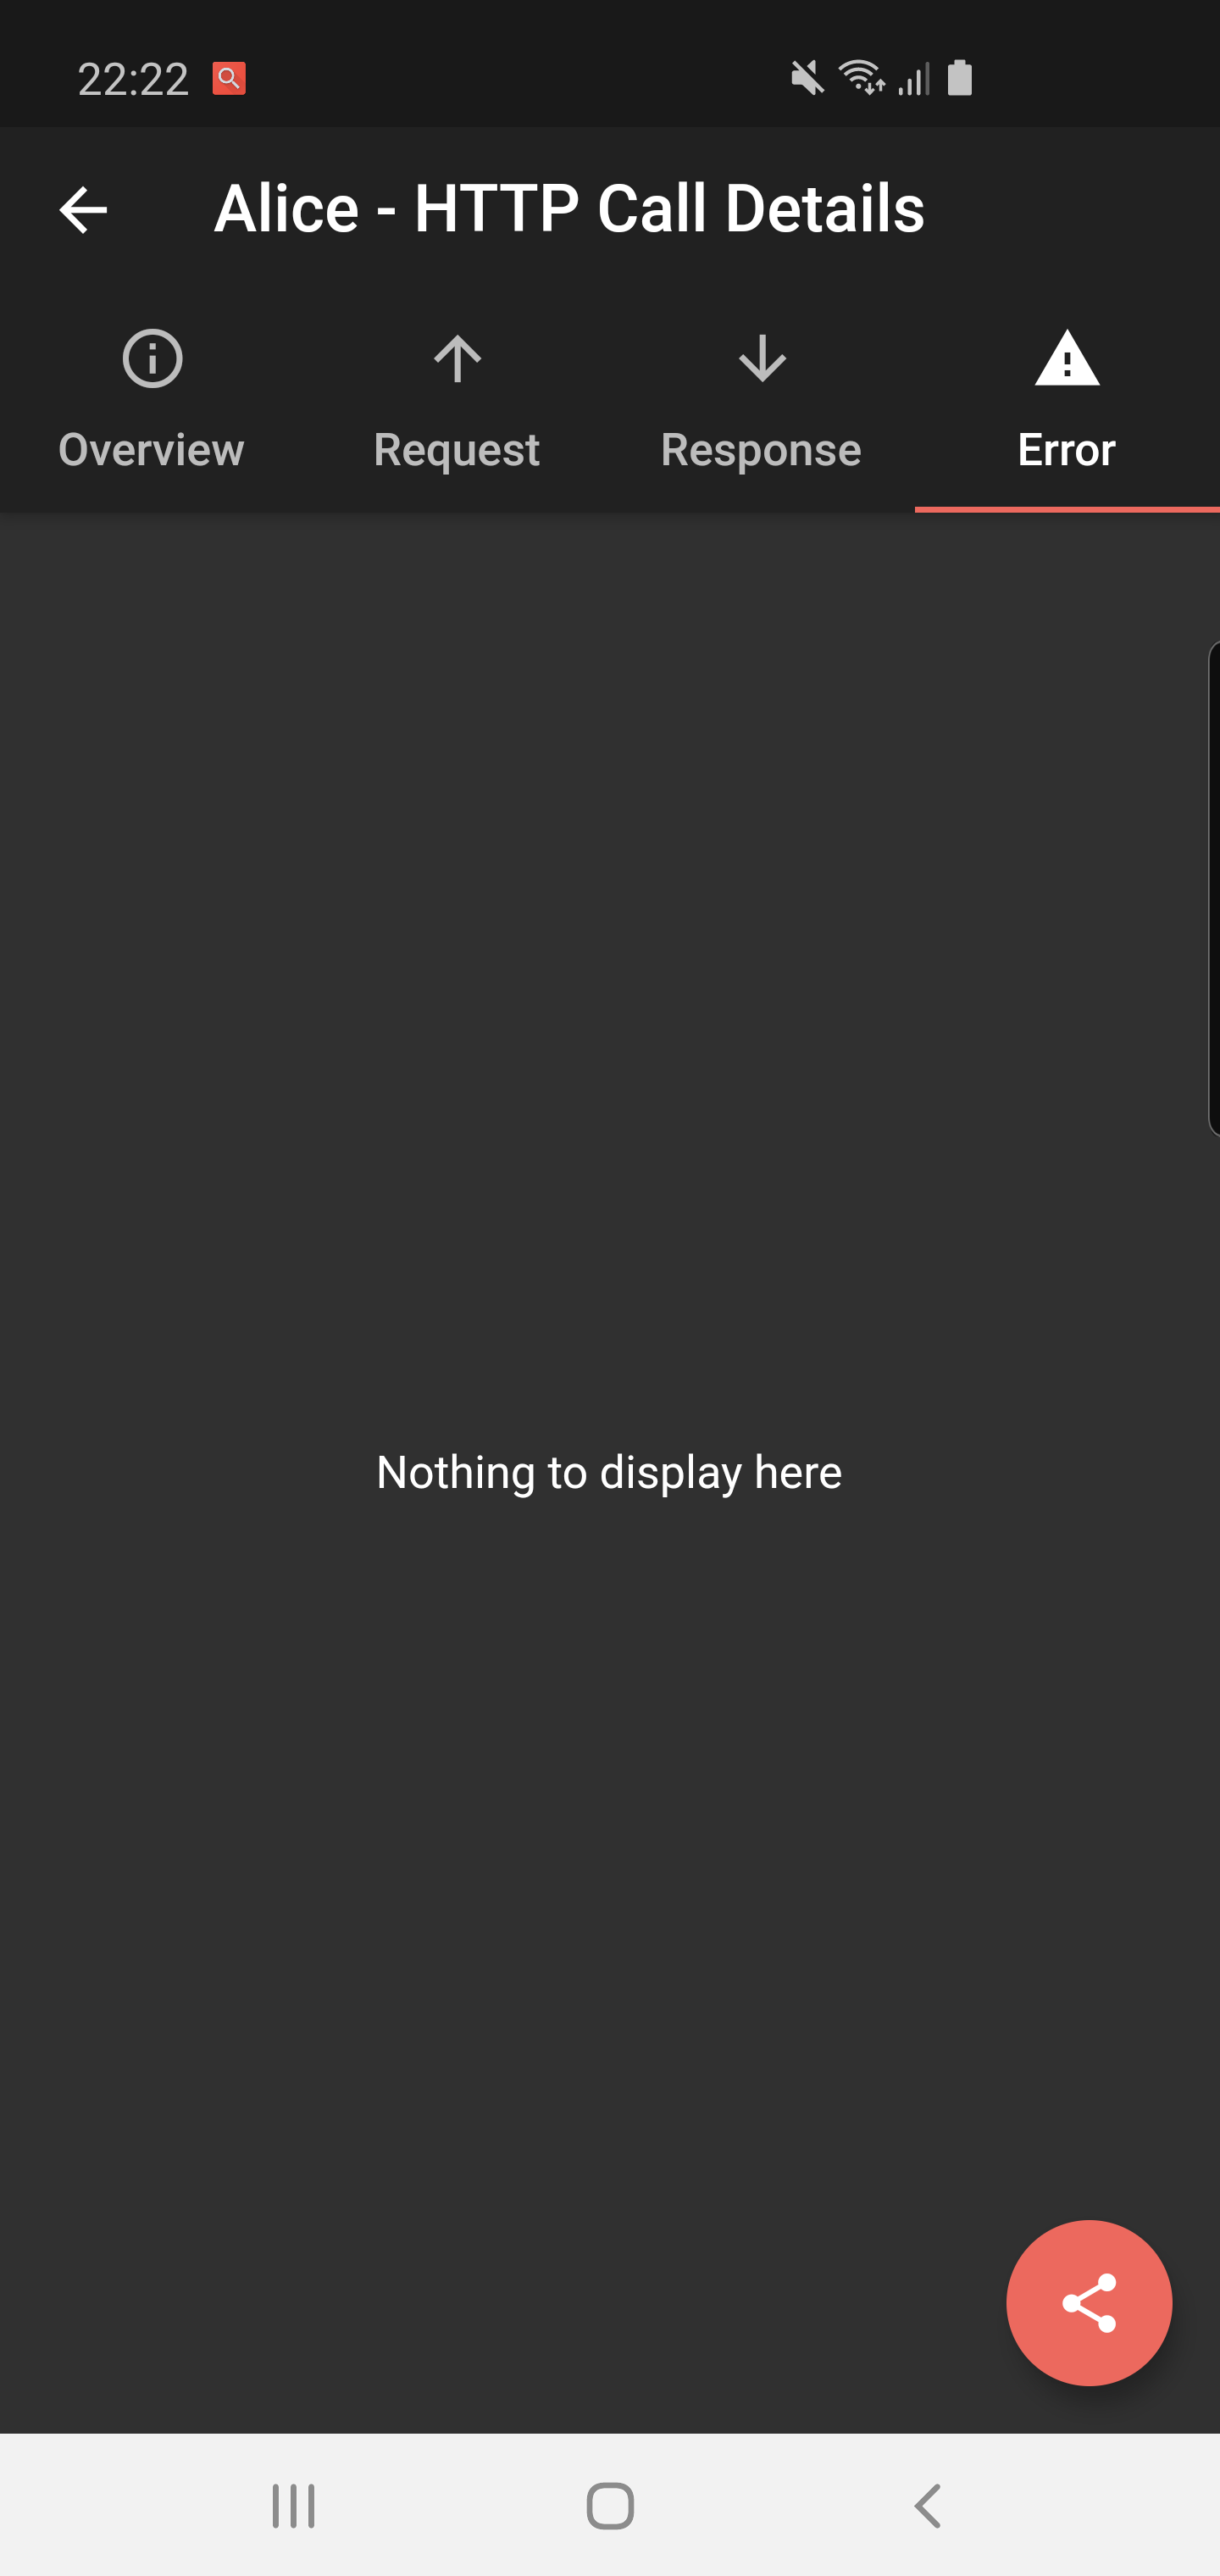
|

|
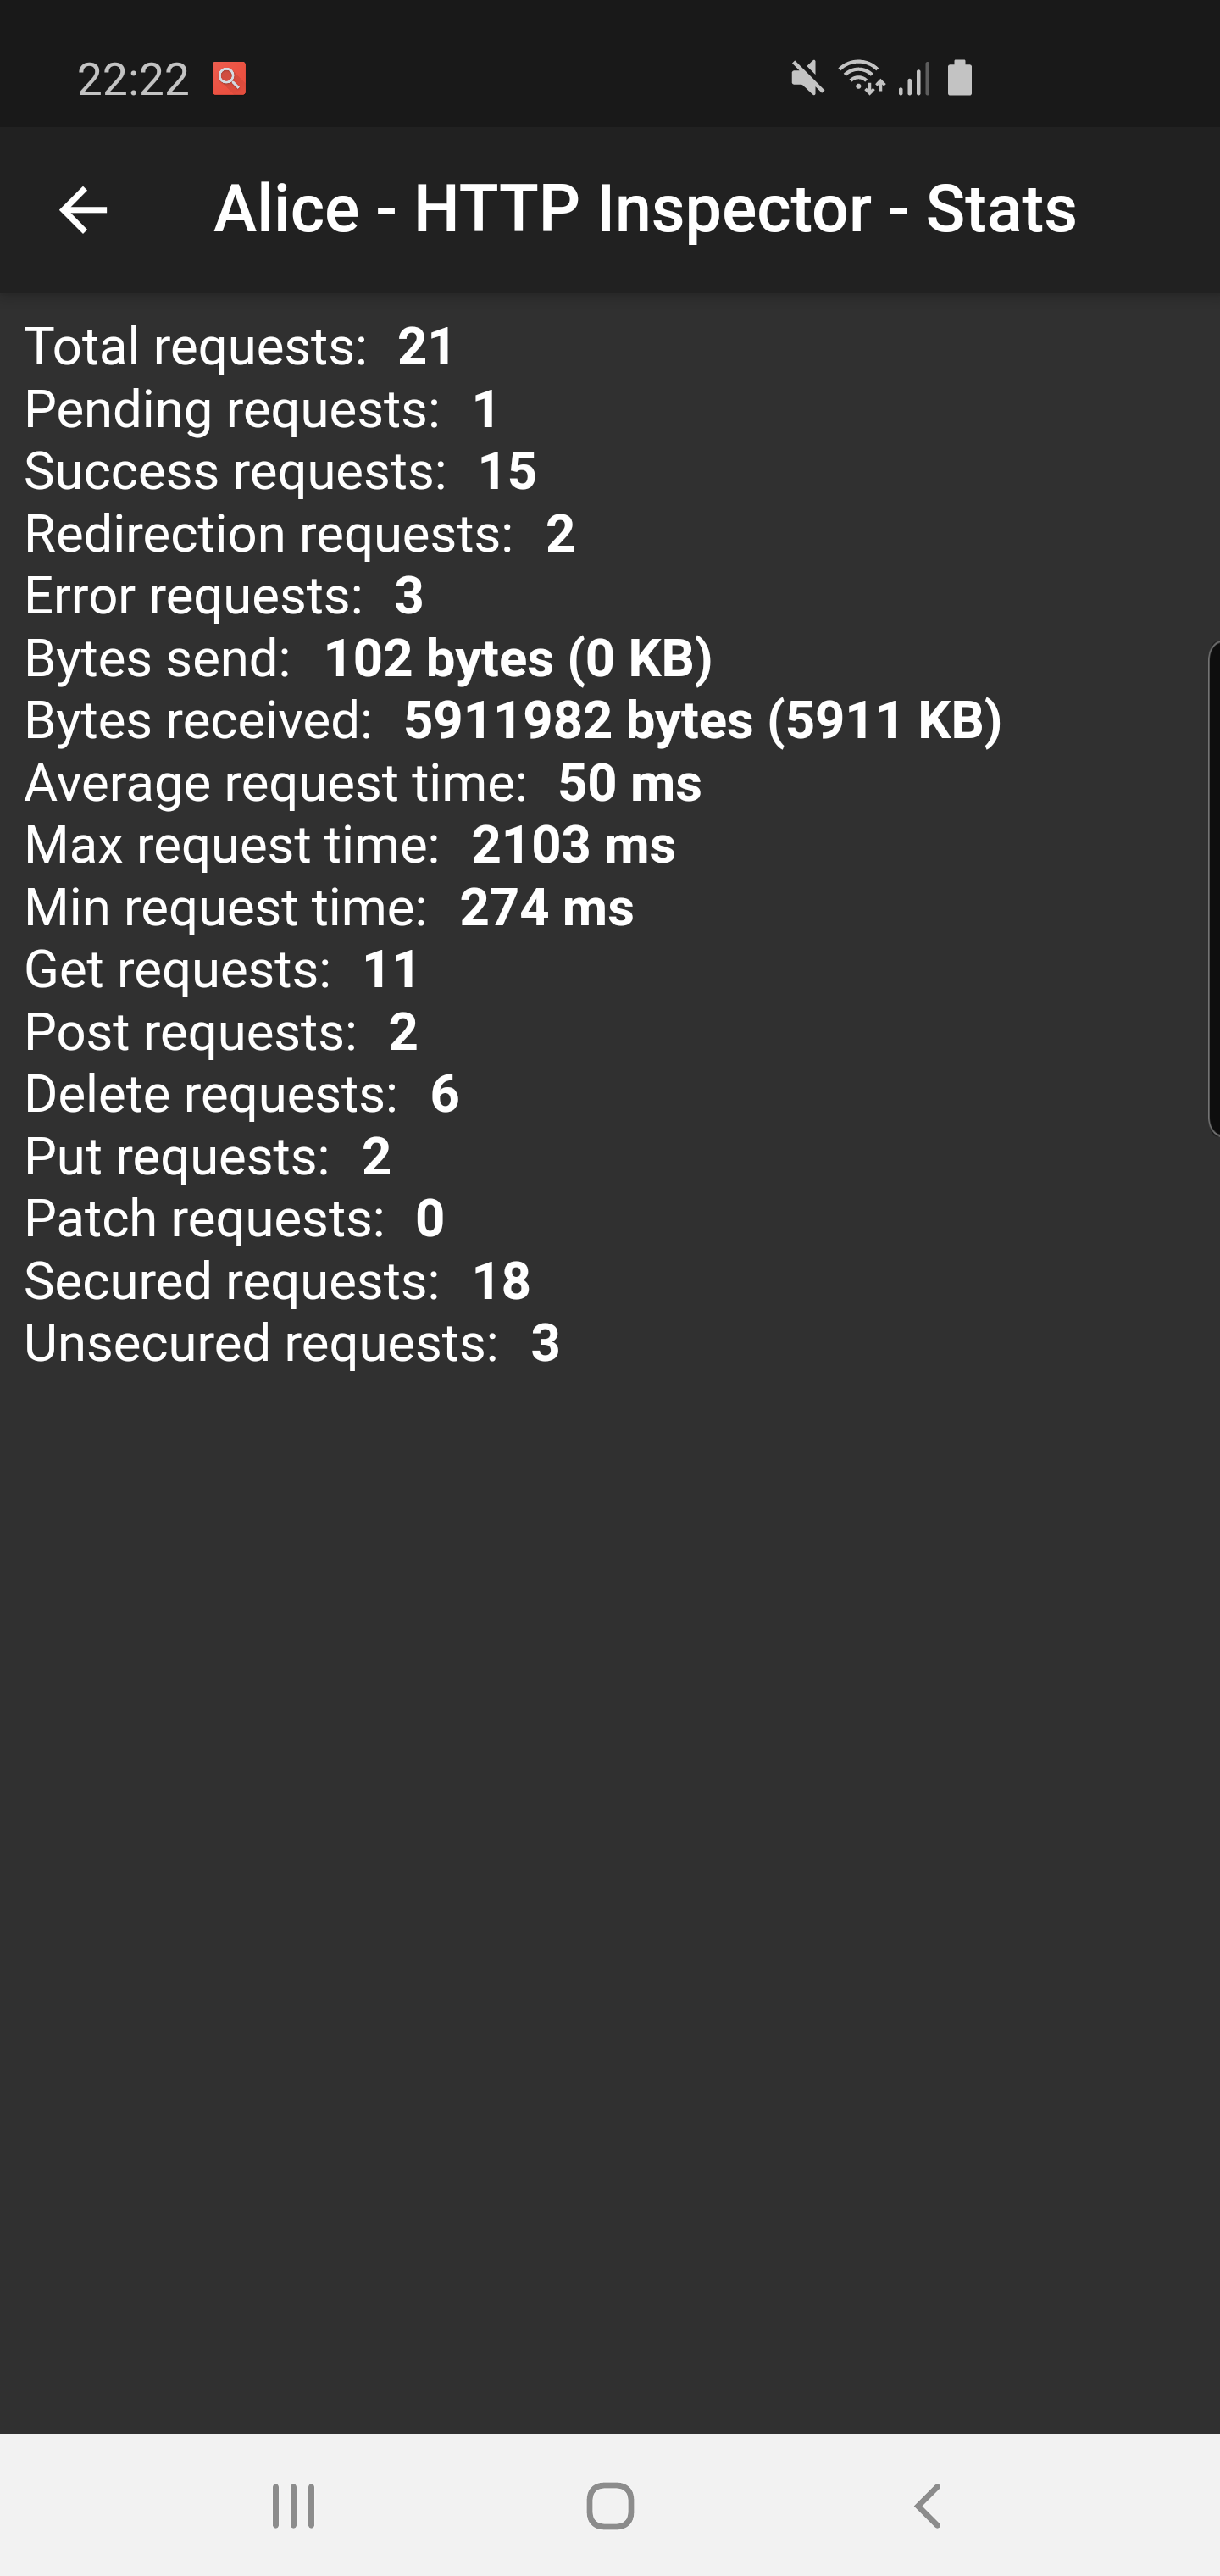
|
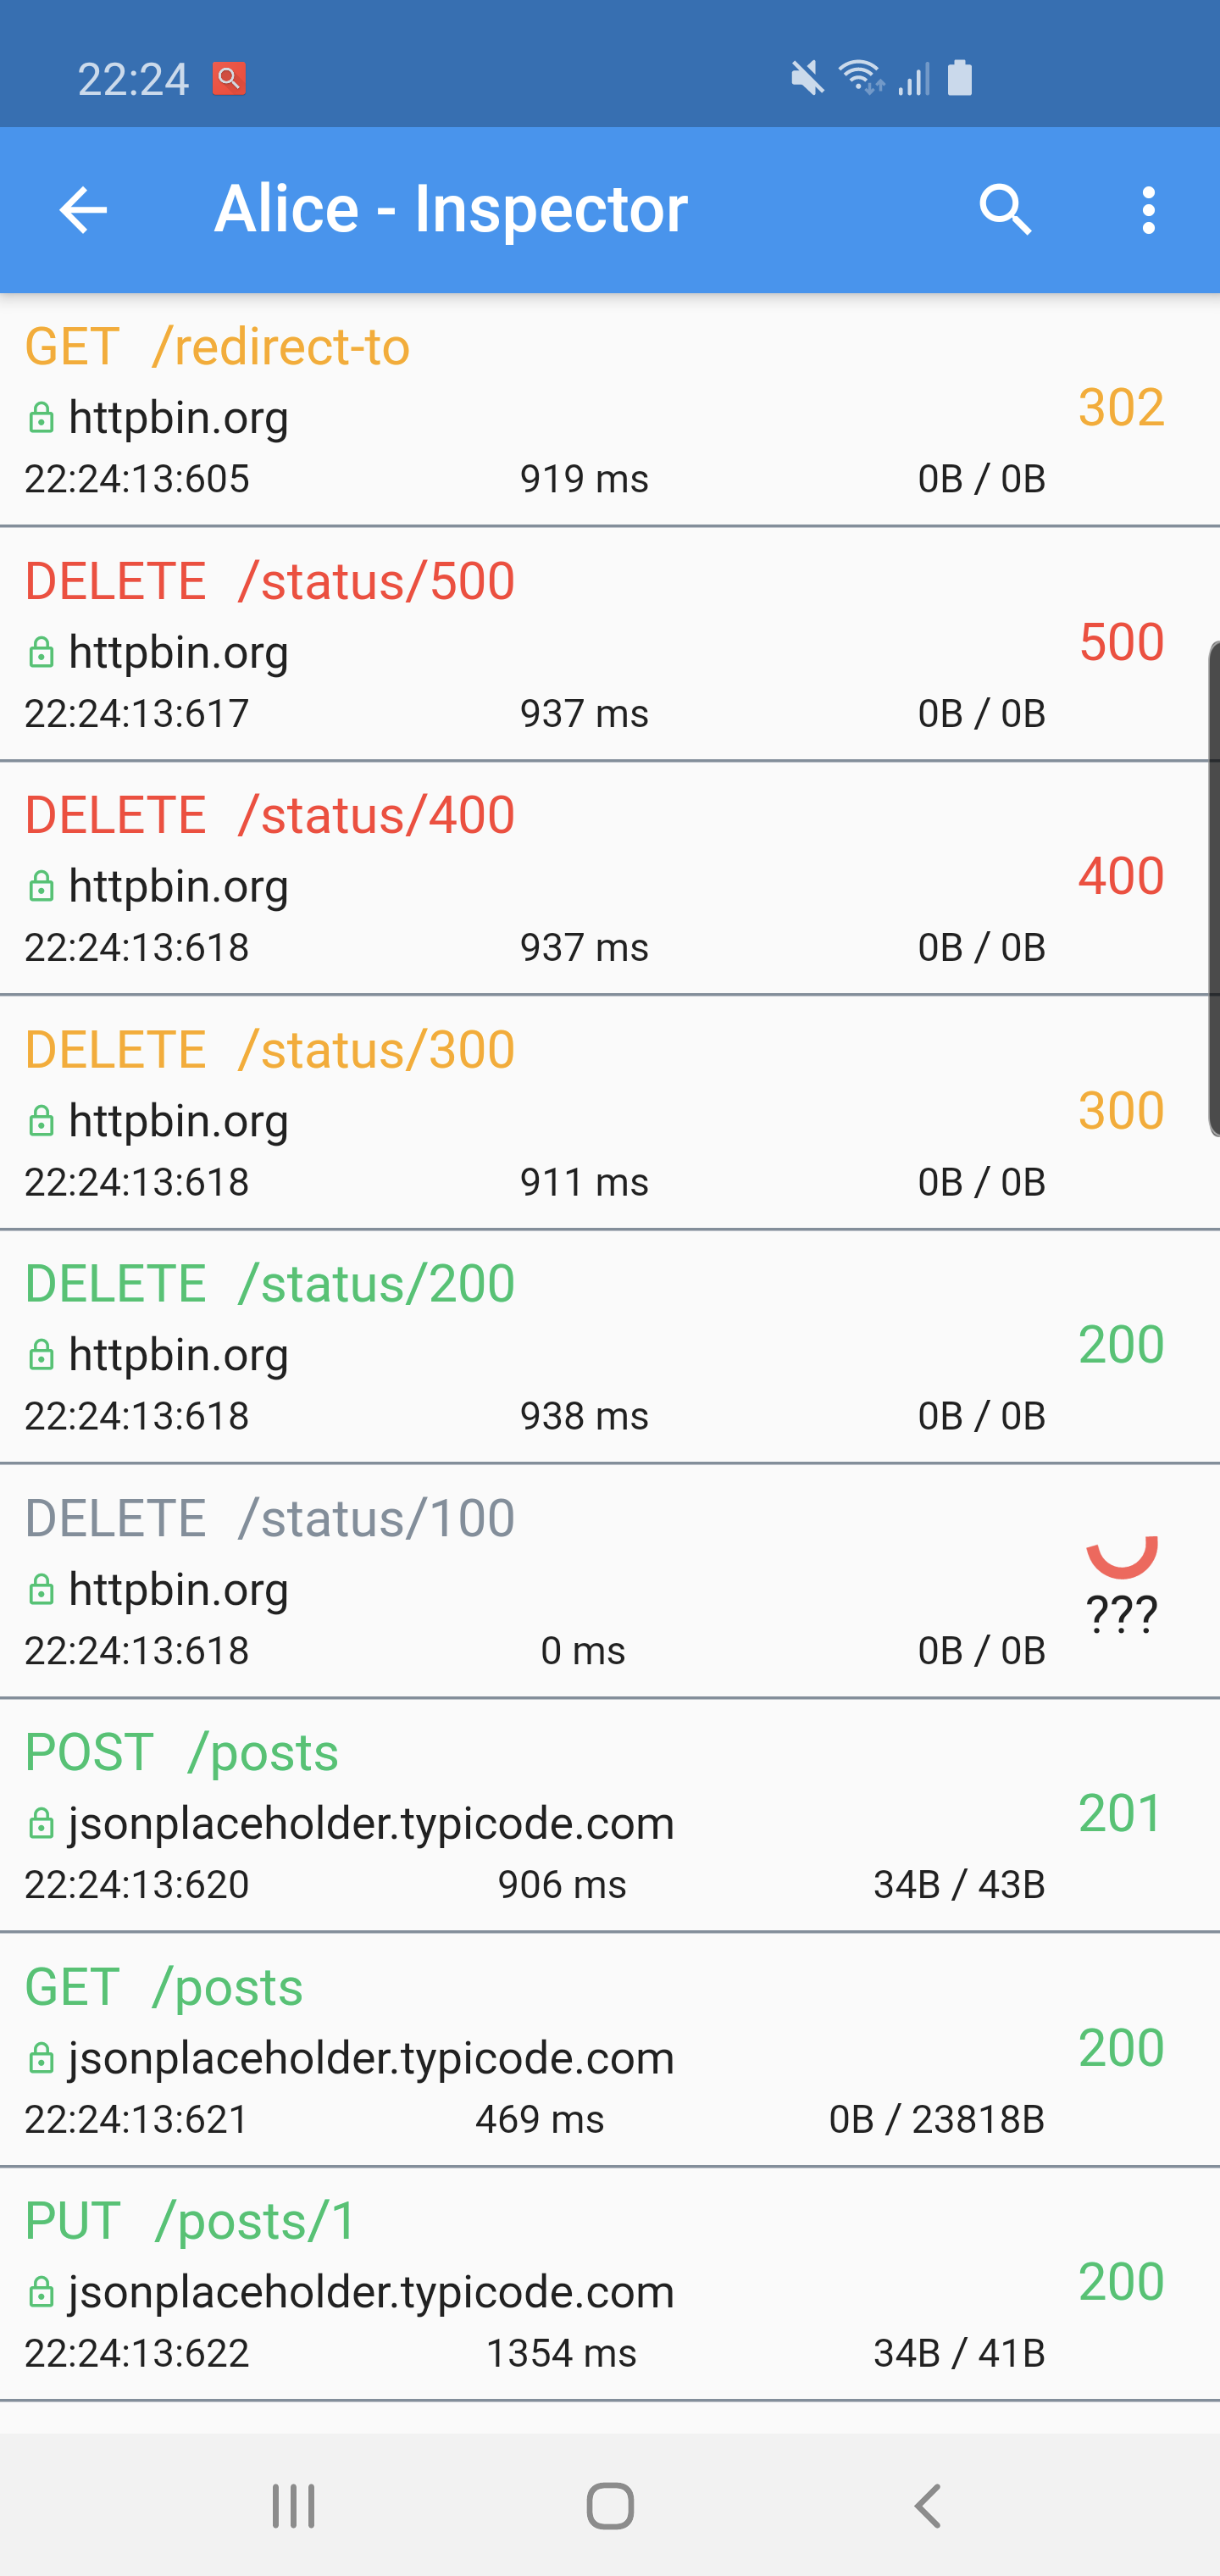
|

|
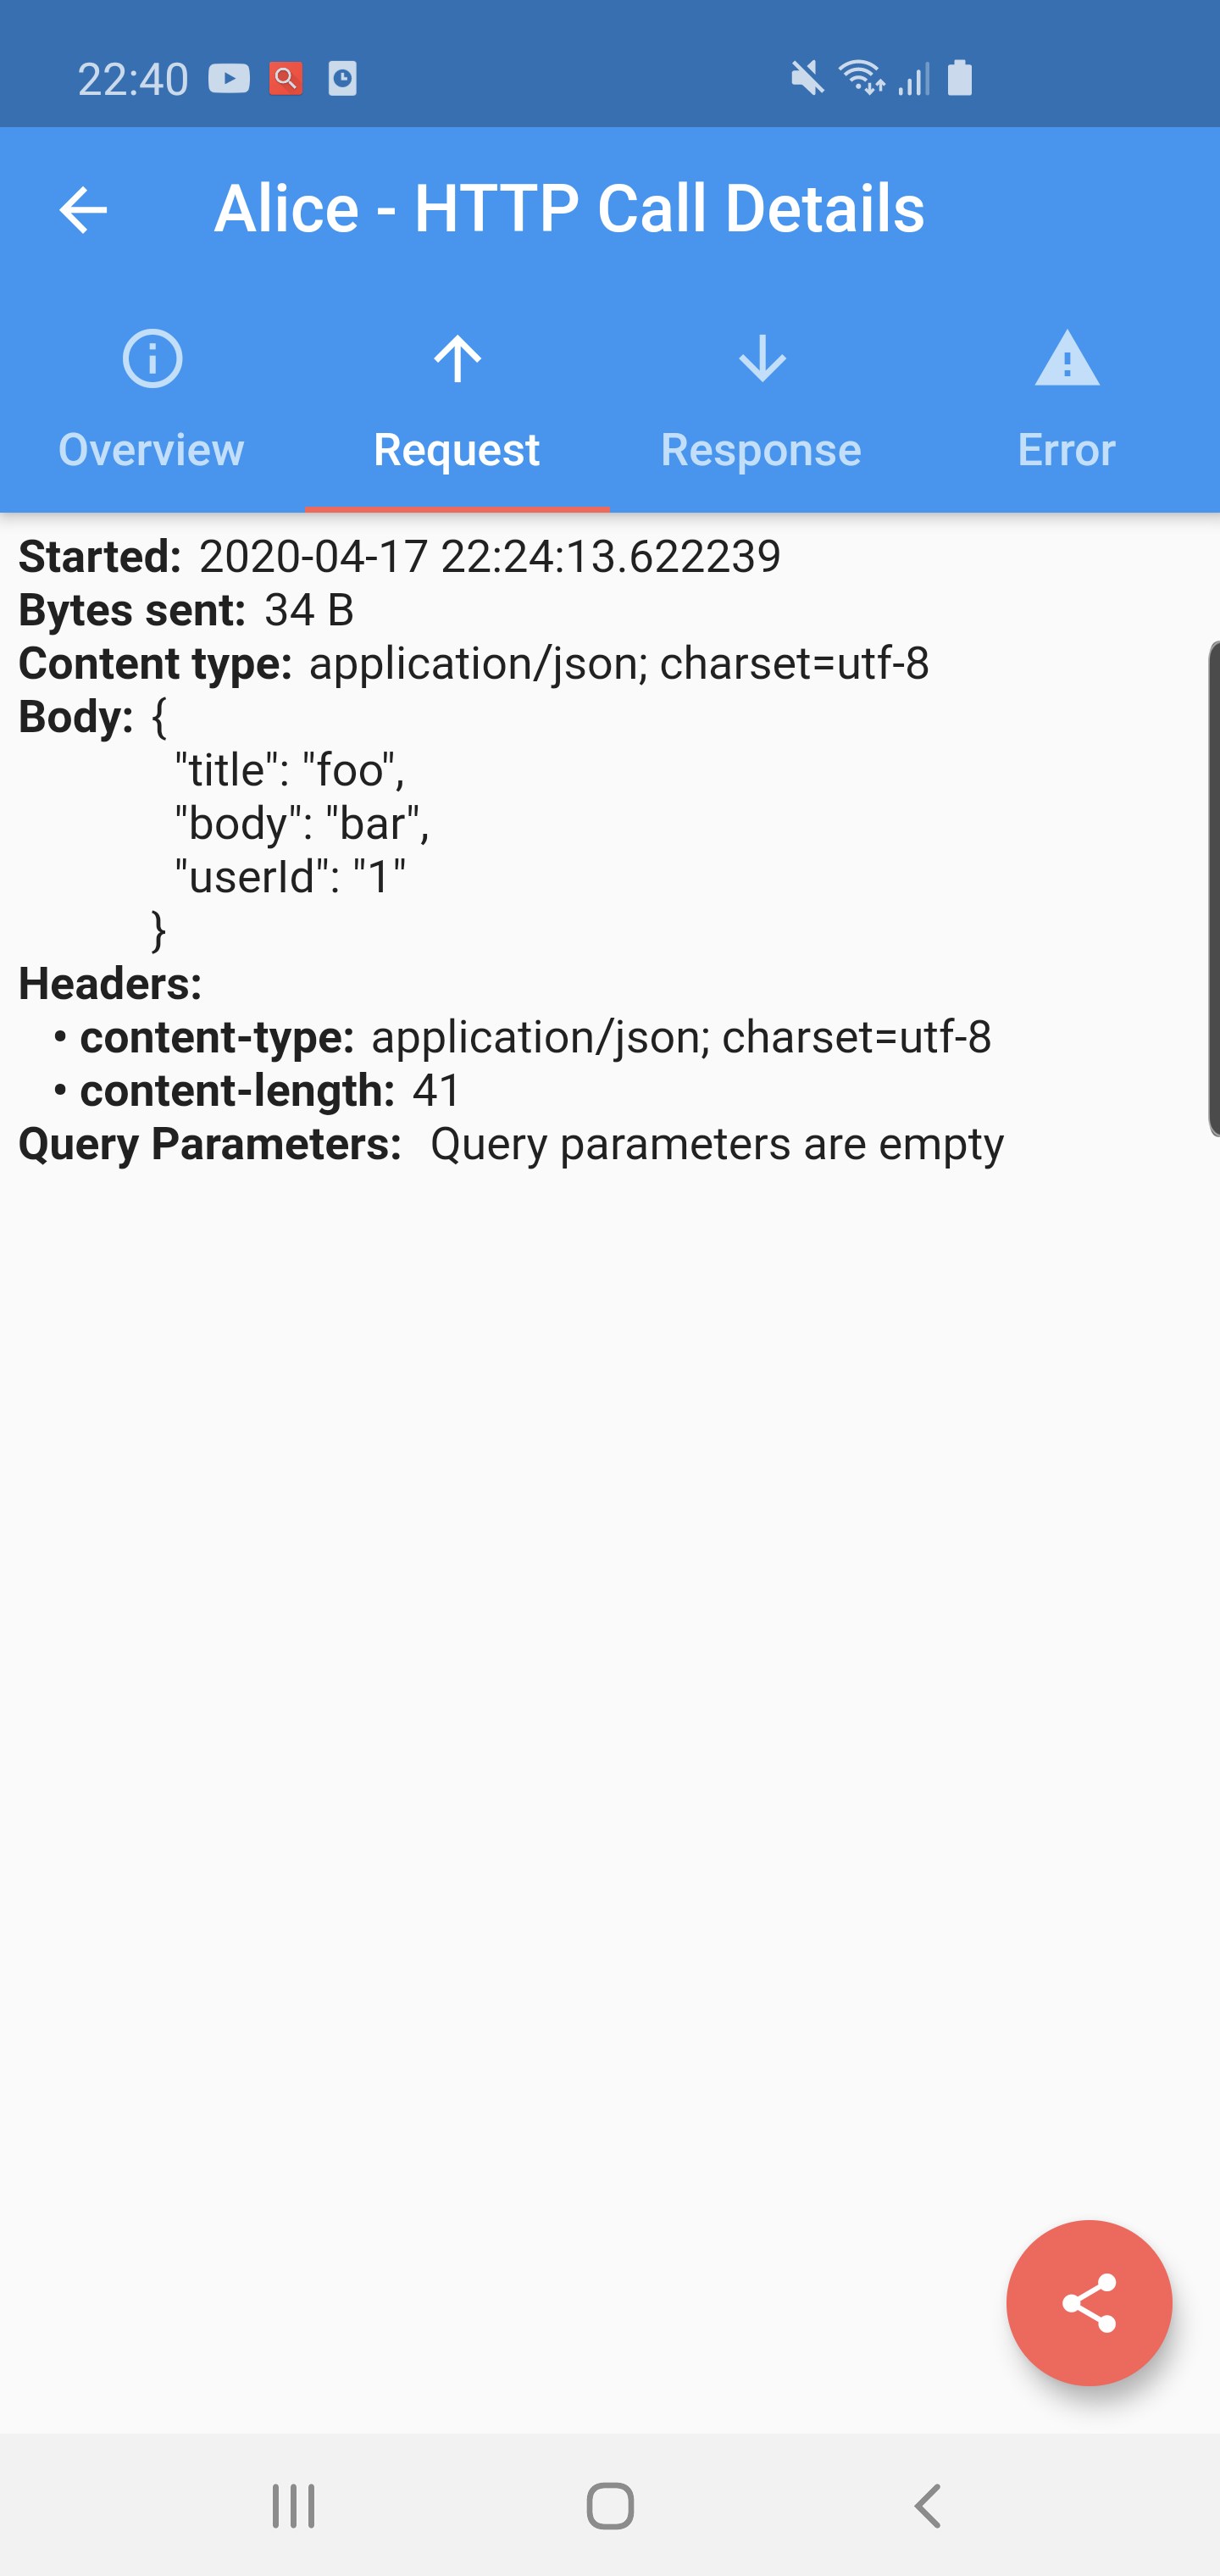
|

|
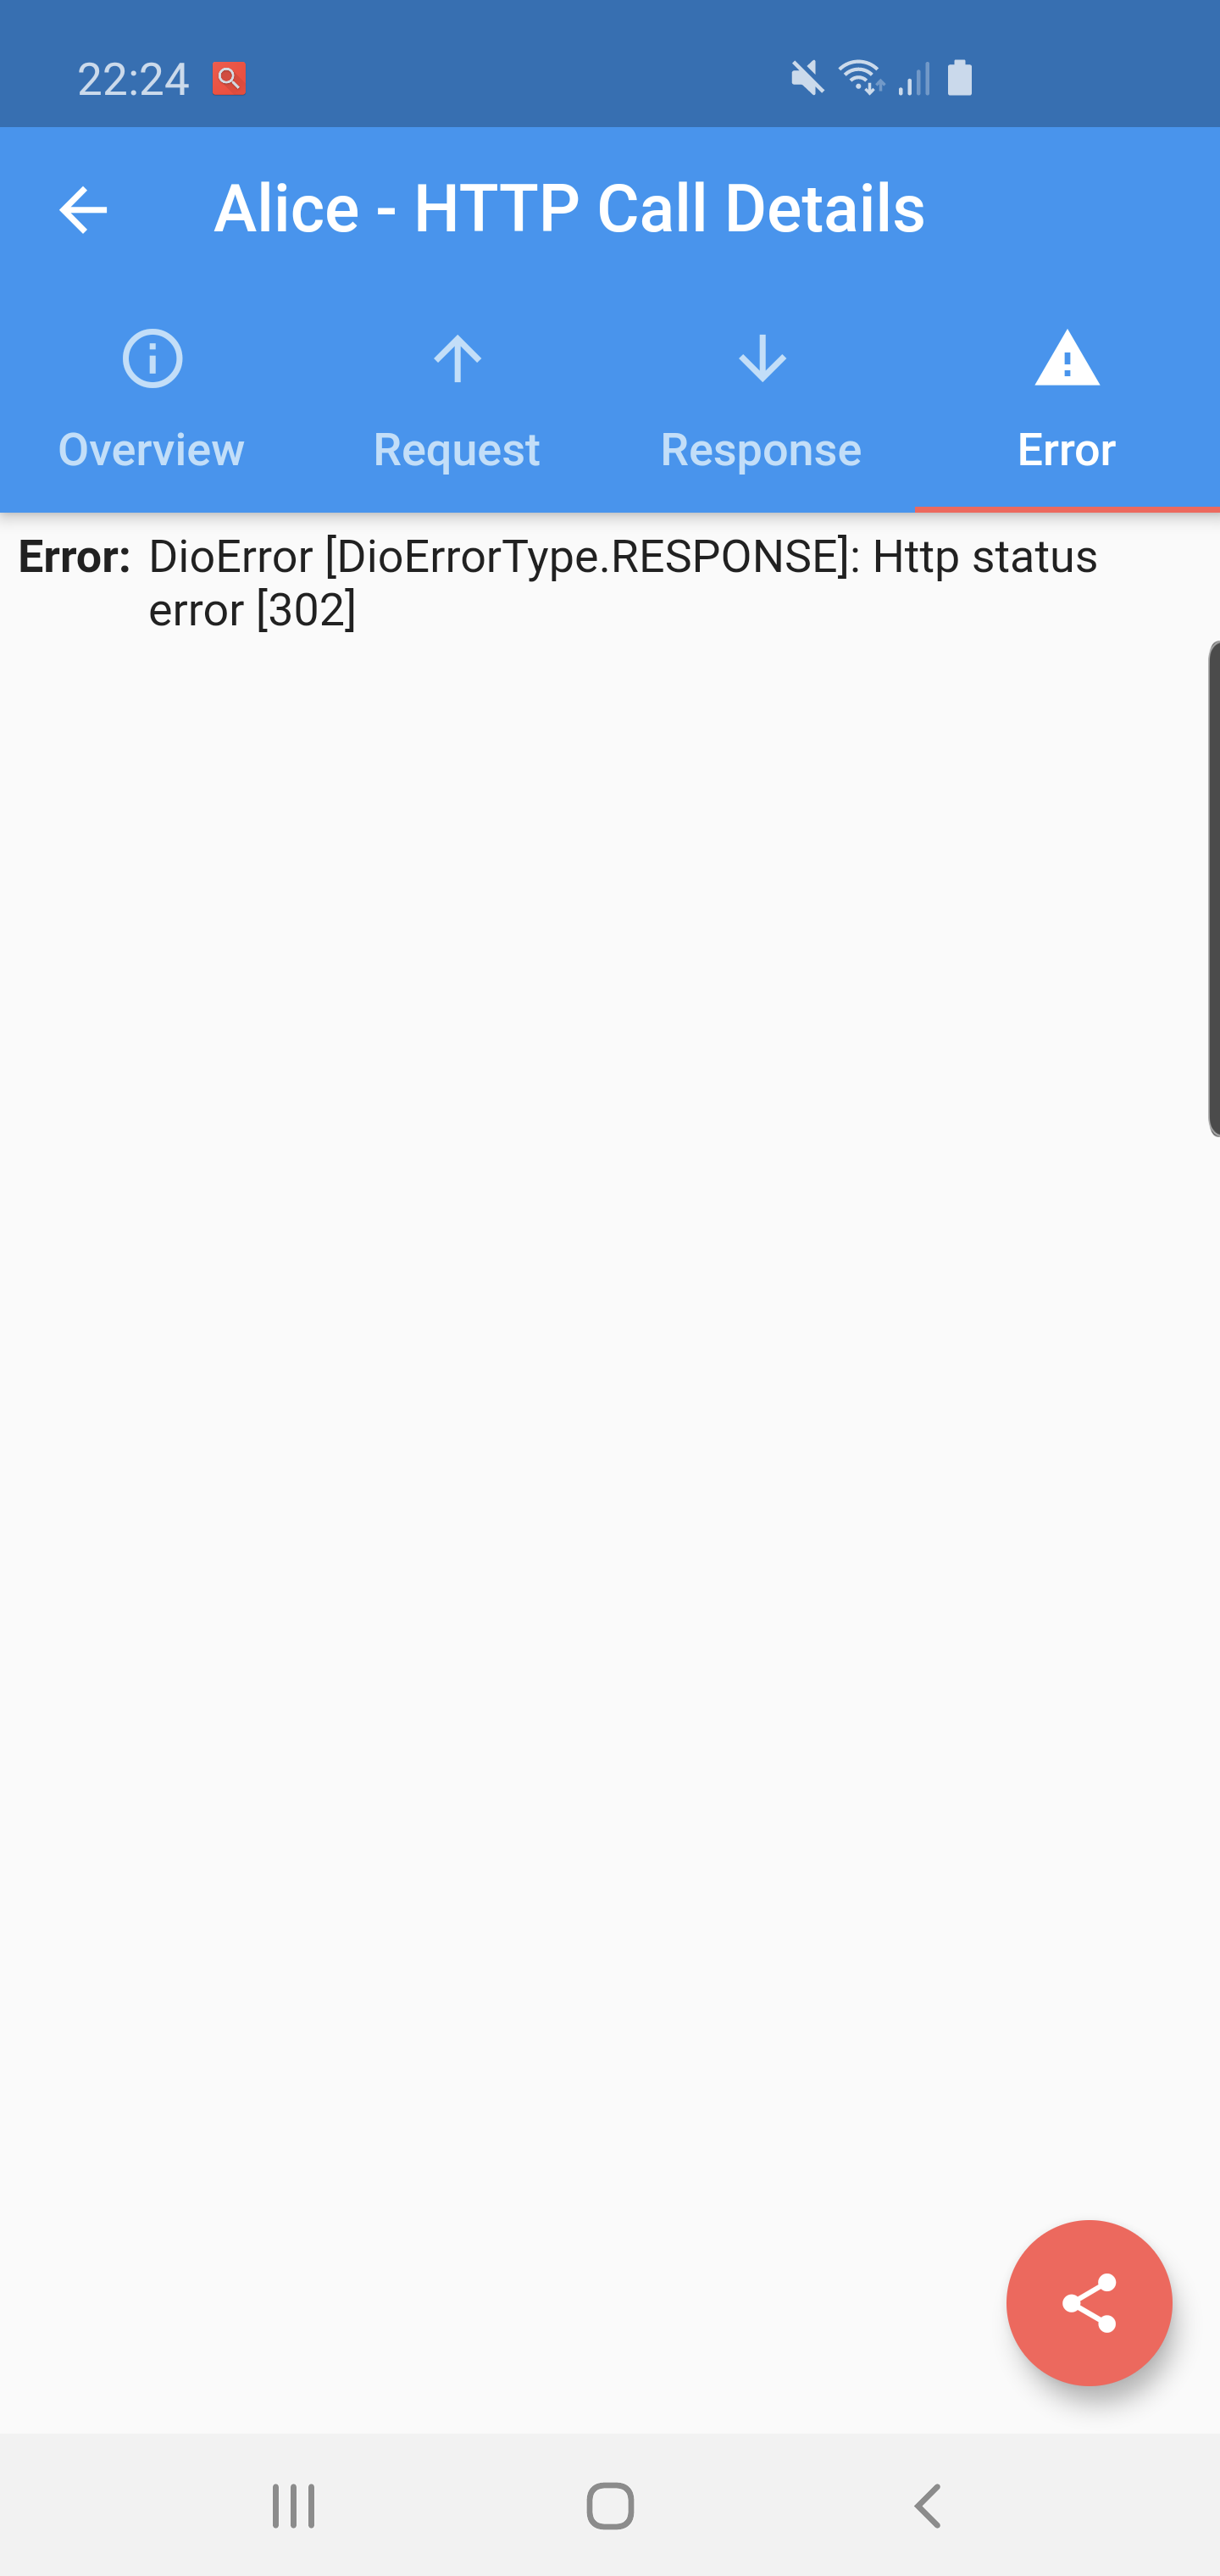
|
Supported Dart http client plugins:
Features:
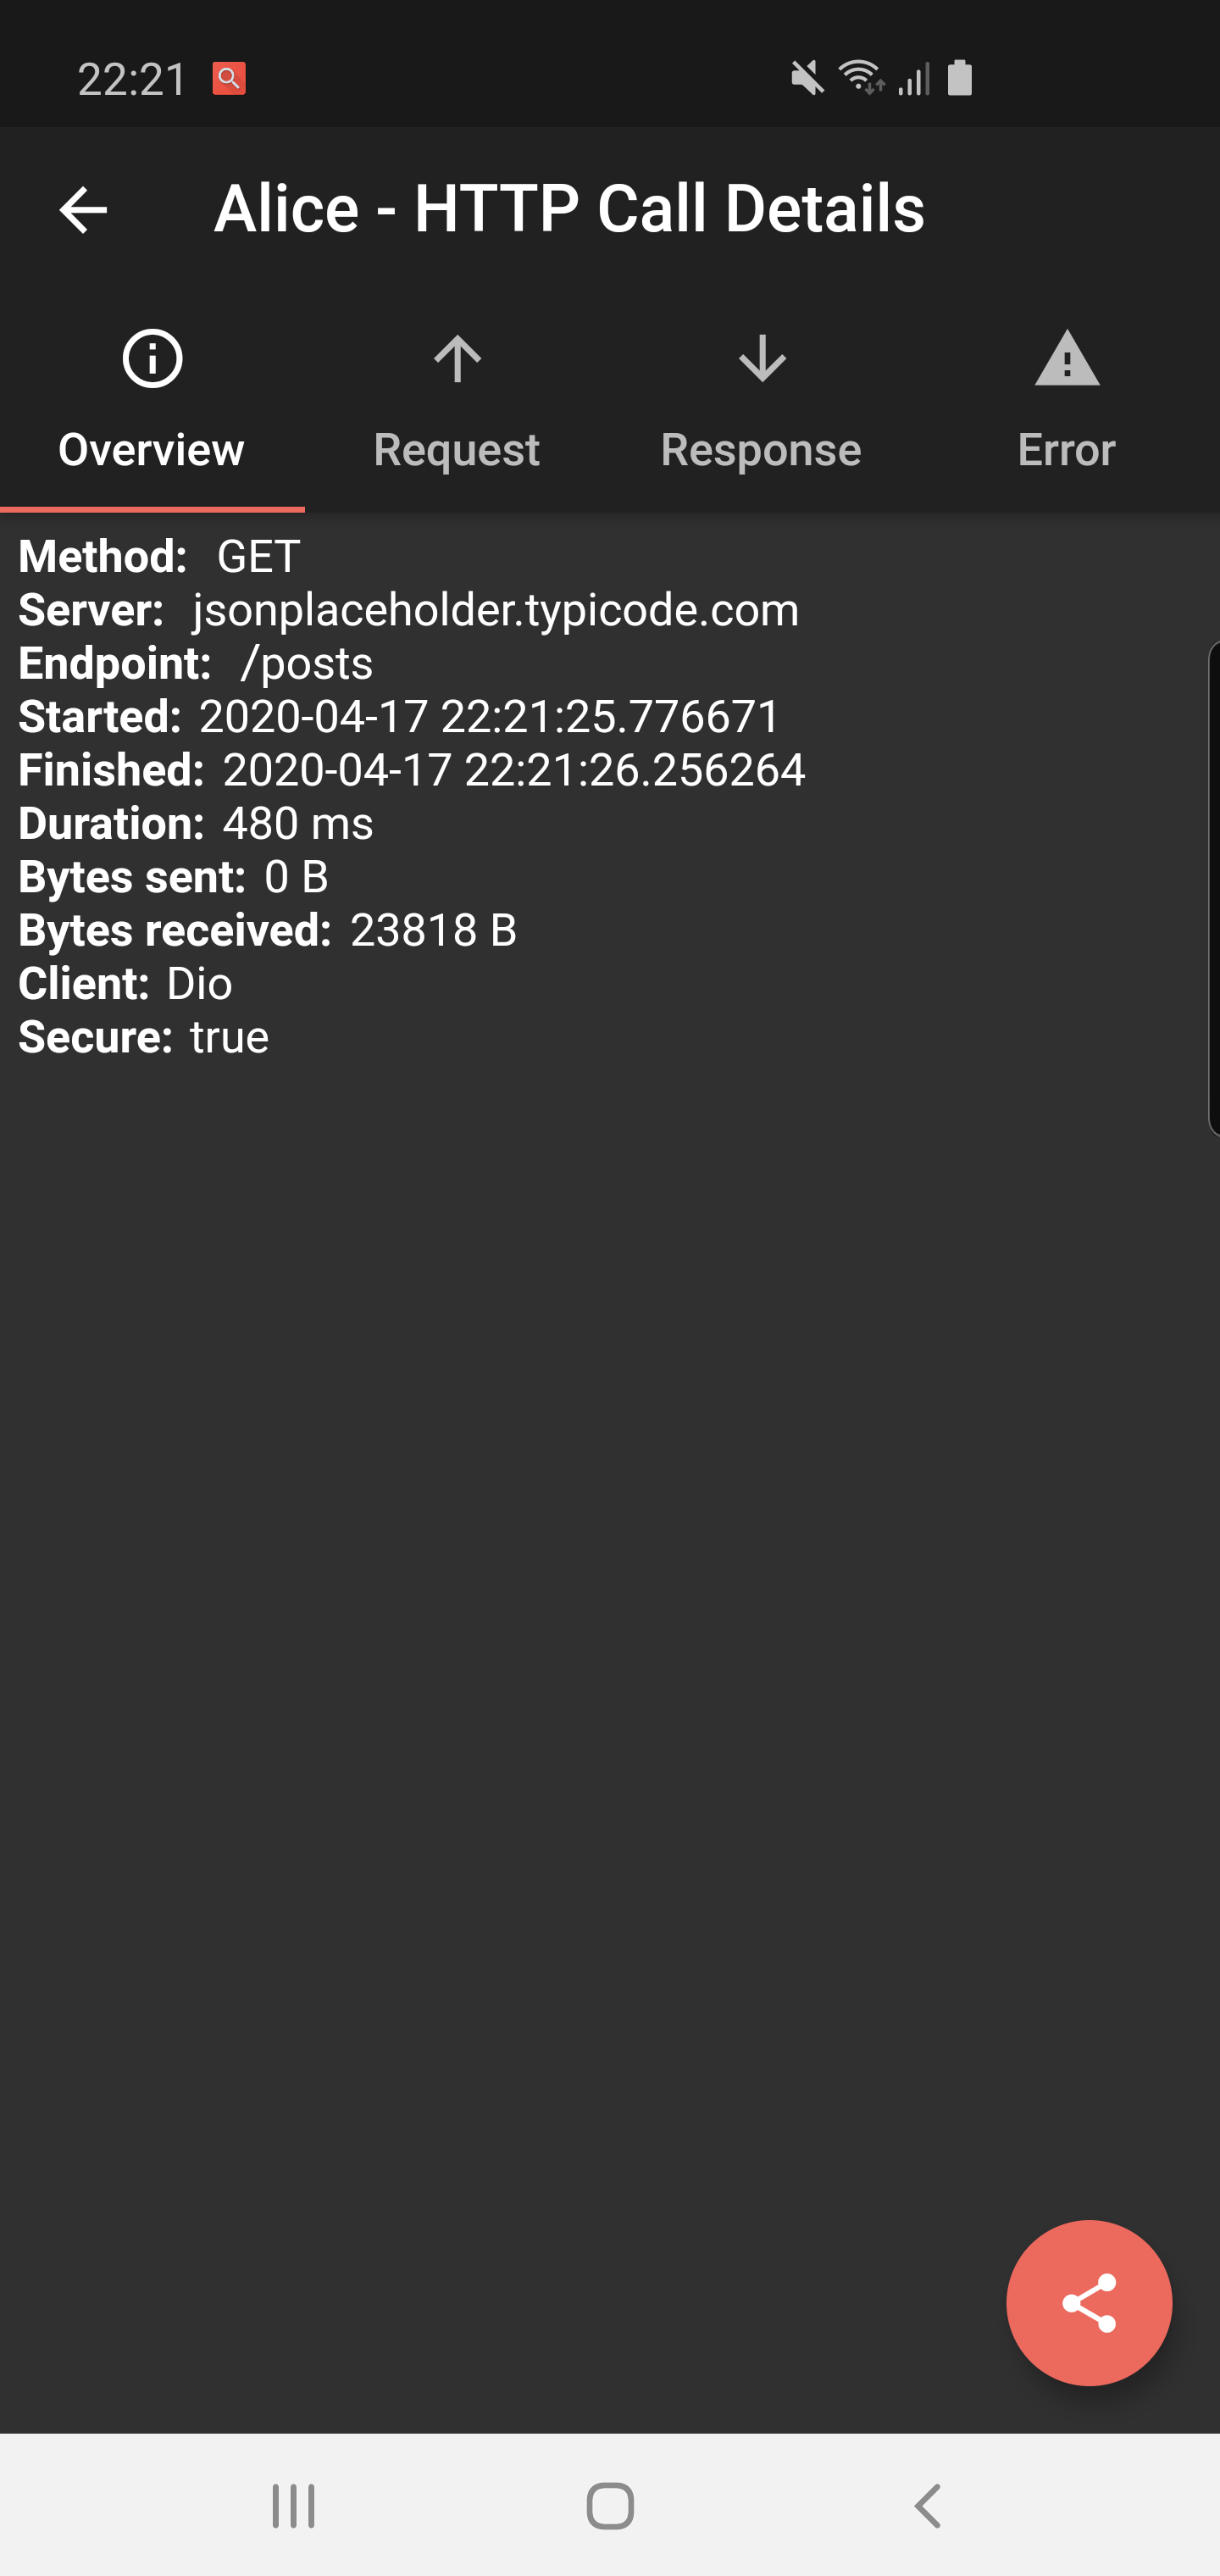
✔️ Detailed logs for each HTTP calls (HTTP Request, HTTP Response)
✔️ Inspector UI for viewing HTTP calls
✔️ Statistics
✔️ Support for top used HTTP clients in Dart
✔️ Error handling
✔️ HTTP calls search
✔️ Bubble overlay entry
dependencies:
  flutter_alice: ^1.0.1
$ flutter pub get
import 'package:flutter_alice/alice.dart';
// Define a navigator key
final navigatorKey = GlobalKey<NavigatorState>();

// Create Alice with the navigator key
final alice = Alice(navigatorKey: navigatorKey);
MaterialApp(
  navigatorKey: navigatorKey,
  home: YourHomeWidget(),
)
You need to add this navigator key in order to show inspector UI.
// Don't forget to import overlay_support package
import 'package:overlay_support/overlay_support.dart';

OverlaySupport(
  child: MaterialApp(
    navigatorKey: navigatorKey,
    home: YourHomeWidget(),
  ),
)
Add interceptor to your Dio instance:
final dio = Dio();
dio.interceptors.add(alice.getDioInterceptor());
You can use extension methods for cleaner code:
// Import extensions
import 'package:flutter_alice/core/alice_http_extensions.dart';

// Use extension methods
http
  .get(Uri.parse('https://jsonplaceholder.typicode.com/posts'))
  .interceptWithAlice(alice);

// For POST requests with body
http
  .post(Uri.parse('https://jsonplaceholder.typicode.com/posts'), body: body)
  .interceptWithAlice(alice, body: body);
Or use the standard approach:
http.get(Uri.parse('https://jsonplaceholder.typicode.com/posts')).then((response) {
  alice.onHttpResponse(response);
});

// For POST requests with body
http.post(Uri.parse('https://jsonplaceholder.typicode.com/posts'), body: body).then((response) {
  alice.onHttpResponse(response, body: body);
});
You can use extension methods:
// Import extensions
import 'package:flutter_alice/core/alice_http_client_extensions.dart';

// Use extension methods
httpClient
  .getUrl(Uri.parse("https://jsonplaceholder.typicode.com/posts"))
  .interceptWithAlice(alice);

// For POST requests with body
httpClient
  .postUrl(Uri.parse("https://jsonplaceholder.typicode.com/posts"))
  .interceptWithAlice(alice, body: body, headers: Map());
Or use the standard approach:
httpClient
  .getUrl(Uri.parse("https://jsonplaceholder.typicode.com/posts"))
  .then((request) async {
    alice.onHttpClientRequest(request);
    var httpResponse = await request.close();
    var responseBody = await utf8.decoder.bind(httpResponse).join();
    alice.onHttpClientResponse(httpResponse, request, body: responseBody);
  });
### Opening the Inspector
You can open the inspector UI in different ways:

```dart
// Open directly
ElevatedButton(
  child: Text("Open Inspector"),
  onPressed: alice.showInspector,
)

// Or call from anywhere in your code
alice.showInspector();
依賴清單 6 項
{"sdk":"flutter"}>=1.1.0>=5.1.1>=2.1.0>=9.0.0>=0.27.1先依使用情境篩選,再比較專案活躍情況,最後到原始儲存庫確認使用要求。
“A repository is the most basic element of GitHub.”
GitHub Docs — About repositories ↗