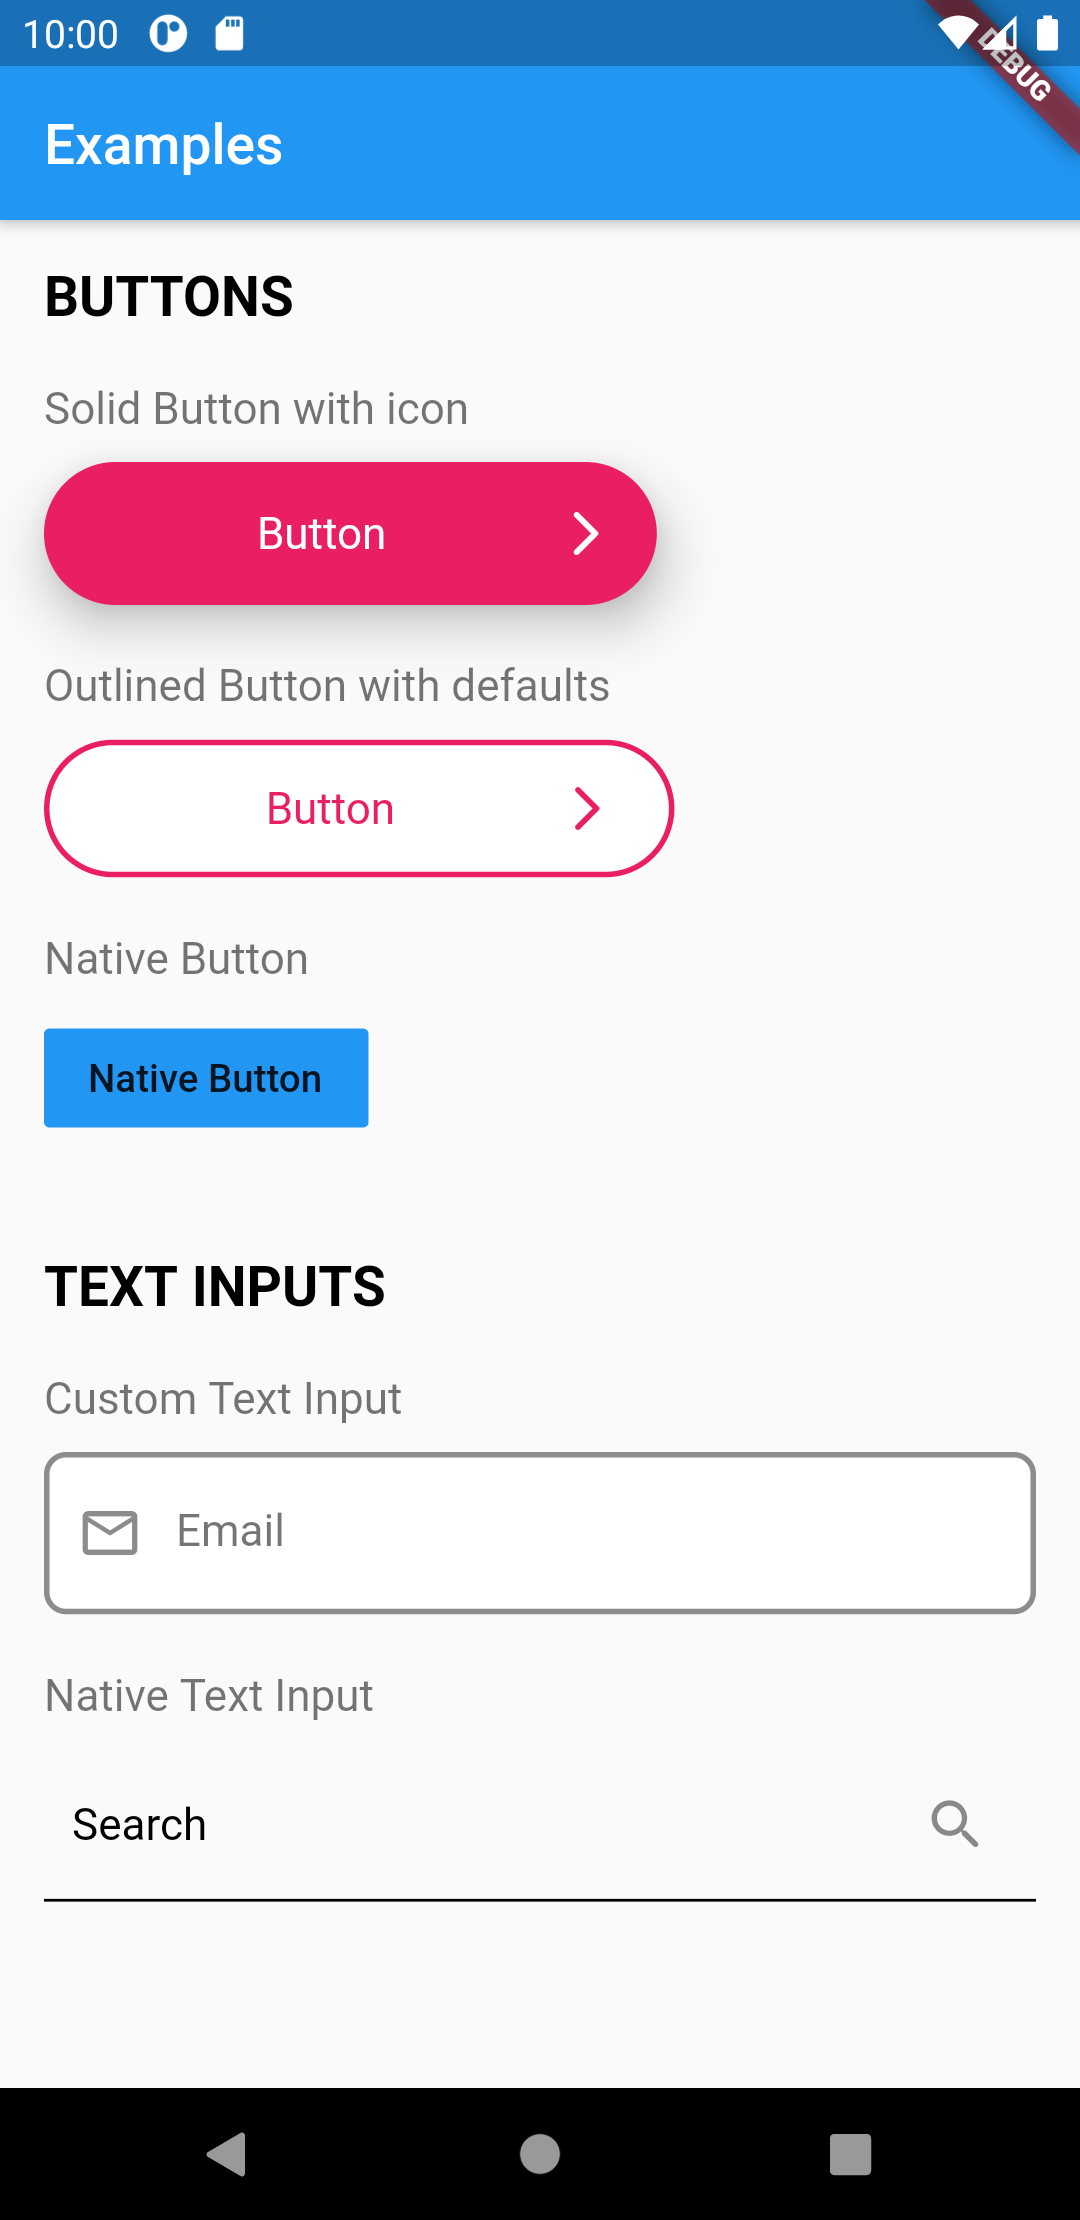
Flutter UI Toolkit is a pre-built collection of the most used widgets to create apps. The idea is that you can use these widgets the way you use classes in HTML and CSS.
Package selection guidance compiled from public package information, community data, and project usage.
Flutter UI Toolkit is a comprehensive library of pre-built, reusable widgets designed to accelerate app development. Inspired by the simplicity of HTML and CSS classes, it allows developers to quickly assemble interfaces using ready-made components. The toolkit emphasizes consistency, customization, and ease of use, reducing boilerplate code. It supports multiple platforms including Android, iOS, macOS, Windows, and Linux, making it ideal for cross-platform projects that require rapid UI iteration.
Use cases
Rapid prototyping
Cross-platform app development
Consistent UI design
Reducing repetitive widget code
Streamlining UI component reuse
Key features
Pre-built, customizable widgets
CSS-like class system for styling
Multi-platform support
Minimal boilerplate
Easy integration via pub
Suitable for
Frontend developers
UI-focused teams
Fast-moving startups
Design system implementation
Beginner to intermediate Flutter users
Considerations
May limit fine-grained control over widget behavior
Depends on external maintenance
Not suitable for highly custom UIs without extension
Potential for bloat if unused widgets are included
Learning curve for class-based styling approach
Original README
Original README snapshot from the linked source repository. Visit the repository for the latest content.
Flutter UI Toolkit
The development of this  package is still in progress. More widgets are to come.
However because the widgets are purely Flutter widgets, you can use it with no fear :)
Flutter UI Toolkit is a pre-built collection of the most used widgets to create apps,
the basic ones like: Buttons, Inputs, Headings, Dialogs, Action Sheets, etc..
The idea is that you can use these widgets the way you use classes in HTML and CSS and be a simple helper.
The widgets can receive an argument called as that will carry the widget's styles.
The advantage of this approach is that we don't need to repeat styling every time we create a new widget.
In addition to custom styles, this package also provides native look and feel to the widgets.
This is useful when you want to have one widget that displays the right look and feel based on the Platform.
We can also add custom styles to UIHeading as well
/// Use Google Fonts to set font family and extend stylyes

final articleTitleLato = UIHeadingDefaults(
    color: Colors.pink,
    style: GoogleFonts.lato(
      fontSize: 40.0,
    ),
);
Then use the headings anywhere in your application.
import'styles/headings.dart'// Use articleTitleUIHeading(
as: articleTitle,
text: 'Article Title',
),
// Use articleTitleLatoUIHeading(
as: articleTitleLato,
text: 'Big title using font Lato',
),
UIBottomSheet
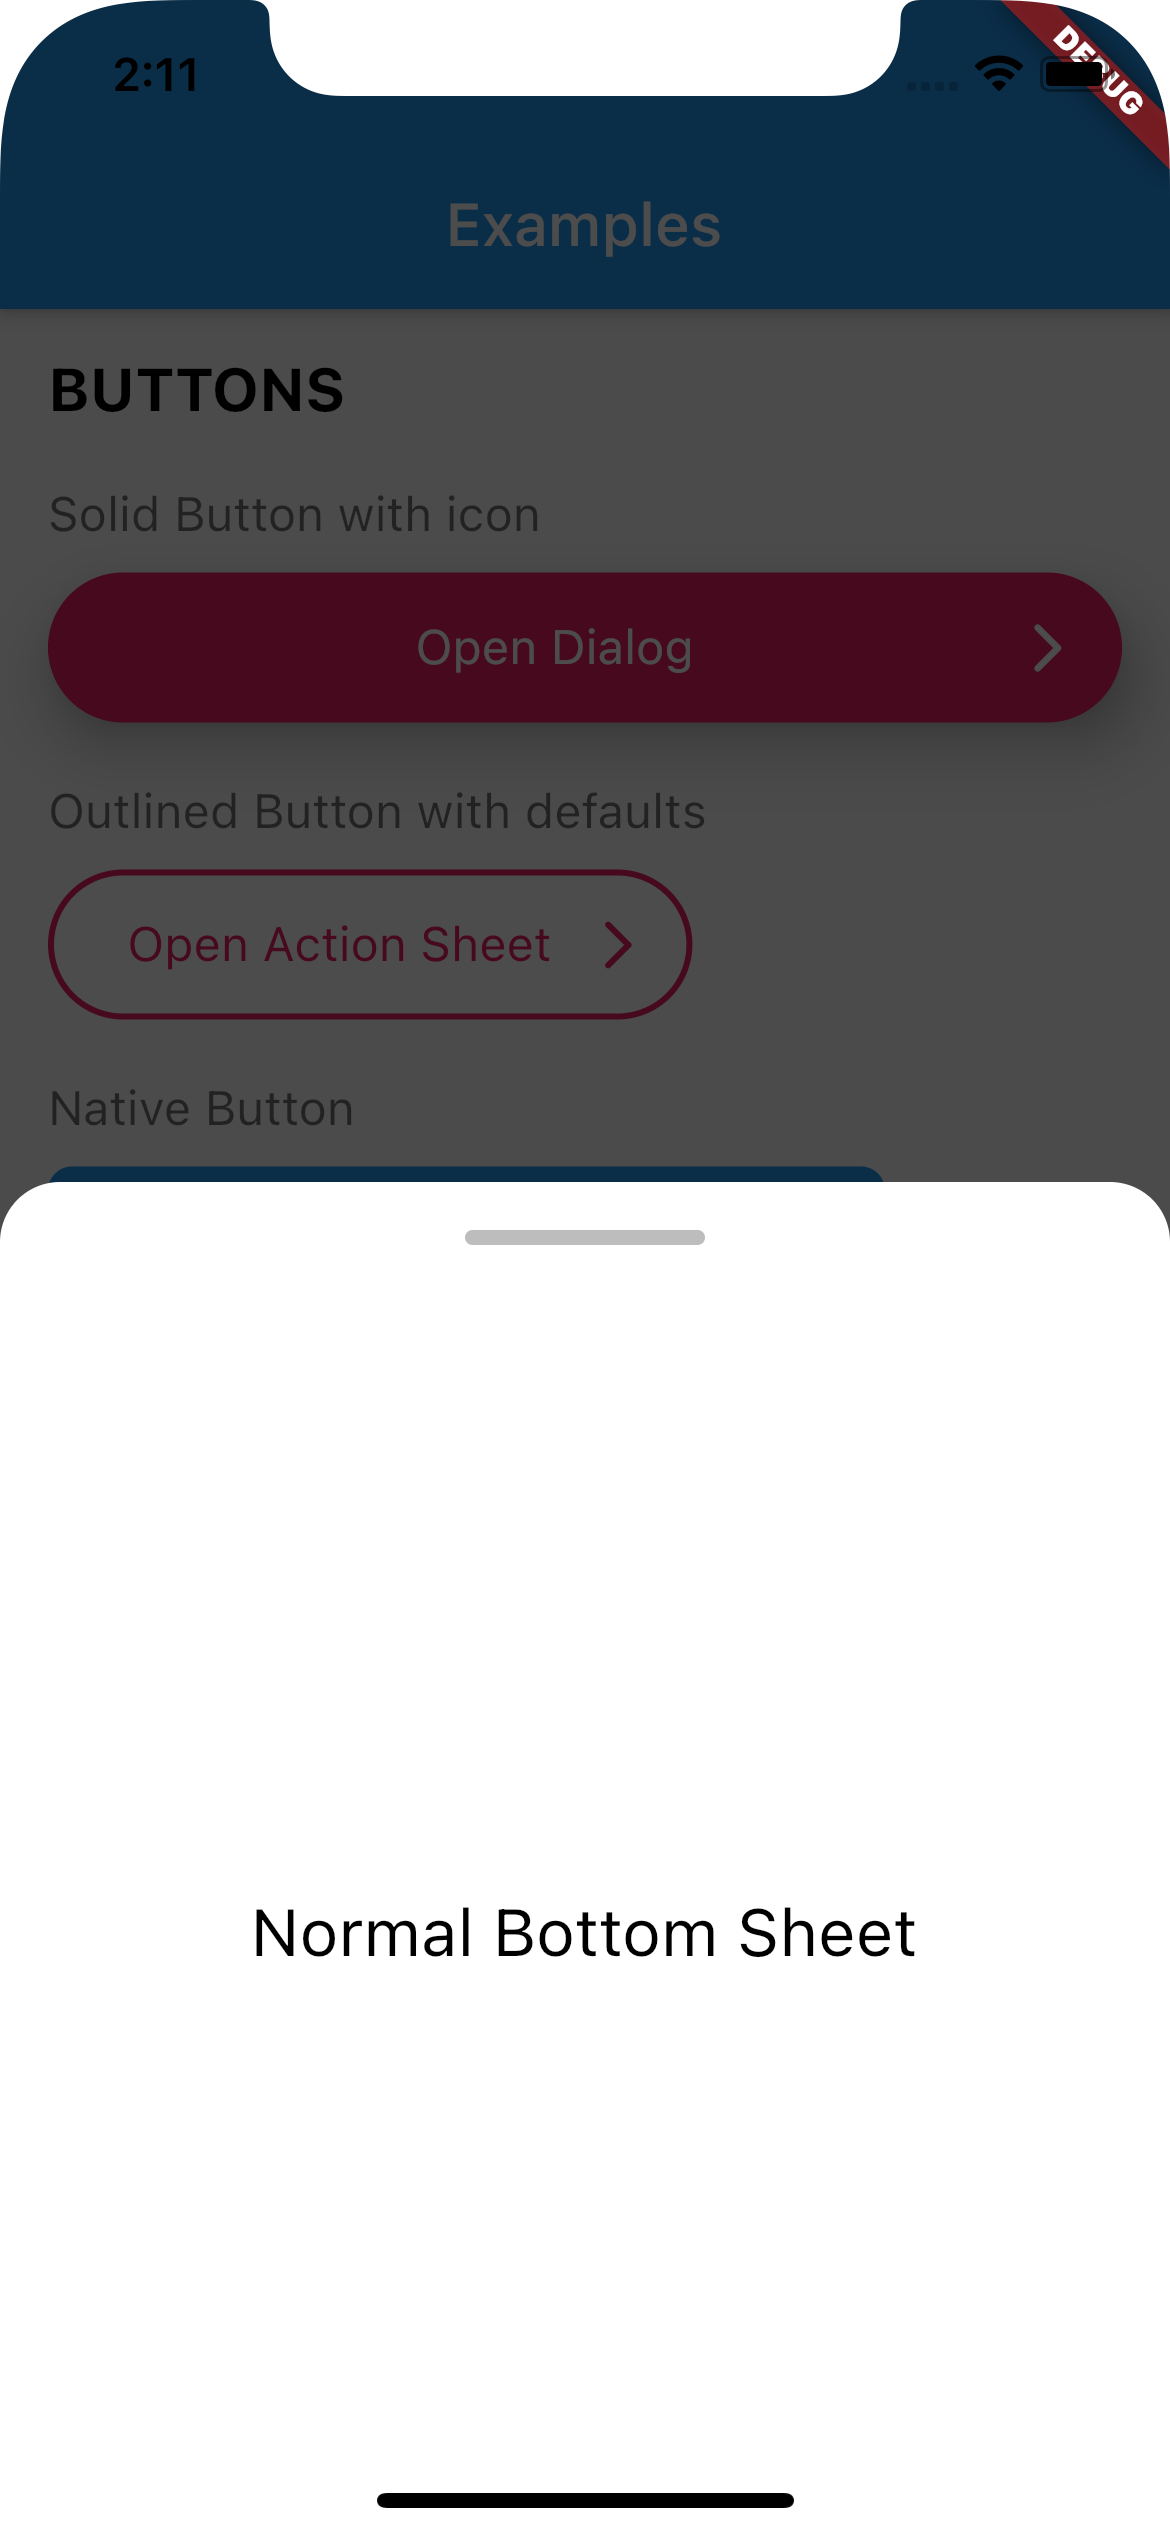
Use UIBottomSheet when you want to display a bottomsheet.
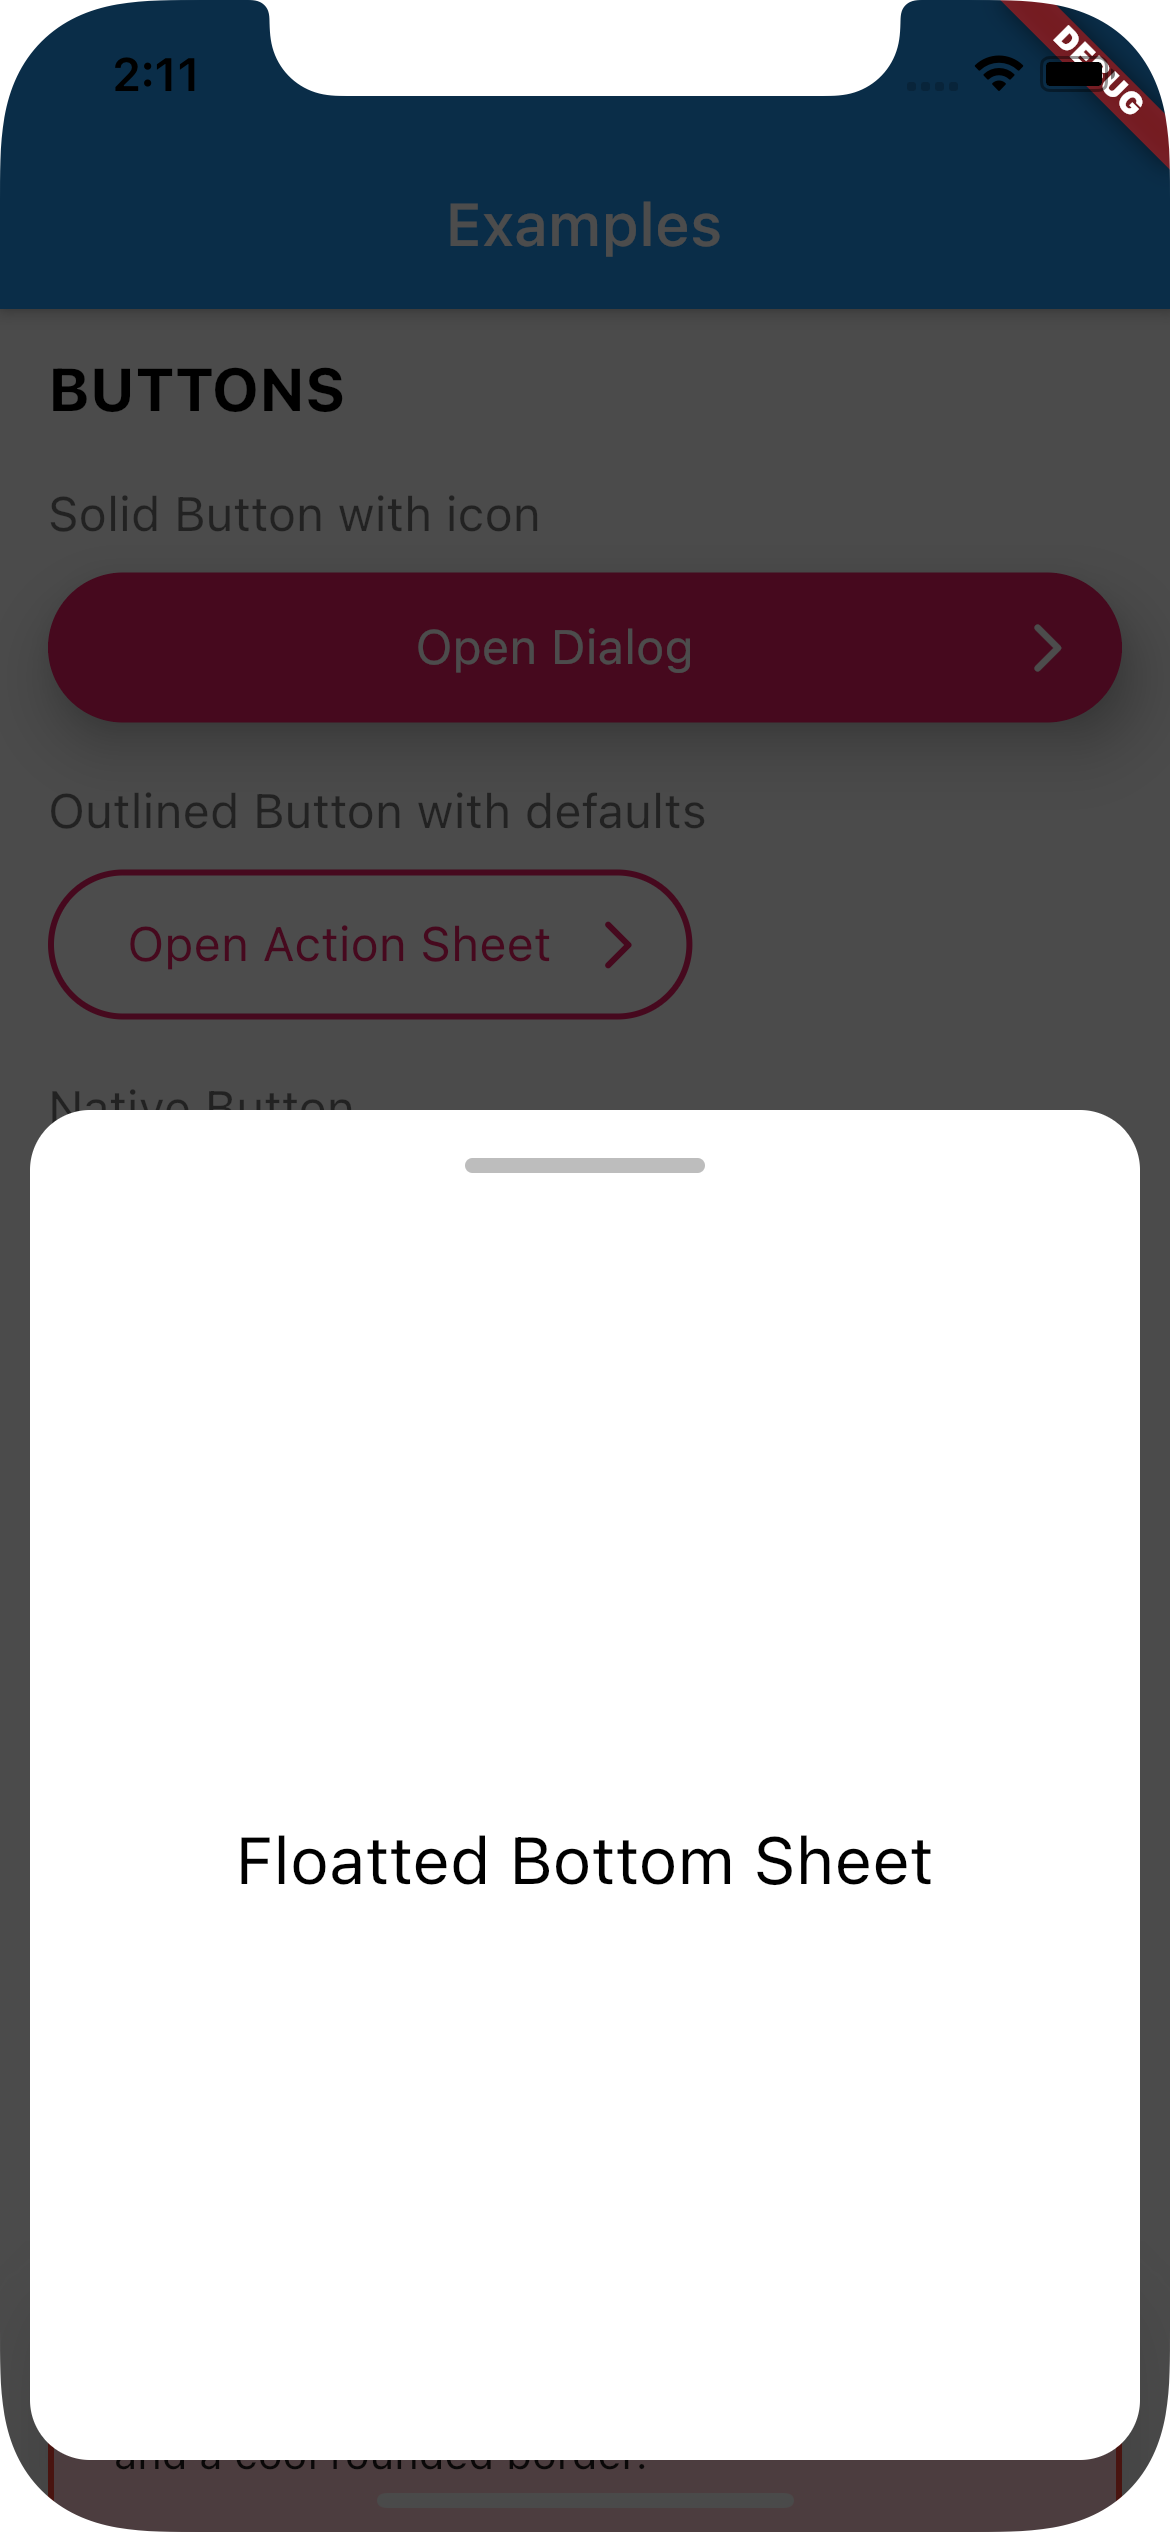
Set floatted: true if you want the bottom sheet to be floatted (have margin all around it, like some iOS bottom sheets)
You can also have a trailing Widget that can be useful for a close button when you have enableDrag set to false.
Full Width
Floatted
How to use:
Create a function that calls UIBottomSheet.show().
Call the function when you need it (eg.: on tap on a button)
// Set up the bottom sheetFuture<void> _openBottomSheet(BuildContext context) async {
awaitUIBottomSheet.show(
context: context,
floatted: true,
hideHead: false,
content: Container(
alignment: Alignment.center,
height: 400,
child: UIHeading(
heading: 3,
text: 'Some cool content',
),
),
);
}
// Open the bottom sheet UIButton.native(
label: 'Open Bottom Sheet',
onPressed: () async {
// OPEN BOTTOM SHEET// and wait until it's closedawait_openBottomSheet(context);
// proceedprint('Bottom sheet closed');
},
),
UITextField
This widget renders a input text field.
There are two kind of text fields you can choose from:
UITextField(),
UITextField.native(),
To create default styles for the text field you need to create a class of type UITextFieldDefaults.
You can have a separated directory where you add all your default styles.
import'styles/containers.dart';
// Show container with error stylingUIContainer(
as: errorContainer,
child: Text('This is a box with a nice shadow\nand a cool rounded border.'),
),
UIActionSheet
This widget creates a Native Action Sheet.
Compared with the other classes in this package,UIActionSheet is a bit more verbose.
However you write once for all platforms.
How to use:
Create a function that calls UIActionSheet.show().
The actions need to be of type UIAction.
Call the function when you need it (eg.: on tap on a button)
See example below:
// Creates a Native Action Sheet Factoryvoid_openActionSheet(BuildContext context) {
UIActionSheet.show(
context,
/// TITLE
title: UIHeading(
text: 'Select you favorite color',
color: Colors.blue,
textAlign: TextAlign.center,
heading: 5,
),
/// CONTENT
content: Text('We will use the color on your profile.'),
/// ACTIONS
actions: [
UIAction(
child: Text('Red'),
onPressed: () => Navigator.of(context).pop(),
),
UIAction(
child: Text('Green'),
onPressed: () => Navigator.of(context).pop(),
),
UIAction(
child: Text('Bue'),
onPressed: () => Navigator.of(context).pop(),
),
UIAction(
child: Text('Pink'),
onPressed: () => Navigator.of(context).pop(),
),
],
/// CANCEL BUTTON
cancel: UIAction(
child: UIHeading(
text: 'Cancel',
color: Colors.red,
heading: 4,
),
onPressed: () => print('Cancel'),
),
);
}
// Will open action sheet based on the current OSUIButton.solid(
as: solidButtonStyles,
label: "Open Action SHeet",
onPressed: () => _openActionSheet(context),
),
UIDialog
This widget creates a Native Dialog.
Compared with the other classes in this package, UIDialog is a bit more verbose.
However you write once for all platforms.
How to use:
Create a function that calls UIDialog.show().
The actions need to be of type UIAction.
Call the function when you need it (eg.: on tap on a button)
See example below:
// Creates a Native Dialog Factoryvoid_openDialog(BuildContext context) {
UIDialog.show(
context,
/// TITLE
title: Text('Are you sure?'),
/// CONTENT
content: Text('You cannot reverse this action.'),
/// ACTIONS
actions: [
UIAction(
child: Text('YES'),
onPressed: () => print('YES'),
),
UIAction(
child: Text('NO'),
onPressed: () => Navigator.of(context).pop(),
),
],
);
}
// Will open a dialog based on the current OSUIButton.solid(
as: solidButtonStyles,
label: "Open Dialog",
onPressed: () => _openDialog(context),
),
If you find any bug or want to request a feature, feel free to open an issue on Github.