

 v2.0.0
timeline_tile
Flutter로 매우 사용자 정의 가능한 타임라인을 만들 수 있도록 도와주는 패키지입니다.
1.9천좋아요 6.3만30일 다운로드150Pub 점수
AndroidiOSWebmacOSWindowsLinux
Flutter에서 사용자 정의 가능한 타임라인을 구축하는 데 도움을 주는 패키지입니다.

아래는 영문 원문 스냅샷입니다. 최신 내용은 GitHub에서 확인하세요.
A package to help build customisable timelines in Flutter.
Some use cases:
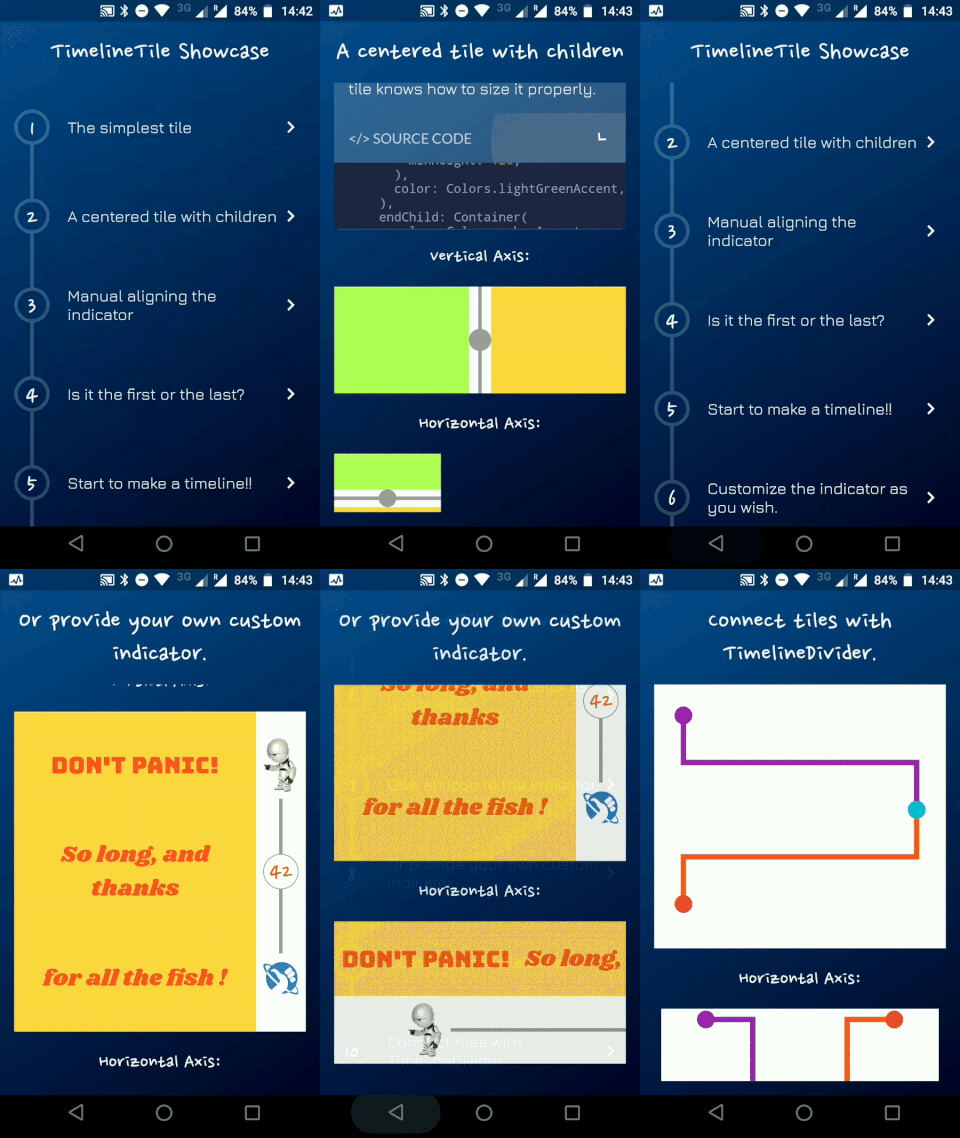
Timeline Showcase |
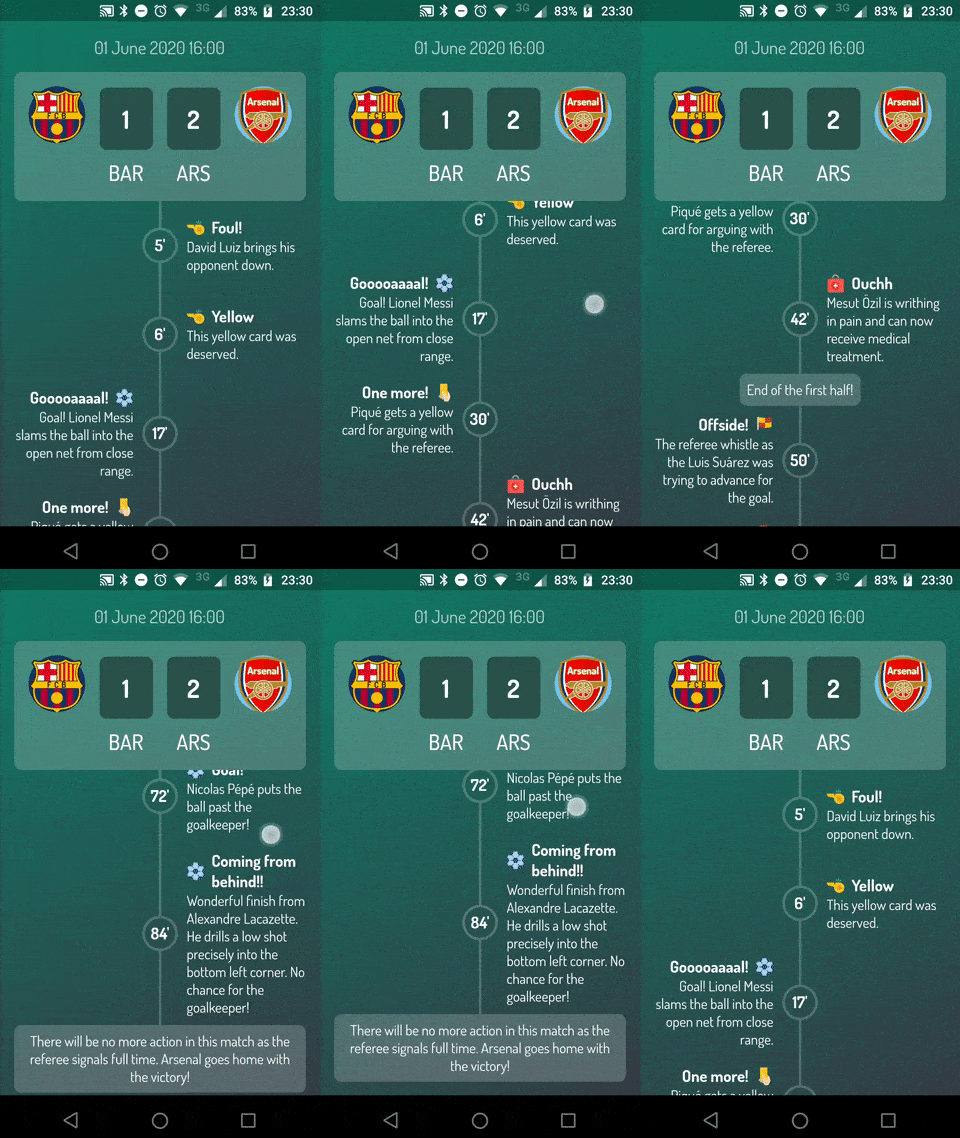
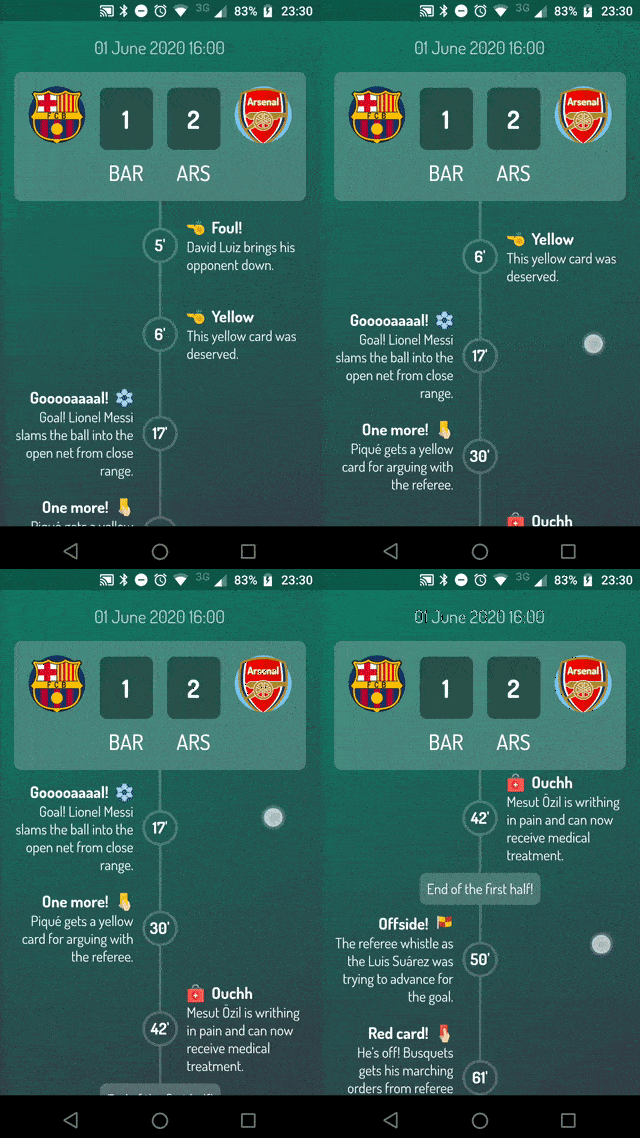
Football Timeline |
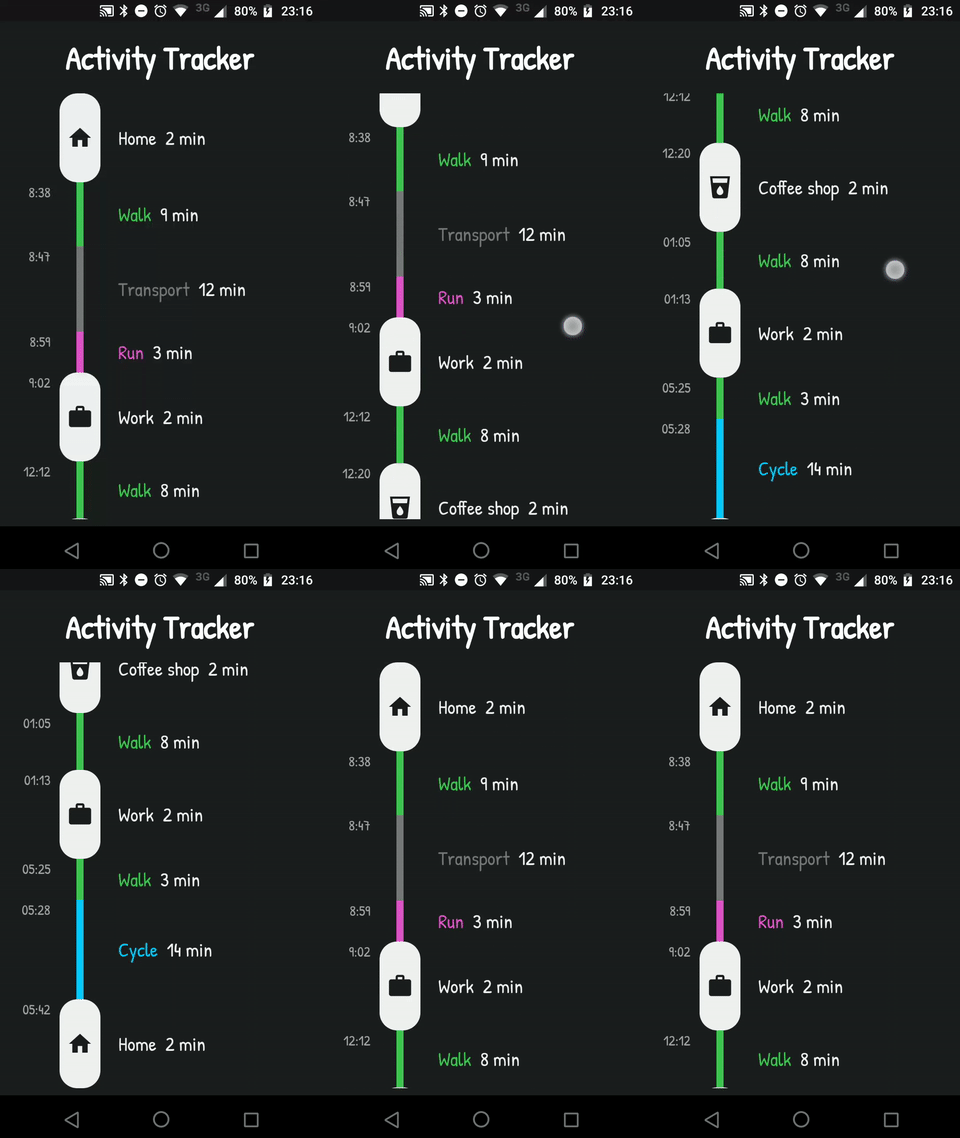
Activity Timeline |
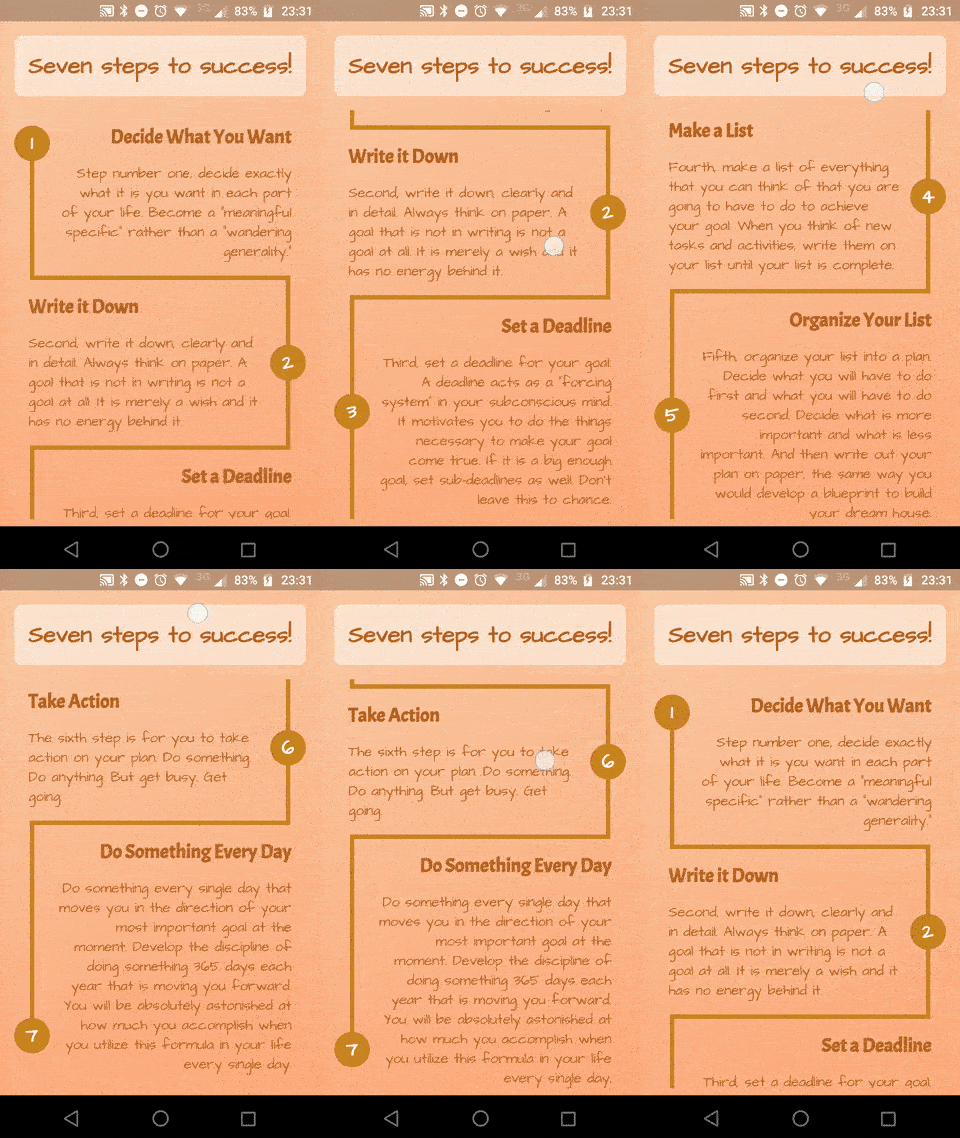
Success Timeline |
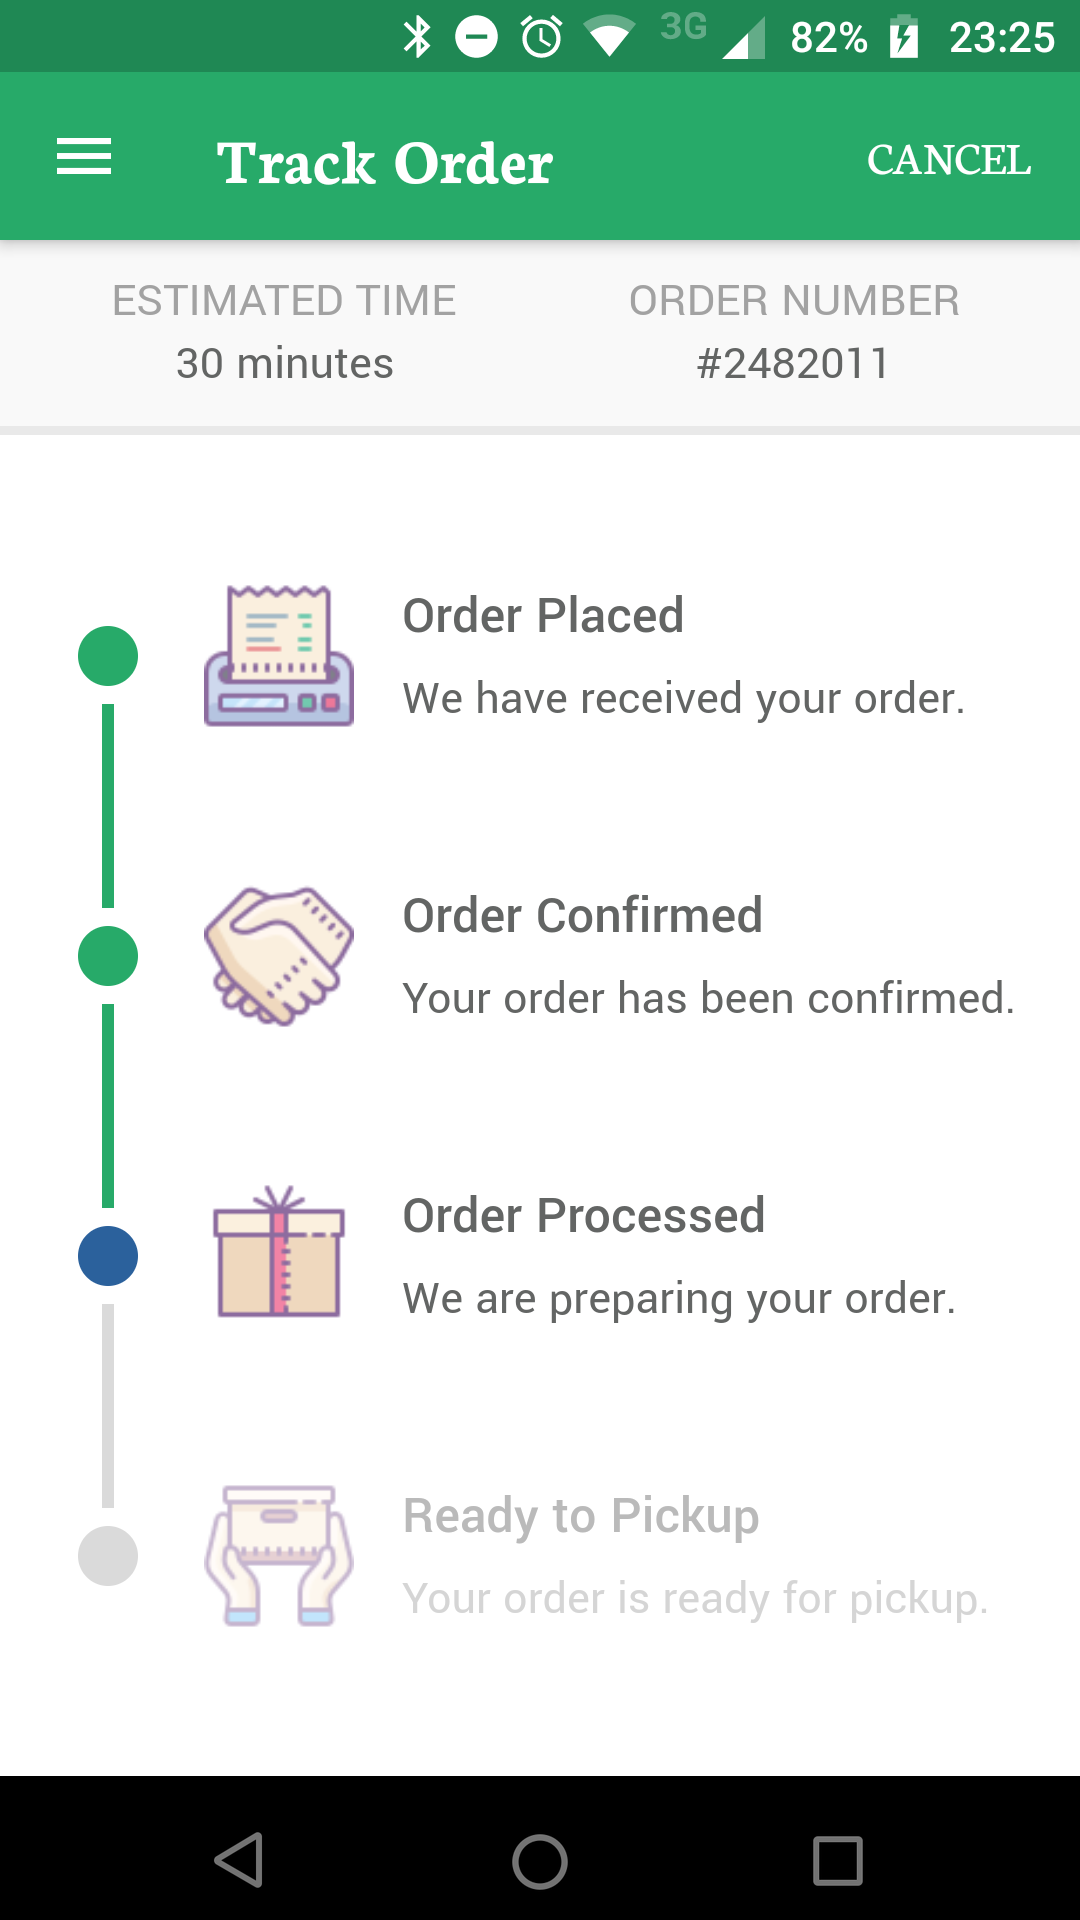
Delivery Timeline |
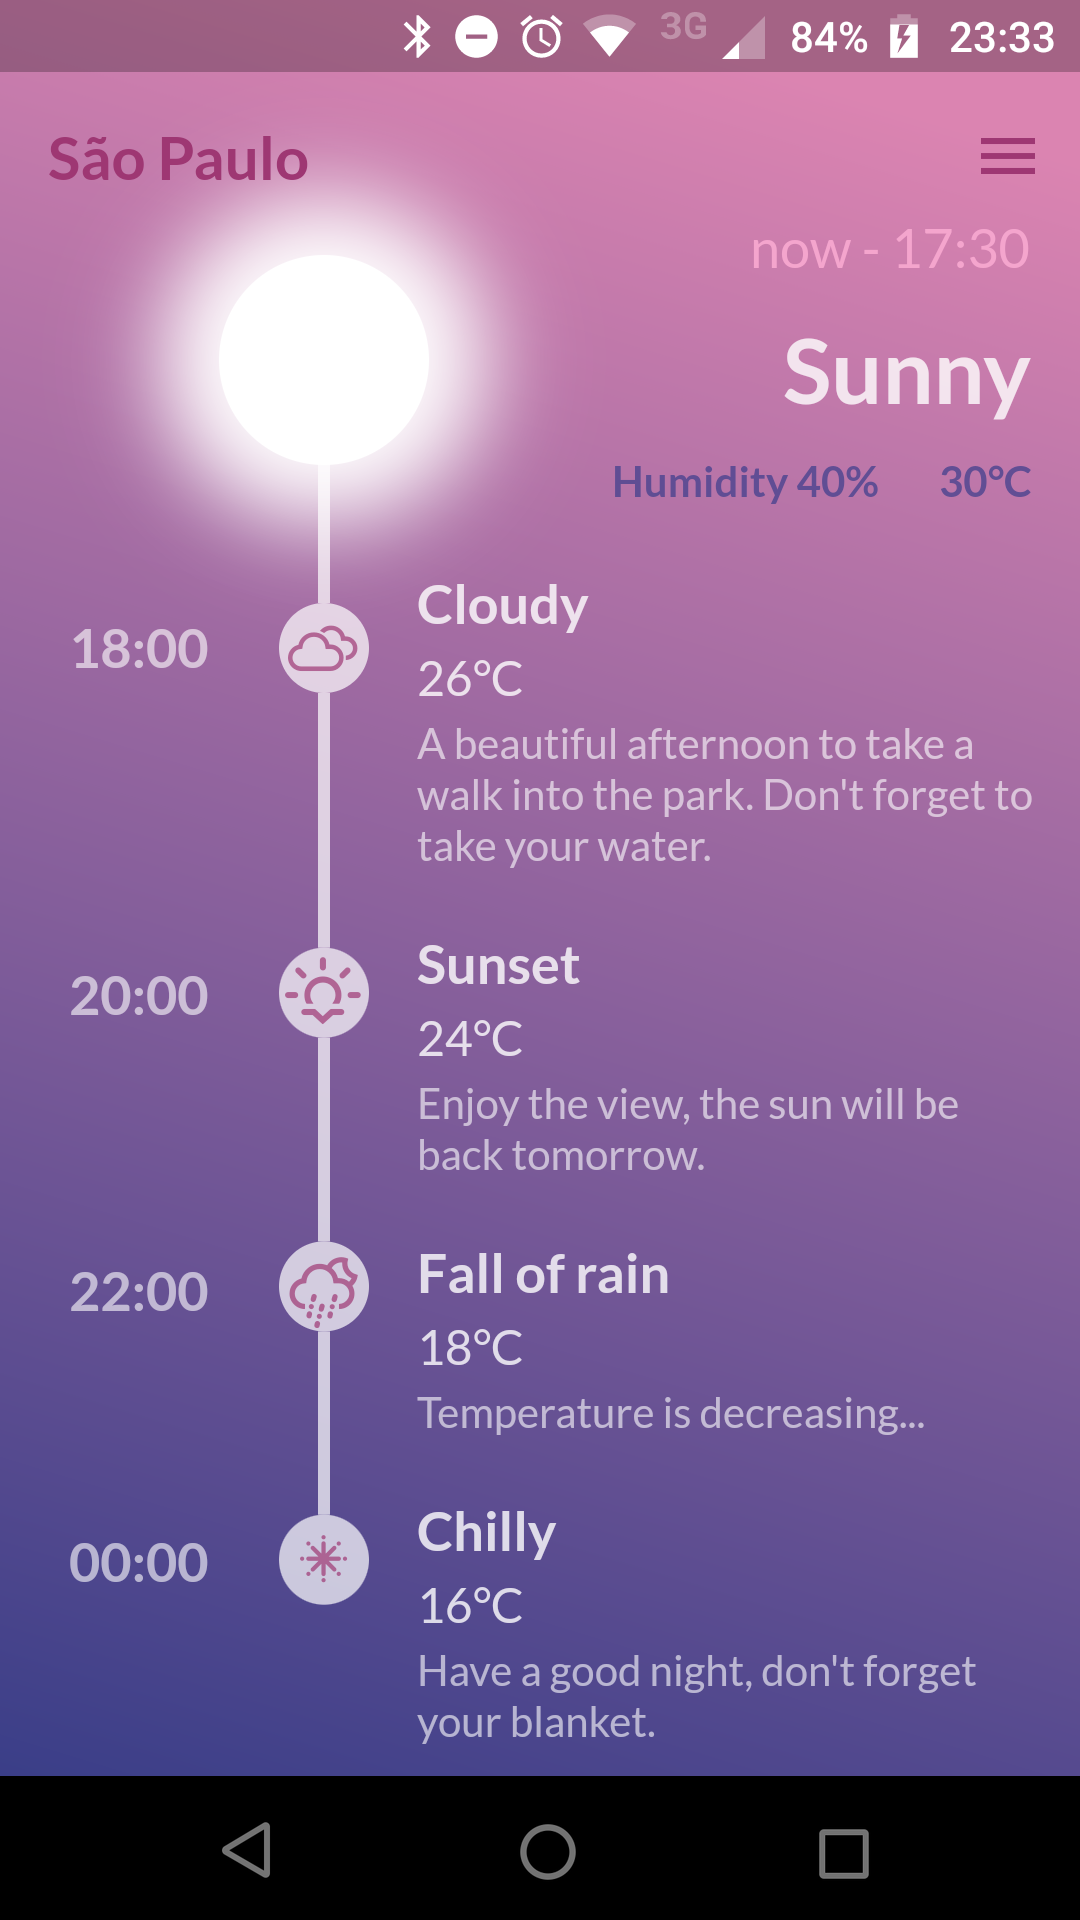
Weather Timeline |
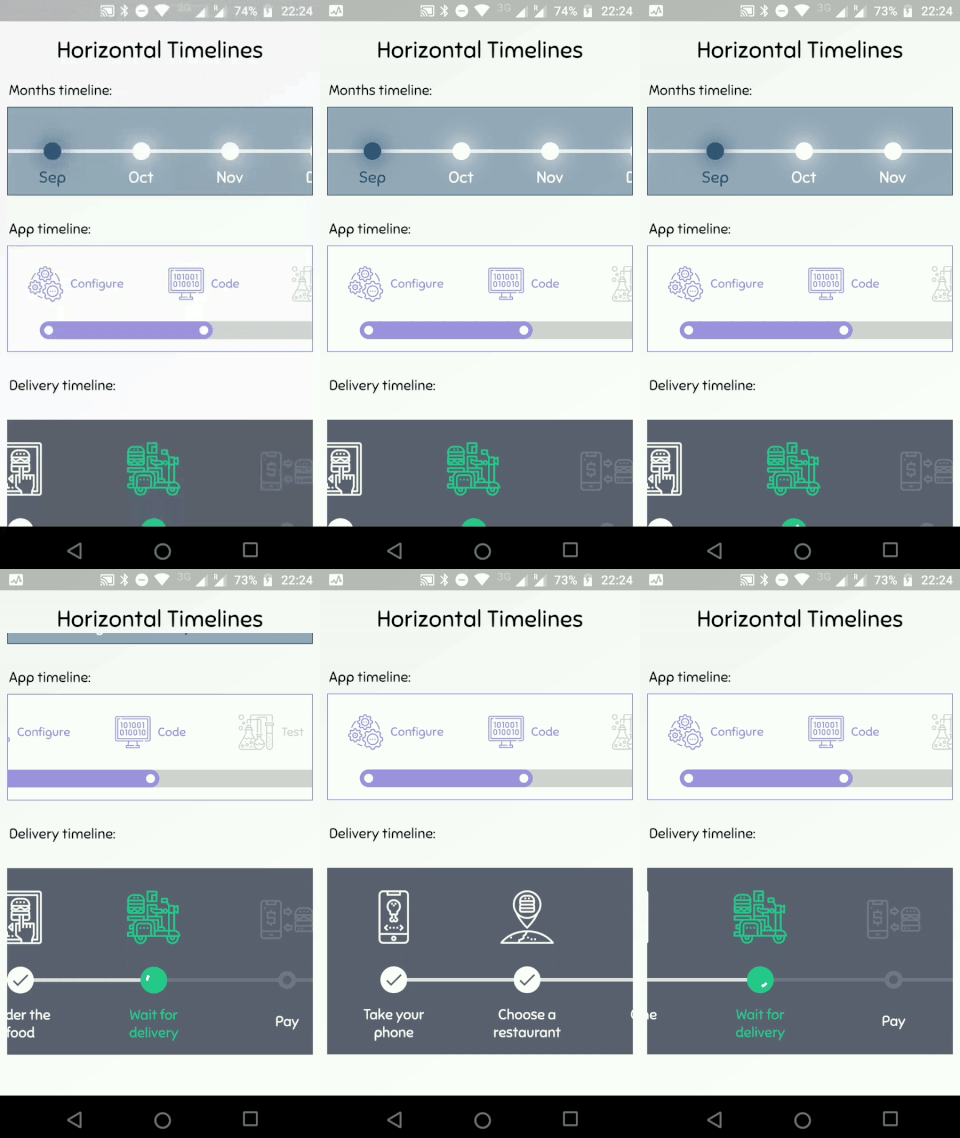
Horizontal Timelines |
A Timeline consists in a group of TimelineTiles. To build a tile you can simply use:
TimelineTile()
Which will build a default tile with a vertical axis, that aligns to the start, with a height of 100:
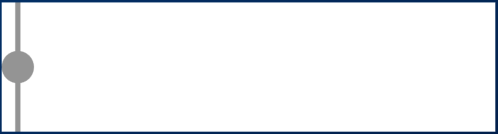
The axis can be switched to render an horizontal tile, aligned to the start, with a default width of 100:
TimelineTile(axis: TimelineAxis.horizontal)

There are 4 types of alignment.
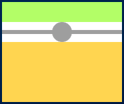
TimelineAlign.startTimelineAlign.endTimelineAlign.centerTimelineAlign.manualThe start and end alignment allows a child in their opposite sides. On the other hand, both center and manual allows children on both sides. For example, one tile with alignment to the center:
TimelineTile(
  alignment: TimelineAlign.center,
  endChild: Container(
    constraints: const BoxConstraints(
      minHeight: 120,
    ),
    color: Colors.lightGreenAccent,
  ),
  startChild: Container(
    color: Colors.amberAccent,
  ),
);
When providing children to the vertical tile, the height will be as minimum as possible, so you can control it with a height constraint (at least minHeight). This way the tile knows how to size it properly.
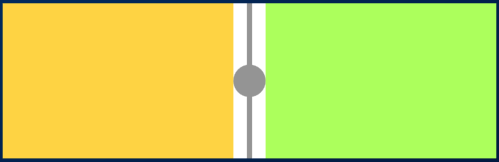
If the axis is horizontal, the things are the opposite. The width will be as minimum as possible, so you can control it with a width constraint (at least minWidth). This way the tile knows how to size it properly.
TimelineTile(
  axis: TimelineAxis.horizontal,
  alignment: TimelineAlign.center,
  endChild: Container(
    constraints: const BoxConstraints(
      minWidth: 120,
    ),
    color: Colors.lightGreenAccent,
  ),
  startChild: Container(
    color: Colors.amberAccent,
  ),
);
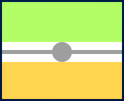
With TimelineAlign.manual you can provide the lineXY, which allows you to specify a value from 0.0 to 1.0, that represents a size percentage. For example, aligning at 30% of the width or height:
TimelineTile(
  alignment: TimelineAlign.manual,
  lineXY: 0.3,
  endChild: Container(
    constraints: const BoxConstraints(
      minHeight: 120,
    ),
    color: Colors.lightGreenAccent,
  ),
  startChild: Container(
    color: Colors.amberAccent,
  ),
);
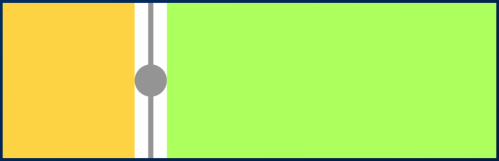
TimelineTile(
  axis: TimelineAxis.horizontal,
  alignment: TimelineAlign.manual,
  lineXY: 0.3,
  endChild: Container(
    constraints: const BoxConstraints(
      minWidth: 120,
    ),
    color: Colors.lightGreenAccent,
  ),
  startChild: Container(
    color: Colors.amberAccent,
  ),
);
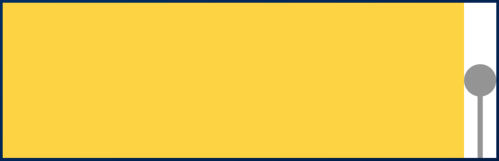
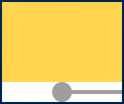
You can decide if a tile is the first os the last in a timeline. This way you control whether a before or after line must be rendered.
See the implementation here
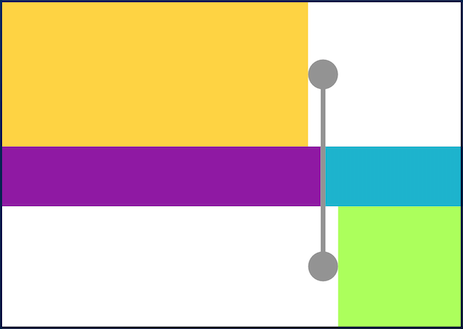
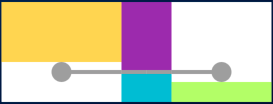
You can finally start to combine some tiles to make a Timeline. The flag hasIndicator can control whether an indicator should or shouldn't be rendered.
See the implementation here
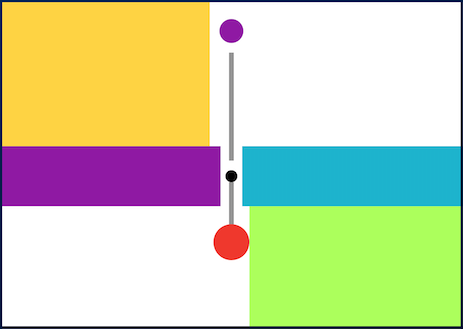
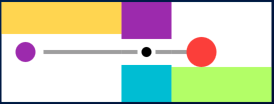
The default indicator is a circle, and you can customize it as you wish. With IndicatorStyle you can change the color, the X/Y position based on values from 0.0 to 1.0 or give it a padding. You must explicitly provide its width (vertical) or height (horizontal) though.
See the implementation here
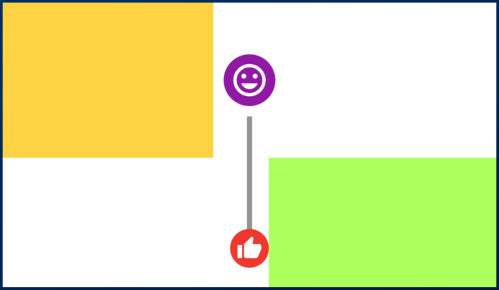
With IconStyle you can provide an Icon to be rendered inside the default indicator.
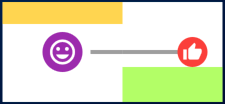
See the implementation here
With the indicator parameter you can customize the tile with your own indicator. However, you must control its size through both width and height parameters.
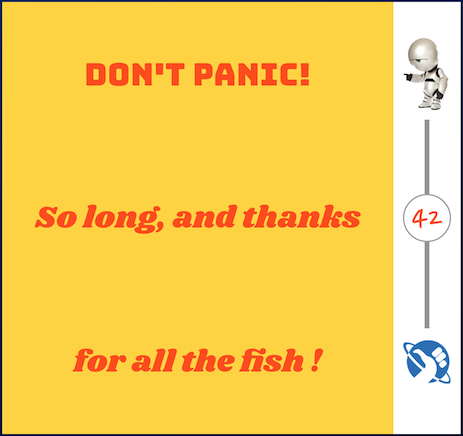
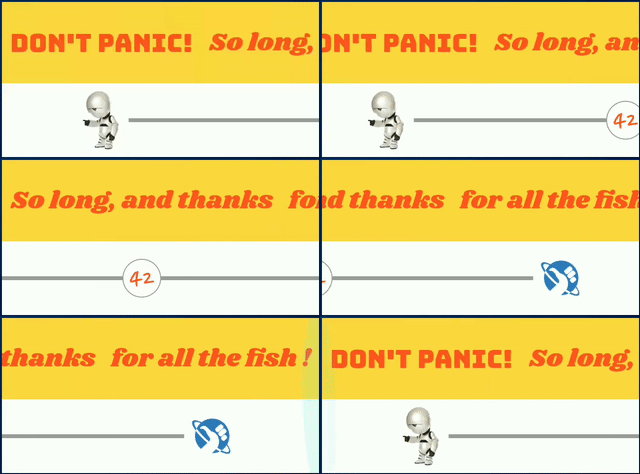
See the implementation here
With LineStyle you can customize both beforeLine and afterLine.
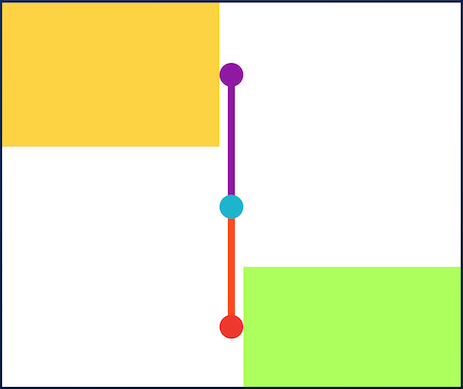
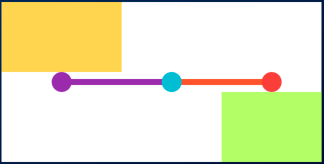
See the implementation here
The TimelineDivider widget allows you to connect tiles that are aligned in different X/Y axis, when combined with TimelineAlign.manual.
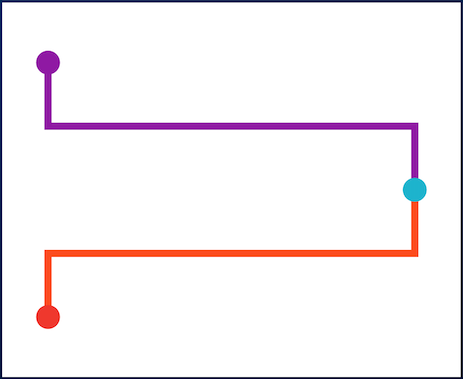
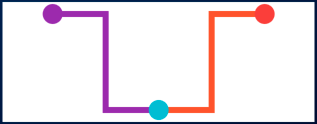
See the implementation here
의존성 목록 2 개
{"sdk":"flutter"}{"sdk":"flutter"}사용 목적에 따라 검색하고 개발 활동을 비교한 뒤 원본 저장소에서 요구 사항을 확인하세요.
“A repository is the most basic element of GitHub.”
GitHub Docs — About repositories ↗