
v5.11.1
dio
강력한 HTTP 네트워킹 패키지로, 인터셉터, 요청 중단 및 취소, 사용자 정의 어댑터, 변환기 등을 지원합니다.
8.4천좋아요 443만30일 다운로드160Pub 점수
AndroidiOSWebmacOSWindowsLinux
Windows 하위 시스템용 Linux를 위한 GUI 및 맥에서의 네이티브 Linux/macOS 가상 머신. CLI 플래그 없이 디스트로 설치, 백업, 이동 및 구성 가능; 도구가 있는 AI 어시스턴트, 에이전트용 MCP 서버, SSH를 통한 원격 WSL.

강력한 HTTP 네트워킹 패키지로, 인터셉터, 요청 중단 및 취소, 사용자 정의 어댑터, 변환기 등을 지원합니다.
InheritedWidget를 둘러싸는 래퍼로, 사용하기 쉽게 하고 재사용 가능하게 만듭니다.
 v18.0.2
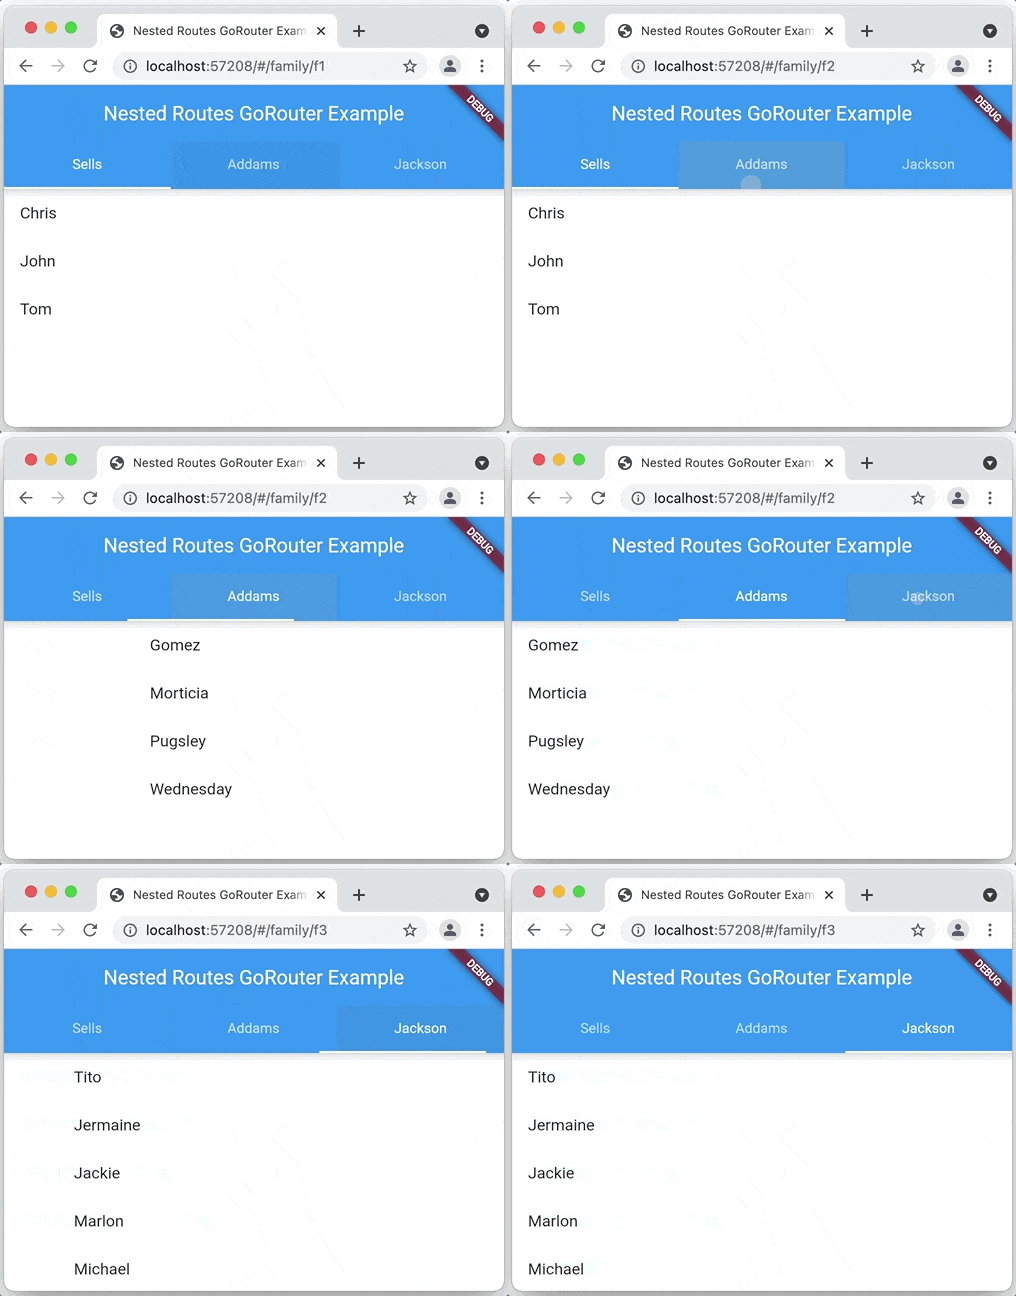
Navigation 2를 기반으로 하는 Flutter용 선언적 라우터로 깊은 링크, 데이터 기반 경로 등 지원
간단한 키-값 쌍을 읽고 쓰기 위한 Flutter 플러그인입니다. iOS에서는 NSUserDefaults를, Android에서는 SharedPreferences를 래핑합니다.
 v4.16.1
Flutter에서 마이크로소프트의 Windows 사용자 인터페이스를 구현합니다.
 v13.1.0
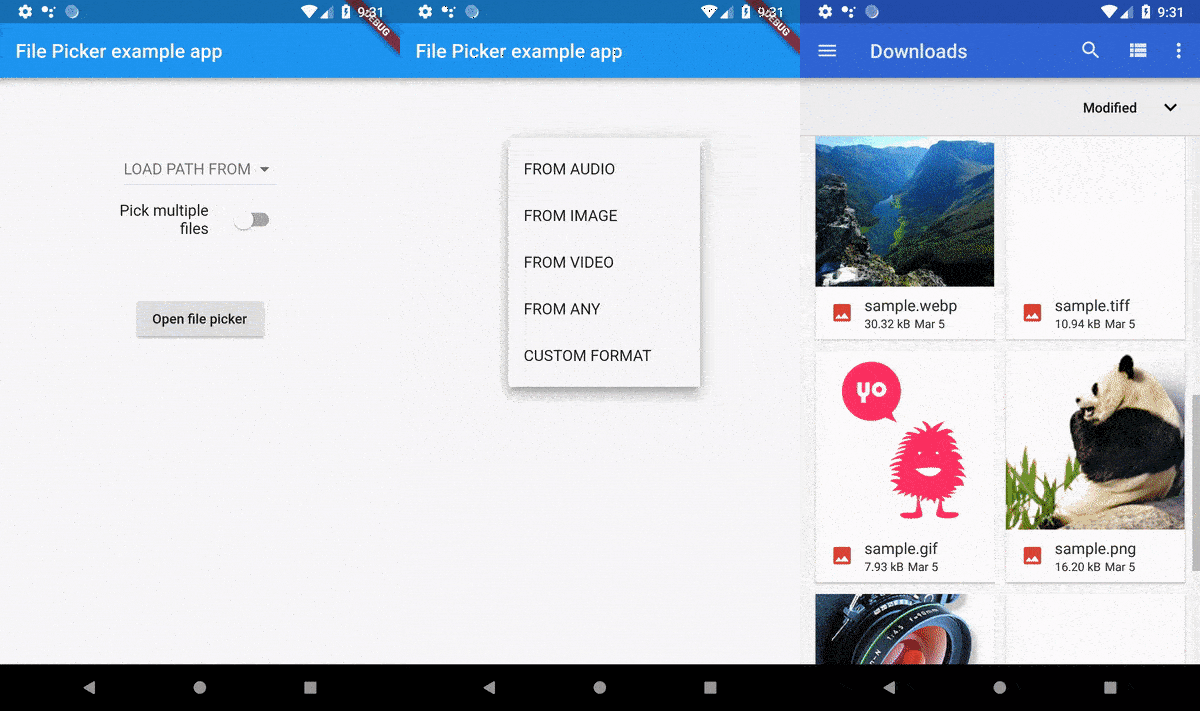
원격 파일 탐색기를 사용하여 단일 또는 다중 절대 파일 경로를 선택할 수 있으며 확장자 필터링 지원 기능을 제공하는 패키지입니다.
HTTP 요청을 위한 조합 가능하고 다중 플랫폼이며 Future 기반의 API입니다.
조합과 간편한 재사용을 장려하는 웹 서버 미들웨어 모델입니다.
shelf 패키지 및 생태계를 위한 정적 파일 서버 지원.
Windows 레지스트리에 접근하고 관리하기 위한 현대적이고 타입 안정적인 Dart API입니다.
이 플러그인을 사용하면 Flutter 데스크톱 앱에서 창 크기 조정 및 위치 재설정이 가능합니다.
 v0.10.0
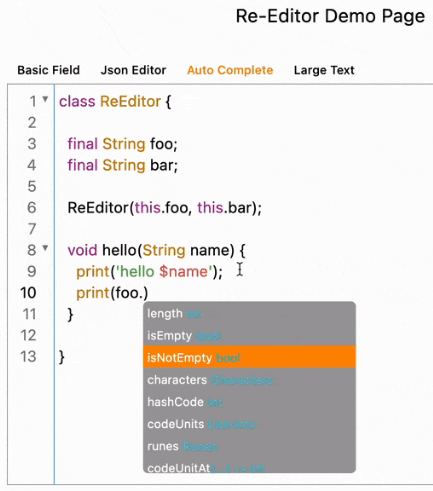
Re-Editor는 강력하고 가벼운 텍스트 및 코드 편집기 위젯입니다.
^4.0.7^2.13.0^1.0.0^0.4.2^5.9.0^2.1.4^10.3.7^4.13.0{"sdk":"flutter"}^1.1.4^0.3.3{"sdk":"flutter"}^0.7.7^17.0.0^1.6.0^2.1.1^7.2.2^9.0.0^1.9.1^0.3.0^6.1.5^0.10.0^0.0.3^2.5.3^1.4.2^1.1.3^4.1.0^3.1.2^2.0.2^6.3.2^5.15.0^2.1.0^0.5.1^0.2.0^3.1.3^4.1.0^6.0.0^3.0.11{"sdk":"flutter"}{"sdk":"flutter"}^3.16.12아래는 영문 원문 스냅샷입니다. 최신 내용은 GitHub에서 확인하세요.
GitHub Release Date GitHub Workflow GitHub release (latest by date) Documentation GitLab stars Discord
English | 简体中文 | 繁體中文 | Deutsch | Español | 日本語 | Magyar | Português | Türkçe
WSL Distro Manager on Windows, dark theme
Shown on Windows · the same app runs native VMs on macOS — expand See it on macOS below
WSL Distro Manager on Windows, light theme
WSL Manager on macOS, dark theme
WSL Manager on macOS, light theme, with the AI assistant open
WSL Distro Manager is a free, open source GUI for the Windows Subsystem for Linux — and, on macOS, for native Linux VMs. Install, copy, rename, move, back up and delete WSL distros without memorising a single
wsl.exeflag — plus templates, saved command snippets, disk mounting,.wslconfigediting, remote WSL over SSH, and an MCP server that lets AI agents drive your WSL environment. On a Mac the very same app manages virtual machines through Apple's Virtualization framework instead.
Manage distros
Get instances running faster
.wsl file that installs on any machine (templates are deprecated in favour of these)Configure without editing files by hand
.wslconfigWork the way you already do
On macOS: native virtual machines (beta)
~/.ssh key is authorized in every Linux VM (and created if you have none), so plain ssh user@vm-ip works tooscripts/build_macos.sh — bundles the signed vmctl helperPro (one-time purchase: a licence key from wslmanager.com/buy, on Windows and macOS alike — never a subscription)
The AI features run on credentials you bring — your own OpenAI-compatible API key. No AI service is hosted or included, there is no quota, and no requests pass through anyone else's servers. Pro unlocks the features in the app; it does not buy AI credits. See Free vs Pro.
Why is there a paid tier at all? WSL Manager has been a one-person, spare-time project since 2021, and every feature above — the free ones included — was built in evenings and weekends. Managing your distros and VMs is free and stays free, and the whole app stays open source. Pro is the AI layer on top, and what it earns is what lets maintenance and new features become planned, regular work instead of whatever time is left over. Buy it once, keep it forever, and you are directly funding the next release.
🎁 Launch offer — the first 100 people get Pro for free. Open the checkout with the code
START100already applied and your licence key is on the next page: Windows · macOS. One licence per person; once the 100 are gone the code stops working.
Everything in this section is part of Pro; the free app has none of it.
The AI assistant is an agent, not just a chat box: it is given the same tool set the MCP server exposes, so when you ask "what distros do I have?" or "install Ubuntu and set my default user" it calls real tools against your WSL rather than guessing. Tool calls are shown inline as it works.
Set up the provider in Settings → Bring Your Own AI Key: any
OpenAI-compatible endpoint works (OpenAI, Azure, a LiteLLM proxy, Ollama, LM
Studio, …). Enter the base URL, key and model. The Load model list button
fills an autocomplete from the provider's /models, and Test connection
proves the credentials work before you open the chat.
Don't want any of it? Settings → Bring Your Own AI Key → AI features switches the assistant, the error diagnosis and the AI Workspace off — nothing AI-related is shown, and no workspace environment is set up for you. It is on by default for Pro.
Sandboxes (AI Workspace → Add sandbox distro) create a throwaway
instance from any catalog image (newest Ubuntu by default) — a WSL distro on
Windows, a Linux VM seeded from a cloud image on macOS, which is created and
booted for you. Its chat is handed only the sandbox_* tools, which are locked
to that one instance — the model can run anything inside the sandbox and can
never see your host or any other instance. One honest caveat: the sandbox
itself has normal outbound internet access, like any distro or VM. Sandbox chats use the same docked panel
as the assistant (task queue included), their transcripts persist, and the
history button in the chat header switches between the assistant and any
sandbox session.
Task queue — open the Tasks section at the top of the chat, add items, and press ▶. The assistant works through them with its tools and checks each off as it finishes; you can keep adding tasks while it runs.
Turn on Settings → MCP Server (Pro). It serves the MCP protocol at
http://127.0.0.1:59133/mcp, loopback-only, guarded by a bearer token shown in
the same panel. The tools cover the full lifecycle — create, import, configure,
run, package and (with a confirm flag) unregister distros, plus snippets, disk
mounting and persistent terminal sessions.
Claude Desktop — click Connect Claude Desktop in the MCP panel. It writes
the entry below into claude_desktop_config.json for you (needs Node.js);
restart Claude Desktop afterwards. To do it by hand, or for any other stdio MCP
client, bridge the HTTP endpoint with mcp-remote:
// claude_desktop_config.json  (%APPDATA%\Claude\)
{
  "mcpServers": {
    "wsl-manager": {
      "command": "npx",
      "args": [
        "-y", "mcp-remote",
        "http://127.0.0.1:59133/mcp",
        "--header", "Authorization:${AUTH_HEADER}"
      ],
      "env": { "AUTH_HEADER": "Bearer <TOKEN FROM THE MCP PANEL>" }
    }
  }
}
Claude Code — same bridge, one command:
claude mcp add wsl-manager -- npx -y mcp-remote http://127.0.0.1:59133/mcp \
  --header "Authorization: Bearer <TOKEN>"
opencode — add it under mcp in your opencode.json (or ~/.config/opencode/opencode.json):
{
  "mcp": {
    "wsl-manager": {
      "type": "local",
      "command": ["npx", "-y", "mcp-remote", "http://127.0.0.1:59133/mcp",
                  "--header", "Authorization: Bearer <TOKEN>"]
    }
  }
}
Any MCP client that speaks streamable HTTP can also point straight at the
endpoint with an Authorization: Bearer <TOKEN> header, skipping mcp-remote.
To reach it from another machine, enable the built-in Cloudflare tunnel
toggle in the same panel and use the public URL it prints.
Turn on Settings → Web Dashboard (Pro) and the app serves a browser
dashboard on port 59134 for every device on your network — Windows and macOS
alike. Scan the QR code the panel shows with your phone (or copy the link) and
you get the whole app in a browser: start, stop, duplicate and delete instances,
run commands, open persistent terminal sessions, run your saved snippets, and
drive every other tool (import, export, packaging, .wslconfig, disks, VM
creation) through generated forms. It is the same tool set the AI assistant
and the MCP server use.
Access is guarded by a token that is part of the link (?token=…), so a
scanned QR code is all a device needs — and regenerating the token in the
panel revokes every link handed out so far. The dashboard binds to all
interfaces on purpose; flip Publish via Cloudflare Tunnel in the same panel
to get a temporary public HTTPS link (the QR code switches to it) when you need
it away from home. Once published, the token is the only thing protecting a
surface that can run commands, so share that link with care.
This app is available on the Microsoft Store.
brew tap bostrot/tap
brew install --cask wsl-manager
Apple silicon, macOS 11 or newer. The cask lives in bostrot/homebrew-tap; brew upgrade --cask wsl-manager picks up new releases.
You can get this app with a direct download from the Releases page. Windows ships as a setup .exe, an .msix and a portable .zip; macOS as a .dmg.
winget install Bostrot.WSLManager
scoop install extras/wsl2-distro-manager
This package is maintained by the community (@mikeee). It is not an official package.
choco install wsl2-distro-manager
The latest nightly build is available as an artifact in the "releaser" workflow or via this link.
Make sure flutter is installed.
flutter config --enable-windows-desktop
flutter upgrade

flutter build windows # build it
flutter run -d windows # run it
VMs are created by vmctl, a small Swift helper that drives
Virtualization.framework — not by the Flutter app itself. The framework only
answers processes carrying the com.apple.security.virtualization entitlement,
and swift build does not add it, so the helper must be built and signed
before the app can start a VM:
flutter config --enable-macos-desktop

# Build + sign vmctl and install it for dev runs. Re-run after any change
# under macos/vmctl/ — `flutter run` never rebuilds the helper.
VMCTL_ONLY=1 scripts/build_macos.sh

flutter run -d macos
Skip that step and the app launches fine, but starting a VM fails with:
VM failed to start: Error Domain=VZErrorDomain Code=2 "The process doesn't
have the "com.apple.security.virtualization" entitlement."
That is the helper missing the entitlement, not the app — Runner's own
entitlements are already correct. The signed helper is installed to
~/Library/Application Support/WSLManager/bin/vmctl, which is where debug runs
look for it; without it they fall back to the unsigned swift build output
under macos/vmctl/.build/, which is what produces the error above.
scripts/build_macos.sh without VMCTL_ONLY does the same signing and then
builds the release app, bundling the signed helper into the bundle's
Contents/Resources/. Building the app itself needs full Xcode.
👤 Eric Trenkel
👥 Contributors
Contributions, issues and feature requests are welcome!
Feel free to check the issues page.
You can also take a look at the contributing guide.
Give a ⭐️ if this project helped you!
Copyright © 2026 Eric Trenkel.
This project is GPL-3.0 licensed.
Not found what you were looking for? Check out the Wiki