

 v0.3.4
particular
Particular은 고성능의 입자 효과를 위한 Flutter 위젯입니다.
50좋아요 6130일 다운로드160Pub 점수
AndroidiOSWebmacOSWindowsLinux
이 고성능 플러터 입자 시스템 위젯으로 앱 또는 게임의 시각적 요소를 향상시키세요

아래는 영문 원문 스냅샷입니다. 최신 내용은 GitHub에서 확인하세요.

Whether you're a designer or developer, Particular empowers you to bring your creative visions with ease.
Add particular to your pubspec.yaml file:
For detailed installation instructions, refer to the installation guide on pub.dev.
You have two options for configuring your particles:
Generate your particles system configurations by Particular Editor.
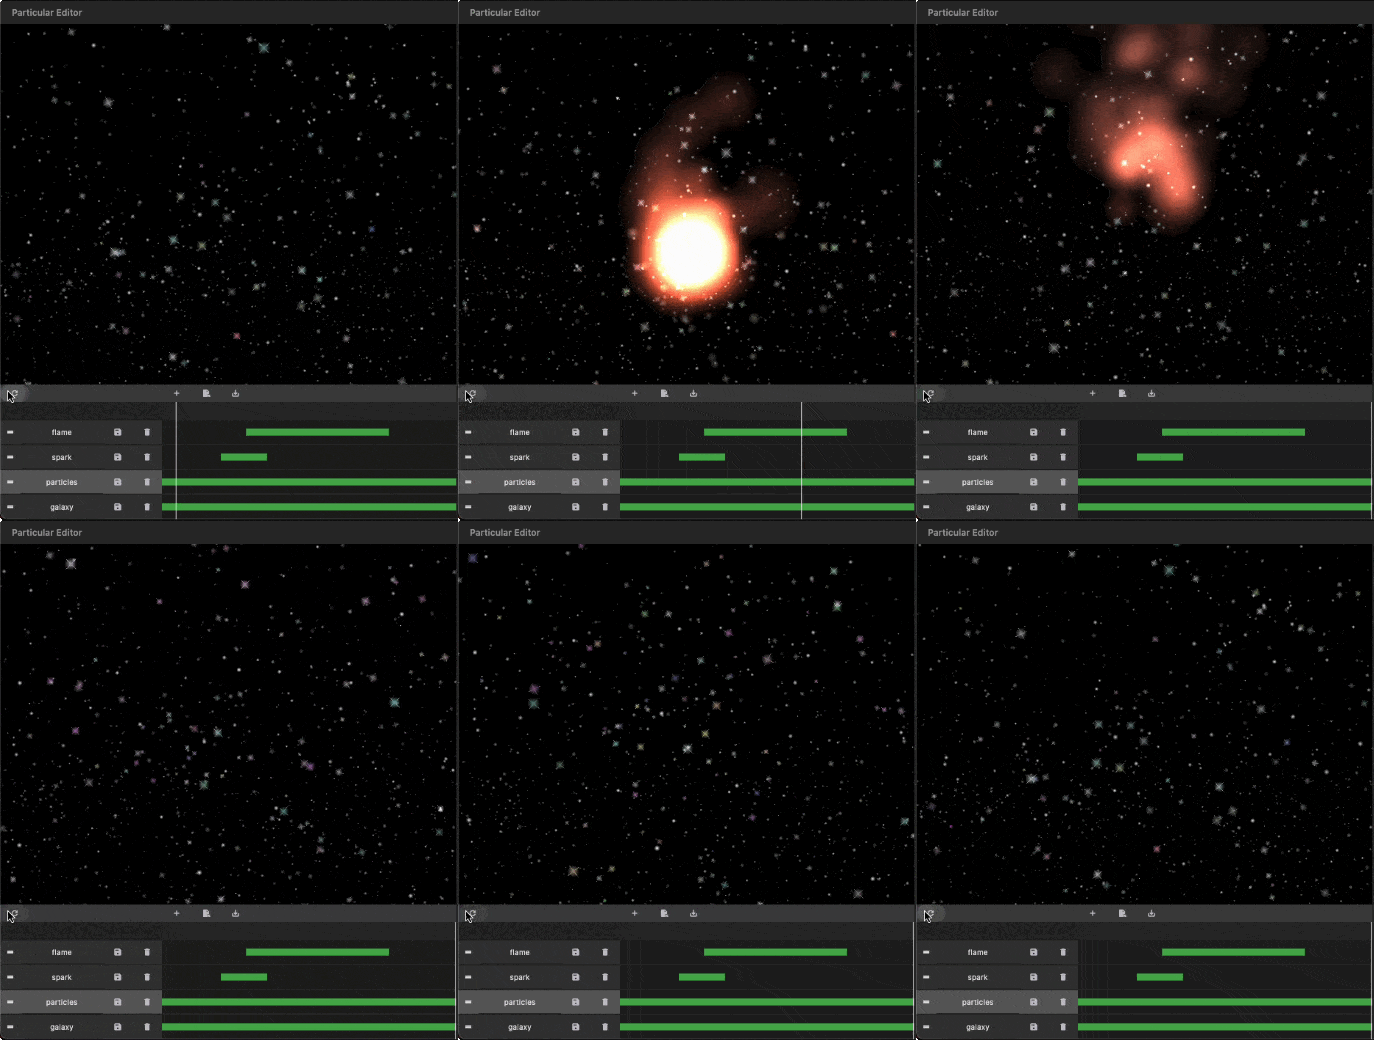
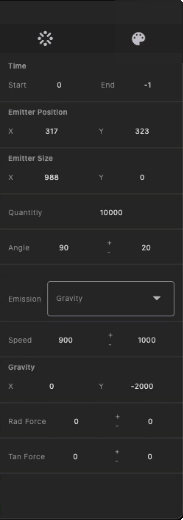
Follow these steps to integrate the particles system into your Flutter app:
I. Insert Particle Files into Your Project:
The Particular Editor exports one or multiple particle layers. For each particle layer, it generates a configuration file (configs.json) and a related image file (texture.png). In the configuration file, there is a node named textureFileName, which refers to the image file. Place the image and configs.json file in your project's assets folder, and add the necessary assets entry in your pubspec.yaml file.
assets:
  - assets/configs.json
  - assets/texture.png
https://docs.flutter.dev/ui/assets/assets-and-images
To use this library, import package:particular/particular.dart.
final _particleController = ParticularController();
...
@override
void initState() {
  _loadParticleAssets();
  super.initState();
}

// Load configs and texture of particle
Future<void> _loadParticleAssets() async {

  // Load particle configs file
  String json = await rootBundle.loadString("assets/configs.json");
  final configsData = jsonDecode(json);

  // Load particle texture file
  ByteData  bytes = await rootBundle.load("assets/${configsData["textureFileName"]}");
  ui.Image texture = await loadUIImage(bytes.buffer.asUint8List());

  // Add particles layer
  _particleController.addLayer(
    texture: frameInfo.image, // Remove in default-texture case
    configsData: configsData, // Remove in programmatic configuration case
  );
}
III. Add the Particular widget in your widget three:
@override
Widget build(BuildContext context) {
  return MaterialApp(
    home: Scaffold(
      backgroundColor: Colors.black,
      body: Particular(
        controller: _particleController,
      ),
    ),
  );
}
IIII. Live Update Particle Layer:
_particleController.layers.first.update(
    maxParticles: 100,
    lifespan:1.2,
    speed:100,
    angle:30,
);
You can also use different image types supported by Flutter, with varying names and locations, following the guidelines below:
{
  "textureFileName": "images/particle_snow.webp"
}
assets:
  - assets/data/particle_snow.json
  - assets/images/particle_snow.webp
...

// Load particle configs file
String json = await rootBundle.loadString("assets/data/particle_snow.json");

...
This revised README provides clear installation instructions, options for configuring particles, and steps for integrating and customizing the particle system in your Flutter app. If you have any questions or need further assistance, don't hesitate to ask!
의존성 목록 4 개
{"sdk":"flutter"}^4.2.0{"sdk":"flutter"}^5.0.0사용 목적에 따라 검색하고 개발 활동을 비교한 뒤 원본 저장소에서 요구 사항을 확인하세요.
“A repository is the most basic element of GitHub.”
GitHub Docs — About repositories ↗