패키지, 저장소 및 앱 카테고리 검색

particular 표지
패키지 상세v0.3.4

particular

Particular은 고성능의 입자 효과를 위한 Flutter 위젯입니다.

AndroidiOSWebmacOSWindowsLinux
30일 다운로드
61
좋아요
50
Pub 점수
160

패키지 설치

flutter pub add particular

패키지 개요

공개 정보를 바탕으로 생성한 선택 가이드입니다.

Particular은 부드럽고 사용자 정의 가능한 입자 효과를 생성하기 위해 설계된 고성능 Flutter 위젯입니다. 모바일, 웹, 데스크톱을 포함한 여러 플랫폼에서 유연한 애니메이션을 제공하기 위해 고급 렌더링 기술을 활용합니다. 앱 배경에 동적 시각 요소를 강화하는 데 이상적이며, 그라데이션, 색상 처리 및 실시간 상호작용을 지원합니다. 성능 최적화가 되어 있어 프레임 속도를 저하시키지 않고 복잡한 장면에서도 사용할 수 있습니다. 간단한 API와 풍부한 구성 옵션 덕분에 개발자는 애플리케이션에 인상적인 입자 시스템을 쉽게 통합할 수 있습니다.

사용 사례

  • 애니메이션 앱 배경 만들기
  • 동적 시각 효과를 통한 UI 향상
  • 상호작용 가능한 입자 애니메이션 추가
  • 앱 온보딩 경험 개선
  • 몰입형 랜딩 페이지 디자인
  • 환경 배경 효과 구현

주요 기능

  • 고성능 렌더링
  • 크로스 플랫폼 지원 (Android, iOS, Web, macOS, Windows, Linux)
  • 그라디언트 및 색상 처리 지원
  • 실시간 입자 상호작용
  • 사용자 정의 가능한 입자 행동
  • 경량이고 효율적

적합한 대상

  • 시각적 매력이 필요한 UI 디자이너
  • 매력적인 온보딩 화면을 구축하는 개발자
  • 환경 배경 애니메이션을 필요로 하는 앱
  • 인터랙티브 디지털 경험
  • 성능 중심 프로젝트
  • 창의적인 앱 인터페이스

고려 사항

  • 저사양 기기용 최적화가 필요할 수 있습니다
  • 복잡한 구성은 빌드 시간을 증가시킬 수 있습니다
  • 기본 예제 외에 문서가 제한적
  • 정적 또는 간단한 배경에 적합하지 않음
  • 입자 시스템 개념에 대한 이해가 필요합니다
  • 대규모 입자 수로 인한 메모리 사용 가능성

원본 README

연결된 소스 저장소의 README 원문 스냅샷입니다. 최신 내용은 저장소에서 확인하세요.

Particular Logo

Enhance your app or game visuals with this high-performance Flutter Particles System widget. Utilize JSON or programmatic configuration, seamlessly integrating with popular particles editors for effortless customization.

  • Customizable (live) Particle Effects.
  • Ready Presets (JSON Configs).
  • Seamless Integration with Editors.
  • Optimized Performance with 1~10k particle at frame

    Whether you're a designer or developer, Particular empowers you to bring your creative visions with ease.


    - Some Presets:

    Meteor Galaxy Snow Meteor


    - Installation

    Add particular to your pubspec.yaml file:
    For detailed installation instructions, refer to the installation guide on pub.dev.


    - Configurate your particles

    You have two options for configuring your particles:

    1. Using Editors:

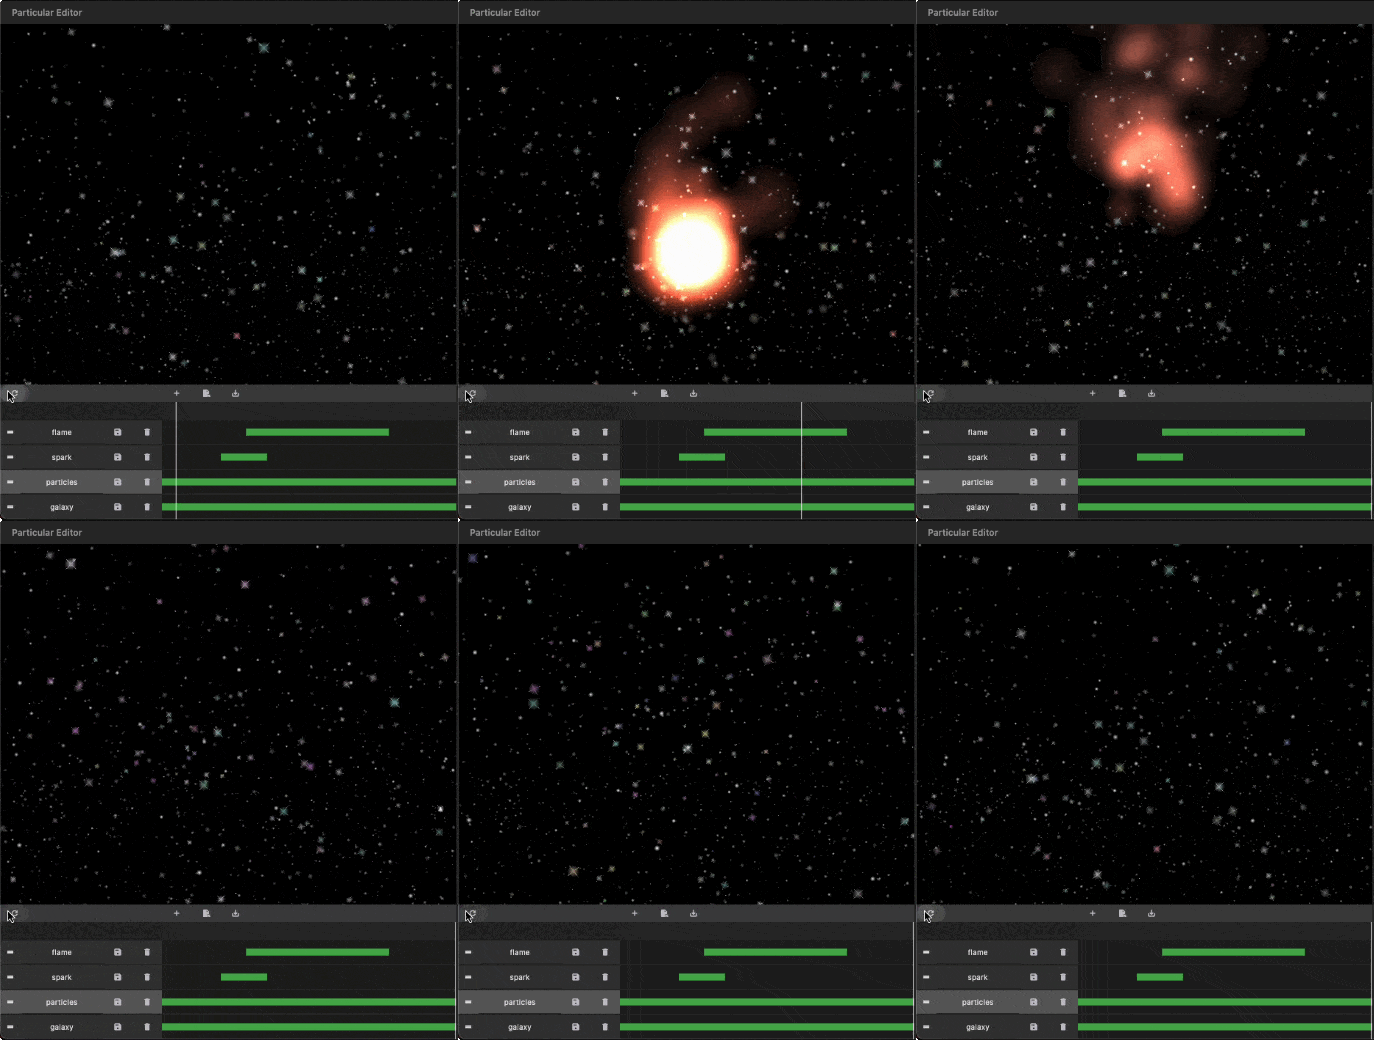
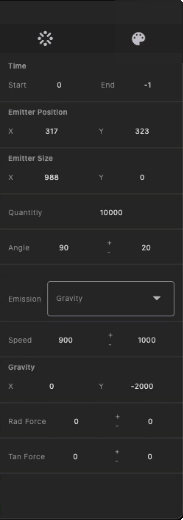
    Generate your particles system configurations by Particular Editor.


    1. Programmatic Configuration:
      Manually configure your particle controller in code. Refer to the following steps for more details.

    - Getting Started with Coding

    Follow these steps to integrate the particles system into your Flutter app:

    I. Insert Particle Files into Your Project:
    The Particular Editor exports one or multiple particle layers. For each particle layer, it generates a configuration file (configs.json) and a related image file (texture.png). In the configuration file, there is a node named textureFileName, which refers to the image file. Place the image and configs.json file in your project's assets folder, and add the necessary assets entry in your pubspec.yaml file.

    assets:
      - assets/configs.json
      - assets/texture.png
    

    https://docs.flutter.dev/ui/assets/assets-and-images


    II. Initialize the Particles Controller in `initState`:

    To use this library, import package:particular/particular.dart.

    final _particleController = ParticularController();
    ...
    @override
    void initState() {
      _loadParticleAssets();
      super.initState();
    }
    
    // Load configs and texture of particle
    Future<void> _loadParticleAssets() async {
    
      // Load particle configs file
      String json = await rootBundle.loadString("assets/configs.json");
      final configsData = jsonDecode(json);
    
      // Load particle texture file
      ByteData  bytes = await rootBundle.load("assets/${configsData["textureFileName"]}");
      ui.Image texture = await loadUIImage(bytes.buffer.asUint8List());
    
      // Add particles layer
      _particleController.addLayer(
        texture: frameInfo.image, // Remove in default-texture case
        configsData: configsData, // Remove in programmatic configuration case
      );
    }
    

    III. Add the Particular widget in your widget three:

    @override
    Widget build(BuildContext context) {
      return MaterialApp(
        home: Scaffold(
          backgroundColor: Colors.black,
          body: Particular(
            controller: _particleController,
          ),
        ),
      );
    }
    

    IIII. Live Update Particle Layer:

    _particleController.layers.first.update(
        maxParticles: 100,
        lifespan:1.2,
        speed:100,
        angle:30,
    );
    

    You can also use different image types supported by Flutter, with varying names and locations, following the guidelines below:

    {
      "textureFileName": "images/particle_snow.webp"
    }
    
    assets:
      - assets/data/particle_snow.json
      - assets/images/particle_snow.webp
    
    ...
    
    // Load particle configs file
    String json = await rootBundle.loadString("assets/data/particle_snow.json");
    
    ...
    

    This revised README provides clear installation instructions, options for configuring particles, and steps for integrating and customizing the particle system in your Flutter app. If you have any questions or need further assistance, don't hesitate to ask!

  • 카테고리

    의존성

    의존성 목록 1 개

    소스 저장소

    이 패키지를 사용하는 프로젝트

    아직 데이터가 없습니다.