Orientação gerada a partir de informações públicas. Apenas para referência.
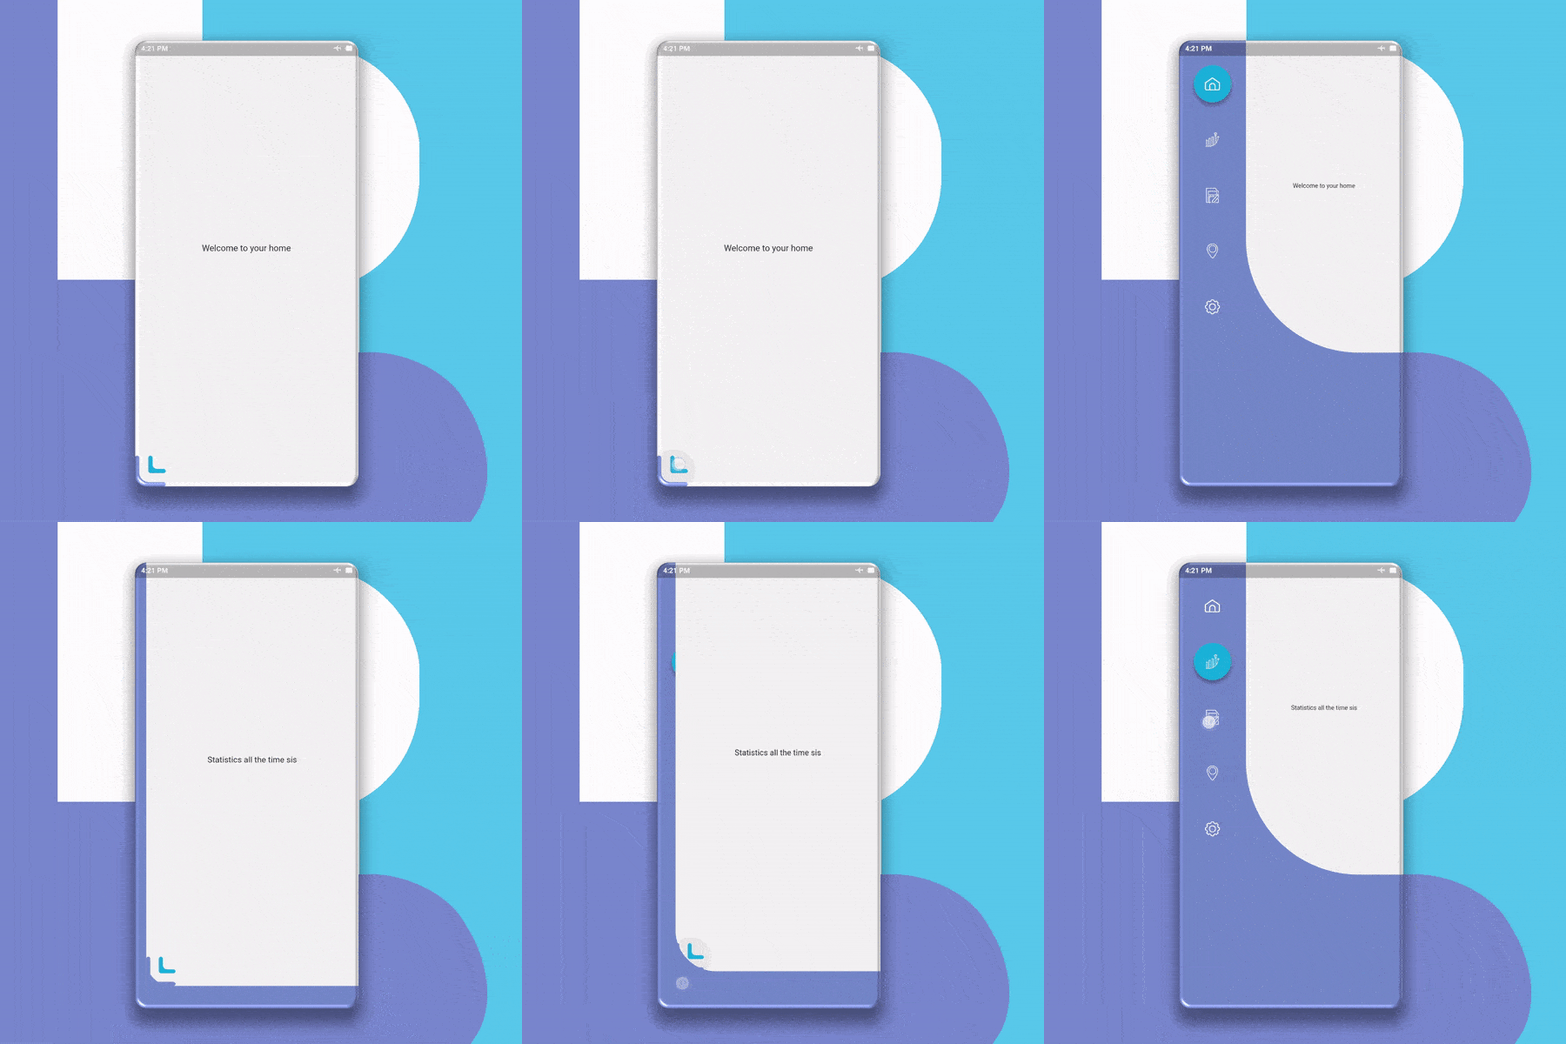
Flurry Navigation é um pacote Flutter que oferece navegação suave e animada com cores, formas e lógica de navegação personalizáveis. Projetado para melhorar a experiência do usuário sem interferir no conteúdo da tela principal, ele fornece uma abordagem limpa e moderna para navegação. Ideal para aplicativos que exigem transições elegantes e controle flexível de layout, integra-se perfeitamente em projetos Flutter existentes. O pacote oferece personalização mantendo desempenho e apelo visual.
Casos de uso
Menus laterais animados personalizados
Transições de tela suaves
gavetas de navegação com marca
Componentes de interface interativa
Barras de navegação do aplicativo móvel
Navegação baseada em forma dinâmica
Principais recursos
Transições de navegação animadas
Cores e formas ajustáveis
integração de tela não invasiva
Lógica de navegação personalizável
Leve e eficiente
Integração fácil com o Flutter
Indicado para
Desenvolvedores procurando navegação animada
Aplicativos Flutter com foco em design
Aplicativos com interface do usuário com marca necessitam
Projetos que exigem UX suave
Equipes que desejam componentes de navegação reutilizáveis
Considerações
recursos específicos de plataforma limitados
Sem suporte a modo escuro embutido
Requer configuração manual para fluxos complexos
Mais adequado para estruturas de navegação simples a moderadas
Não otimizado para hierarquias de navegação em grande escala
README original
Snapshot do README original do repositório-fonte vinculado. Consulte o repositório para o conteúdo mais recente.
flurry_navigation
A Smooth and Animated navigation package for flutter that doesn’t interfere with the Screen with adjustable colors, shapes, and navigation logic.
Getting Started
First of all, Depend on the package.
dependencies:...flurry_navigation:^0.2.0#May not be the latest version
Changes to the Screens files
Add your code inside this variable below in every screen you want to navigate.
import'package:flurry_navigation/flurry_navigation.dart';
//The variable name must be uniquefinal firstscreen = newScreen(
);
Changes in the main file
First You should declare a variable called activeScreen.
var activeScreen;
Now add a Widget builder class that returns new FlurryNavigation.
Add values to these attributes to FlurryNavigation.
Widgetbuild(BuildContext context) {
newFlurryNavigation(
// The Icon data of the icon the BottomLeft
expandIcon: Image.asset("Put your path here"),
// The size of the icon on the BottomLeft
iconSize: 50.0,
// The content of the screen. leave it as it is
contentScreen: activeScreen,
)
}
Now add the menuScreen attribute FlurryNavigation and set it to the value below.
[If you want to use your own menu, contact me and I will provide you with the instructions].
Then add the "items" attribute to "Menu" and set it to the list of items you want in the menu "which usually matches the no. of screens", with "new MenuItem" like the example below.
Widgetbuild(BuildContext context) {
returnnewFlurryNavigation(
...
menuScreen: newMenuScreen(
menu: newMenu(
items: [
//You can add as many items as you want, it's scrollable!!newMenuItem(
id: 'hom',//Set this to whatever you want but do not duplicate it. !Required!
icon: 'assets/hom.png',//Set this to the path of the data for the icon of the button !Required!
isSelected: true ,//make sure the default item "isSelected" attribute is set to "true" !Required!
selectedBtnColor: Color.fromRGBO(38, 198, 218, 1//the color of the item if activated !Required!
btnShape: BoxShape.rectangle
//the shape of the item !Required!
#disabledBtnColor: Colors.transparent, //this have a default value of Colors.transparent
#selectedShadowColor: Colors.blueGrey, //this have a default value of Colors.blueGrey
#disabledShadowColor: Colors.transparent
), //this have a default value of Colors.transparent,newMenuItem(
id: 'sta',
icon: 'assets/sta.png',
isSelected: false,
selectedBtnColor: Color.fromRGBO(38, 198, 218, 1),
btnShape: BoxShape.rectangle
)
]
)
)
)
}
Now add the onMenuItemSelected attribute to "MenuScreen" to specify the logic for the navigation.
Widgetbuild(BuildContext context) {
newFlurryNavigation(
...
menuScreen: newMenuScreen(
...
//this is the logic behind the navigation. tailor the code below to fit your needs. If you want any help message me.
onMenuItemSelected: (String itemId) {
if (itemId == 'hom') {
setState(() => activeScreen = firstscreen);
} elseif (itemId == 'sta') {
setState(() => activeScreen = secondscreen);
}
},
),
);
}
Notice
This is my first markdown file so if you see any problems you're free to open an issue.
You can find a standalone full example in the example app or in the Github repo
Contributing
Pull requests are welcome. For major changes, please open an issue first to discuss what you would like to change.