AnimationDirector 是一個 Flutter 套件,旨在簡化流暢且視覺上吸引人的動畫創建。它提供了一種結構化的方法來管理複雜的動畫序列,同時最大限度地減少樣板程式碼。開發者可以使用直觀的 API 定義和編排動畫,從而更容易建立引人入勝的使用者介面。該套件專注於效能和開發者體驗,使 Flutter 應用中的過渡效果和動態效果更加順暢。
適用情境
建立互動式 UI 元素
建構動畫引導畫面
設計響應式按鈕反饋
使用動態效果實現啟動畫面
動畫列表項目條目
透過流暢的過渡增強載入狀態
主要特色
預定義動畫預設
可鏈式呼叫的動畫序列
狀態之間的平滑插值
輕量且高效
與現有組件的輕鬆整合
對自定義緩動曲線的支援
適合對象
尋求快速動畫實現的Flutter開發者
需要精緻視覺反饋的應用程式
具有複雜動畫工作流程的專案
設計師與開發人員協作進行動態設計
重視一致動畫模式的團隊
使用建議
除了基本範例之外,文件內容有限
無內建的平台特定行為支援
高級用法可能需要額外的學習
未針對極高頻率動畫進行優化
依賴外部相依性以實現完整功能
原始 README
以下為關聯原始碼儲存庫的 README 原文快照,最新內容請造訪原始碼儲存庫。
animation_director
A package to create nice and smooth animations for flutter
Introduction
A simple package to build beautiful and smooth animations for flutter framework. By using this package, you don't need
to bother yourself with AnimationControllers, AnimationTweens and also timing and of those animations.
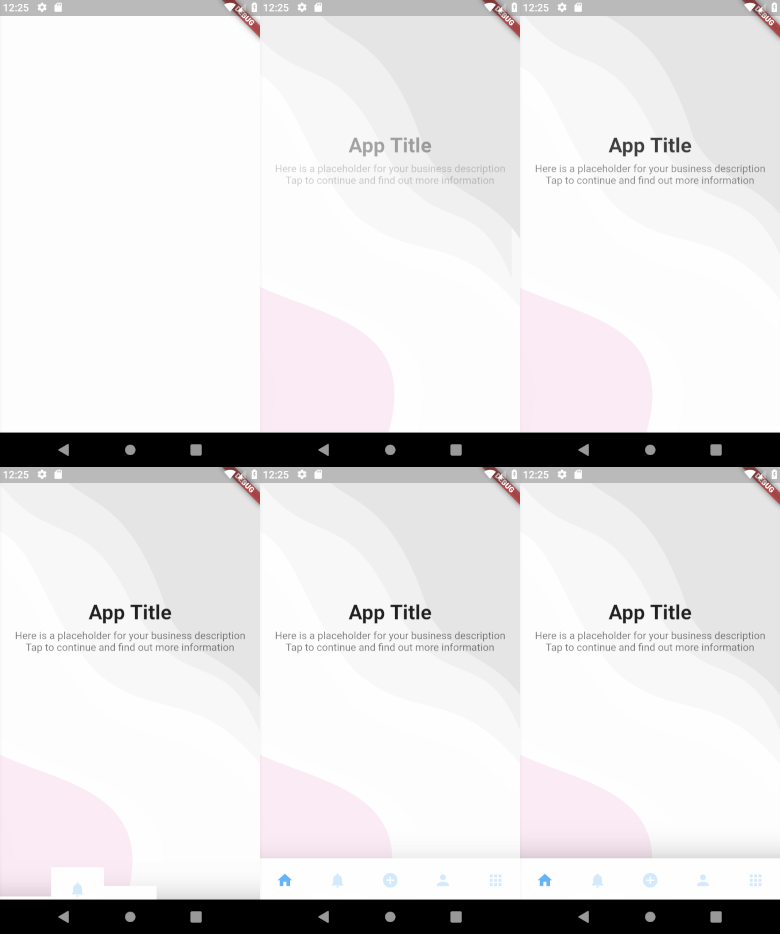
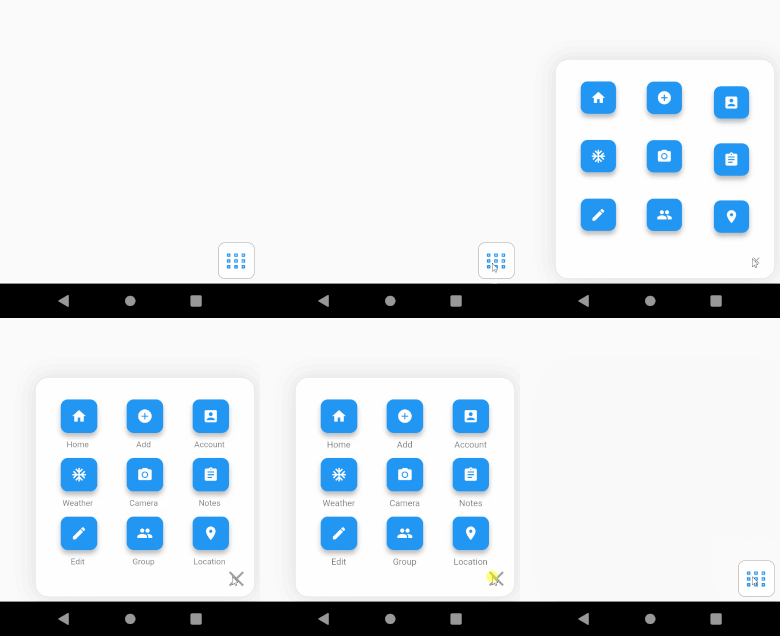
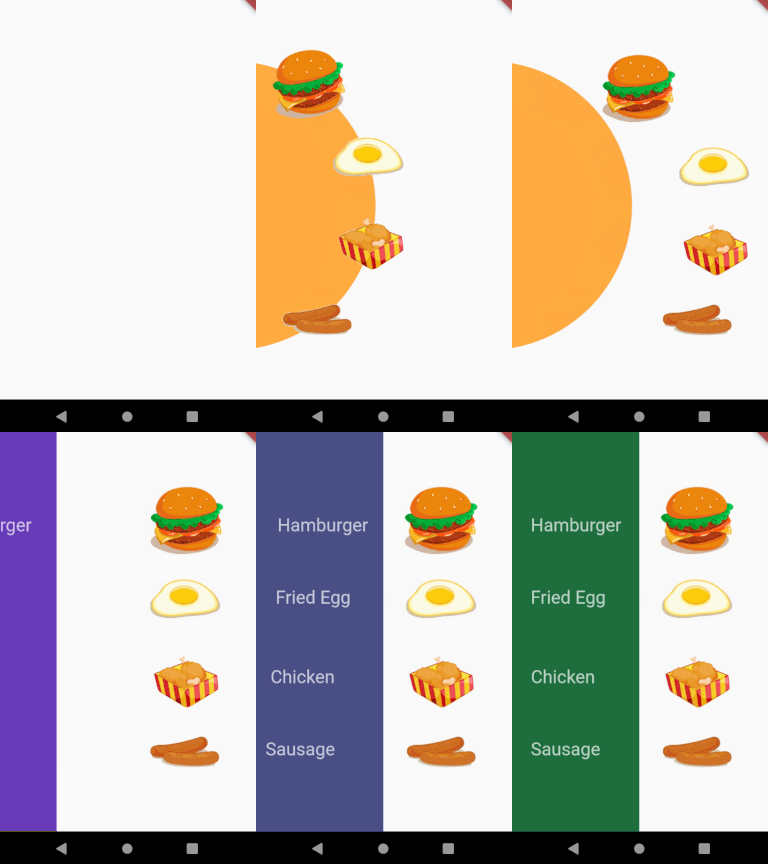
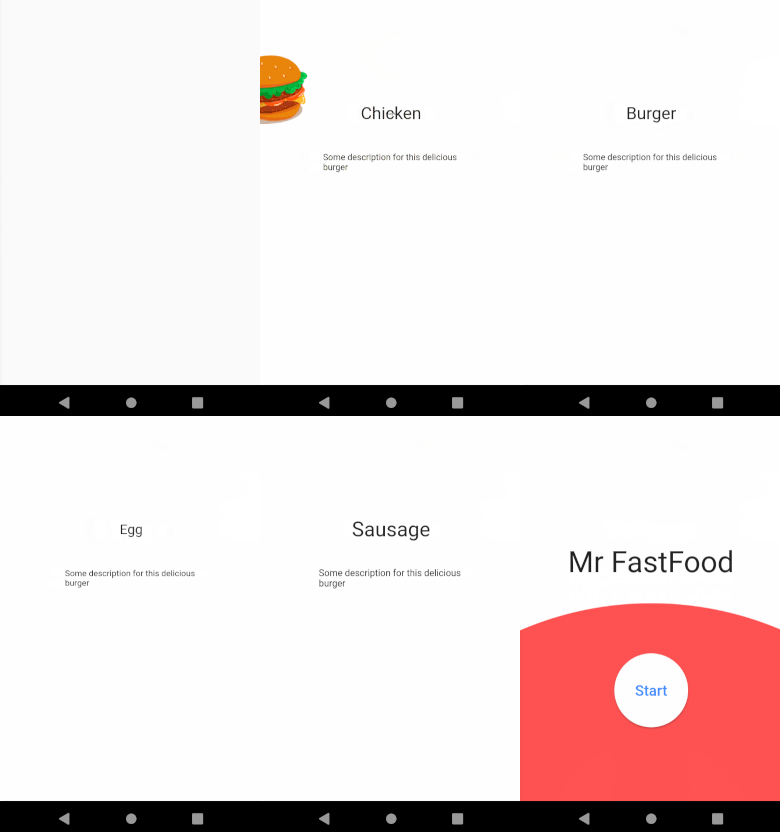
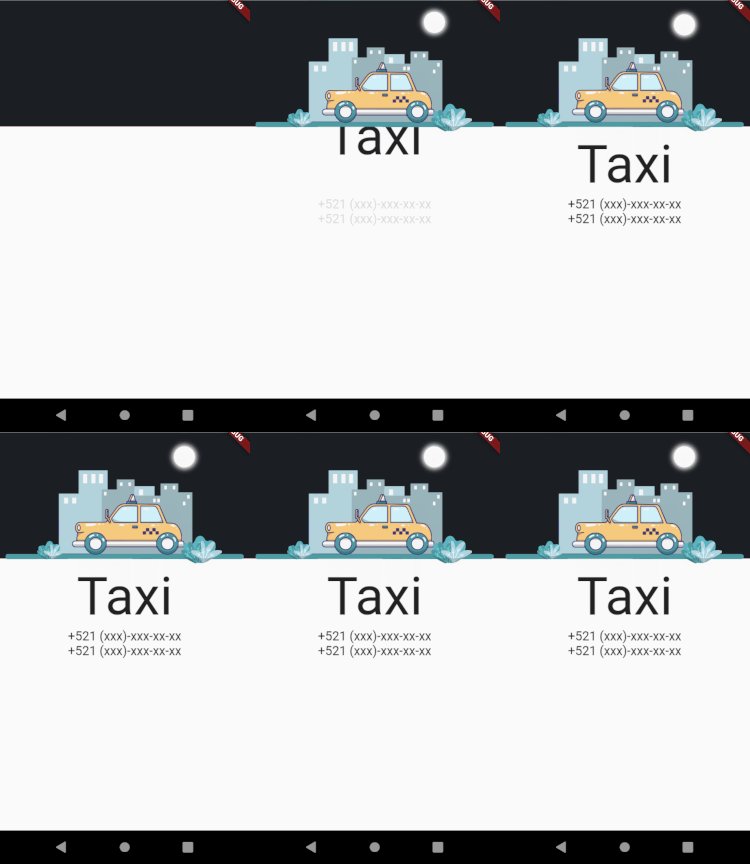
Here there are some simple examples of what I've made with this package in 5 minutes for each one.
The following descriptions may sounds complicated but it's pretty simple, sorry for my bad english, I think if you jump to
example directory and take a look at the codes, you'll find out it's really easy to use
ActorWidget
Each object on the screen is called an ActorWidget.
each ActorAction is an individual animation of the ActorWidget.
All ActorWidgets in your page run simultaneously.
All ActorActions inside of an ActorWidget run sequentially, but you can control how much it waits before starts the animation
using waitBeforeStart
List<String> group; // you can define one or multi group for action.Function onCompleted;
Function onStart;
Duration waitBeforeStart; // the amount of time the current action must wait to start, after the previous action is finishedActorPath path;
ActorPosition position;
ActorOpacity opacity;
ActorCharacter character;
ActorRotation rotation;
ActorScale scale;
if you want to animate some of your ActorWidgets, you can give a name to the actions of your actor. then start your AnimationDirector by that group.
Using this, only ActorWidgets which has the given group animate.
This is useful when you want to trigger an animation manually. see Example Menu3x3.
ActorCharacter
The actor character! your actor is represented by ActorCharacter.
ActorCharacter has the following properties:
Duration duration;
Curve curve;
double width;
double height;
Widget child;
String clipPath; // the string of the clip pathEdgeInsets padding;
EdgeInsets margin;
BoxDecoration decoration;
BoxDecoration foregroundDecoration;
Note: clipPath type is string! if follows svg codes rule. and for now only supports M, L, A, Q.
In order to generate a path you can use FlutterDev.site Path Creator.
Draw your path and copy The Result to the clipPath property
ActorPosition
You can animate the position of Actor using ActorPosition.
Duration duration;
Curve curve;
String path; // the String code of the pathint traversePercentage; // the percentage of `ActorCharacter` movement along the pathint startPositionInPercent; // the start position of animation in percentbool displayPath; // displays the path on the screen, bool displayProgress; // displays the progress of path filling on the screenOffset offset; // you can align the position of ActorCharacter widget on the pathPaint pathStyle; // style of the path linePaint progressStyle; // style of the progress lineint progressLength; // the length of progress line, the default is as equal as the pathint progressAnimationRepeat; // the repeat times of progress animationbool fadingProgress; // to make the tail of the progress line faded
Path Creator
In order to create paths easily head to FlutterDev.site Path Creator.
Draw your path and copy the generated code from The Result.
Adaptive Size
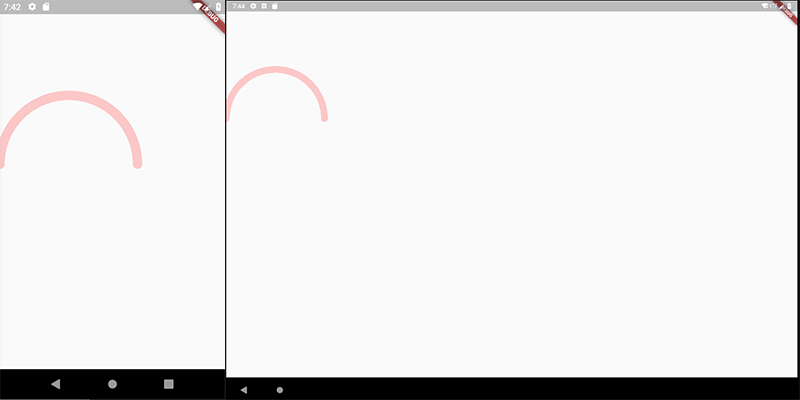
By default, the generated path is based on fixed numbers of your path and has the following effect
If you want to draw your path to be adaptive to the screen of any device, you need to select Adaptive Width
or Adaptive Height or both if you want your path to be fully adaptive.
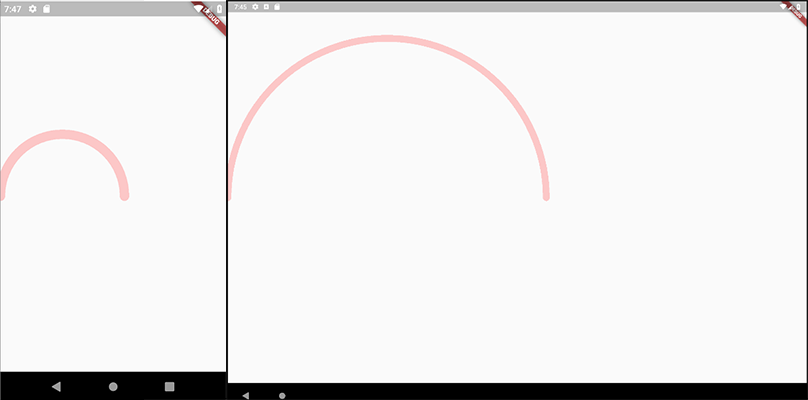
When you select for example Adaptive Width, the drawing-area width will be considered as mobile,tablet,... width so you get following
effect with Adaptive Width. (500 for example)
But keep in mind, in both cases, the result may be different on different screen-sizes.
Example
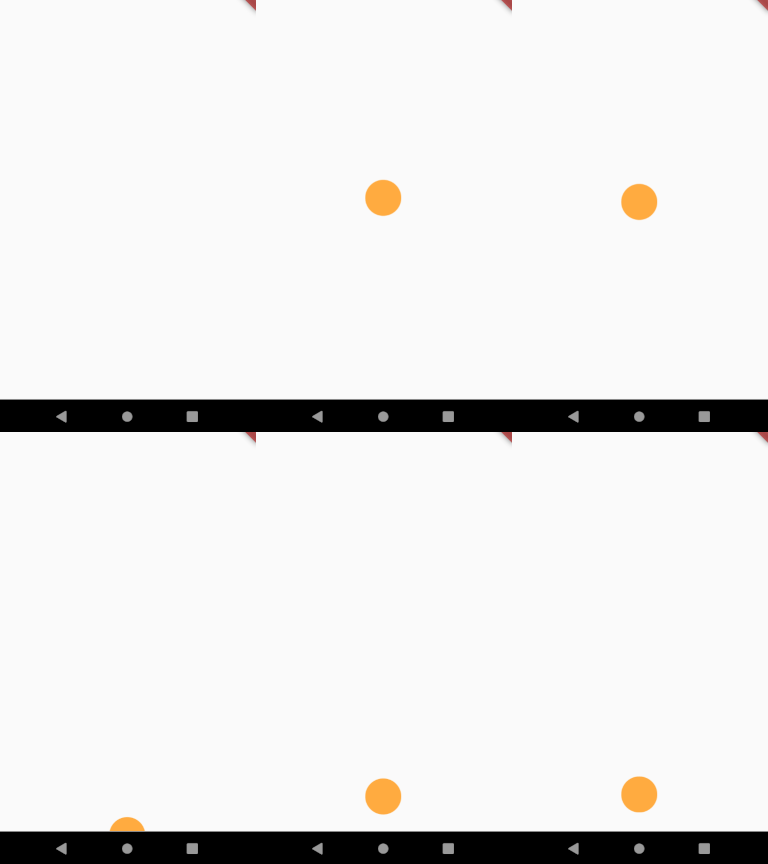
Let's say we want to animate an orange circle from top-center of the screen to the center. Then after 2 seconds,
move the circle to the bottom of the page.
The first step is to create our character and position it to top of the page.