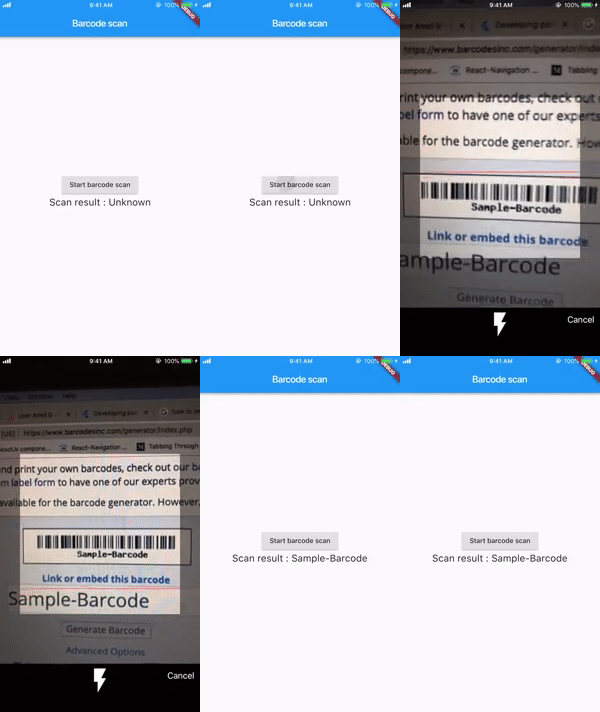
一個 Flutter 插件,可在 Android 和 iOS 裝置上啟用條碼和 QR 碼掃描。它提供簡單可靠的介面,用於捕捉和解碼各種類型的條碼,包括 QR 碼、EAN、UPC 等。透過原生整合建構,確保跨平台的快速且準確的掃描效能。此套件非常適合需要透過視覺碼快速輸入資料的應用程式,例如庫存系統、票務或產品查詢工具。
適用情境
庫存管理
票務掃描
產品資訊查詢
透過QR碼進行使用者驗證
行動支付
主要特色
支援多種條碼格式
跨平台相容性(Android 與 iOS)
高速掃描
簡單 API 結合
即時預覽支援
適合對象
零售應用
事件票務系統
物流和倉儲
行動支付解決方案
數位身分驗證
使用建議
需要相機權限
可能需要背景執行設定
性能因設備硬體而異
僅限行動平台
iOS相機存取的額外設定
原始 README
以下為關聯原始碼儲存庫的 README 原文快照,最新內容請造訪原始碼儲存庫。
flutter_barcode_scanner_plus
A plugin for Flutter apps that adds barcode scanning support on both Android and iOS.
Try example
Just clone or download the repository, open the project in Android Studio/ VS Code, open pubspec.yaml and click on Packages get.
Connect device and hit run.
To run on iPhone you need to run from Xcode first time and just make pod install in example/ios then run from Xcode.
Getting Started
Follow the steps for Android and iOS
PLEASE FOLLOW iOS STEPS CAREFULLY
Android
:zap: Don't worry, you don't need to do anything.
iOS - Requires Swift support
Deployment target : 12
1. Fresh start:
Create a new flutter project. Please check for Include swift support for iOS code.
After creating new flutter project open /ios project in Xcode and set minimum deployment target to 12
and set Swift version to 5.
After setting up the deployment target and swift version, close the Xcode then run pod install in /ios in flutter project.
You have done with basic configuration now proceed to section How to use.
2. Adding to existing flutter app:
If your existing ios code is Swift then you just need to do following.
Set minimum deployment target to 12 and set Swift version to 5.
Close the Xcode and run pod install in /ios in flutter project.
Now proceed to section How to use.
If your existing ios code is Objective-C then you need to do following.
Create a new flutter project with same name at different location (Don't forget to check Include swift support for iOS code while creating)
Just copy newly created /ios folder from project and replace with existing /ios.
Open ios project in Xcode and set minimum deployment target to 12 and set Swift version to 5.
Run pod install in /ios
Note: If you did any changes in ios part before, you might need to make these configuration again
How to use ?
To use on iOS, you will need to add the camera usage description.
To do that open the Xcode and add camera usage description in Info.plist.
COLOR_CODE is hex-color which is the color of line in barcode overlay you can pass color of your choice,
CANCEL_BUTTON_TEXT is a text of cancel button on screen you can pass text of your choice and language,
isShowFlashIcon is bool value used to show or hide the flash icon,
scanMode is a enum in which user can pass any of { QR, BARCODE, DEFAULT }, if nothing is passed it will consider a default value which will be QR.
It shows the graphics overlay like for barcode and QR.
NOTE: Currently, scanMode is just to show the graphics overlay for barcode and QR. Any of this mode selected will scan both QR and barcode.
Continuous scan
If you need to scan barcodes continuously without closing camera use FlutterBarcodeScanner.getBarcodeStreamReceiver
params will be same like FlutterBarcodeScanner.scanBarcode
e.g.
FlutterBarcodeScanner.getBarcodeStreamReceiver("#ff6666", "Cancel", false, ScanMode.DEFAULT)
         .listen((barcode) {
         /// barcode to be used
         });
Contribution:
would :heart: to see any contribution, give :star: if you like