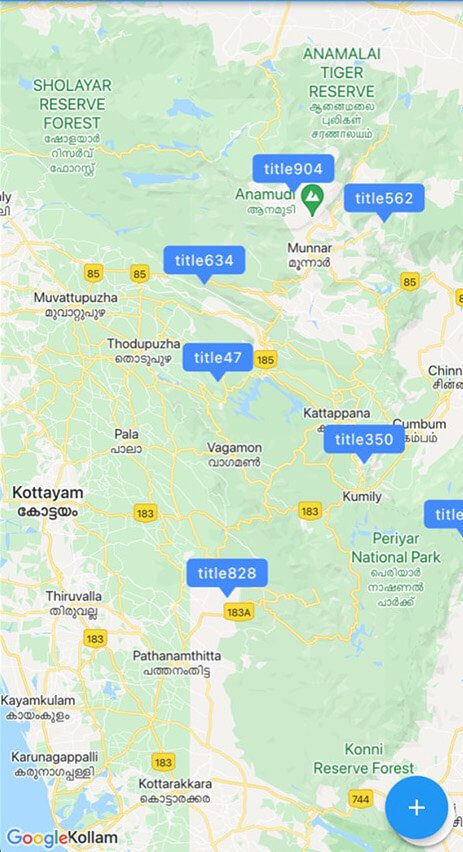
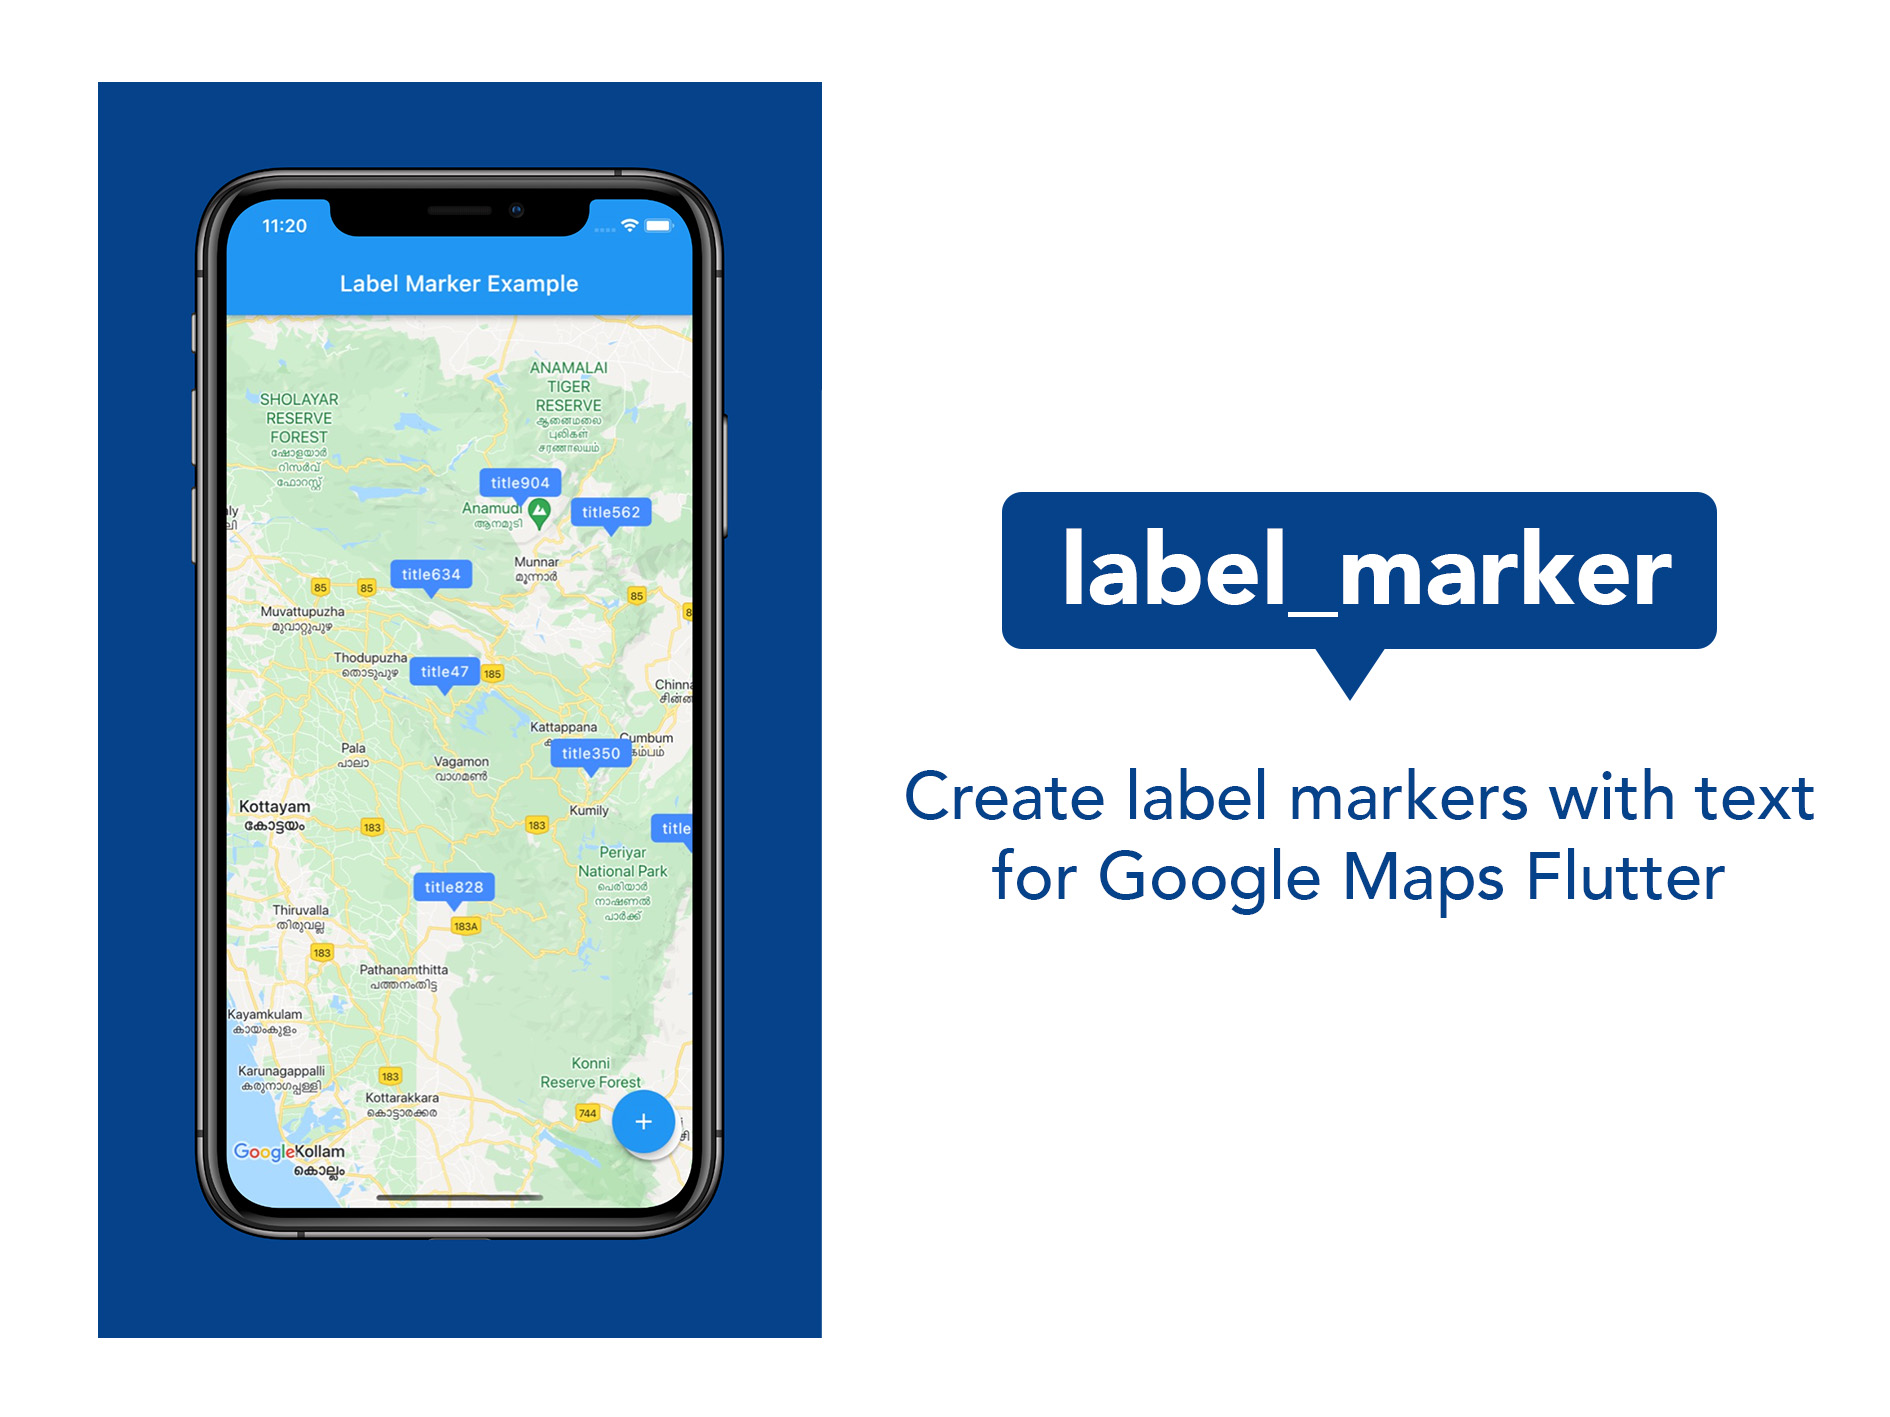
Label Marker 是一個 Flutter 套件,可簡化在 Google 地圖上建立帶有自訂標籤文字的標記。它提供了一種高效且直覺的方式來在地圖上顯示帶標籤的標記,提升地圖可讀性,而無需複雜的設定。專為尋求輕量級解決方案的開發者設計,可與 Google Maps for Flutter 無縫整合,支援 Android、iOS 和 Web 平台。此套件著重於效能與易用性,非常適合需要清晰文字標記註解的應用程式。
適用情境
在地圖上顯示位置名稱
用標籤突出顯示興趣點
建立帶有文字的互動式地圖標記
透過可讀的註釋增強地圖使用者體驗
建構導航或發現應用
主要特色
用於帶標籤標記的簡單 API
高效的渲染性能
支援 Google 地圖整合
跨平台相容性(Android、iOS、Web)
所需設定最少
適合對象
開發基於地圖應用程式之開發者
需要標記的項目
專注於位置可視化的應用
注重開發速度的團隊
使用 Google Maps 的 Flutter 前端開發人員
使用建議
需要 Google Maps API 金鑰
僅限Google地圖平台
依賴於 Google Maps Flutter 插件
不適用於非Google地圖提供者
可能需要額外的樣式自定義
原始 README
以下為關聯原始碼儲存庫的 README 原文快照,最新內容請造訪原始碼儲存庫。
A package to create and use Google Maps marker with label text; the easiest and most efficient way.
Features
Use this package in your Flutter app to:
Include map marker with text in flutter app
Customise the background colour of the label
Customise the font style of the label
Implement any other functionality that you could do with normal markers
Getting started
Do the basic setup for having Google Maps
Create a Set of normal markers ( Set < Marker > ) and set it as markers parameter of Google Maps widget
Import this package; label_marker, and call addLabelMarker() function on the Set of markers when you want to add a label marker.
Pass a LabelMarker widget, (created by giving required parameters, ie, label, position and markerId) to the above function. (See example.)
Remember to call setState using 'then' keyword on the addLabelMarker() function.
This was done alone and contributions are absolutely welcome. Any idea or suggestion to remove the need of setState after the function manually called, would be most appreciated.