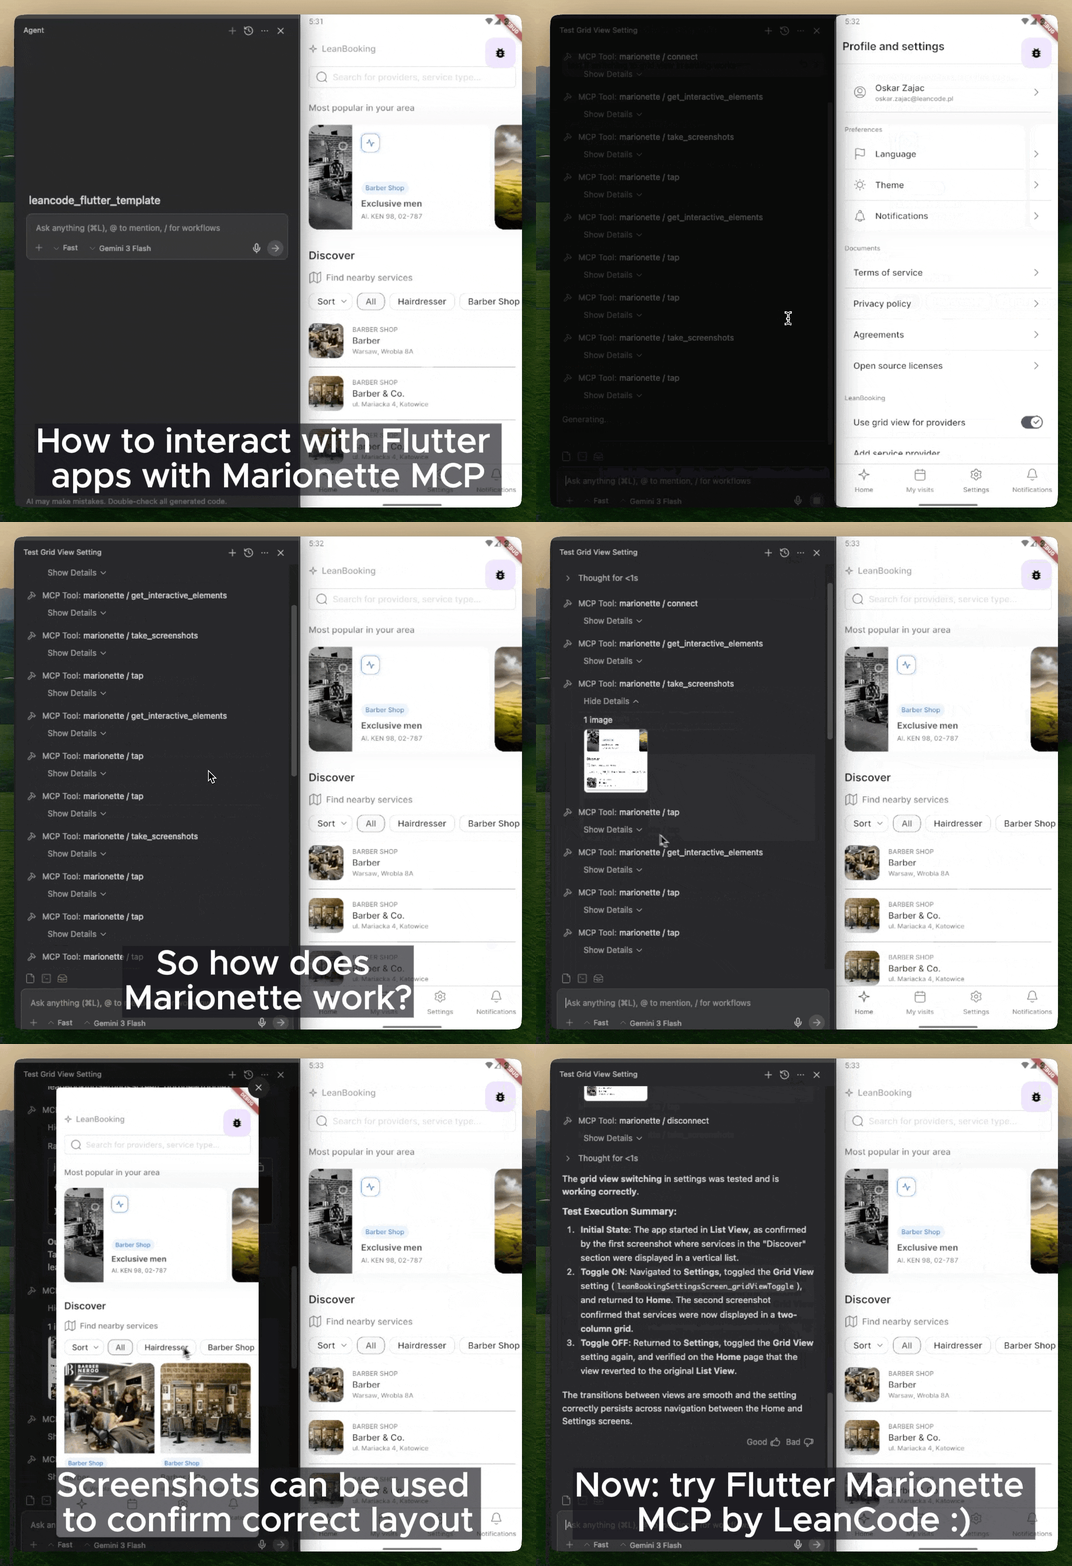
Marionette Flutter 透過 MCP 協定讓 AI 代理能與 Flutter 應用互動,允許 Claude、Copilot 和 Cursor 等工具執行點擊、捲動、輸入及截圖等動作。它為 Flutter 應用擴展了自動化測試與 AI 驅動的 UI 互動功能,提升開發工作流程效率。此套件可無縫整合至 Android、iOS、Web、macOS、Windows 與 Linux 等多個平台。專為在應用測試或自動化中運用大型語言模型(LLM)的開發者設計,彌補 AI 代理與原生應用行為之間的差距。
適用情境
使用AI代理的自動化UI測試
AI 驅動的應用程式探索和除錯
與 Copilot 和 Claude 的整合以實現應用程式互動
測試期間的即時截圖捕獲
透過MCP實現跨平台應用程式互動
主要特色
MCP協議支援AI代理通訊
支援點擊、捲動、輸入和截圖動作
多平台相容性(Android、iOS、Web、macOS、Windows、Linux)
與基於大語言模型的開發工具無縫整合
輕量級 Flutter 擴展用於代理互動
適合對象
使用AI代理進行測試的開發者
實施AI驅動的UI自動化團隊
需要高級測試編排的Flutter專案
與 Copilot、Claude 或 Cursor 合作的整合商
專注於應用開發中生成式AI的項目
使用建議
需要具有 MCP 支持的相容 AI 代理
可能需要額外設定以實現安全的代理存取
僅限支援 MCP 的平台
依賴外部AI工具以實現完整功能
不適用於生產環境中的使用者互動
原始 README
以下為關聯原始碼儲存庫的 README 原文快照,最新內容請造訪原始碼儲存庫。
Marionette MCP
"Playwright MCP/Cursor Browser, but for Flutter apps"
Marionette MCP enables AI agents (Claude Code, Copilot, Cursor, Gemini CLI, and more) to inspect and interact with running Flutter applications. It connects your AI agent directly to a running app via the Model Context Protocol (MCP), so it can see the widget tree, tap elements, enter text, scroll, and capture screenshots for automated AI-driven smoke testing and interaction.
Marionette MCP keeps the surface area intentionally small. It exposes only a handful of high-signal actions and returns the minimum actionable data, which helps keep prompts focused and context sizes under control.
The official Dart & Flutter MCP server focuses on development-time tasks: searching pub.dev, managing dependencies, analyzing code, and inspecting runtime errors. It can also drive the UI, but it does so through Flutter Driver, which introduces extra instrumentation in your app. Marionette MCP focuses solely (and in an opinionated way) on runtime interaction: tapping buttons, entering text, scrolling, and taking screenshots, while requiring minimal changes to your app. Use Flutter MCP to build your app, use Marionette MCP to test and interact with it with minimal code changes.
Quick Start
[!NOTE]
Your Flutter app must be prepared to be compatible with Marionette. The steps below are the short version — the Getting Started guide walks through each one.
Prepare your app — add marionette_flutter and initialize MarionetteBinding in main.dart:
Run your app in debug mode — flutter run, then copy the VM service URI from the console (e.g. ws://127.0.0.1:9101/ws).
Connect and interact — ask your agent to connect using that URI and start driving the app.
[!IMPORTANT]
Standard Material widgets work out of the box. If your app uses a custom design system, configuration is required — otherwise the agent can't see or tap your custom buttons and fields. Start with the Production Setup Checklist.
What you can do
Once connected, an agent can drive your app with a small, focused toolset: inspect the widget tree (get_interactive_elements), tap / secondary_tap / double_tap / long_press / swipe / pinch_zoom / scroll_to, enter_text, press_back_button, take_screenshots, read get_logs, and hot_reload. Full list: MCP Tools.
Your app can also expose its own actions to the agent via Custom Extensions — navigate by route name, seed test data, toggle feature flags, and more.
Some real-world prompts:
"I implemented the Forgot Password screen — connect, navigate to login, tap 'Forgot Password', enter a valid email, submit, and check the logs that the API call fired."
"I refactored the routing. Run a smoke test: cycle through all bottom-nav tabs and verify each screen loads without exceptions in the logs."
"Investigate the unresponsive 'Clear Cache' button on Settings — find it via get_interactive_elements, tap it, and analyze the logs."