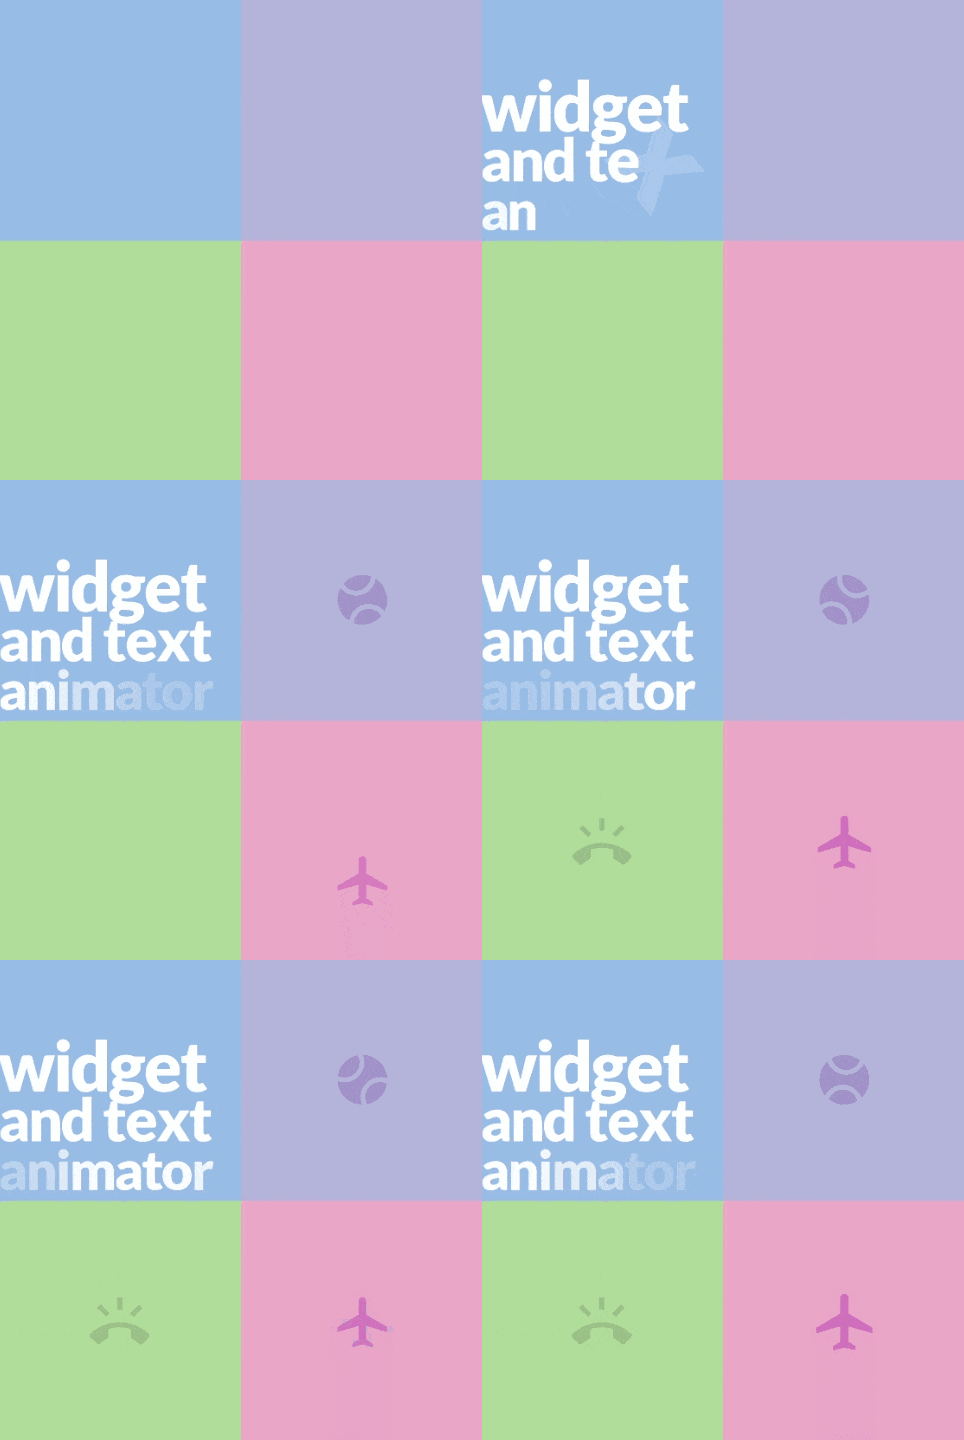
Widget and Text Animator 是一個 Flutter 套件,可簡化為元件和文字建立動態動畫的過程。它提供多種內建效果,例如過渡、模糊和交錯文字動畫,讓開發者能透過流暢且視覺上吸引人的移動來增強使用者介面。此套件支援手勢動畫,並可於所有主要平台無縫整合。僅需最少設定,即可為靜態元素注入生氣,非常適合用於啟動畫面、引導流程和互動內容。
The Widget WidgetAnimator can be wrapped around any widget to let you do effects on it without worrying about vsync, stateful classes and all the usual boilerplate code required.
It provides you with three main features:
Incoming effects - effects that show when a widget first enters the screen
At rest effects - effects that are shown while the widget is visible
Outgoing effects - effects for if the widget is changed and is leaving the screen to be replaced
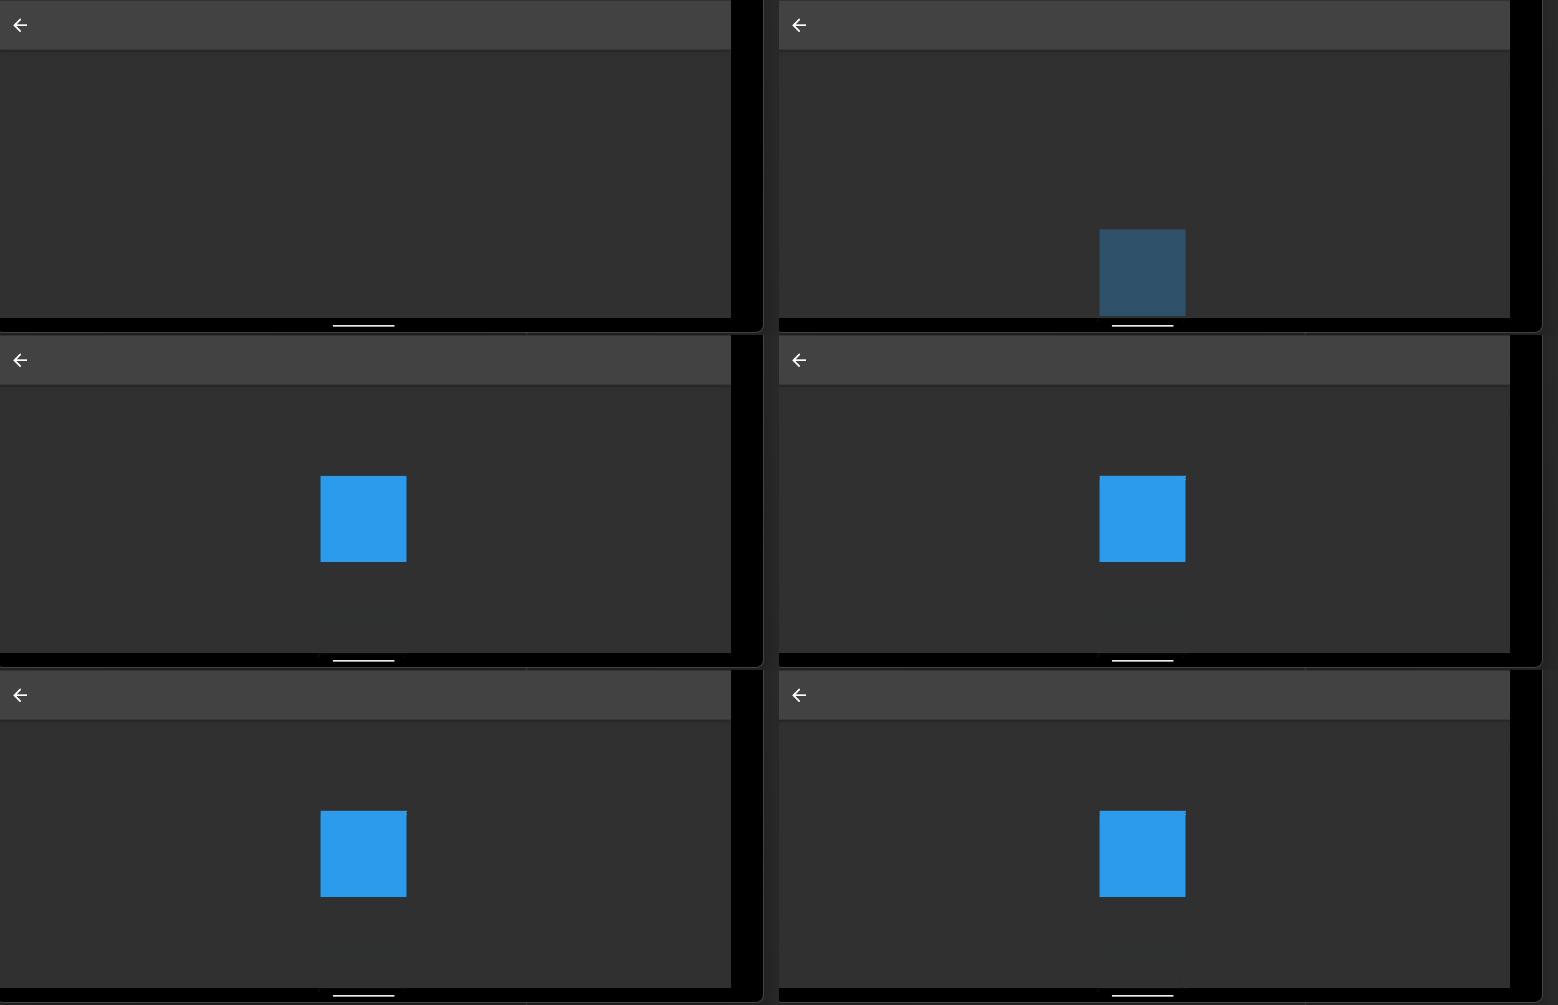
So for a really simple example where you might want to animate a Container appearing onto the screen you can just do the following:
The library comes with a collection of constructors such as WidgetTransitionEffects.incomingSlideInFromBottom() to allow for a range of really simple effect to be created with minimal code.
WidgetTransitionEffects are used for both incoming and outgoing effects and WidgetAtRestEffects are used when a widget is at rest.
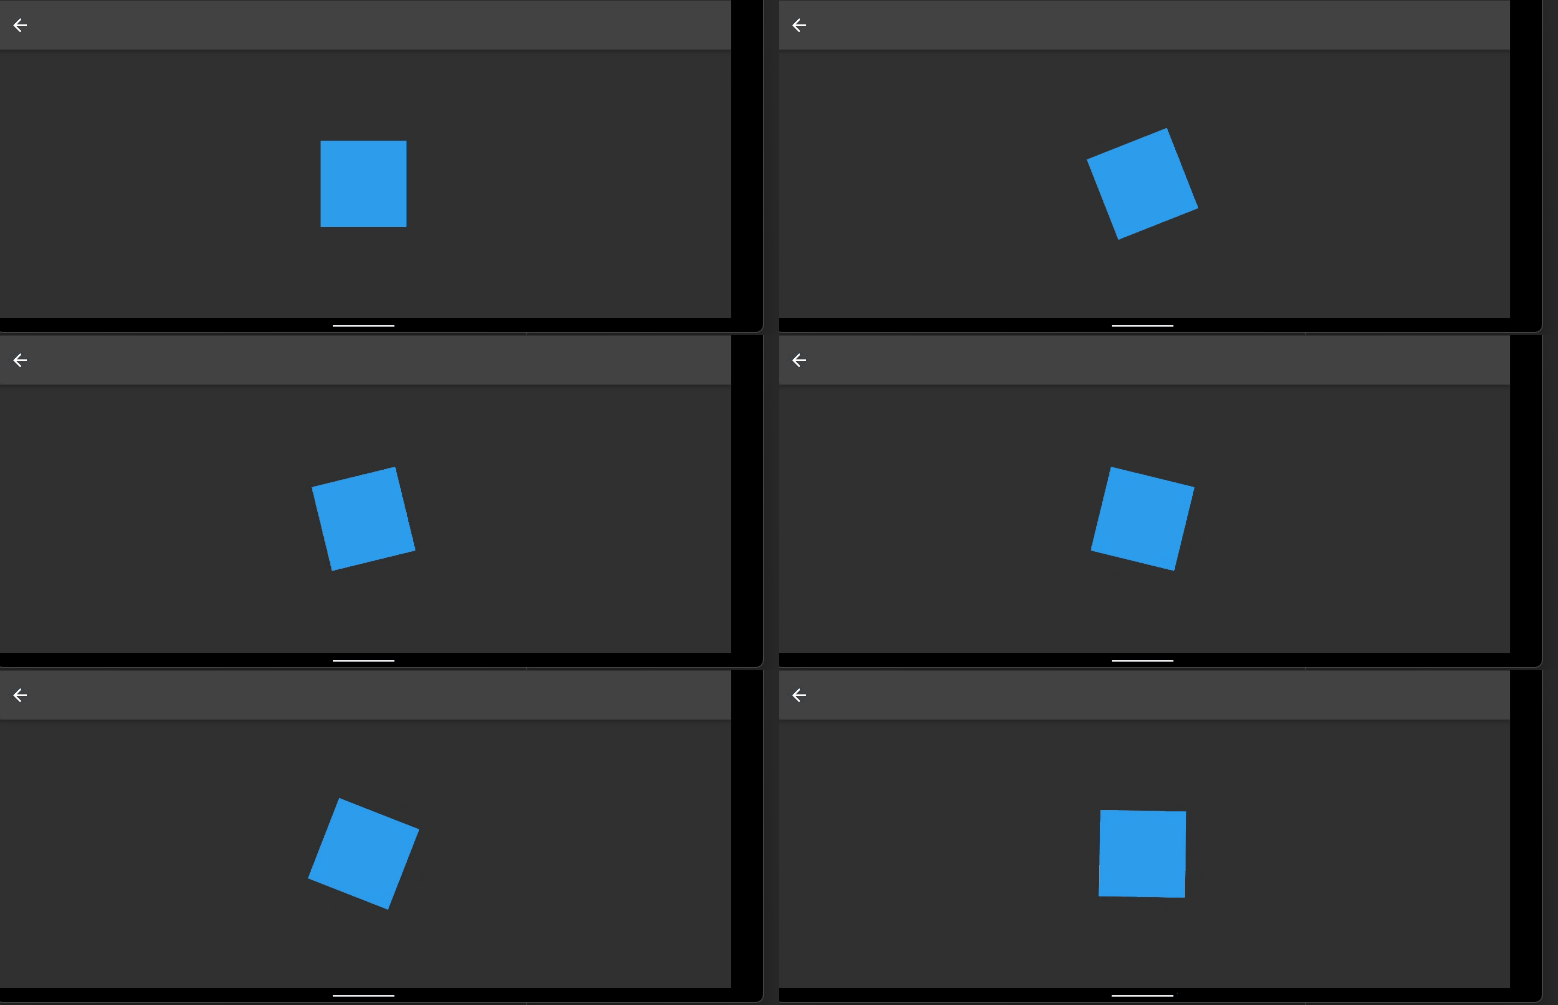
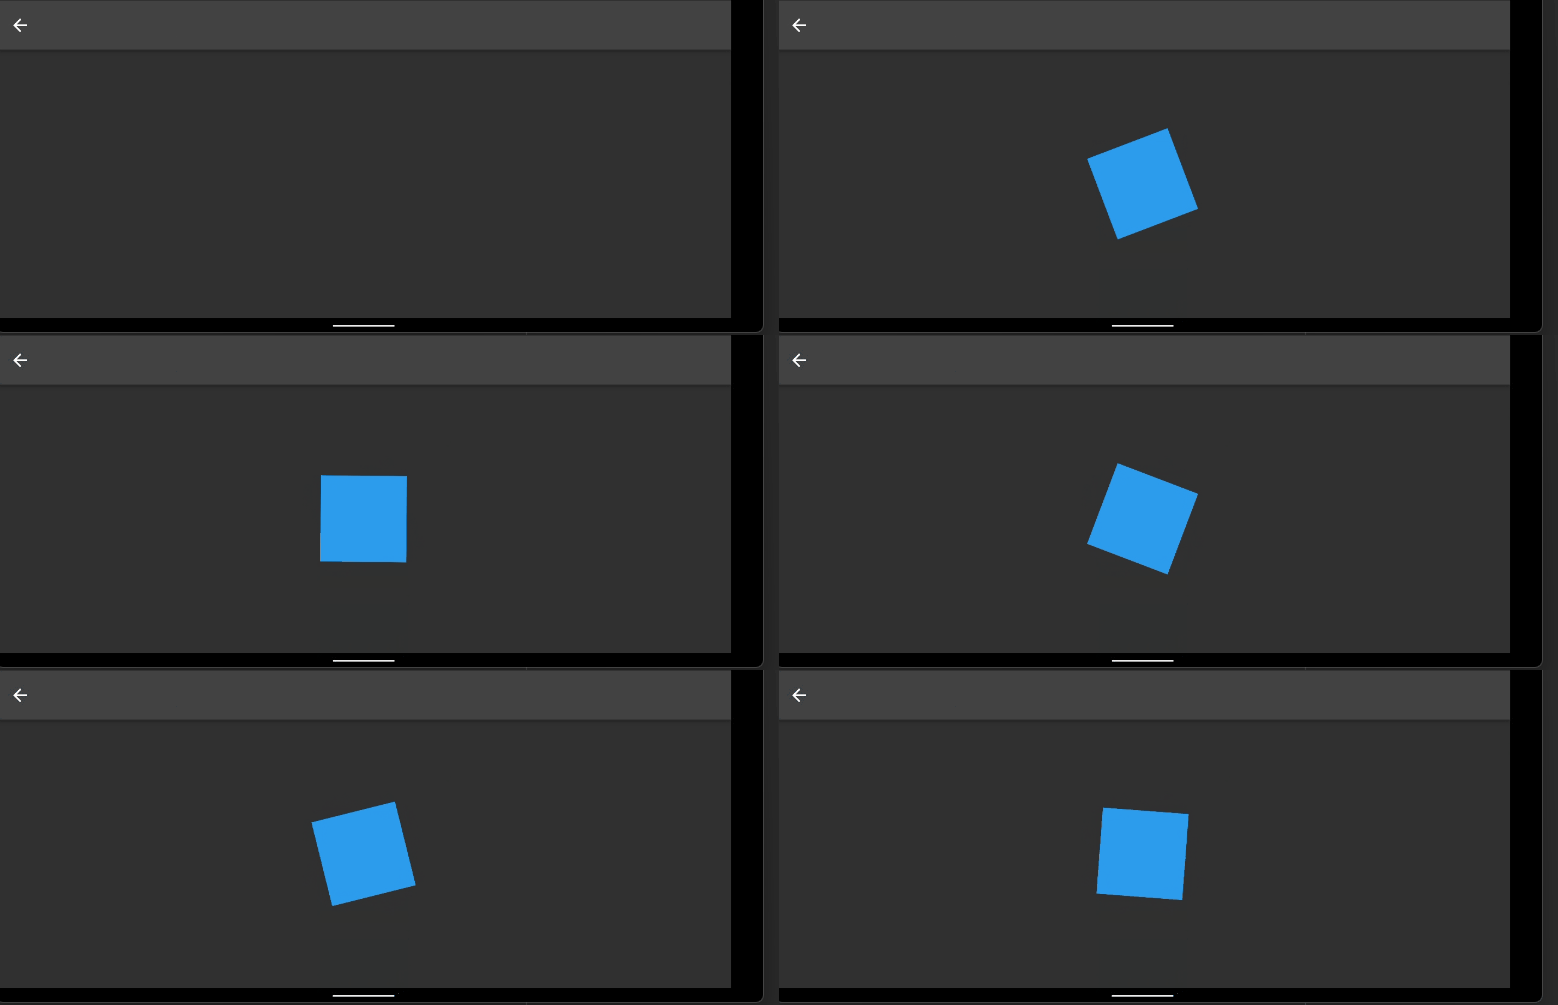
Extending the two examples above, here's a version where both the incoming and at rest animations are combined :
The library comprises of four main Widgets which all have their own purpose:
WidgetAnimator Animates any widget with effects such as opacity, offset, blur, skew, rotation, scale
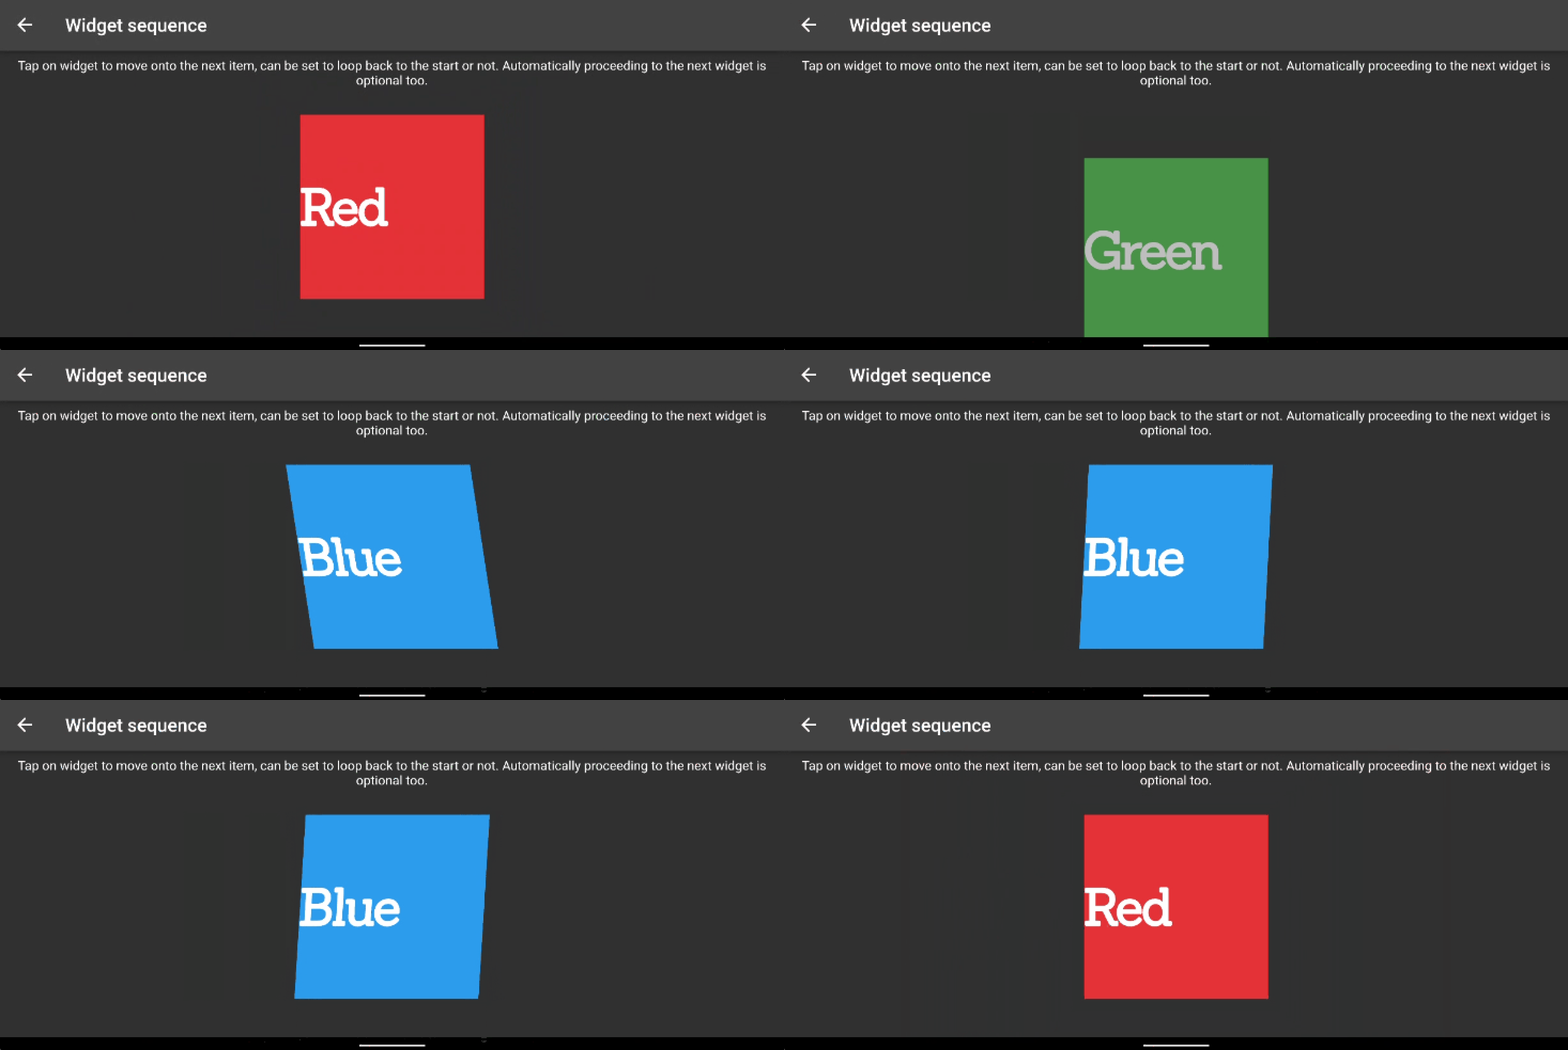
WidgetAnimatorSequence Animates a list of WidgetAnimator either based on Time or a user pressing on the widget (or both)
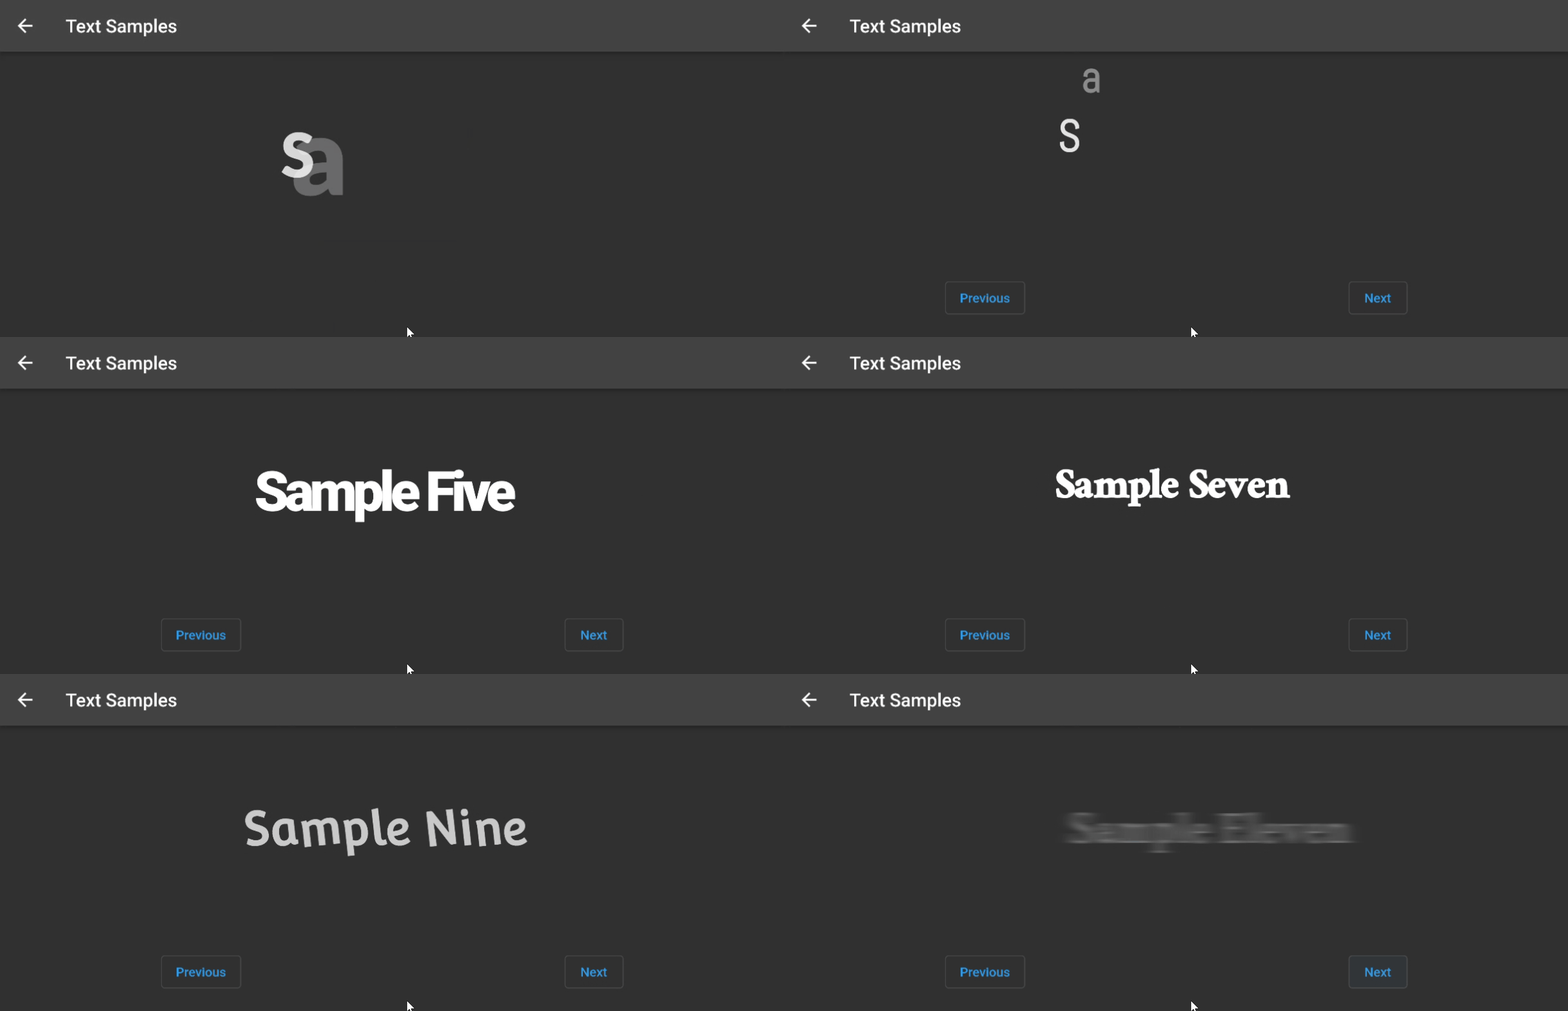
TextAnimator Can be used as a direct replacement for the standard Text widget, giving it animation superpowers
TextAnimatorSequence Similar to WidgetAnimatorSequence but works on TextAnimator widgets
Why does Text have it's own special widgets?
Although you can animate a Text widget easily with the WidgetAnimator, it'll operate on the text as a whole. The reason TextAnimator exists is it allows
for processing effects on each character within a string creating some cool staggered effects. TextAnimator is a wrapper around WidgetAnimator
handling some of the trickier parts of doing this yourself manually.
Here's some examples below:
Getting into more detail
In the earlier examples WidgetTransitionEffects and WidgetAtRestEffects were used to create some basic effects, but just with some default values. Let's
take a look in more detail at what can be set for each:
WidgetTransitionEffects
property
description
default
offset
set up the offset from the position that the widget would normally render, e.g. Offset(50, 20) would render 50 pixels to the right and 20 below the normal location, Offset(-50, -20) would render 50 pixels to the left and 20 above the normal location
Offset(0,0)
skew
Skew, the amount of skew on the X and Y axis e.g. Offset(0.2, 0.5) would be a skew of 0.2 on the X axis and 0.5 on the Y axis
Offset(0,0)
scale
The scale proportion compared to the widgets normal size, the default scale is 1.25x the normal size, use smaller numbers such as 0.5 to decrease the size and values larger
1
blur
Blur, the amount of blur on the X and Y axis e.g. Offset(2, 5) would be a blur of 2 on the X axis and 5 on the Y axis, note that this effect can be quite performance intensive, so try to limit the amount it's used
Offset(0,0)
rotation
The rotation in radians, so math.pi/0.5 will rotate a full circle, math.pi/6 will rotate a small amount
0
opacity
An opacity range from 0..1
1
curve
A curve for the animation tween the play, Curves.Linear if you want it the animation to play at a constant speed, but you can also use things like Curves.bounce to bounce the effect
Curve.eastInOut
builder
The builder allows you to create your own more complicated version of the animations available by default, find more details about the builders below in the custom animation section
null
duration
The duration the animation should play for
Duration(milliseconds: 300)
delay
The length of time before the animation starts to play
null
WidgetAtRestEffects
There are a collection of default constructors available to make standard effects simple to create:
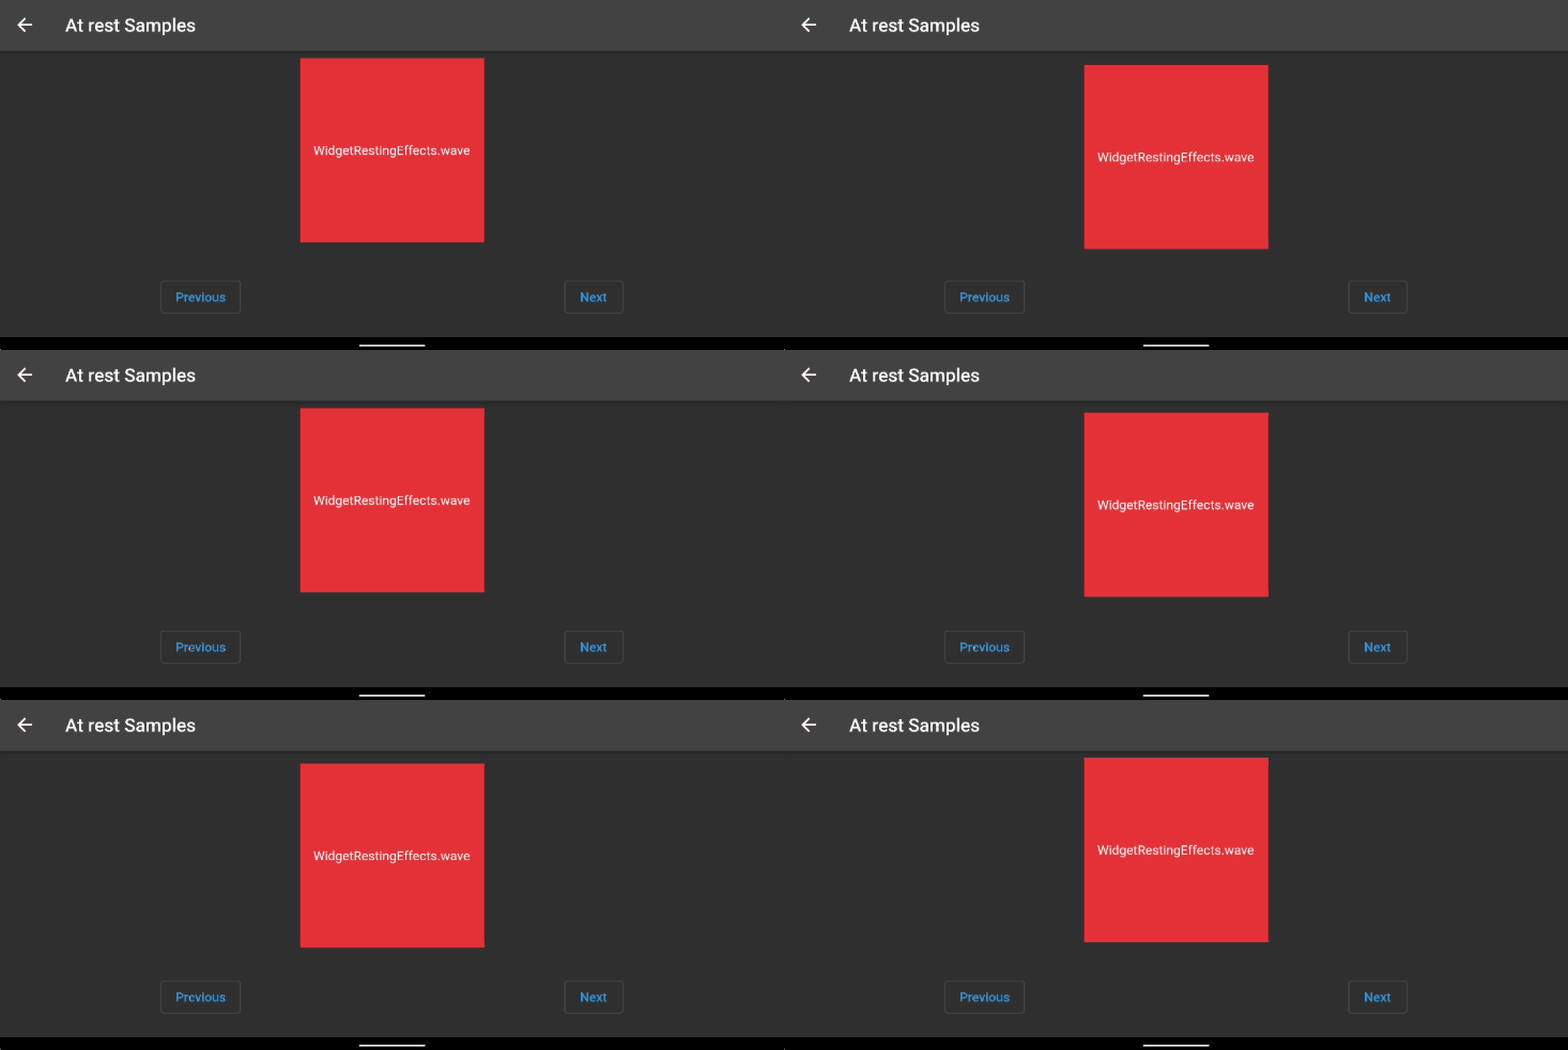
WidgetRestingEffects.wave()
Wave the widget up and then down on it's Y axis
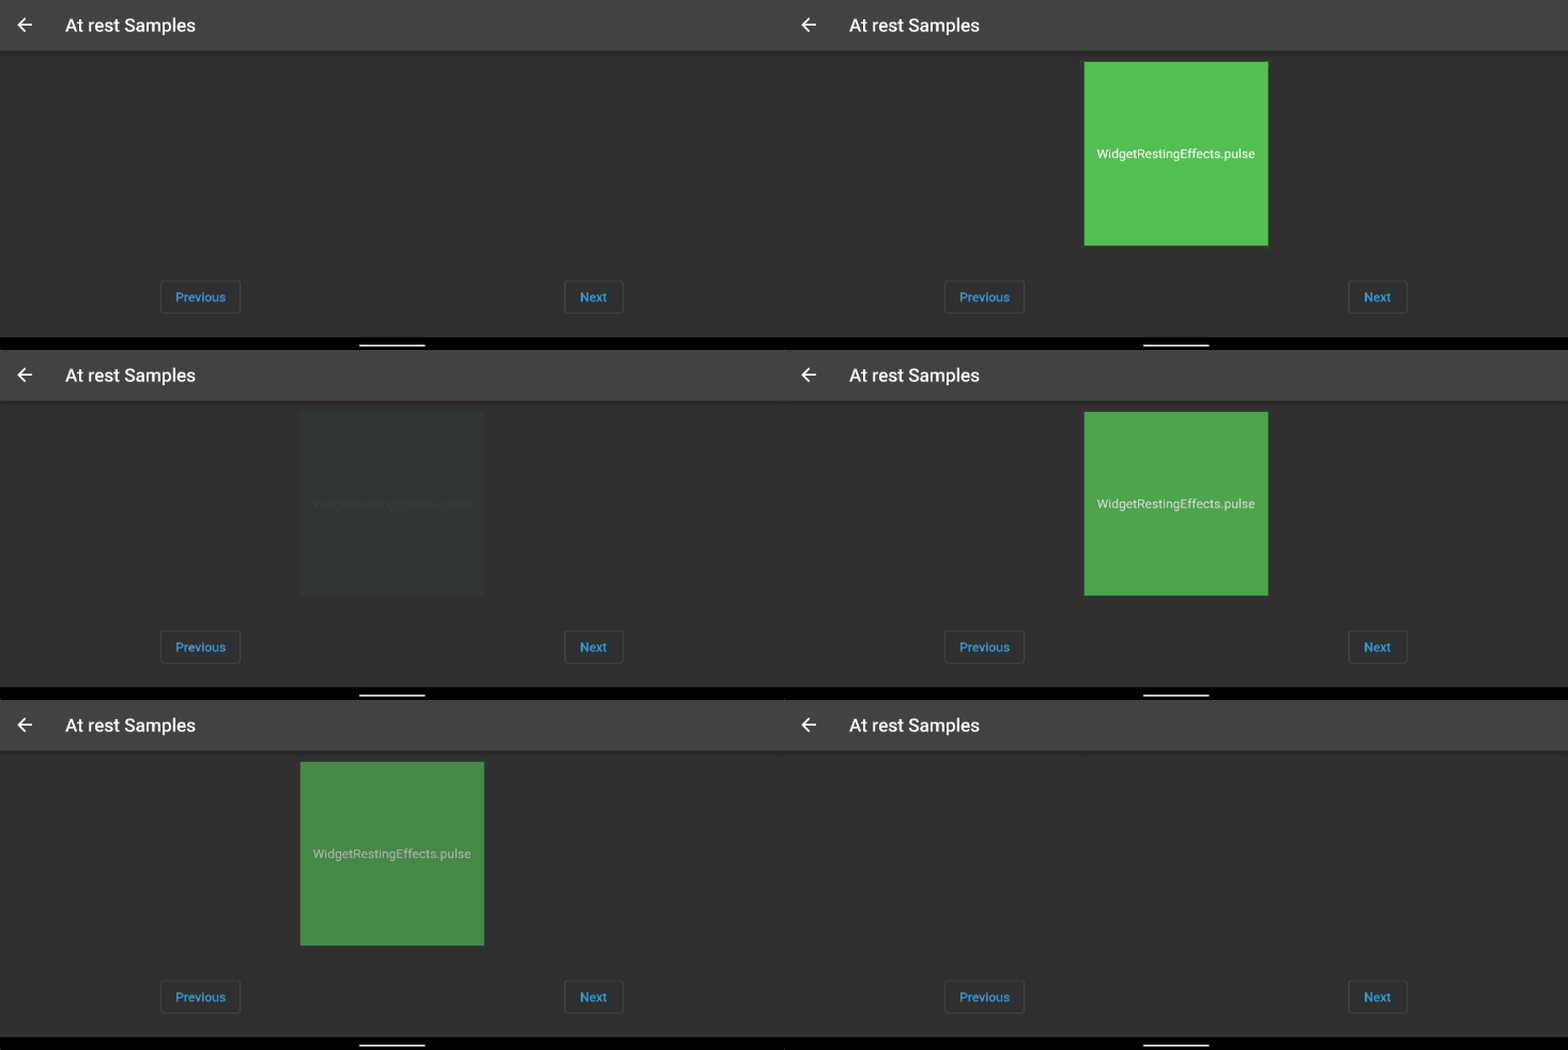
WidgetRestingEffects.pulse()
Pulse up and down the opacity of the widget
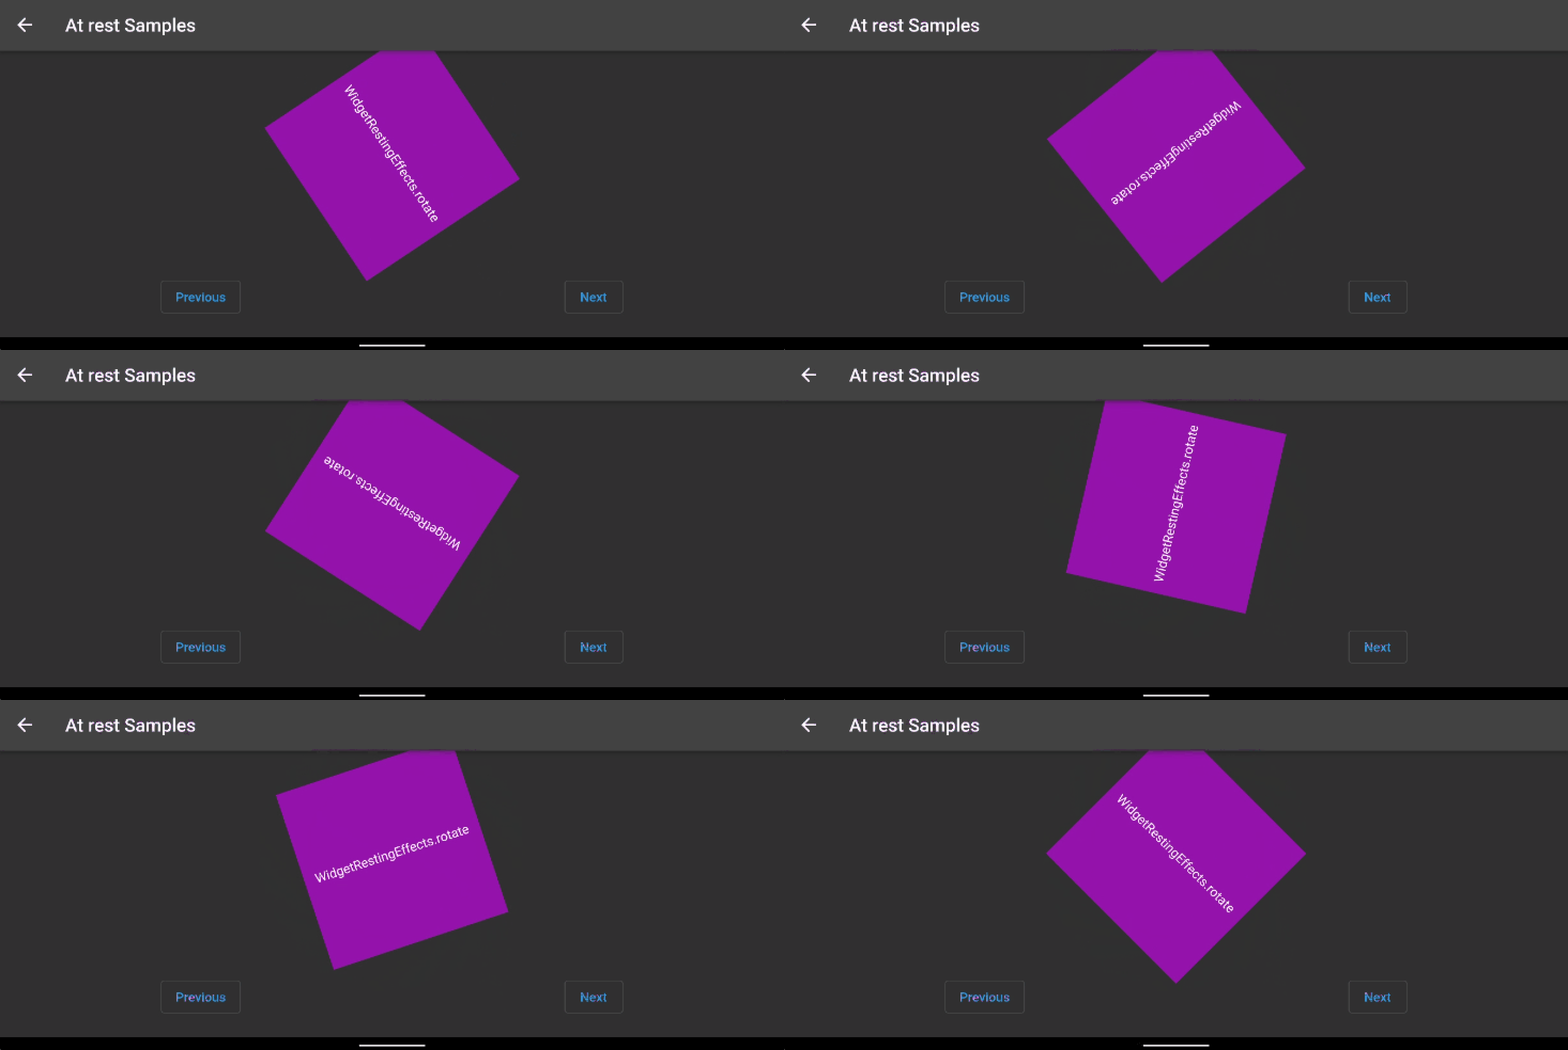
WidgetRestingEffects.rotate()
Rotate the widget around 360 degrees
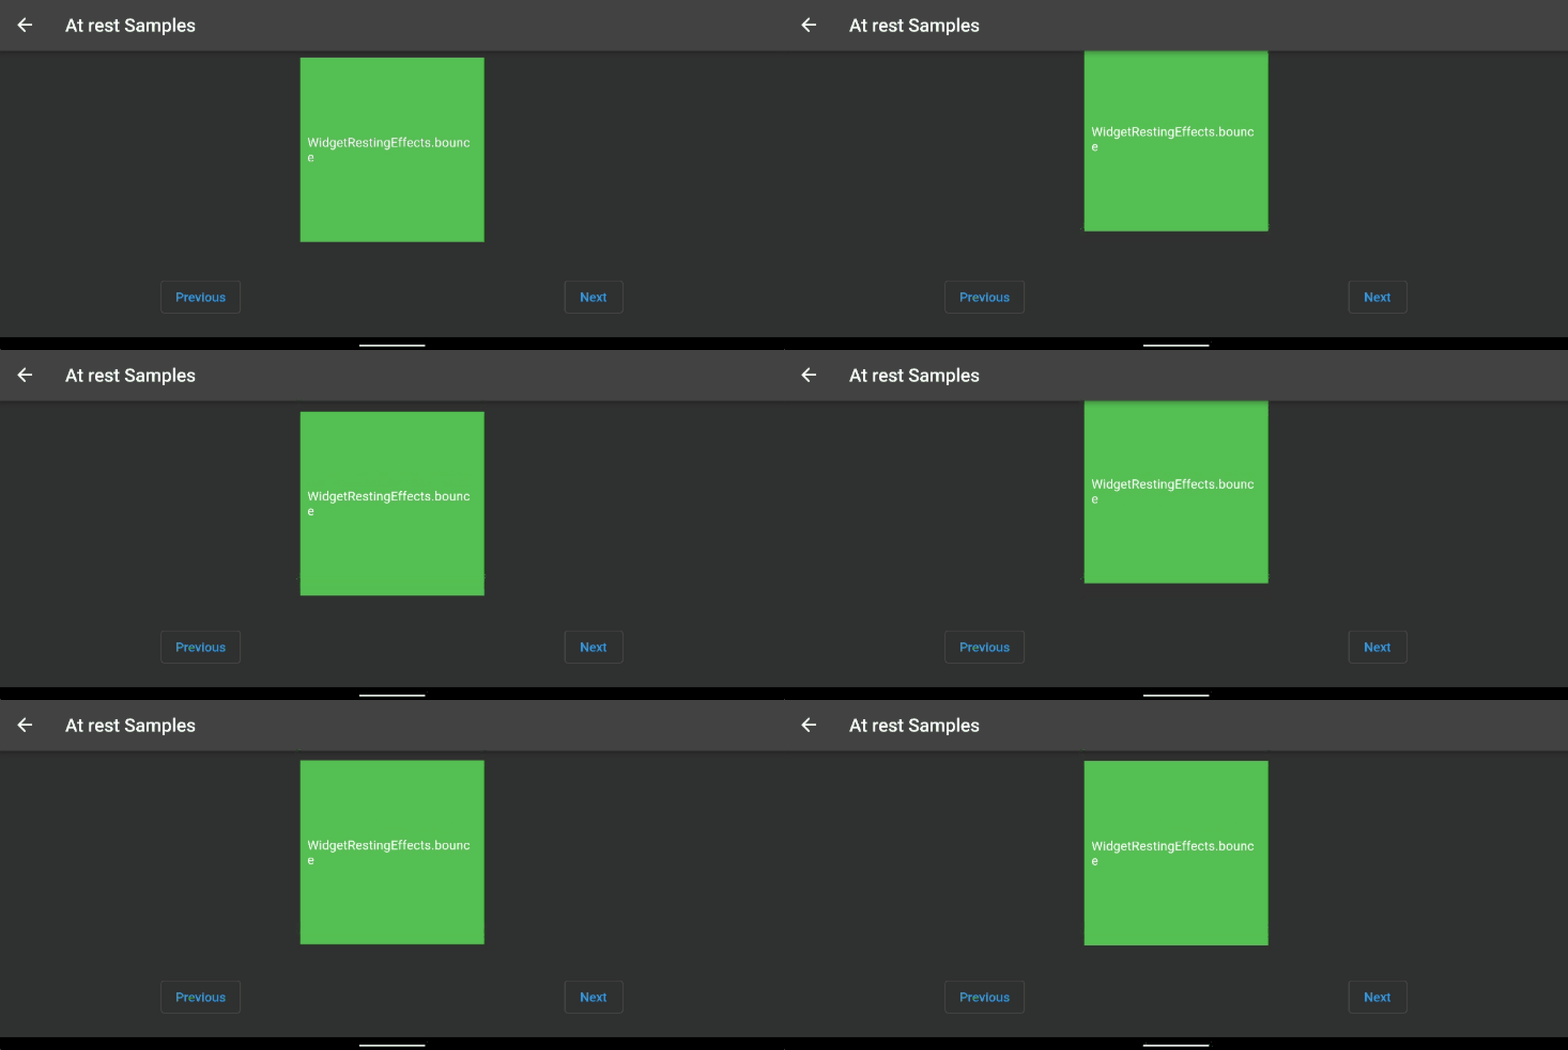
WidgetRestingEffects.bounce()
Lift the widget and then bounce it back down
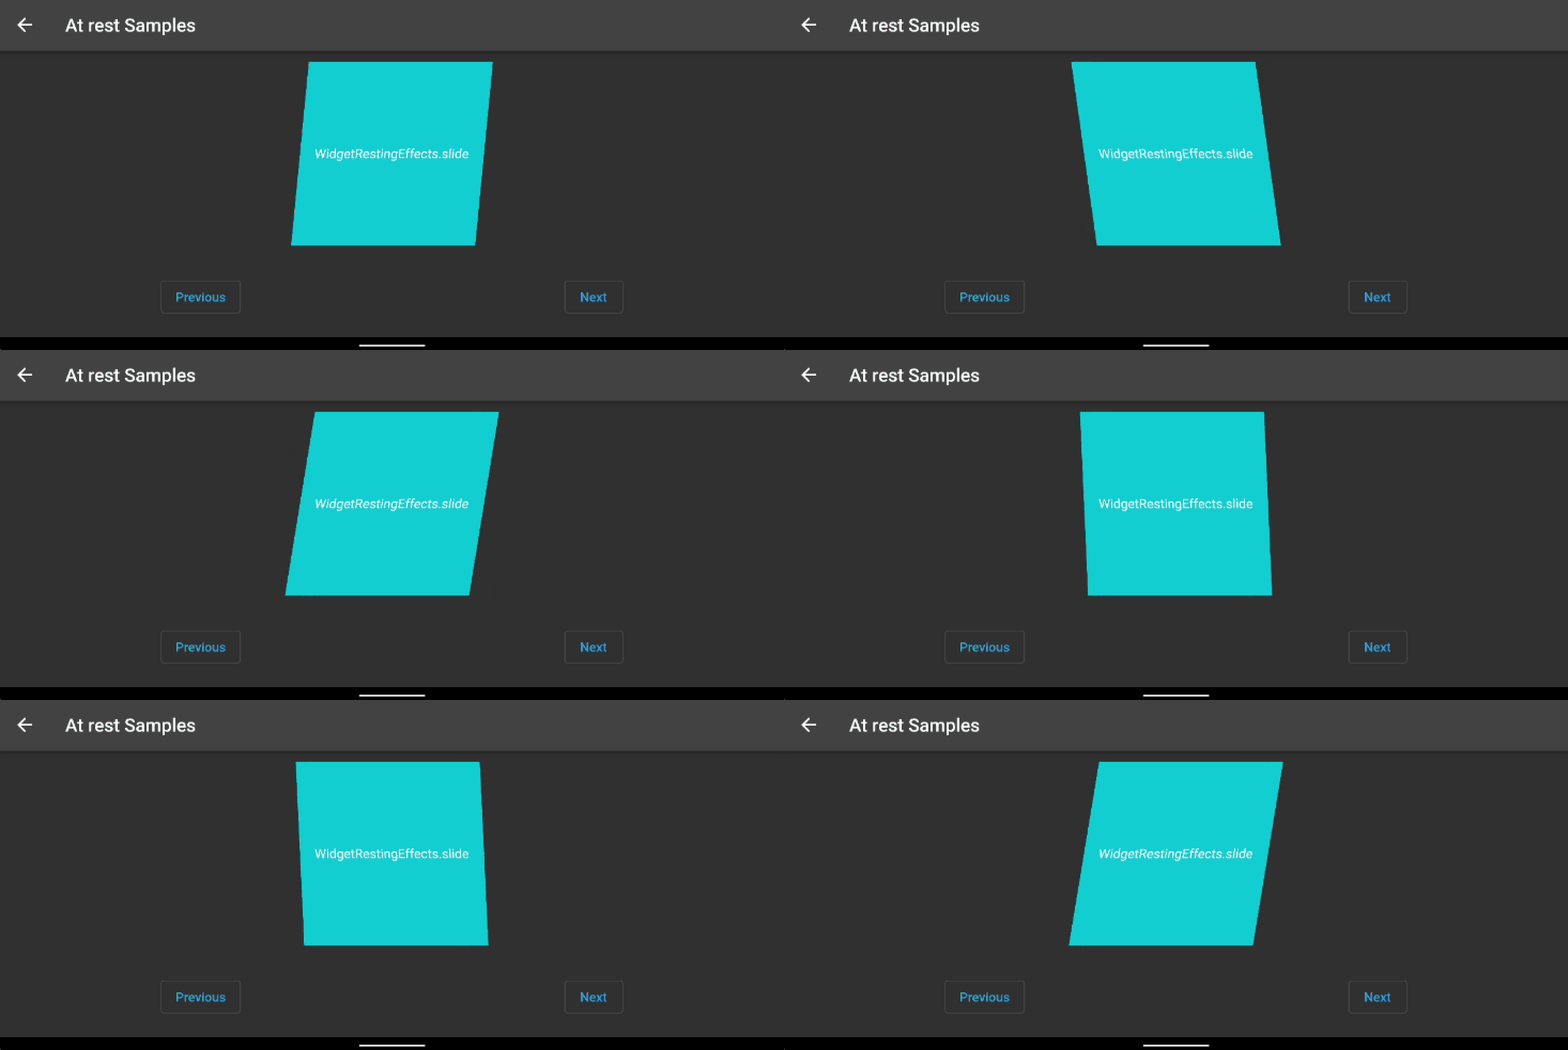
WidgetRestingEffects.slide()
Skew the widget from side-to-side based on a center axis
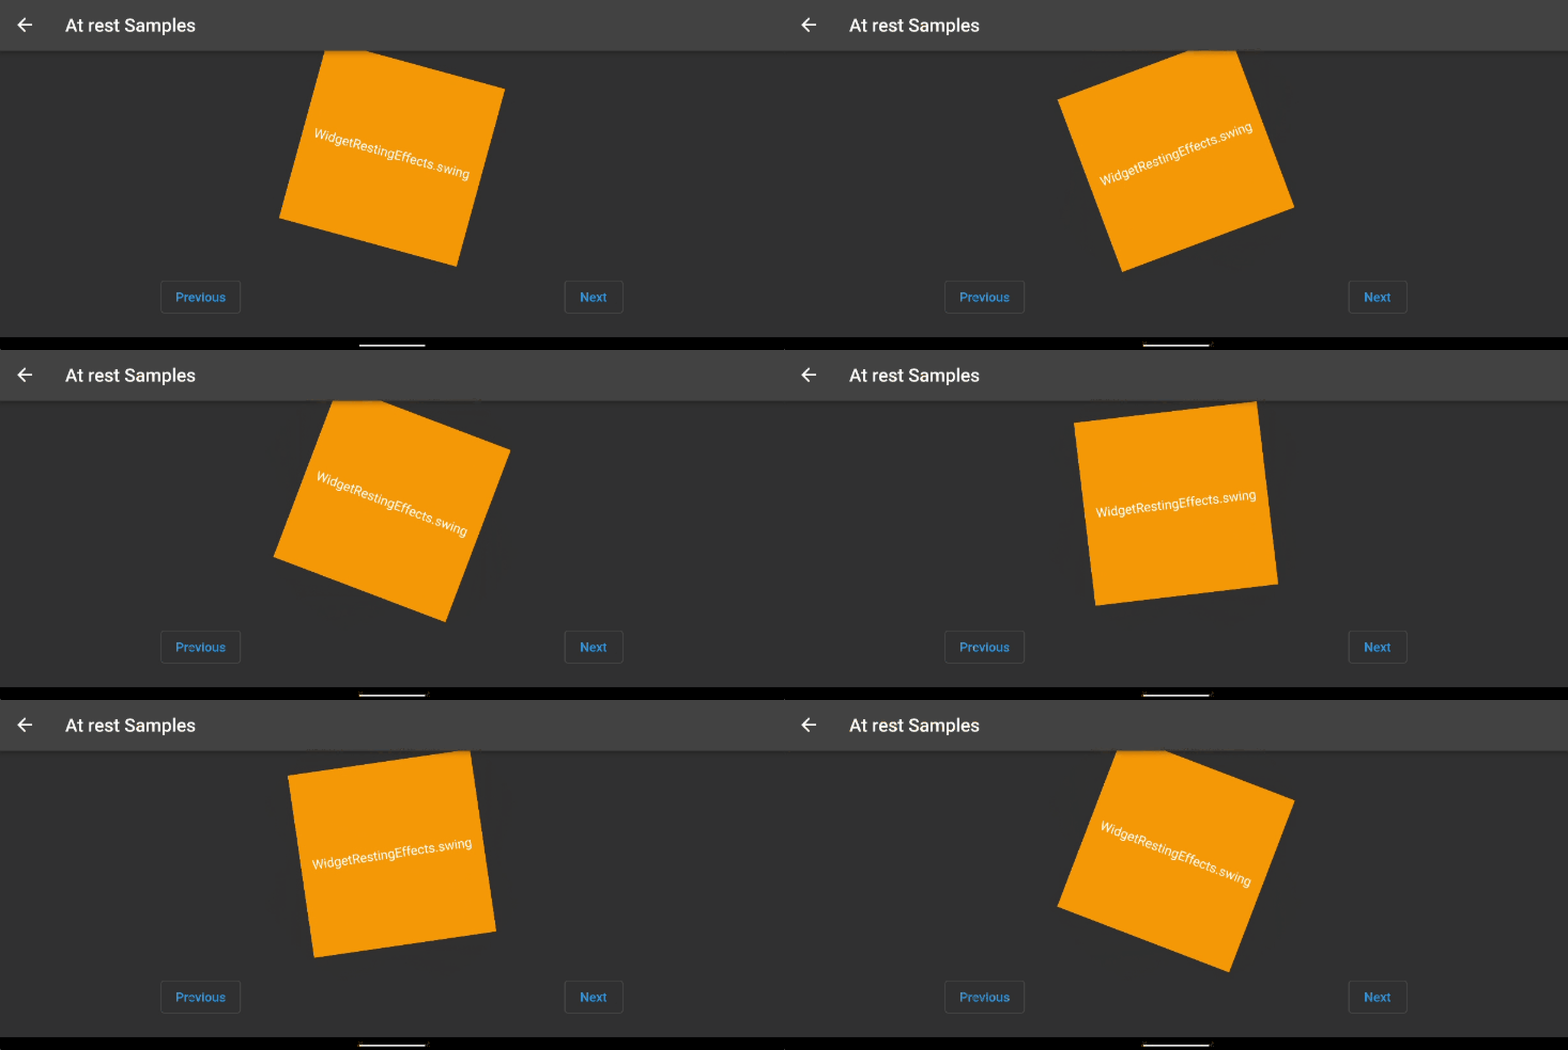
WidgetRestingEffects.swing()
Swing the widget back and forwards using rotation
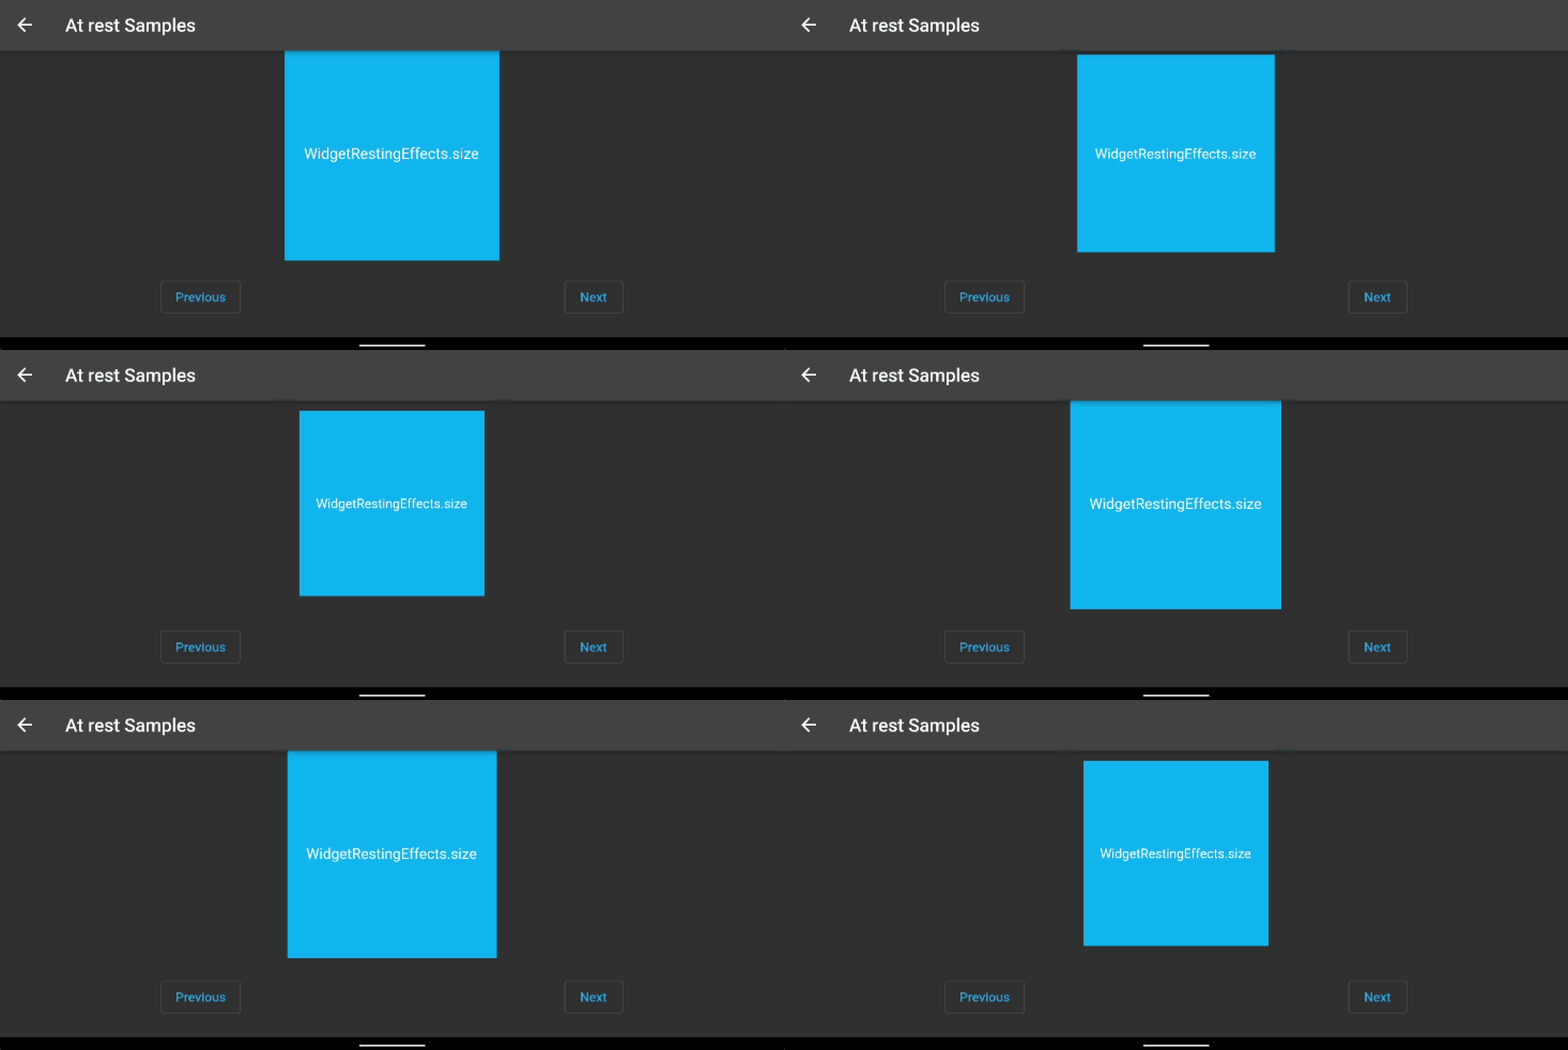
WidgetRestingEffects.size()
Change the size of the widget, by default larger - effectStrength parameter can make it smaller too
WidgetRestingEffects.fidget()
Randomly shuffle the widget on both it's X and Y axis
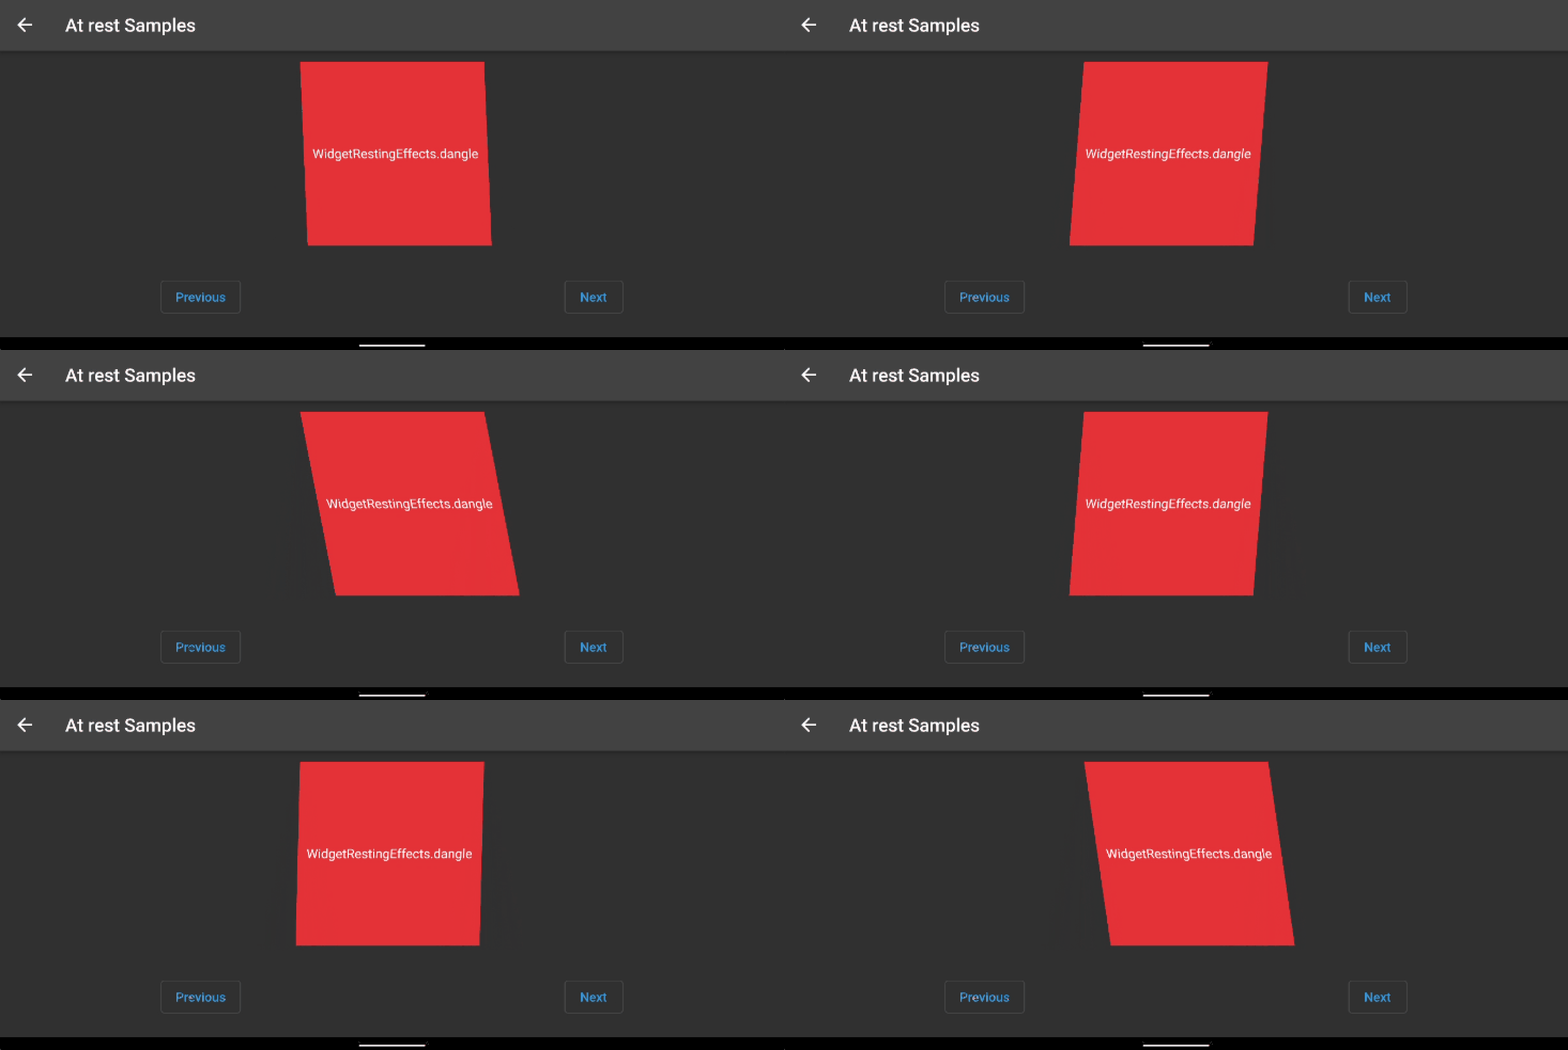
WidgetRestingEffects.dangle()
Skew the widget from side-to-side based on a top center axis
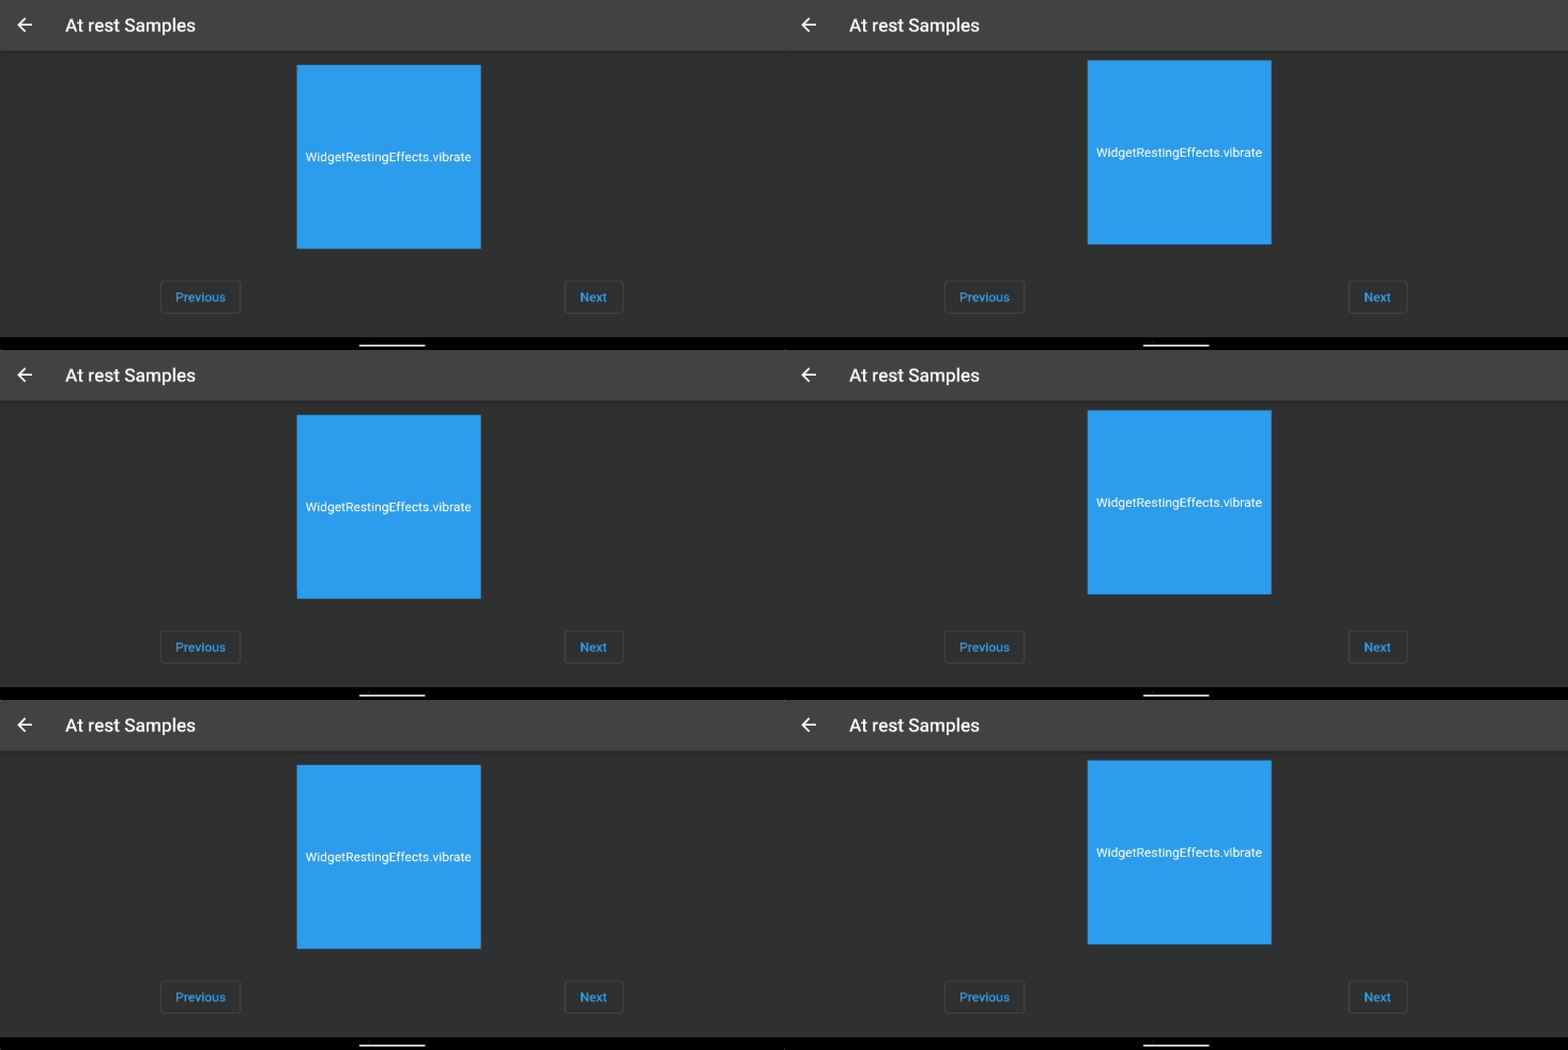
WidgetRestingEffects.vibrate()
Randomly move the widget from its standard position on the X and Y axis
For more control you can specify a collection of properties into the constructors:
property
description
default
style
Style requires an enum from `WidgetRestingEffectStyle' where 10 different effects are available
WidgetRestingEffectStyle.none
effectStrength
Based on the style above, most effects have a default strength for them, for example when using WidgetRestingEffectStyle.fidget the Widget will randomly move about from it's original position. Changing the effectStrength you can increase or decrease the amount of movement that happens
1
alignment
Used only for skew based effects to change the position that the effect takes place from
Alignment.center
numberOfPlays
The number of times the animation should play before stopping, negative values and null will cause the animation to play forver
null (ie repeat forever)
curve
A curve for the animation tween the play, Curves.Linear if you want it the animation to play at a constant speed, but you can also use things like Curves.bounce to bounce the effect
Curve.eastInOut
builder
The builder allows you to create your own more complicated version of the animations available by default, find more details about the builders below in the custom animation section
null
duration
The duration the animation should play one cycle for
Duration(milliseconds: 600)
delay
The length of time before the animation starts to play
null
WidgetAnimatorSequence
WidgetAnimatorSequence animates a list of WidgetAnimator either based on Time or a user pressing on the widget (or both). .
property
description
default
children
A list of WidgetAnimator for the sequence to play against
null, a list is required
tapToProceed
If true allows the user to tap on the widget and proceed to displaying the next child in the list of children
false
loop
Once the list of children has been displayed, does the list loop back to the start
false
transitionTime
The length of time to wait between changing the widget once in input transition has completed, not specifying a duration will mean it won't change the sequence automatically
null
onPressed
callback function to perform if the widget is pressed on
null
Here's an example displaying 3 containers that change automatically every 4 seconds and each have their own animation effects
Can be used as a direct replacement for the standard Text widget, giving it animation superpowers. TextAnimator uses WidgetAnimator as its basis for the animation, but splits the text
into characters and words to be able to create some nice effects.
property
description
default
text
The [String] of text to display
null, but a string of text is required
WidgetTransitionEffects
The incoming effects to play when the text is first shown
null
WidgetRestingEffects
The effects to show when the text isn't incoming or outgoing
null
WidgetTransitionEffects
the maximum number of lines of text to show within the widget, used in the same way as the standard [Text] widget
null
maxLines
The outgoing effects to play when the text is replaced
null
textAlign
The [TextAlign] of the text, in the same was it's used in the [Text] widget
null
textStyle
The [TextStyle] of the text, in the same was it's used in the [Text] widget
null
initialDelay
The length of time to wait before starting to show any of the text
null
characterDelay
A delay to leave between each character of text to display to create a staggered text animation effect, if you want words to appear at once, then set a Duration of zero
null
spaceDelay
The delay to leave between each word before showing the next. If set the same as the characterDelay the timing will be consistent for all characters. It can be used to drive the timing per word if characterDelay is set to zero
null
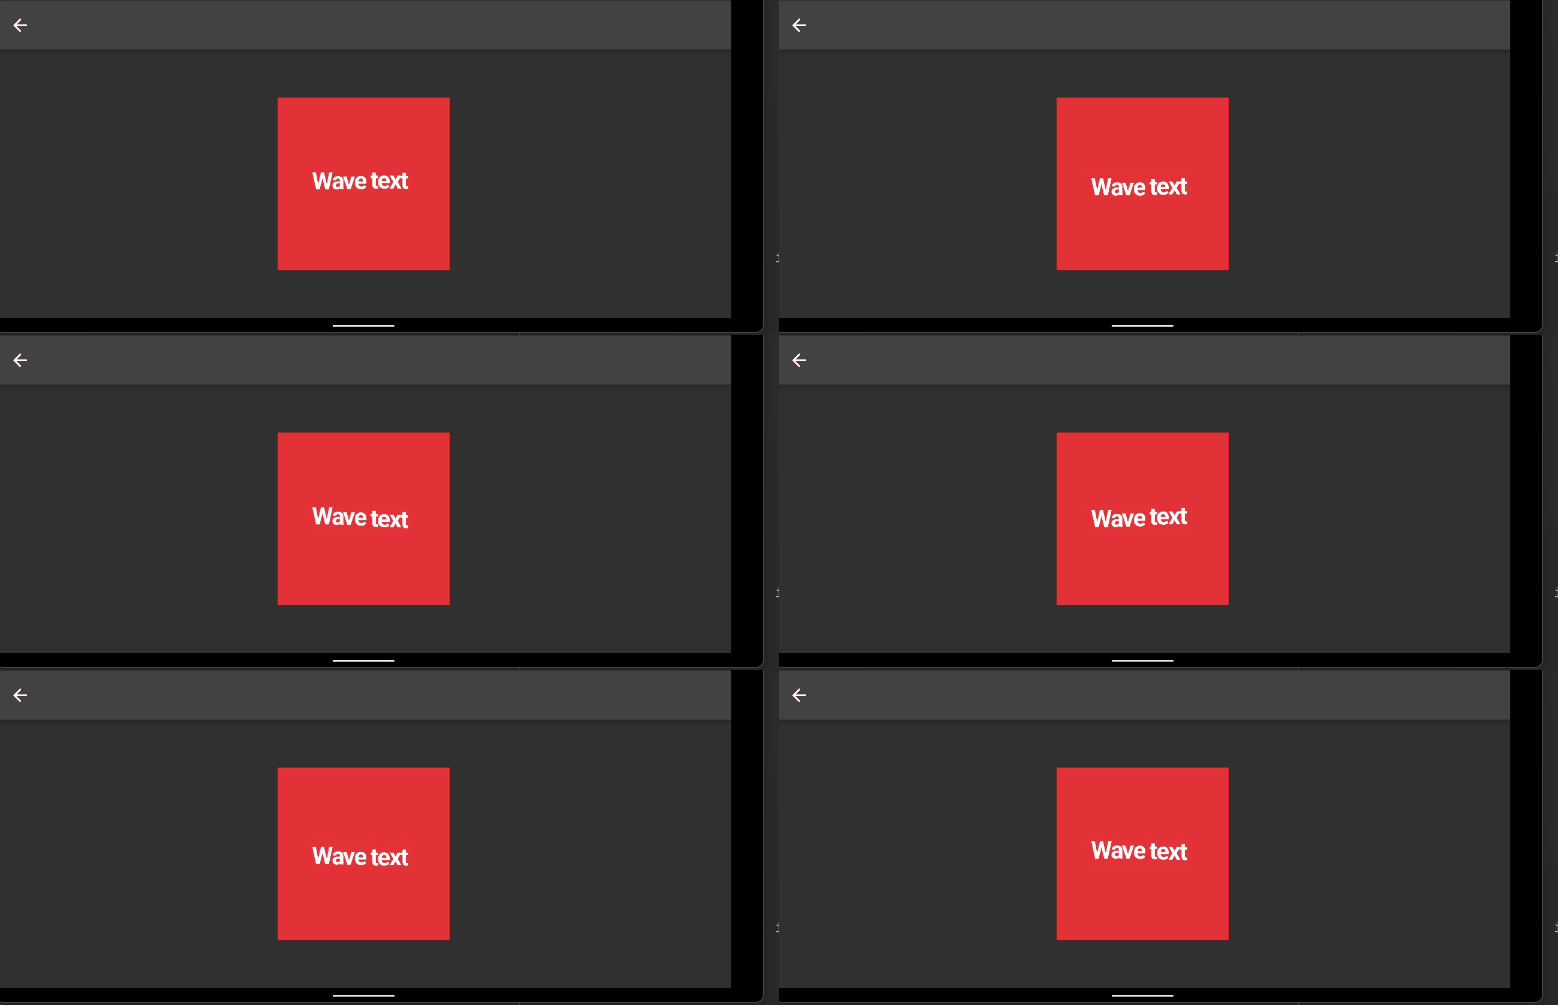
Here's a basic example of some text within a container using the TextAnimator to make the text wave up and down with a delay between each character
TextAnimatorSequence Animates a list of TextAnimator either based on Time or a user pressing on the text (or both).
property
description
default
children
A list of TextAnimator for the sequence to play against
null, a list is required
tapToProceed
If true allows the user to tap on the text and proceed to displaying the next child in the list of children
false
loop
Once the list of children has been displayed, does the list loop back to the start
false
transitionTime
The length of time to wait between changing the text once in input transition has completed, not specifying a duration will mean it won't change the sequence automatically
null
onPressed
callback function to perform if the text is pressed on
null
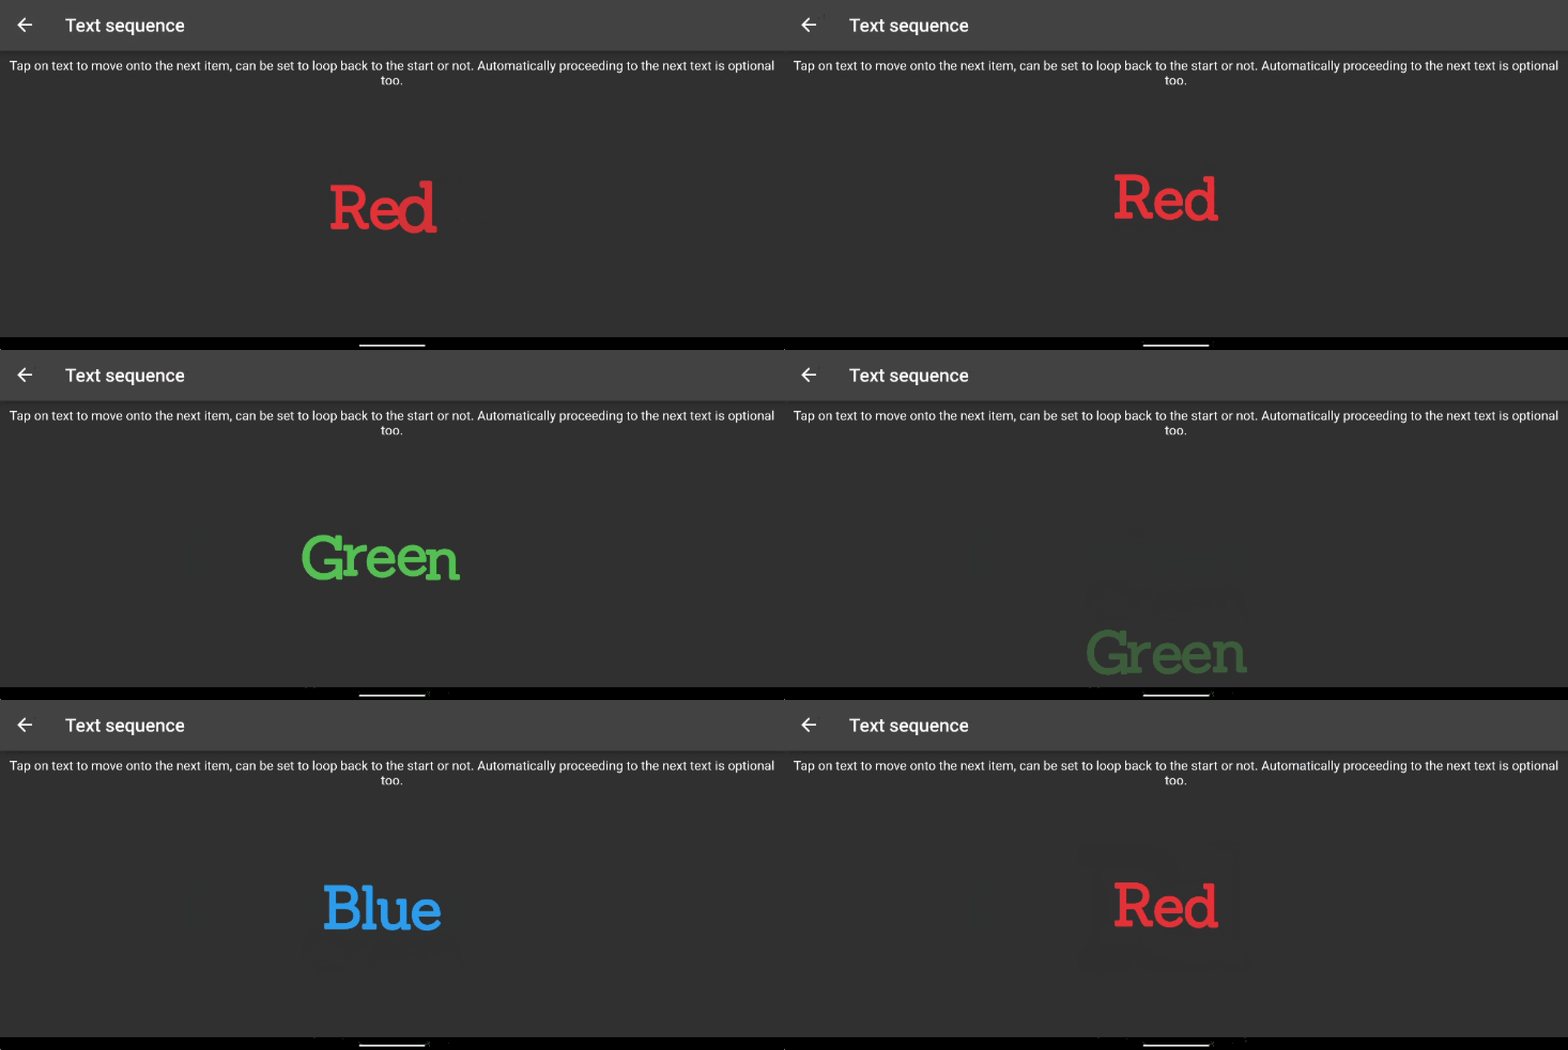
Here's an example which changes between 3 strings of text every 4 seconds or when clicked upon, each with their own incoming and outgoing animation styles
In a similar way to which widgets such as AnimatedSwitcher work changes are detected on the WidgetAnimator by a change in type of the child widget or by the child widget having a different key, without either of these differences
the Widget will not be aware of the changes that have happened and you'll either miss any outgoing transitions or will have no change in widget at all.
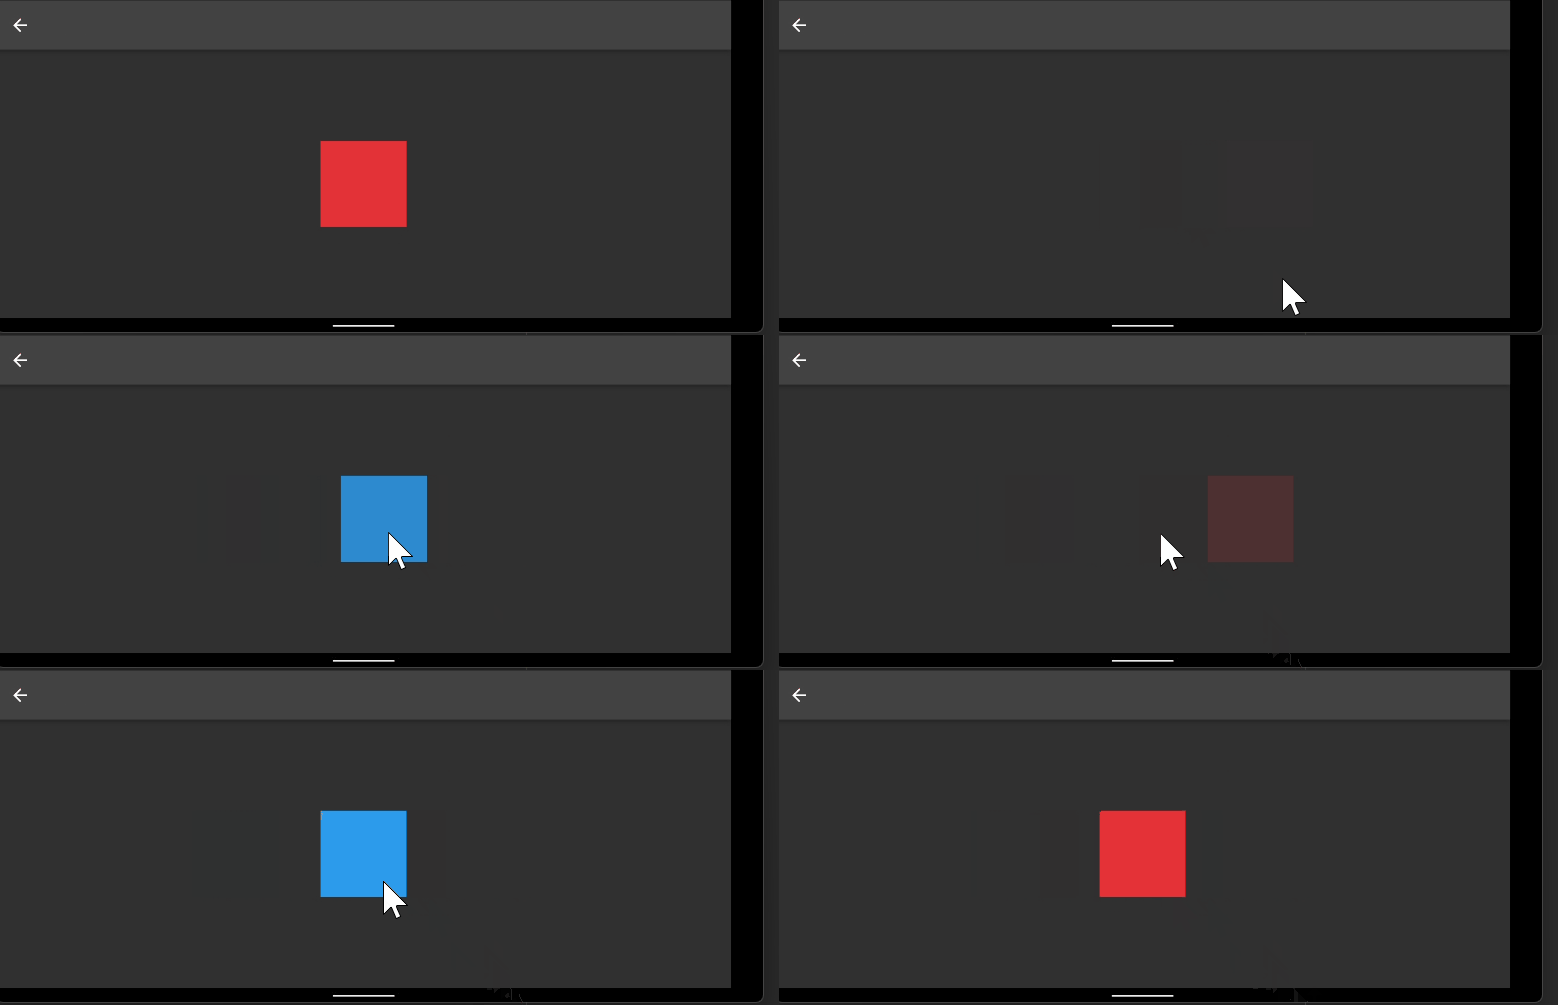
So for example if you have two different coloured containers that you want to switch both would need their own key
Do you want to create an effect that's not possible with the default effects? Then you may be able to create the effect you want with the builder properties. With these you need to return an AnimationSettings
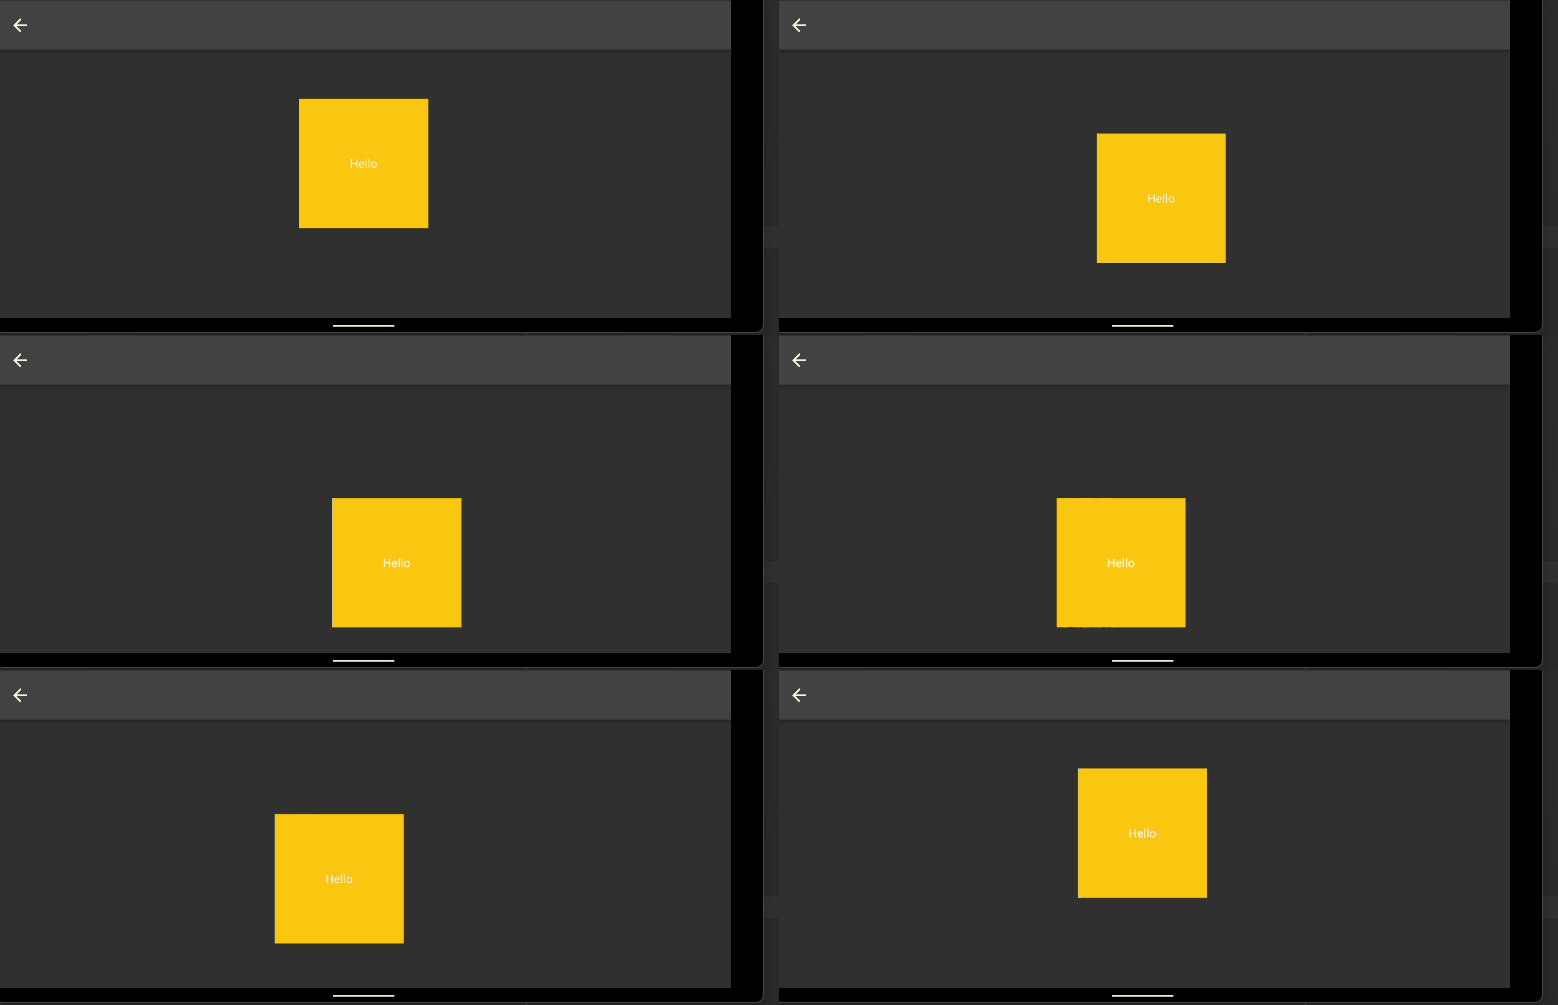
object and you are then free to define your own animation settings for the properties available. Find an example below which draws a container and while it's at rest moves it in a trianglar pattern by adjusting the x and y
offset over the duration of the animation:
This widget can be used as a direct replacement for the GestureDetector. It only covers basic onTap gestures, but allows you to animate effects on the widget pressed with just a few properties:
property
description
default
duration
The [Duration] of the animation
150 milliseconds
curve
The animation curve to use
Curves.linear
scaleSize
The size to reduce or increase by when the gesture is triggered
0.9
yOffset
The amount of pixels to offset up or down the screen
0
xOffset
The amount of pixels to offset across the screen
0
blurX
The amount of blur on the x axis to apply to the child
0
blurY
The amount of blur on the y axis to apply to the child
0
skewX
The amount of skew on the x axis to apply to the child
0
skewY
The amount of skew on the y axis to apply to the child
0
rotation
The amount to rotate the child widget when the gesture is triggered
0
opacity
The amount of opacity to trigger when the gesture is triggered
0
hapticFeedback
The haptic feedback style to trigger when the gesture is triggered, this is useful if using triggerOnTapAfterAnimationComplete otherwise doing the haptic feedback in the onTap will seem delayed
null
triggerOnTapAfterAnimationComplete
Delay triggering the onTap callback until after the animation has played, otherwise you may not see much of the animation if navigating to another page
false
onTap
The code to call when a user taps on the widget
null
child
The child widget to render
null
Here's a basic example of some text within a container using the TextAnimator to make the text wave up and down with a delay between each character