搜尋套件、儲存庫與 APP 分類

xl 封面
套件詳情v0.9.1

xl

使用專屬的XL分層範式,實現由加速度計以及指針或觸控驅動的視差動畫。支援陀螺儀。

AndroidiOSWeb
近 30 天下載
14
喜歡數
25
Pub 分數
140

安裝套件

flutter pub add xl

套件介紹

根據套件公開資料產生的選型評估,僅供參考。

XL 是一個 Flutter 套件,可透過加速度計、陀螺儀和觸控/指標輸入驅動視差動畫,使用獨特的圖層系統實現沉浸式 3D 效果。它讓開發者能夠建立動態、回應式的介面,讓內容能對裝置運動和使用者互動做出反應。適用於需要深度感與互動性的應用,例如儀表板、遊戲或視覺豐富的 UI。此套件支援 Android、iOS 和 Web 平台,在各類裝置上皆能提供流暢的效能。

適用情境

  • 互動式應用介面
  • 遊戲使用者介面元素
  • 動態儀表板視覺化
  • 觸控和運動回應式版面
  • 網頁和行動應用中的3D式深度效果

主要特色

  • 加速度計和陀螺儀整合
  • 可自定義的圖層系統
  • 觸控和指針事件支援
  • 跨平台相容性(Android、iOS、Web)
  • 平滑的視差動畫

適合對象

  • 開發沉浸式使用者介面的開發者
  • 尋求基於運動的互動的設計人員
  • 需要傳感器驅動反饋的應用程式
  • 具有深度效果的網頁和移動專案
  • 原型設計互動體驗

使用建議

  • 需要設備傳感器才能實現完整功能
  • 效能可能在低階設備上有所差異
  • Web 支援需要額外設定
  • 僅限視覺效果,不包含資料處理
  • 可能需要針對複雜的圖層層次結構進行優化

原始 README

以下為關聯原始碼儲存庫的 README 原文快照,最新內容請造訪原始碼儲存庫。

🕹️ xl

pub.dev Listing | API Doc | GitHub

API References: XL
🐸 Zaba.app ― simple packages, simple names.

XL Package Logotype XL Logotype "Spinning Top"
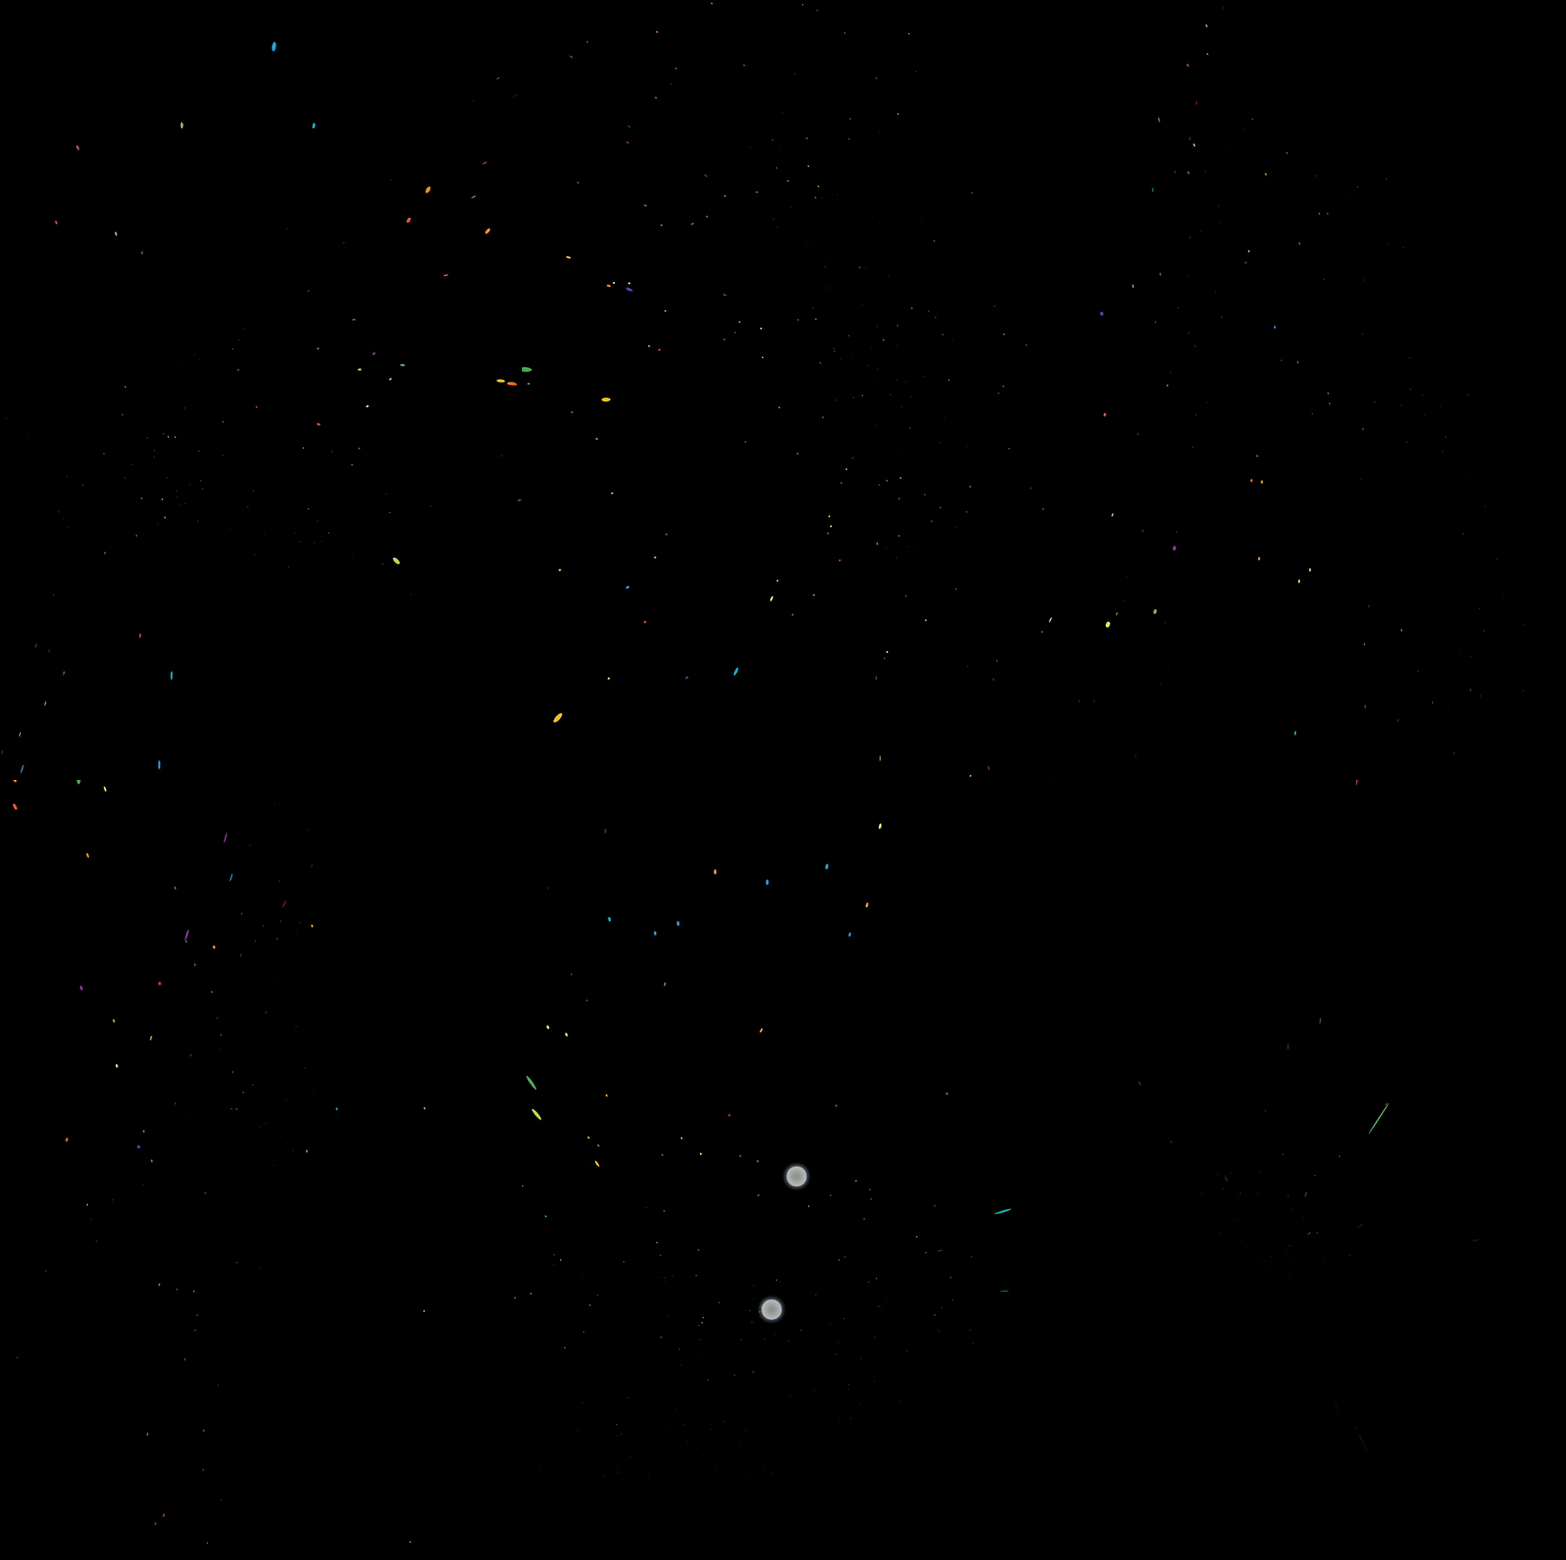
Starfield Warpspeed

A package providing the XL stack widget to implement accelerometer- and
pointer-fueled parallax animations that smoothly transform
children according to a spatial, three-dimensional layer definition.
Touch and Gyroscope support included.

Design simple or elaborate XL-erometer driven interactions and interfaces.


Getting Started

To get started with sensor data, use an XL with XLayers:

const Widget xl = XL(layers: [XLayer(. . .), ...]);

To distinguish between pointer data (mouse/touch) and sensors data,
employ PLayers and the relevant flags:

const Widget xl = XL(
 sharesPointer = false, // default is true
 sharesSensors = false, // default is false
 layers: [
   PLayer(. . .), // ignores sensors
   PLayer(. . .), // ignores sensors
   XLayer(. . .), // ignores pointer
   ...
 ],
);


Layers

The XL.layers property takes a list of XLayers or PLayers.

These layers allow you to define the animatable properties of their child widgets.

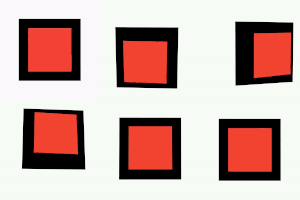
Delicious parallax by accelerometer 🤤 is the result of the below Example:

class Example extends StatelessWidget {
 @override
 Widget build(BuildContext context) {
   return MaterialApp(home: Scaffold(
     body: XL(
       layers: [
         XLayer(
           xRotation: 1.0,
           yRotation: 1.0,
           xOffset: 200,
           yOffset: 200,
           child: Center(
             child: Container(
               width: 250,
               height: 250,
               color: Colors.black,
         ))),
         XLayer(
           xRotation: 1.5,
           yRotation: 1.5,
           xOffset: 300,
           yOffset: 300,
           child: Center(
             child: Container(
               width: 200,
               height: 200,
               color: Colors.red,
         ))),
       ],
     ),
   ));
 }
}


Advanced Usage

As stated, an XL may have both varieties of layer interspersed.
The default function of the stack is to apply pointer data to both
varieties of Layer, and to only apply sensors data to XLayers;
there are, however, flags available to toggle either functionality, as:

const layers = [
  XLayer(/* Blue X Layer; reactive */),
  PLayer(/* Red P Layer; more reactive */),
  XLayer(/* Black Layer; non-reactive control */),
];

final example = Column(children: [
  Expanded(
    child: Row(children: [
      const Expanded(
        child: XL(
          // X and P Layers behave the same way with these flags
          // (but still may differ slightly on parameters for Z axis rotation).
          sharesPointer: true,
          sharesSensors: true,
          layers: layers,
      )),
      const Expanded(
        child: XL(
          // All Layers react to pointers, but only XLayers
          // will recognize sensors. Default flags.
          sharesPointer: true, // default
          sharesSensors: false, // default
          layers: layers,
  ))])),
  Expanded(
    child: Row(children: [
      const Expanded(
        child: XL(
          // All Layers react to sensors,
          // but only PLayers will recognize pointer.
          sharesPointer: false,
          sharesSensors: true,
          layers: layers,
      )),
      const Expanded(
        child: XL(
          // Each Layer will deal only with its prescribed input data.
          sharesPointer: false,
          sharesSensors: false,
          layers: layers,
  ))])),
]);

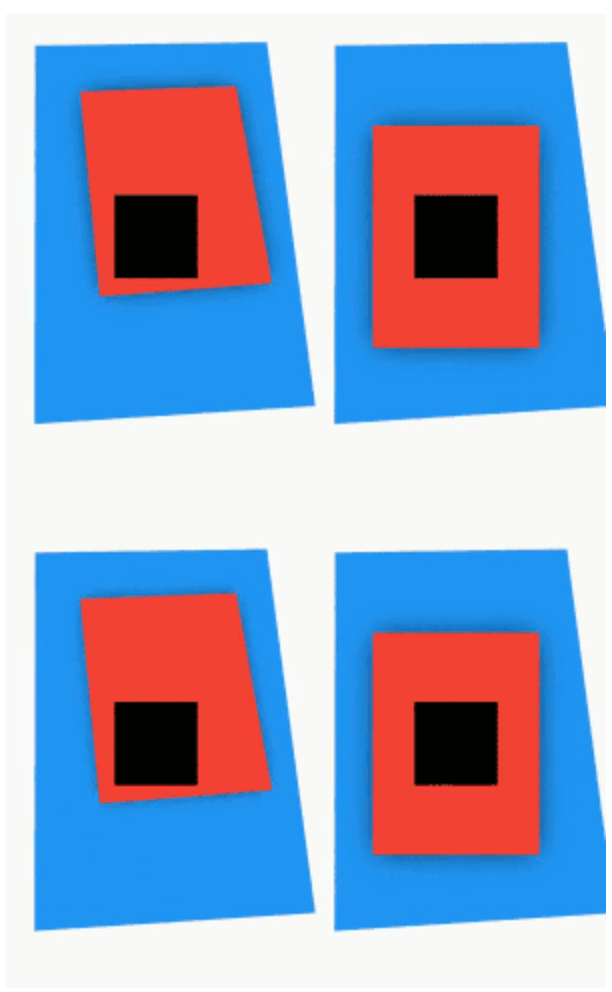
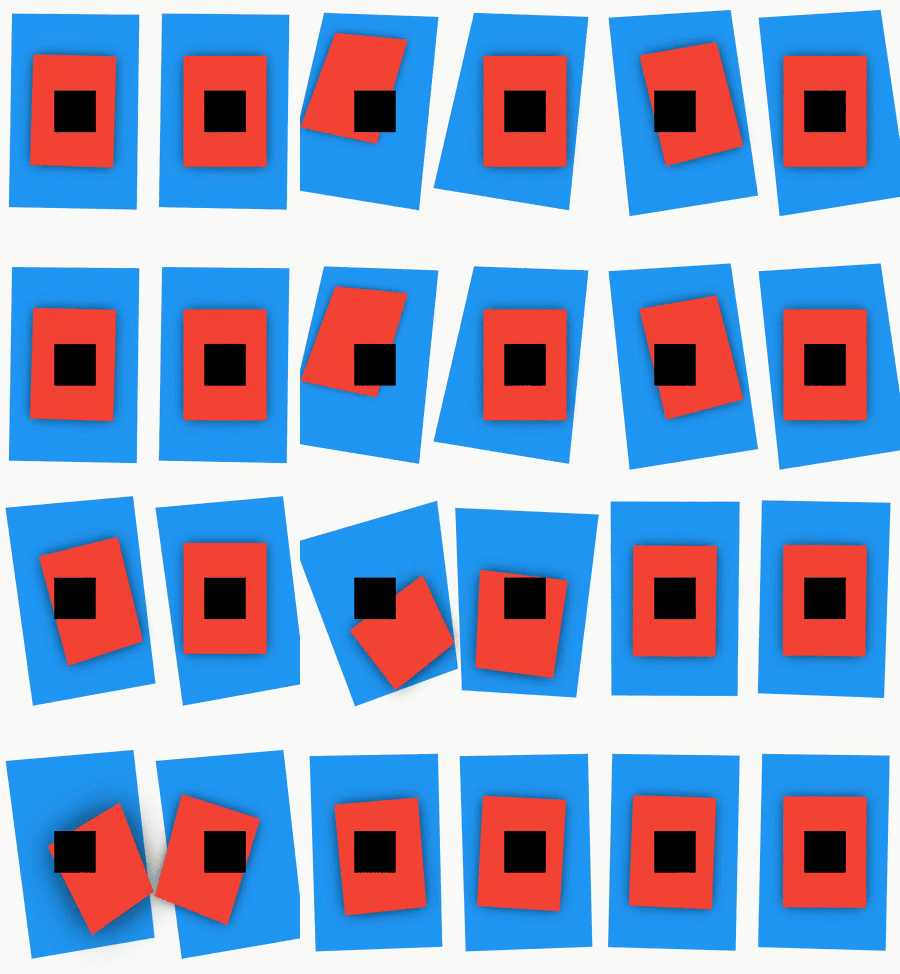
That same stack of layers laid out in a demonstration with the two flags in their four possible configurations:

Flags to handle `XLayers` and `PLayers` separately

🟥 Red layers are PLayers and react primarily to pointers data.
👈 The left two 🟥 PLayers also consider sensors data

🟦 Blue layers are XLayers and react primarily to sensors data.
👆 The top two 🟦 XLayers also consider pointer data

⬛ Black layers are control XLayers with no animation properties. They make no reaction to any input.


Reference

🛣️ Roadmap

  1. 🔳 Provide richer access to sensors data and ability to manipulate Layers in new ways
    • Such as an AccelSpec and GyroSpec that would enable transformation of any axis based on input from any axis, determined by parameter.
      • Currently, for example, yRotation is controlled by accelerometer X axis rotation. zRotation may also be controlled by accelerometer X axis rotation with parameter zRotationByX. However, zRotationByGyro may interpret Z axis gyroscope rotations. It is the only axis with two such inputs.
      • Imagine declaring an axis to rotate or offset, then also determining which axis/sensor contributes to it. What deep options that could provide! Such as offsetting a Widget vertically and rotating it over Y axis based on only one input from accelerometer.
  2. 🔳 Along with #1 above, provide more Gyroscope functionality than only one axis of influence.
    • Gyro is a little tricker, as the sensor mostly reads flat near-0 values unless the device is moving.
    • This still provides cool options for developers to make neat interactions, and so should be expanded upon.
  3. ✅ Offer an automatic XL stack that simply accepts a List<Widget> (not necessarily XLayers) and dynamically generates progressively greater translation and rotation values for each layer.
    • Check out AutoXL which makes a parallax stack even easier to implement.
      Simply provide any old widgets as layers and optionally tinker with the depthFactor or max layer depth.
    • Pre-configured: AutoXL.pane, AutoXL.wiggler, AutoXL.deep


🐞 Bugs

  1. Discrepancy with normalization delay and normalization duration.


📜 History

For posterity and developer preference, there are three extension "wrappers" available.

  • Instead of the short, all-caps XL, consider a ParallaxStack
  • Instead of the double-cap XLayer, consider an AcceleraxLayer
  • Instead of the double-cap PLayer, consider a ParallaxLayer
final xl = ParallaxStack( // XL
  sharesSensors: true, // same parameters and functionality
  layers: [
    AcceleraxLayer(. . .), // XLayer
    ParallaxLayer(. . .), // PLayer
  ],
);
WORK IN PROGRESS
Forked from mouse_parallax considering the required AnimatedParallaxStack widget is not exported with the original package and that accelerometers have nothing to do with mice.
transparent 600x1 pixel-pusher (ignore) 📚

🐸 Zaba.app ― simple packages, simple names.

More by Zaba
Wrappers | Widgets that surround other widgets with functionality

Container Widget | Wraps many functionalities in one, very customizable

Succinct Utility | Work great alone or employed above

所屬分類

依賴

依賴清單 1 項

原始碼儲存庫

使用此套件的專案

暫無相關資料。