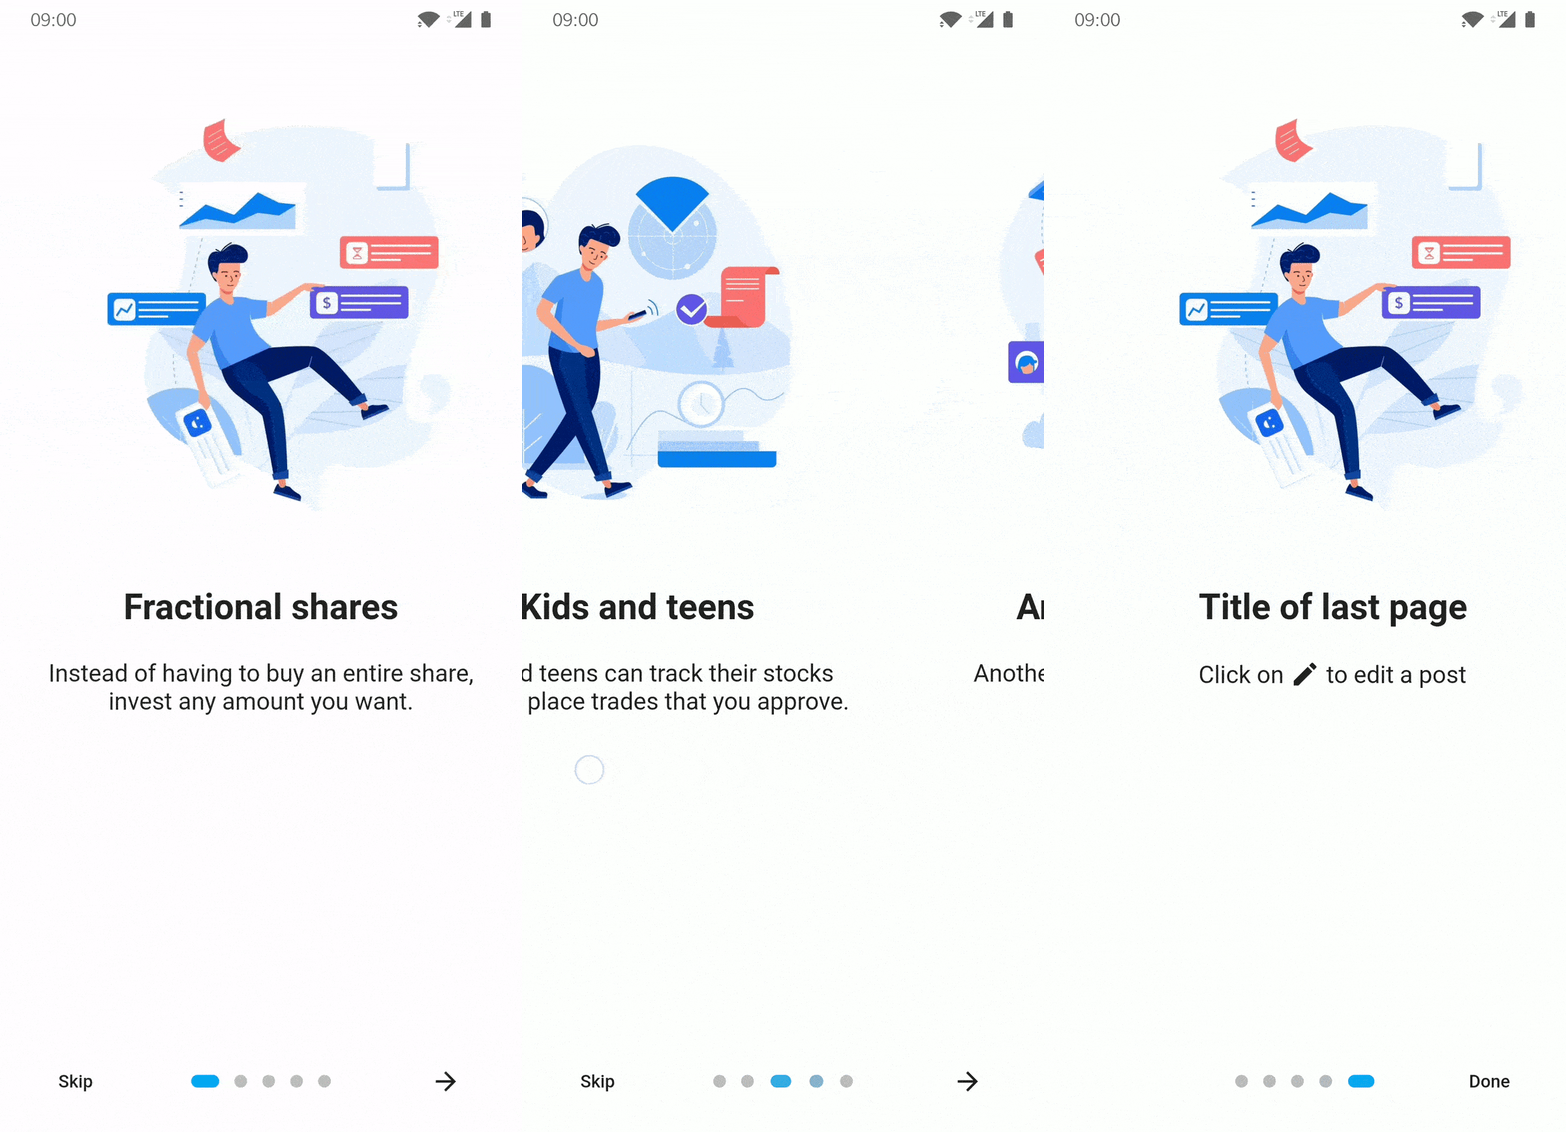
IntroductionScreen 


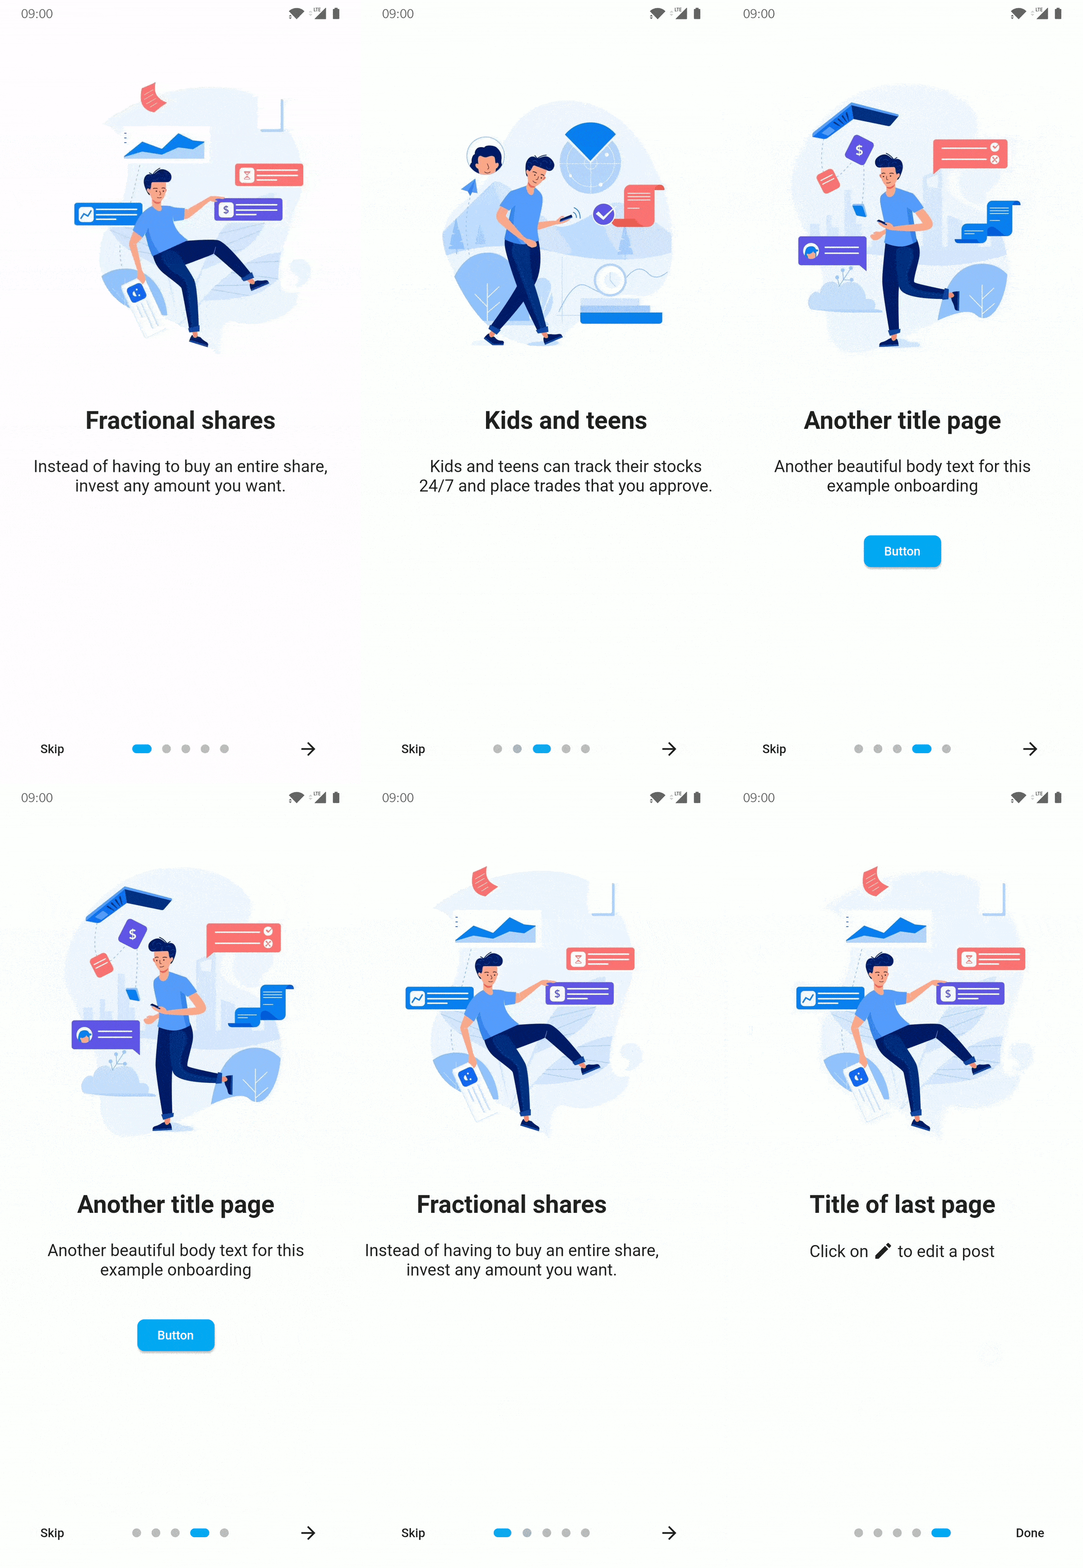
Introduction Screen allows you to have a screen on an app's first launch to, for example, explain your app.
This widget is very customizable with a great design.
introduction_screen uses another package, dots_indicator, that I also created.
Installation
You just need to add introduction_screen as a dependency in your pubspec.yaml file.
dependencies:
  introduction_screen: ^5.0.1
Breaking change in 5.0.0: this package now uses the standalone
material_ui package instead of
package:flutter/material.dart. Your app must also use material_ui (or
keep the deprecated MaterialUiCompatibilityBridge). Requires Flutter
>=3.44.0 and Dart ^3.12.0. See the CHANGELOG for
details.
Examples
Not all of the many parameters in each class are used in these examples.
See Parameter Lists for the complete documentation for each class.
Note: if you want to display IntroductionScreen only once, like on the first start of your app, use
shared_preferences (or a similar strategy)
to save the status of whether it has been already displayed or not.
It's not responsibility of this package to handle this.
PageViewModel
A list of PageViewModels is used for IntroductionScreen's pages parameter.
Simple page
This example only defines the title, body, and image parameters.
(You can define image as any widget.)
PageViewModel(
  title: "Title of introduction page",
  body: "Welcome to the app! This is a description of how it works.",
  image: const Center(
    child: Icon(Icons.waving_hand, size: 50.0),
  ),
)
Page with custom colors
This example defines the color of the page using the decoration parameter.
The image link does not exist and is only for example.
PageViewModel(
  title: "Title of blue page",
  body: "Welcome to the app! This is a description on a page with a blue background.",
  image: Center(
    child: Image.network("https://example.com/image.png", height: 175.0),
  ),
  decoration: const PageDecoration(
    pageColor: Colors.blue,
  ),
)
Page with custom text style
This example defines custom TextStyles in the decoration parameter for the title and body.
PageViewModel(
  title: "Title of orange text and bold page",
  body: "This is a description on a page with an orange title and bold, big body.",
  image: const Center(
    child: Text("👋", style: TextStyle(fontSize: 100.0)),
  ),
  decoration: const PageDecoration(
    titleTextStyle: TextStyle(color: Colors.orange),
    bodyTextStyle: TextStyle(fontWeight: FontWeight.w700, fontSize: 20.0),
  ),
)
Page with a footer (button)
This example defines a footer for the page with a button.
The image does not exist and is only for example.
PageViewModel(
title: "Title of custom button page",
body: "This is a description on a page with a custom button below.",
image: Image.asset("res/images/logo.png", height: 175.0),
footer: ElevatedButton(
onPressed: () {
},
child: const Text("Let's Go!"),
),
)
Page with widget body
This example defines the page body using bodyWidget and a Widget, rather than with body and a String.
Only use body or bodyWidget.
The titleWidget parameter does the same thing for the title.
PageViewModel(
  title: "Title of custom body page",
  bodyWidget: Row(
    mainAxisAlignment: MainAxisAlignment.center,
    children: const [
      Text("Click on "),
      Icon(Icons.edit),
      Text(" to edit a post"),
    ],
  ),
  image: const Center(child: Icon(Icons.android)),
)
IntroductionScreen
The IntroductionScreen Widget is the single object that holds all pages and related navigation and settings.
In these examples, listPagesViewModel is a list of pages.
A page is a PageViewModel object, like the examples in the previous section.
Note:
- If you not provide the
next parameter, the "Next" button will be not displayed. The parameter showNextButton must then be set to false.
- If you want to display the "Skip" button, you must add a
skip parameter and set showSkipButton to true.
- The
done parameter is only required if showDoneButton is true.
Simple intro screen
This example only defines the pages, showNextButton, done, and onDone parameters.
IntroductionScreen(
pages: listPagesViewModel,
showNextButton: false,
done: const Text("Done"),
onDone: () {
},
)
Intro screen with skip button
This example defines showSkipButton and skip to show the "Skip" button on all pages except the last one.
IntroductionScreen(
pages: listPagesViewModel,
showSkipButton: true,
showNextButton: false,
skip: const Text("Skip"),
done: const Text("Done"),
onDone: () {
},
)
Intro screen with back button
This example defines showBackButton and back to show the "Back" button on all pages except the first one.
IntroductionScreen(
pages: listPagesViewModel,
showBackButton: true,
showNextButton: false,
back: const Icon(Icons.arrow_back),
done: const Text("Done"),
onDone: () {
},
)
Intro screen with custom button text and dots indicators
This example defines dotsDecorator to show a custom implementation of the page progress dots.
This example also uses a custom style for the "Done" button, bolding it.
IntroductionScreen(
pages: listPagesViewModel,
showSkipButton: true,
skip: const Icon(Icons.skip_next),
next: const Text("Next"),
done: const Text("Done", style: TextStyle(fontWeight: FontWeight.w700)),
onDone: () {
},
onSkip: () {
},
dotsDecorator: DotsDecorator(
size: const Size.square(10.0),
activeSize: const Size(20.0, 10.0),
activeColor: Theme.of(context).colorScheme.secondary,
color: Colors.black26,
spacing: const EdgeInsets.symmetric(horizontal: 3.0),
activeShape: RoundedRectangleBorder(
borderRadius: BorderRadius.circular(25.0)
),
),
)
Intro screen with custom button style
A custom style will be applied to all buttons using the baseBtnStyle parameter ("Back", "Skip", "Next", "Done").
Specific button style parameters may also be used: backStyle, skipStyle, nextStyle, doneStyle.
If both baseBtnStyle and a specific button style are defined, the baseBtnStyle will be merge with specific style.
The following is the default button style:
TextButton.styleFrom(
  shape: RoundedRectangleBorder(
    borderRadius: BorderRadius.circular(8.0),
  ),
)
This example will override the default in the following ways:
- All buttons have a light grey background
- The "Skip" button is red
- The "Done" button is green
- The "Next" button is blue
IntroductionScreen(
pages: listPagesViewModel,
showSkipButton: true,
skip: const Text("Skip"),
next: const Text("Next"),
done: const Text("Done"),
onDone: () {
},
baseBtnStyle: TextButton.styleFrom(
backgroundColor: Colors.grey.shade200,
),
skipStyle: TextButton.styleFrom(foregroundColor: Colors.red),
doneStyle: TextButton.styleFrom(foregroundColor: Colors.green),
nextStyle: TextButton.styleFrom(foregroundColor: Colors.blue),
)
Intro screen with key param to change page manually
To change page manually / programmatically, in response to user input or another event:
- Define a
GlobalKey as part of the parent widget's state
- Pass that key to the
IntroductionScreen key param
- Use the
currentState member to access functions defined in IntroductionScreenState e.g.
next()previous()skipToEnd()animateScroll()
This example moves to the next page after a delay:
class IntroScreenDemo extends StatefulWidget {
@override
State<IntroScreenDemo> createState() => _IntroScreenDemoState();
}
class _IntroScreenDemoState extends State<IntroScreenDemo> {
final _introKey = GlobalKey<IntroductionScreenState>();
String _status = 'Waiting...';
@override
Widget build(BuildContext context) {
return IntroductionScreen(
key: _introKey,
pages: [
PageViewModel(
title: 'Page One',
bodyWidget: Column(
children: [
Text(_status),
ElevatedButton(
onPressed: () {
setState(() => _status = 'Going to the next page...');
Future.delayed(const Duration(seconds: 3),
() => _introKey.currentState?.next());
},
child: const Text('Start'))
],
)),
PageViewModel(
title: 'Page Two', bodyWidget: const Text('That\'s all folks'))
],
showNextButton: false,
showDoneButton: false,
);
}
}
Parameter Lists
IntroductionScreen parameters
Many parameters can be used to customize your app introduction like you want!
This is the full list:
Pages
- Page that will be display (
PageViewModel), by adding pages: [..] parameter.
- Use your own pages (Widget) without using those predefined, by adding
rawPages: [..] parameter.
- If you provide both
rawPages and pages parameter, pages will be used.
Callbacks
- Set a custom callback when done button is pressed, by adding
onDone: () {} parameter.
- This param is required if you define
done param, EXCEPT if you set showDoneButton: false
- If you set
overrideDone param, it will be ignored.
- Set a custom callback when skip button is pressed, by adding
onSkip: () {} parameter.
- By default, it will go to the last page
- If you set
overrideSkip param, it will be ignored.
- Add callback to listen page changes, by adding
onChange: (page) {} parameter.
Use pre-made buttons
- Define pre-made Done button child (Widget), by adding
done: Text('Done')
- This param or
overrideDone are required, EXCEPT if you set showDoneButton: false
- By providing
done, the parameter onDone is also required.
- Define pre-made Next button child (Widget), by adding
next: Text('Next')
- This param is required, EXCEPT if you set
showNextButton: false
- Define pre-made Skip button child (Widget), by adding
skip: Text('Skip')
- This param is required if you set
showSkipButton: true
- Define pre-made Back button child (Widget), by adding
back: Text('Back')
- This param is required if you set
showBackButton: true
Use custom buttons
If you want to control pages, you can use key param. Search this repo's Issues for more detailed information.
- Define your custom Done button (Widget), by using
overrideDone
- This param or
done are required, EXCEPT if you set showDoneButton: false
- This parameter has priority over the
done parameter.
- Define your custom Next button (Widget), by using
overrideNext
- This param or
next are required, EXCEPT if you set showNextButton: false
- This parameter has priority over the
next parameter.
- Define your custom Skip button (Widget), by using
overrideSkip
- This param or
skip are required if you set showSkipButton: true
- This parameter has priority over the
skip parameter.
- Define your custom Back button (Widget), by using
overrideBack
- This param or
back are required if you set showBackButton: true
- This parameter has priority over the
skip parameter.
- Define your custom dots widget (or the widget that you want on that position), by using
customProgress
Manage display of pre-made or custom buttons
- Hide/show Skip button, by adding
showSkipButton: false parameter.
- Hide/show Next button, by adding
showNextButton: false parameter.
- Hide/show Done button, by adding
showDoneButton: false parameter.
- Hide/show Back button, by adding
showBackButton: false parameter.
Controls
- Display or not the progress dots, by adding
isProgress: false parameter.
- Enable or disable dots progress tap, by adding
isProgressTap: false parameter.
Page
- Freeze the scroll, by adding
freeze: true parameter.
- Duration of scrolling animation, by adding
animationDuration: 400 parameter.
- Initial page, by adding
initialPage: 2 parameter.
- You can provide a ScrollController for each page by adding
scrollControllers: [..] parameter.
- If you have 5 pages, you can provide 5 differents ScrollController.
- If you want to have only one ScrollController for page 1, you can provide:
scrollControllers: [controller1]
- If you want to have only one ScrollController for page 3, you can provide:
scrollControllers: [null, null, controller1]
- Will be ignored for page(s) if
useScrollView is set to false in PageViewModel(s)
Pages style
- Global background color, by adding
globalBackgroundColor: Colors.blue parameter.
- Tips: use
Colors.transparent to display an image as background (using Stack with IntroductionScreen inside for example)
- Customize dots (progression) by adding
dotsDecorator: DotsDecorator(...)
- You can customize dots size, shape, colors, spacing.
- Customize dots container by adding
dotsContainerDecorator: BoxDecorator(...)
- You can customize container that contain controls.
- Skip/Back button flex, by adding
skipOrBackFlex: 1 parameter.
- Set 0 to disable Expanded behaviour, default
1
- Dots indicator flex, by adding
dotsFlex: 1 parameter.
- Set 0 to disable Expanded behaviour, default
1
- Next/Done button flex, by adding
nextFlex: 1 parameter.
- Set 0 to disable Expanded behaviour, default
1
- Animation curve between pages, by adding
curve: Curves.elasticIn parameter.
Buttons style
- Change global style of buttons (for skip, next, done, back), by adding
baseBtnStyle parameter.
- Change skip button style, by adding
skipStyle: TextButton.styleFrom(alignment: Alignment.centerLeft) parameter.
- Change next button style, by adding
nextStyle: TextButton.styleFrom(alignment: Alignment.centerRight) parameter.
- Change done button style, by adding
doneStyle: TextButton.styleFrom(splashFactory: NoSplash.splashFactory) parameter.
- Change back button style, by adding
backStyle: TextButton.styleFrom(foregroundColor: Colors.red) parameter.
Semantic
- Change skip button semantic label, by adding
skipSemantic: 'Skip introduction' parameter.
- Change next button semantic label, by adding
nextSemantic: 'Go to next page' parameter.
- Change done button semantic label, by adding
doneSemantic: 'Exit introduction' parameter.
- Change back button semantic label, by adding
backSemantic: 'Go to previous page' parameter.
Layout
- Show the bottom part of the page, that include skip, next, done buttons by setting
showBottomPart: true parameter.
- Hide the bottom part of the page when the keyboard is open with
hideBottomOnKeyboard parameter.
- Customize controls position on screen, by adding
controlsPosition: const Position(left: 0, right: 0, bottom: 100) parameter.
- Default
const Position(left: 0, right: 0, bottom: 0)
- Customize margin of controls's container, by adding
controlsMargin: EdgeInsets.all(16.0) parameter.
- Customize padding of controls's container, by adding
controlsPadding: EdgeInsets.all(8.0) parameter.
- Default
EdgeInsets.all(16.0)
- Add global header (top), static and displayed above pages, by adding
globalHeader: Image.asset(...) parameter.
- Add global footer below controls/dots, by adding
globalFooter: ElevatedButton(...) parameter.
- Change axis of scroll by adding
pagesAxis: Axis.vertical.
- Change default scroll physics of PageView by adding
scrollPhysics: ClampingScrollPhysics().
- Default
BouncingScrollPhysics()
- You can also enable right-to-left behavior by adding
rtl: true.
- Change default implicit scrolling behavior by adding
allowImplicitScrolling: true
- Activate the SafeArea by setting
safeAreaList: [true,true,true,true] parameter.
PageViewModel parameters
You can provide many parameters to customize each pages:
title: "Title of the page" or titleWidget: Text("Custom widget for title")body: "Body of the page" or bodyWidget: Text("Custom widget for body")image: Image.asset(...) image of the page.
- It's expecting a Widget, so if you want to pass a Video, Text, or anything else, you can.
backgroundImage: 'assets/fullscreen.jpg' background image of the page (optional).
- It's expecting a String with a path to an image asset. Works just like the
image parameter under the hood while making an asset span all over the screen.
- Doesn't affect the
image nor fullscreen parameters: can be used together with them to build more complex layouts.
footer: ElevatedButton(...), display a widget below body
- Like image param, it's expecting a Widget, you can pass what you want.
decoration: PageDecoration(...), page decoration to customize page
- See next section for all parameters you can pass
reverse: true, reverse order of image and content (title/body). (Default: false)useScrollView: false, by default pages use a Scrollview to handle small screen or long body text. You can remove ScrollView by setting to false.scrollViewKeyboardDismissBehavior: ScrollViewKeyboardDismissBehavior.manual, by default the keyboard dismiss behavious is manual, you can change it.
- Only used if useScrollView not set to false.
PageDecoration parameters
pageColor: Colors.white, background color of the page
- You cannot use both pageColor and boxDecoration params
titleTextStyle: TextStyle(...), TextStyle of the titlebodyTextStyle: TextStyle(...), TextStyle of the bodyboxDecoration: BoxDecoration(...), BoxDecoration of page container
- You cannot use both pageColor and boxDecoration params
imageFlex: 2, flex ratio of the imagebodyFlex: 3, flex ratio of the content (title/body)footerFlex: 1, flex ratio of the content (title/body)footerFit: FlexFit.loose, flex ratio of the content (title/body)imagePadding: EdgeInsets.only(bottom: 12.0), padding of the image Widget. (Default EdgeInsets.only(bottom: 24.0))contentPadding: EdgeInsets.only(all: 24.0), padding of the content (title/body/footer) Widget. (Default EdgeInsets.all(16))titlePadding: EdgeInsets.only(bottom: 24.0), padding of the title text/Widget. (Default EdgeInsets.only(top: 16.0, bottom: 24.0))descriptionPadding: EdgeInsets.only(bottom: 24.0), padding of the body text/Widget. (Default EdgeInsets.zero)footerPadding: EdgeInsets.only(top: 24.0), padding of the footer text/Widget. (Default EdgeInsets.symmetric(vertical: 24.0))bodyAlignment: Align.center, content (title, body, footer) alignment. (Default Align.topCenter)imageAlignment: Align.center, image alignment. (Default Align.bottomCenter)fullScreen: true, Set image as fullscreen (background). (Default false)