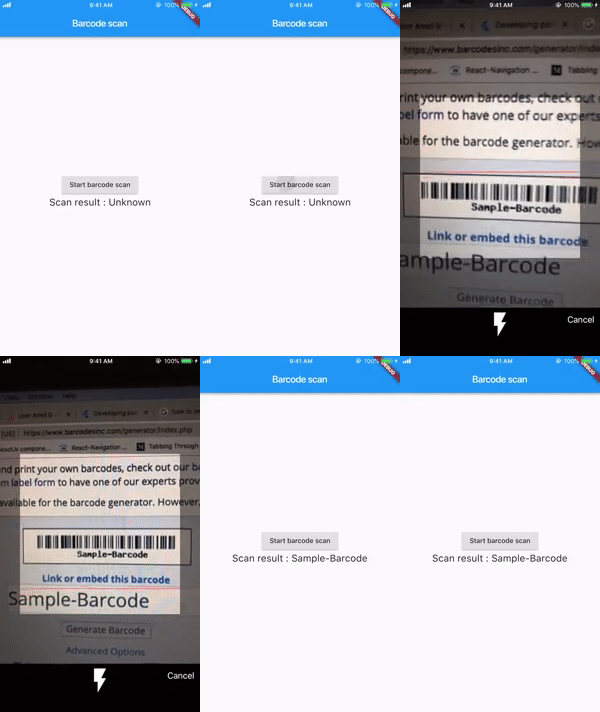
안드로이드 및 iOS 기기에서 바코드와 QR 코드 스캔을 가능하게 하는 플러터 플러그인입니다. QR 코드, EAN, UPC 등 다양한 유형의 바코드를 캡처하고 디코딩하기 위한 간단하고 신뢰할 수 있는 인터페이스를 제공합니다. 네이티브 통합으로 구현되어 플랫폼 간 빠르고 정확한 스캔 성능을 보장합니다. 재고 시스템, 티켓팅 또는 제품 조회 도구와 같이 시각적 코드를 통해 빠른 데이터 입력이 필요한 애플리케이션에 적합합니다.
사용 사례
재고 관리
티켓 스캔
제품 정보 조회
QR 코드를 통한 사용자 인증
모바일 결제
주요 기능
여러 바코드 형식을 지원합니다
크로스 플랫폼 호환성 (Android 및 iOS)
고속 스캔
간단한 API 통합
실시간 미리보기 지원
적합한 대상
리테일 앱
이벤트 티켓팅 시스템
물류 및 창고 관리
모바일 결제 솔루션
디지털 신원 확인
고려 사항
카메라 권한이 필요합니다
백그라운드 실행 설정이 필요할 수 있습니다
성능은 기기 하드웨어에 따라 달라집니다
모바일 플랫폼에 한정
iOS 카메라 접근을 위한 추가 구성
원본 README
연결된 소스 저장소의 README 원문 스냅샷입니다. 최신 내용은 저장소에서 확인하세요.
flutter_barcode_scanner_plus
A plugin for Flutter apps that adds barcode scanning support on both Android and iOS.
Try example
Just clone or download the repository, open the project in Android Studio/ VS Code, open pubspec.yaml and click on Packages get.
Connect device and hit run.
To run on iPhone you need to run from Xcode first time and just make pod install in example/ios then run from Xcode.
Getting Started
Follow the steps for Android and iOS
PLEASE FOLLOW iOS STEPS CAREFULLY
Android
:zap: Don't worry, you don't need to do anything.
iOS - Requires Swift support
Deployment target : 12
1. Fresh start:
Create a new flutter project. Please check for Include swift support for iOS code.
After creating new flutter project open /ios project in Xcode and set minimum deployment target to 12
and set Swift version to 5.
After setting up the deployment target and swift version, close the Xcode then run pod install in /ios in flutter project.
You have done with basic configuration now proceed to section How to use.
2. Adding to existing flutter app:
If your existing ios code is Swift then you just need to do following.
Set minimum deployment target to 12 and set Swift version to 5.
Close the Xcode and run pod install in /ios in flutter project.
Now proceed to section How to use.
If your existing ios code is Objective-C then you need to do following.
Create a new flutter project with same name at different location (Don't forget to check Include swift support for iOS code while creating)
Just copy newly created /ios folder from project and replace with existing /ios.
Open ios project in Xcode and set minimum deployment target to 12 and set Swift version to 5.
Run pod install in /ios
Note: If you did any changes in ios part before, you might need to make these configuration again
How to use ?
To use on iOS, you will need to add the camera usage description.
To do that open the Xcode and add camera usage description in Info.plist.
COLOR_CODE is hex-color which is the color of line in barcode overlay you can pass color of your choice,
CANCEL_BUTTON_TEXT is a text of cancel button on screen you can pass text of your choice and language,
isShowFlashIcon is bool value used to show or hide the flash icon,
scanMode is a enum in which user can pass any of { QR, BARCODE, DEFAULT }, if nothing is passed it will consider a default value which will be QR.
It shows the graphics overlay like for barcode and QR.
NOTE: Currently, scanMode is just to show the graphics overlay for barcode and QR. Any of this mode selected will scan both QR and barcode.
Continuous scan
If you need to scan barcodes continuously without closing camera use FlutterBarcodeScanner.getBarcodeStreamReceiver
params will be same like FlutterBarcodeScanner.scanBarcode
e.g.
FlutterBarcodeScanner.getBarcodeStreamReceiver("#ff6666", "Cancel", false, ScanMode.DEFAULT)
         .listen((barcode) {
         /// barcode to be used
         });
Contribution:
would :heart: to see any contribution, give :star: if you like