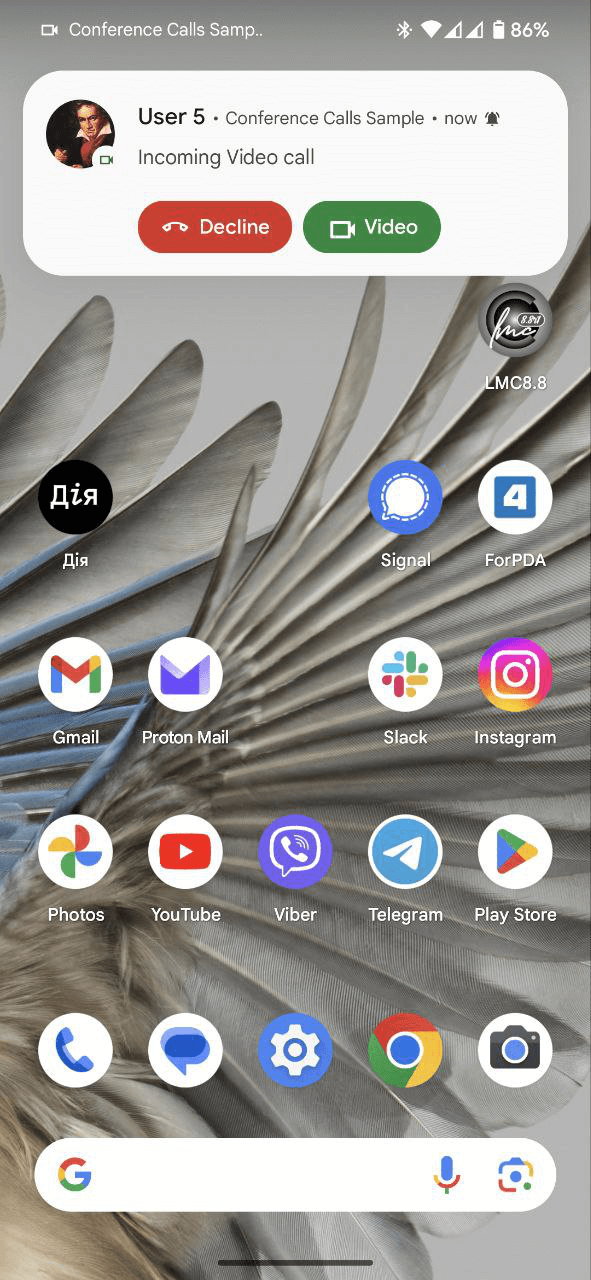
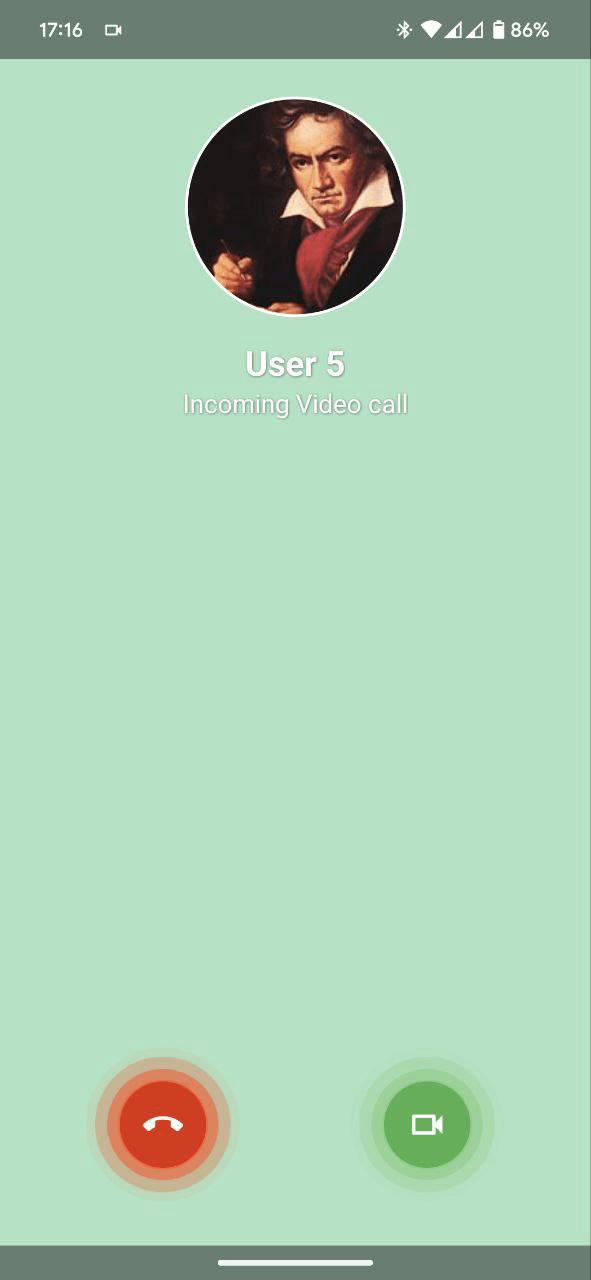
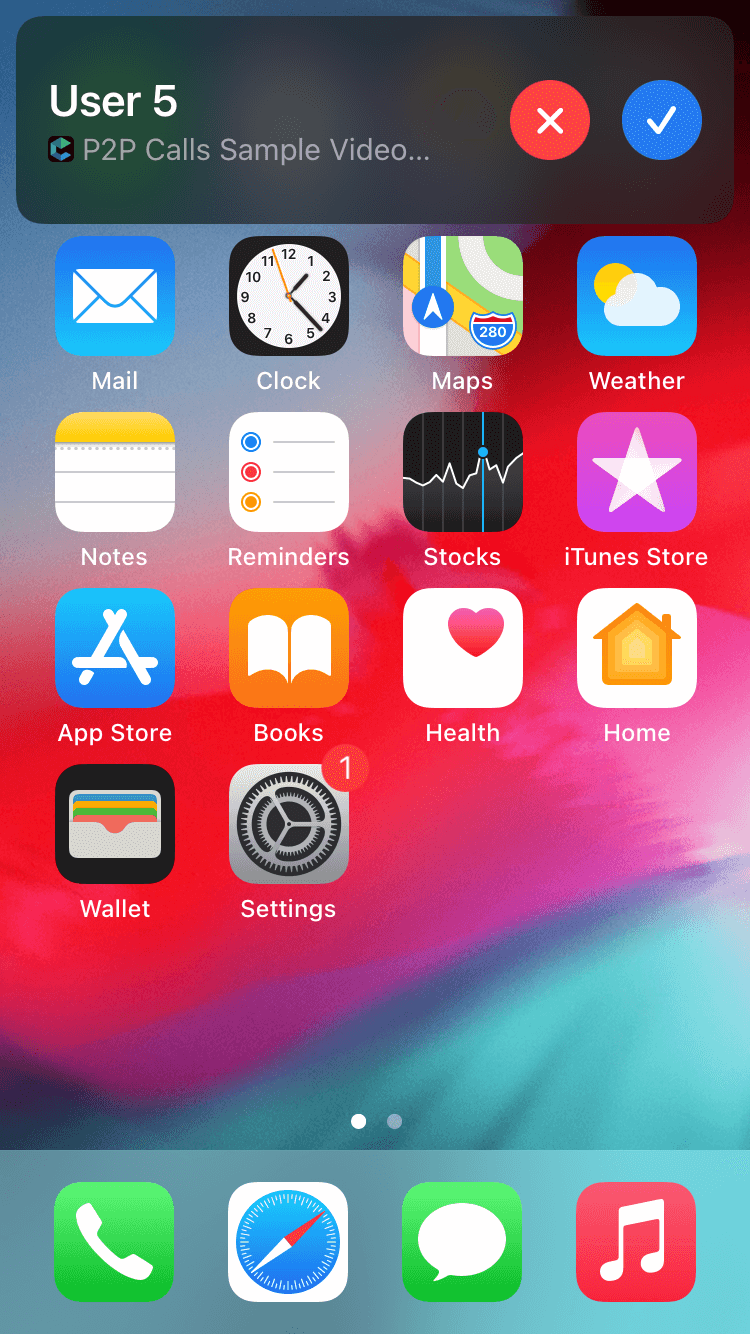
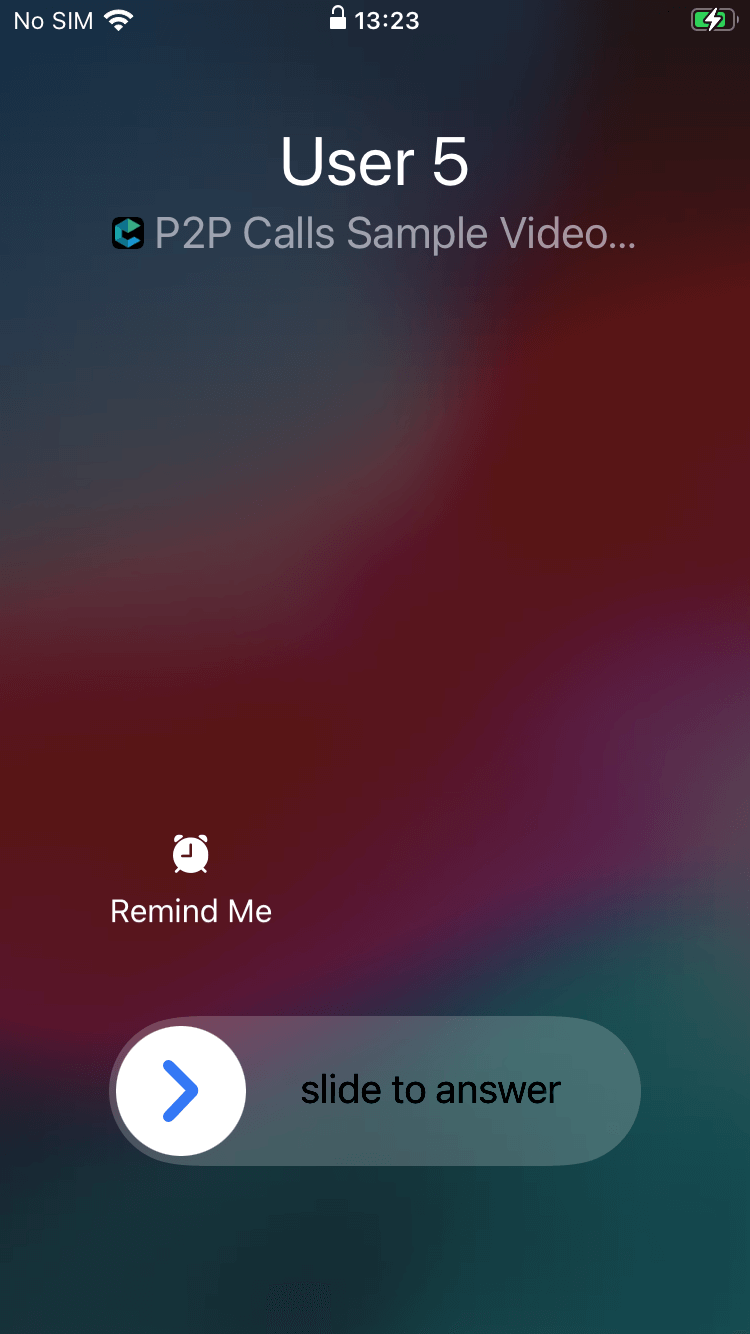
Connectycube Flutter Call Kit는 앱이 백그라운드 또는 종료된 상태일 때 네이티브 통화 화면을 표시할 수 있도록 해주는 플러그인으로, 실시간 통신의 원활한 경험을 보장합니다. iOS 및 Android 시스템 레벨의 통화 인터페이스와 통합되어, 들어오는 통화 시 사용자에게 익숙한 통화 UI를 제공합니다. 이 플러그인은 비디오 통화와 오디오 통화 모두를 지원하며, 앱이 활성화되지 않은 경우에도 통화의 가시성을 유지함으로써 사용자 경험을 향상시킵니다. Flutter 앱에서 실시간 통신 기능을 구현하는 개발자를 위한 것입니다.
사용 사례
실시간 음성 및 비디오 통화
백그라운드에서 들어오는 전화 처리
앱 종료 중 통화 가시성 유지
iOS 및 안드로이드에서 네이티브 전화 UI 통합
수신 통화를 위한 푸시 알림 활성화
주요 기능
네이티브 전화 화면 표시
백그라운드 및 종료된 앱 지원
iOS 및 안드로이드 플랫폼 호환성
푸시 알림 통합
비디오 및 오디오 통화 지원
적합한 대상
실시간 통신 앱
비디오 회의 앱
통화 기능이 있는 메시징 앱
지속적인 통화 UI가 필요한 앱
Connectycube 백엔드를 사용하는 Flutter 개발자
고려 사항
Connectycube 백엔드 설정이 필요합니다
올바른 푸시 알림 구성이 필요합니다
네이티브 전화 UI의 사용자 정의가 제한적
플랫폼별 권한이 필요합니다
Connectycube Flutter SDK에 종속됨
원본 README
연결된 소스 저장소의 README 원문 스냅샷입니다. 최신 내용은 저장소에서 확인하세요.
ConnectyCube Flutter Call Kit plugin
A Flutter plugin for displaying call screen when the app is in the background or terminated.
It provides a complex solution for implementation the background calls feature in your app including
getting token and displaying the Incoming call screen.
Supported platforms
Android
iOS
Features
access device token (FCM for Android and VoIP for iOS)
notifying the app about token refreshing via callback
displaying the Incoming call screen when push notification was delivered on the device
notifying the app about user action performed on the Incoming call screen (accept, reject, mute (for iOS))
providing the methods for manual managing of the Incoming screen including the manual showing the Incoming call screen
getting the data about the current call during the call session
some customizations according to your app needs (ringtone, app icon, accent color(for Android))
checking and changing the access to the Manifest.permission.USE_FULL_SCREEN_INTENT permission (for Android 14 and above)
Configure your project
This plugin doesn't require complicated configs, just connect it
as usual flutter plugin to your app and do the next simple actions:
Prepare Android
add the Google services config file google-services.json by path your_app/android/app/
add next string at the end of your build.gradle file by path your_app/android/app/build.gradle:
apply plugin: 'com.google.gms.google-services'
If your app is targeted to targetSdkVersion 31 and above and you need to start the app by clicking the Accept
button you should request the permission SYSTEM_ALERT_WINDOW from the user first. For it, you can use
the plugin permission_handler.
If your app is targeted to targetSdkVersion 33 and above you should request the permission
POST_NOTIFICATIONS from the user first.
Prepare iOS
add next strings to your Info.plist file by path your_app/ios/Runner/Info.plist:
The plugin returns the VoIP token for the iOS platform and the FCM token for the Android platform.
Get token from the system:
ConnectycubeFlutterCallKit.getToken().then((token) {
    // use received token for subscription on push notifications on your server
});
Listen to the refresh token event:
ConnectycubeFlutterCallKit.onTokenRefreshed = (token) {
    // use refreshed token for resubscription on your server
};
Customize the plugin
We added a helpful method for customization the plugin according to your needs. At this moment you
can customize the ringtone, application icon, noitification small icon (Android only)
and notification accent color (Android only). Use the next method for it:
ConnectycubeFlutterCallKit.instance.updateConfig(
  ringtone: 'custom_ringtone',
  icon: Platform.isAndroid ? 'default_avatar' : 'CallKitIcon', // is used as an avatar placeholder for Android and as the app icon for iOS
  color: '#07711e');
[Android only] Notification icon customisation
You can set different icons for Audion and Video calls, add suitable resources to your
android/app/src/main/AndroidManifest.xml to the application section for it:
!> Attention: the functions onCallRejectedWhenTerminated, onCallAcceptedWhenTerminated and onCallIncomingWhenTerminated must
be a top-level functions and cannot be anonymous. Mark these callbacks with the @pragma('vm:entry-point')
annotation to allow using them from the native code.
Listen for the actions performed on the CallKit screen (iOS only):
Listening for the muting/unmuting the call
ConnectycubeFlutterCallKit.onCallMuted = onCallMuted;
Future<void> onCallMuted(bool mute, String uuid) async {
// [mute] - `true` - the call was muted on the CallKit screen, `false` - the call was unmuted// [uuid] - the id of the muted/unmuted call
}
Get the call state
var callState = awaitConnectycubeFlutterCallKit.getCallState(sessionId: sessionId);
Notifying the plugin about muting/unmuting the call (iOS only):
var muted = true; // set `true` if the call was muted or `false` if the call was unmutedConnectycubeFlutterCallKit.reportCallMuted(sessionId: uuid, muted: muted);
Clear call data
After finishing the call you can clear all data on the plugin side related to this call, call the
next code for it
The function moves the user to the specific setting for your app where you can grant or deny this
permission for your app.
Show Incoming call screen by push notification
In case you want to display the Incoming call screen automatically by push notification you can do
it easily. For it, the caller should send the push notification to all call members. This push notification should contain some required parameters. If you use the Connectycube Flutter SDK, you can do it using the next code:
For hiding the Incoming call screen via push notification use a similar request but with a
different signal_type, it can be 'endCall' or 'rejectCall'.
Android 14 features
Starting from Android Build.VERSION_CODES.UPSIDE_DOWN_CAKE, apps may not have permission to use
Manifest.permission.USE_FULL_SCREEN_INTENT. If permission is denied, the call notification will
show up as an expanded heads up notification on lockscreen. The plugin provides the API for checking
the access state and moves to the System setting for enabling it. Please follow the next code
snippet to manage it:
var canUseFullScreenIntent = awaitConnectycubeFlutterCallKit.canUseFullScreenIntent();
if (!canUseFullScreenIntent){
ConnectycubeFlutterCallKit.provideFullScreenIntentAccess();
}