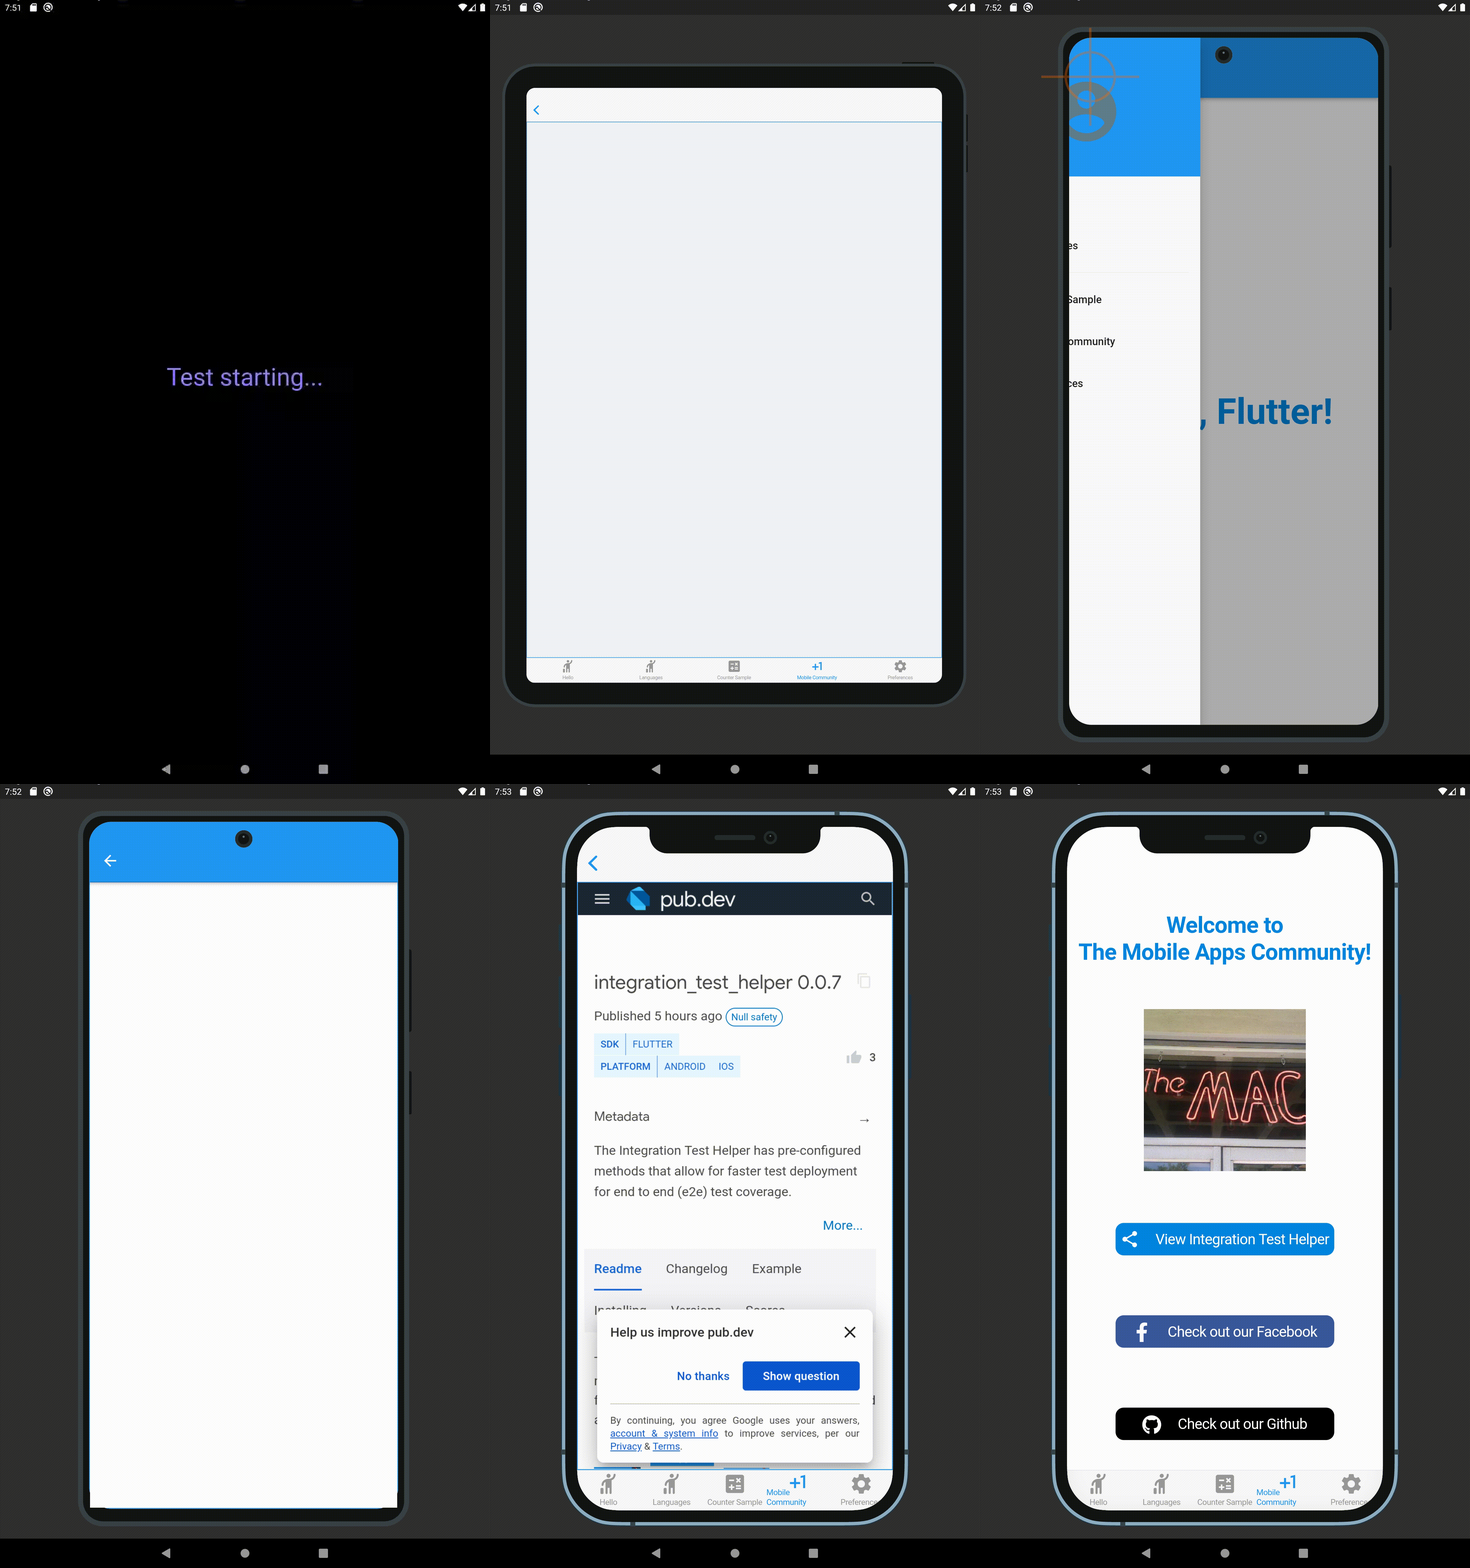
통합 테스트 미리보기에서는 네이티브 Android 및 iOS UI를 사용하는 Flutter 애플리케이션에서 엔드투엔드(e2e) 테스팅을 가속화하기 위해 사전 구성된 방법을 제공합니다. 테스트 설정과 실행을 단순화하여 최소한의 보일러플레이트로 포괄적인 e2e 테스트 커버리지를 달성할 수 있도록 합니다. 이 패키지는 Flutter의 integration_test 프레임워크와 원활하게 통합되며, 다양한 플랫폼에서 빠른 테스트 배포를 위한 설계입니다. 실제 기기 및 에뮬레이터 테스트를 지원하여 생산 환경과 일치하는 신뢰할 수 있는 동작을 보장합니다.
사용 사례
엔드투엔드 테스트 개발 가속화
네이티브 플랫폼 UI 상호작용 테스트
크로스 플랫폼 테스트 배포 간소화
앱 워크플로우를 엔드 투 엔드로 검증하는 것
테스트 설정 시간 단축
CI/CD 파이프라인 지원
주요 기능
사전 구성된 테스트 방법
네이티브 안드로이드 및 iOS UI 테스트
최소한의 보일러플레이트 코드
integration_test와의 원활한 통합
빠른 테스트 배포
크로스 플랫폼 호환성
적합한 대상
엔드 투 엔드 테스팅에 집중하는 플러터 팀
더 빠른 테스트 주기를 원하는 개발자
네이티브 플랫폼 검증이 필요한 프로젝트
CI/CD 기반 개발 워크플로우
자동 테스트 관행을 채택하는 팀
고려 사항
Android 및 iOS 플랫폼 설정이 필요합니다
e2e 테스트 범위에 제한됨
웹 또는 데스크톱 플랫폼 지원 없음
integration_test 프레임워크에 의존합니다
복잡한 시나리오에서는 추가 구성이 필요할 수 있습니다
원본 README
연결된 소스 저장소의 README 원문 스냅샷입니다. 최신 내용은 저장소에서 확인하세요.
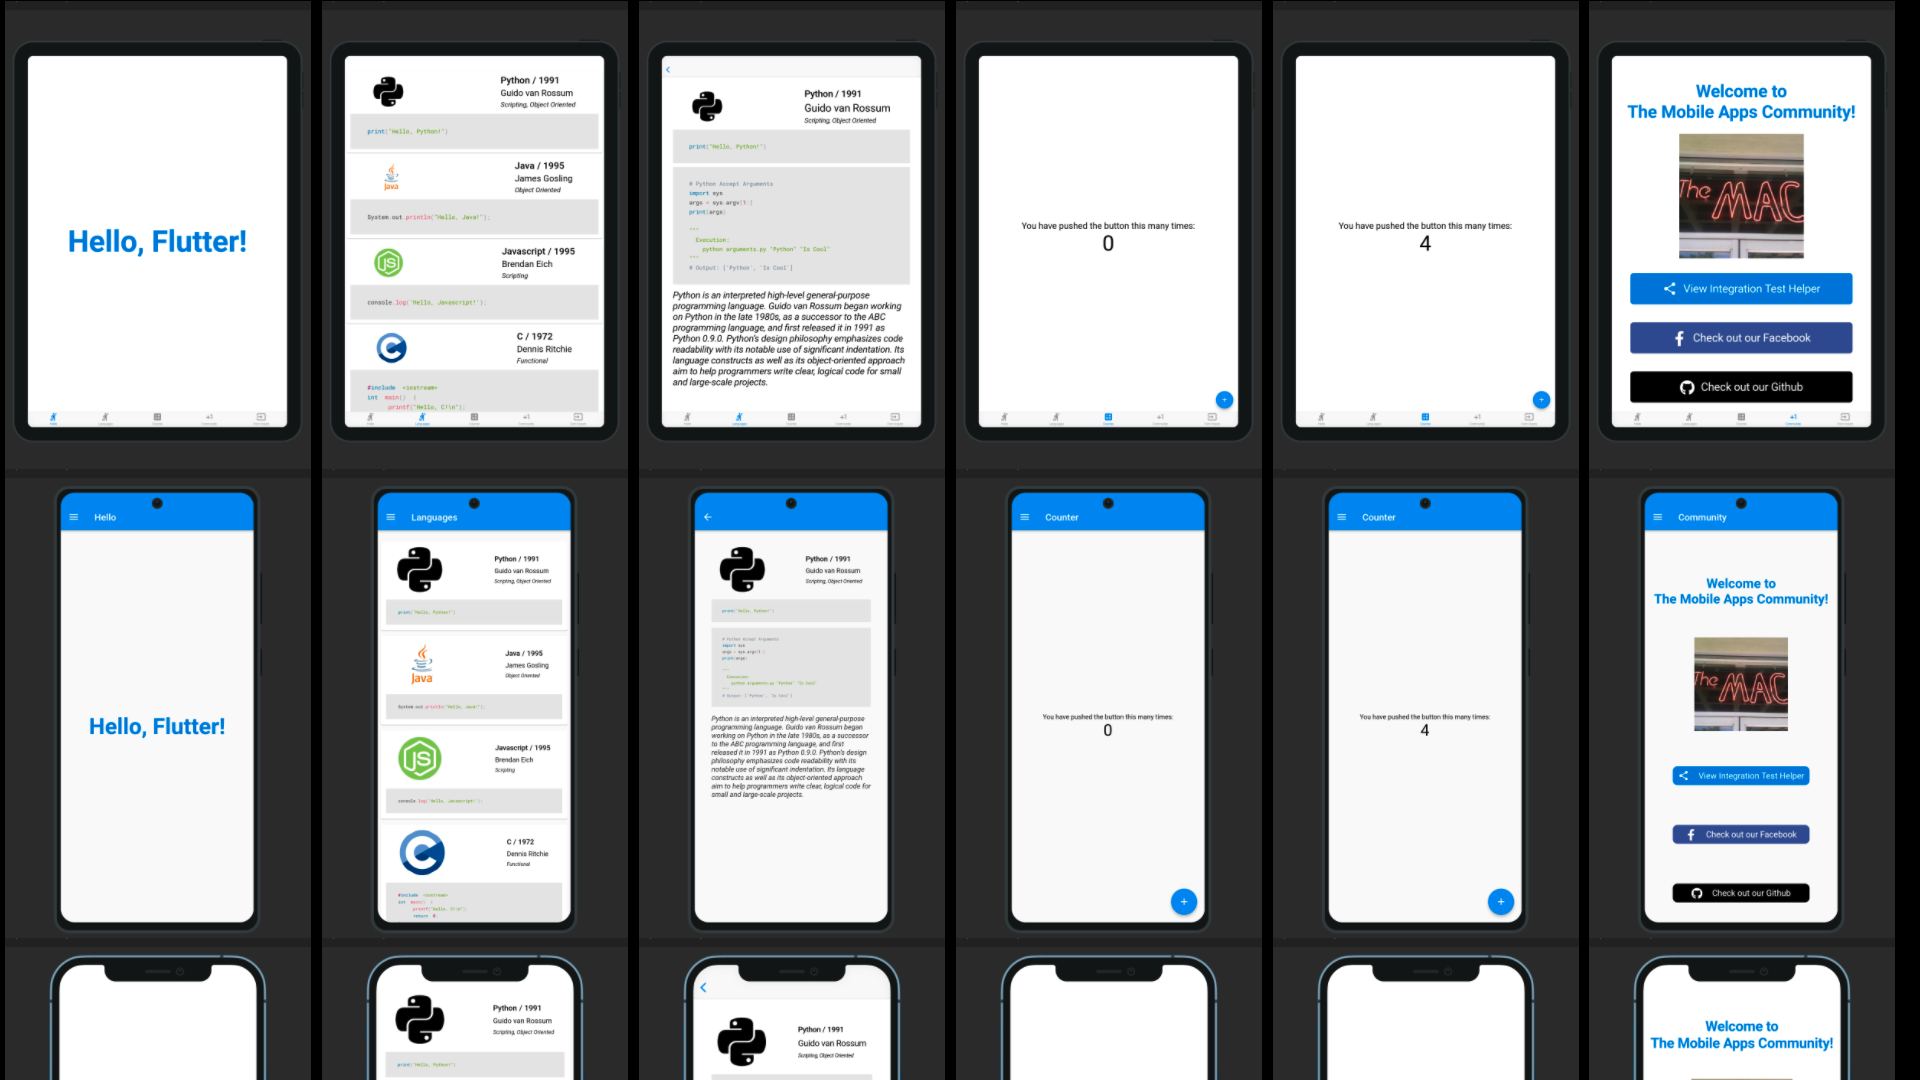
Integration Test Preview has pre-configured methods that allow for faster test deployment for end to end (e2e) test coverage (using Android and iOS platform UIs). This package is based upon the Integration Test Helper and Device Preview packages, and does much more with the combination of the two of them. It also allows for specific device size preview screenshots for the app stores, generated locally in your project path.
Features
Integration Test Preview Example
When running a test using a IntegrationTestPreview subclass, you can assign the devices that you want to test against (and take screenshots for). The following is an example of how you can test all your features end to end on multiple screen types:
import'package:flutter_test/flutter_test.dart';
import'package:integration_test_preview/integration_test_binding.dart';
import'package:device_frame/src/devices/devices.dart';
import'package:device_frame/src/info/info.dart';
import'package:example/main.dart'as app;
import'app_feature_groups.dart';
voidmain() async {
const minutesPerDevice = 3;
finalList<DeviceInfo> testDevices = [
Devices.ios.iPhone12, Devices.android.samsungGalaxyNote20, Devices.ios.iPadPro11Inches,
];
final totalExpectedDuration = Duration(minutes: testDevices.length * minutesPerDevice);
final binding = IntegrationTestPreviewBinding.ensureInitialized();
testWidgets('Testing end to end multi-screen integration', (WidgetTester tester) async {
final main = app.setupMainWidget();
final integrationTestGroups = ScreenIntegrationTestGroups(binding);
await integrationTestGroups.initializeDevices(testDevices, state: ScreenshotState.RESPONSIVE);
await integrationTestGroups.initializeTests(tester, main);
}, timeout: Timeout(totalExpectedDuration)
);
}
Reviewing the screenshot results
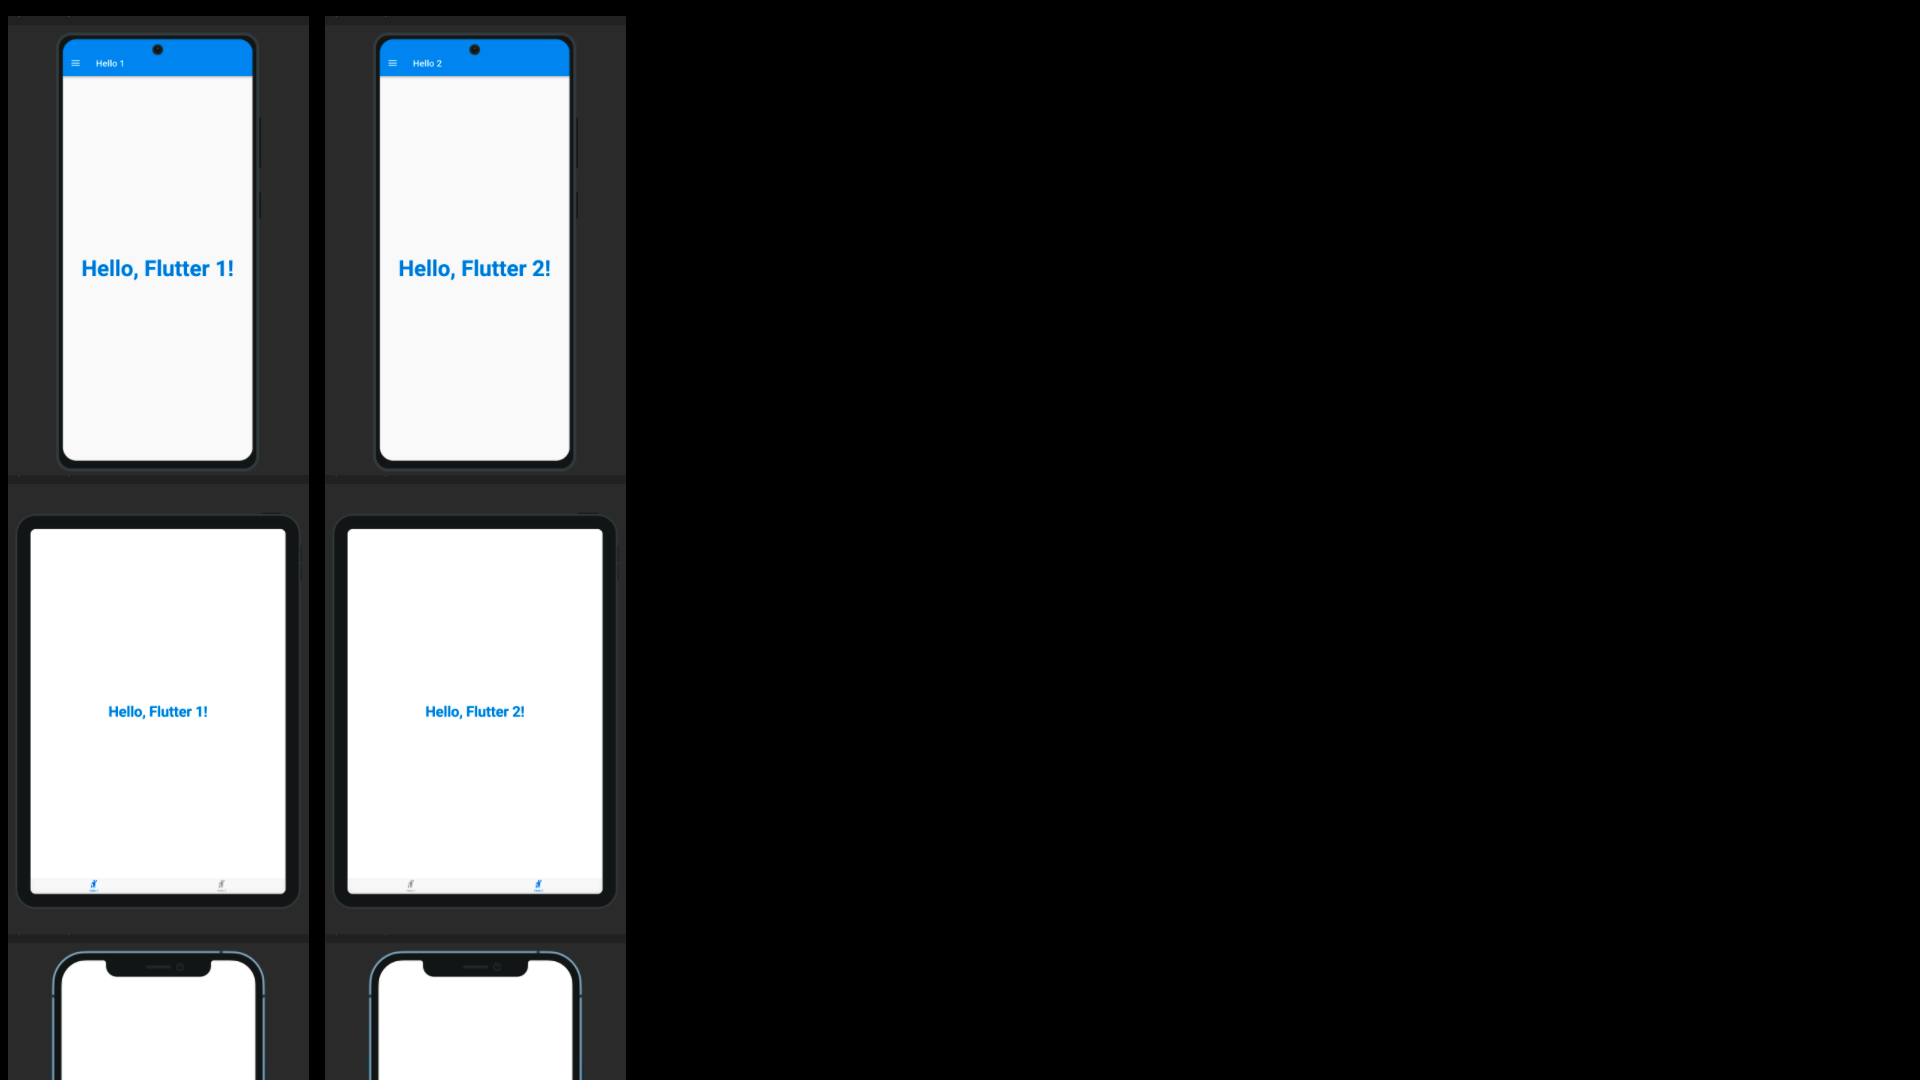
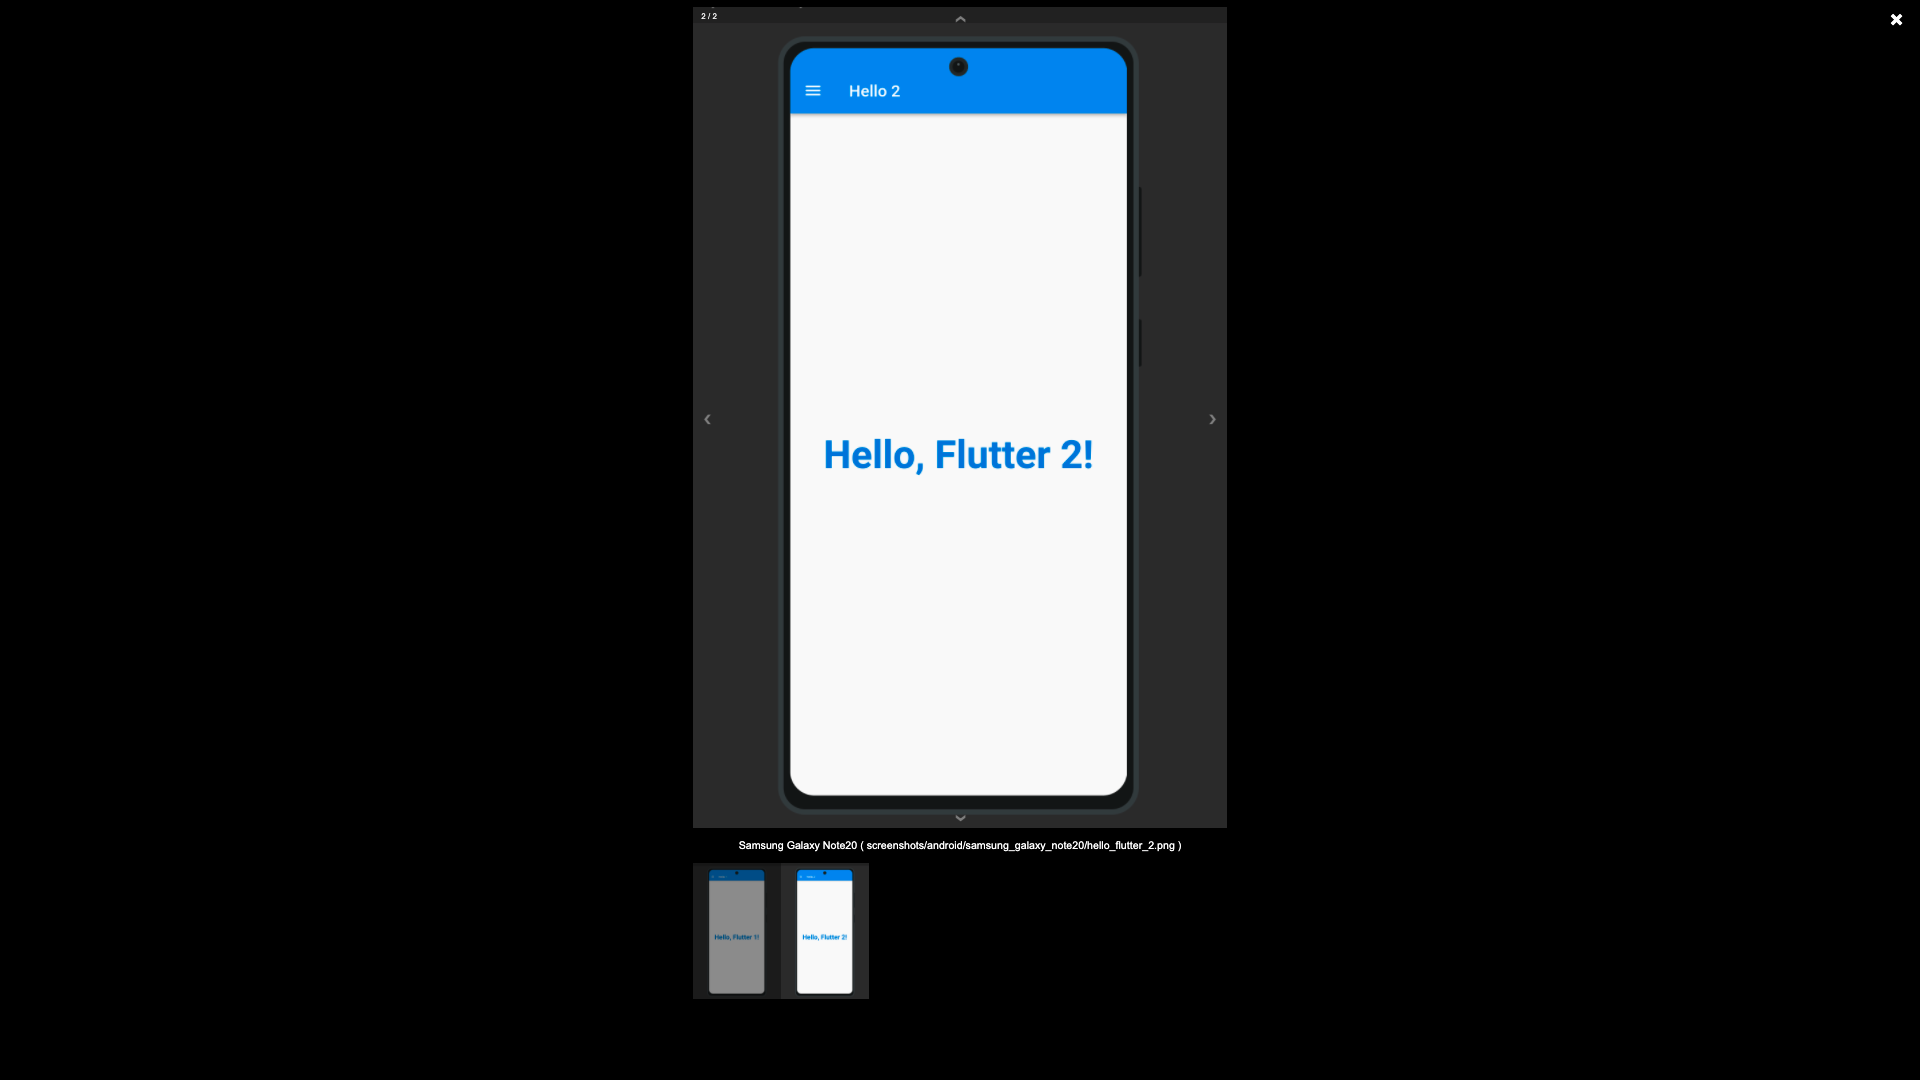
The screenshots generated using the Screenshot State, by default are written to the screenshots directory, this is possible using the test_driver/app_features_test.dart custom integrationDriver example below. The custom integrationDriver implementation allows for the generated screenshots to be displayed in an HTML page by the name of screenshots.html in your project directory.
The following file examples can be combined together (as a Hello World for the Integration Test Preview) to demonstrate how the package works. First you create a way to switch between platforms, a base Widget file that can switch between platforms (Android/iOS/etc.), create a driver file for saving to the screenshots directory, an IntegrationTestPreview subclass for grouping Widget tests against the grouped widgets.
Subclass IntegrationTestPreview (in integration_test/app_feature_groups.dart)
The Integration Test Preview supports platform specific implementations, for methods like the showHelloFlutter
method. This method uses the Drawer for Android and accomodates the Android environment UI interations. And uses
the Tab Bar for iOS and accomodates the iOS environment UI interations.