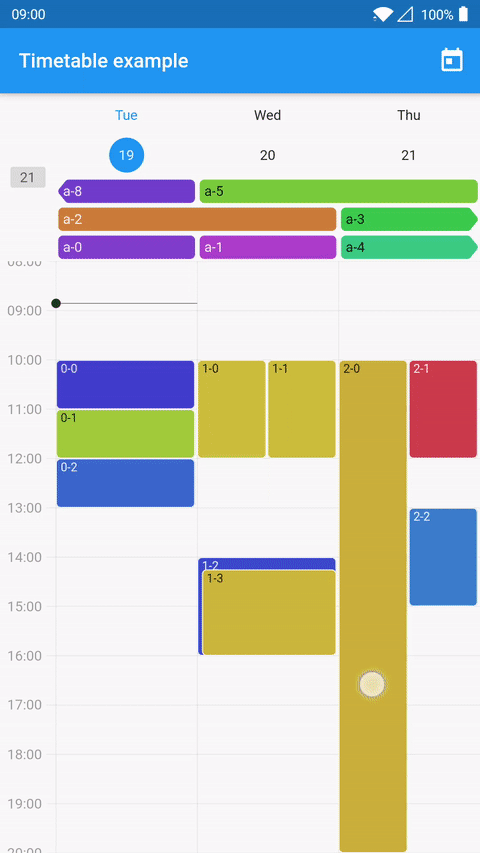
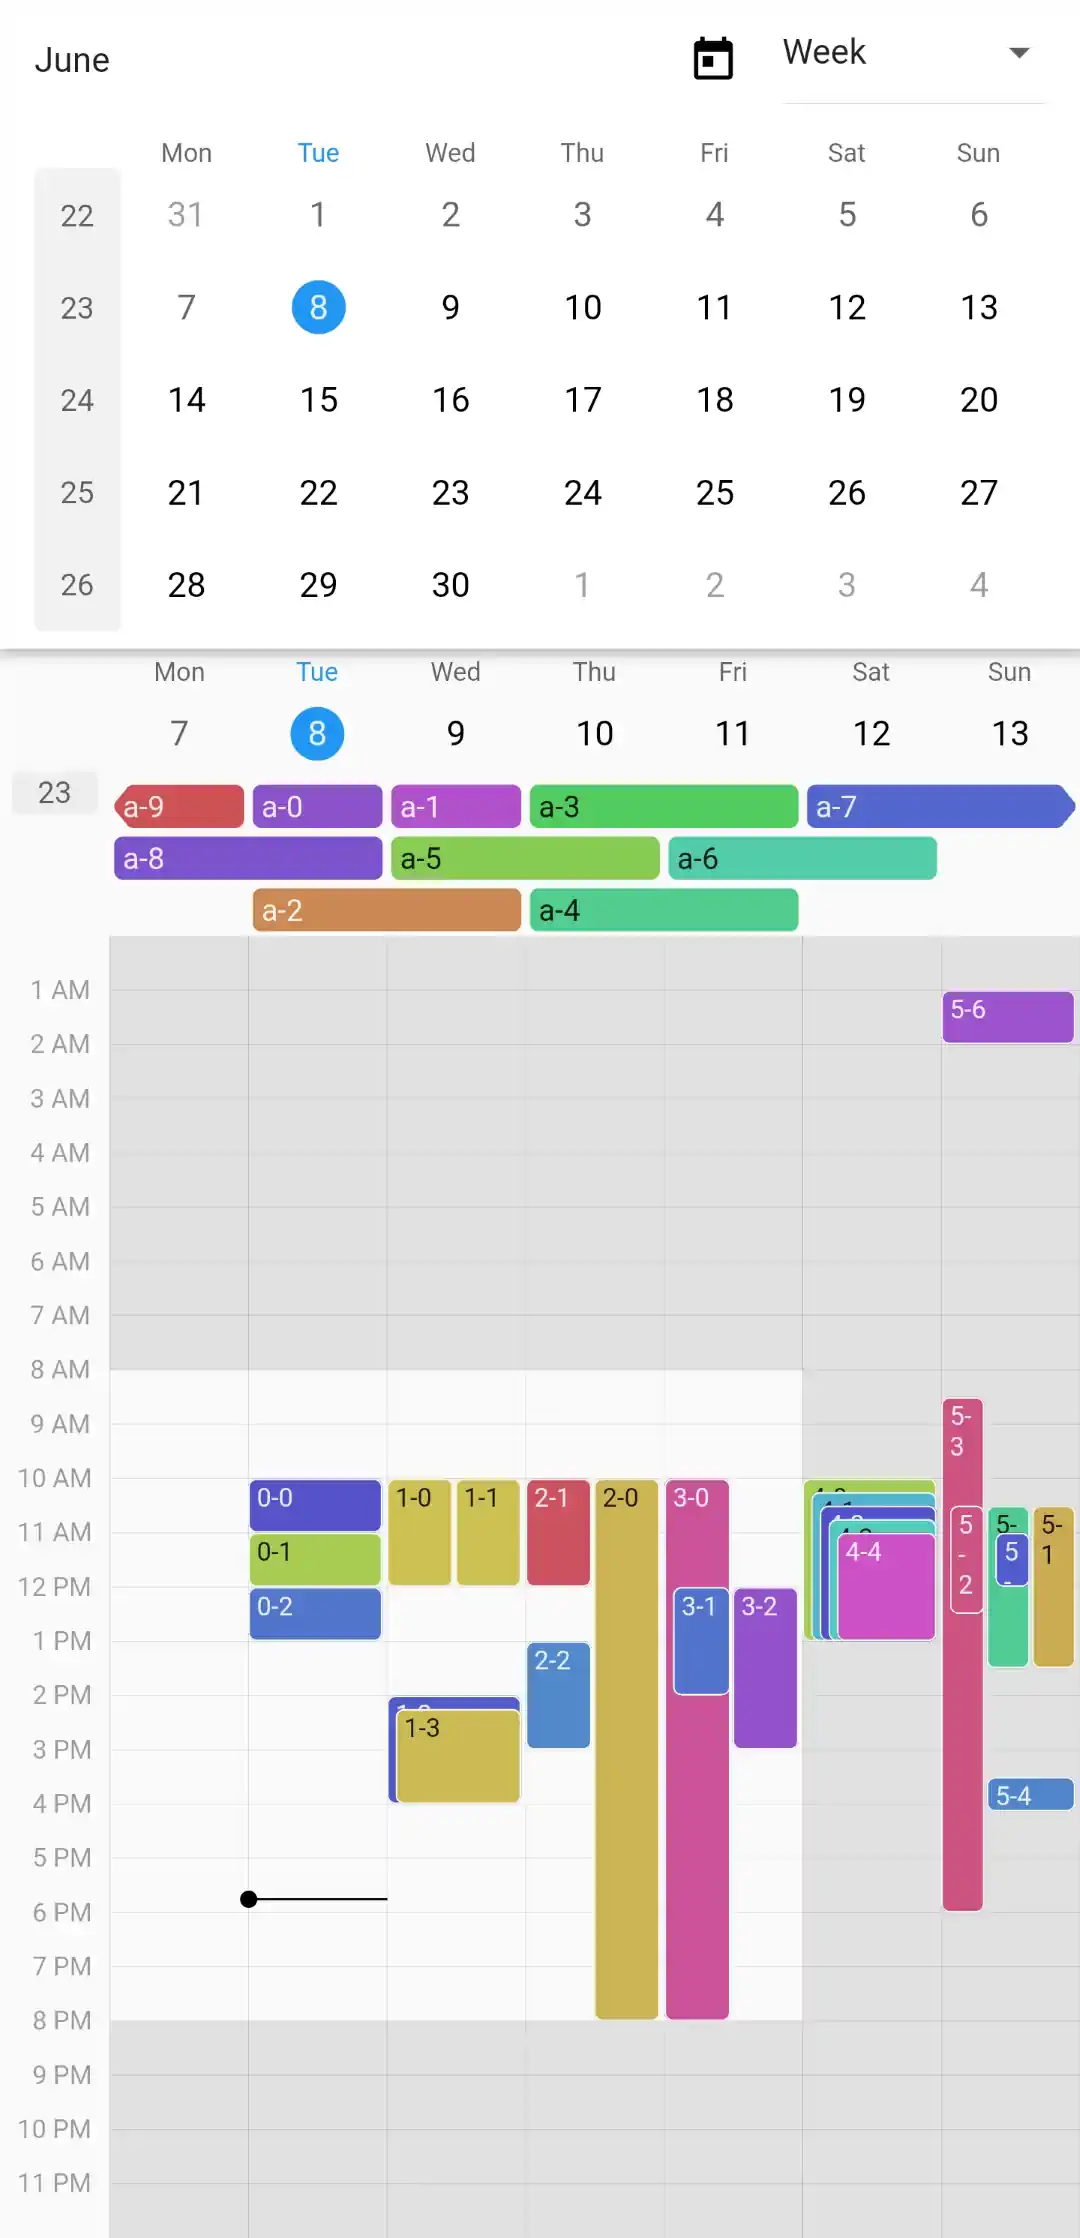
타임테이블 패키지는 플러터용 사용자 정의가 가능한 애니메이션 캘린더 위젯을 제공하며, 일간 및 주간 보기 모두를 지원합니다. 부드러운 애니메이션과 직관적인 탐색 기능을 갖추고 있어 사용자가 일정과 이벤트를 상호작용 방식으로 시각화할 수 있도록 합니다. jonaswanke.dev에서 개발한 이 패키지는 작업 관리자, 예약 스케줄러 또는 수업 시간표와 같은 시간 기반 계획이 필요한 앱에 적합합니다. 플러터 프로젝트에 원활하게 통합되며, 앱 디자인에 맞게 유연한 스타일링 옵션을 제공합니다. 소스 코드는 투명성과 기여를 위해 GitHub에서 공개되어 있습니다.
사용 사례
스케줄링 애플리케이션
작업 및 이벤트 관리
교육 시간표
예약 예약 시스템
일일 계획 인터페이스
주요 기능
뷰 간의 애니메이션 전환
일 및 주 보기 지원
사용자 정의 가능한 UI 및 스타일링
Flutter와의 간편한 통합
오픈소스이며 커뮤니티에서 지원합니다
적합한 대상
캘린더 기반 앱을 개발하는 개발자
인터랙티브한 시간 시각화가 필요한 앱
경량 캘린더 위젯이 필요한 프로젝트
투명하고 오픈소스 솔루션을 원하는 팀
유연한 레이아웃 옵션을 찾는 디자이너
고려 사항
특정 플랫폼 최적화에 대한 언급 없음
기본 설정 외에 문서가 제한적
이벤트 데이터를 수동으로 처리해야 합니다
대규모 데이터 세트에 최적화되지 않음
내장된 로컬라이제이션 지원 없음
원본 README
연결된 소스 저장소의 README 원문 스냅샷입니다. 최신 내용은 저장소에서 확인하세요.
📅 Customizable, animated calendar widget including day, week, and month views.
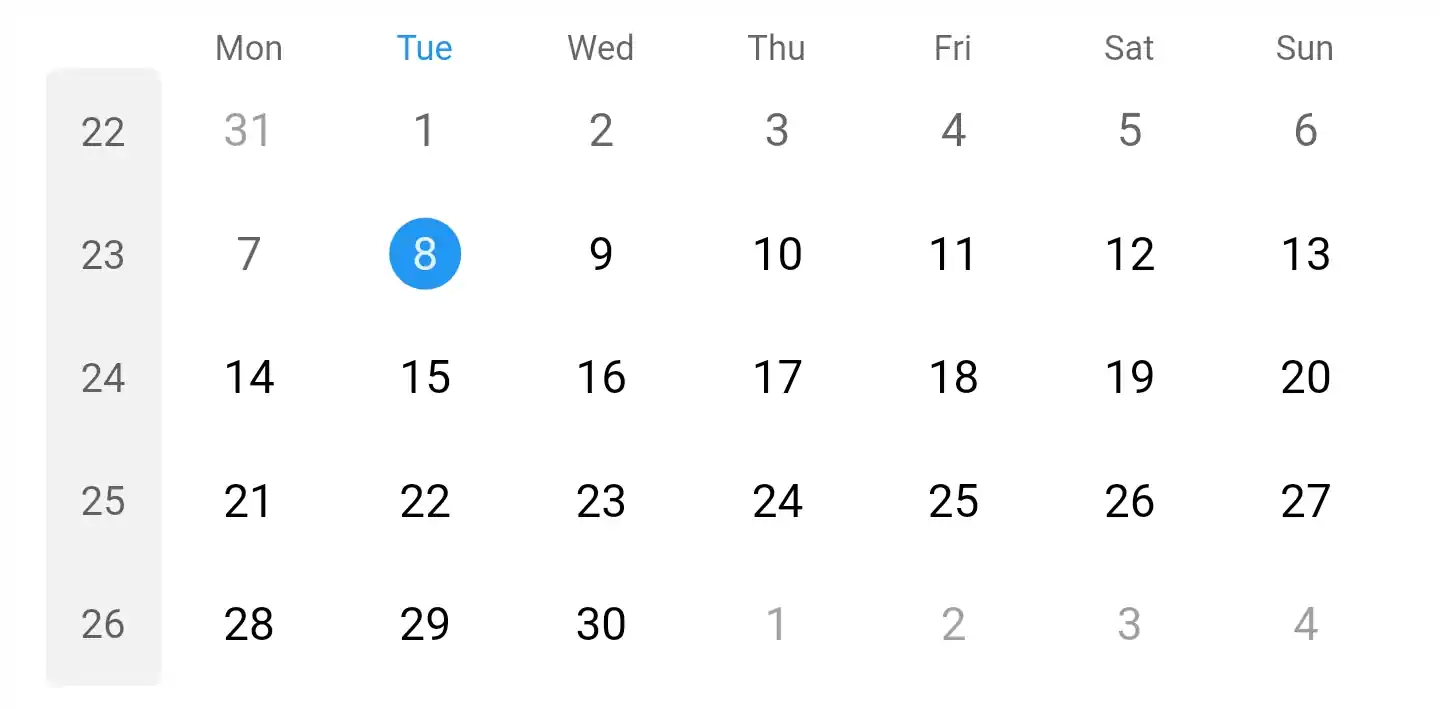
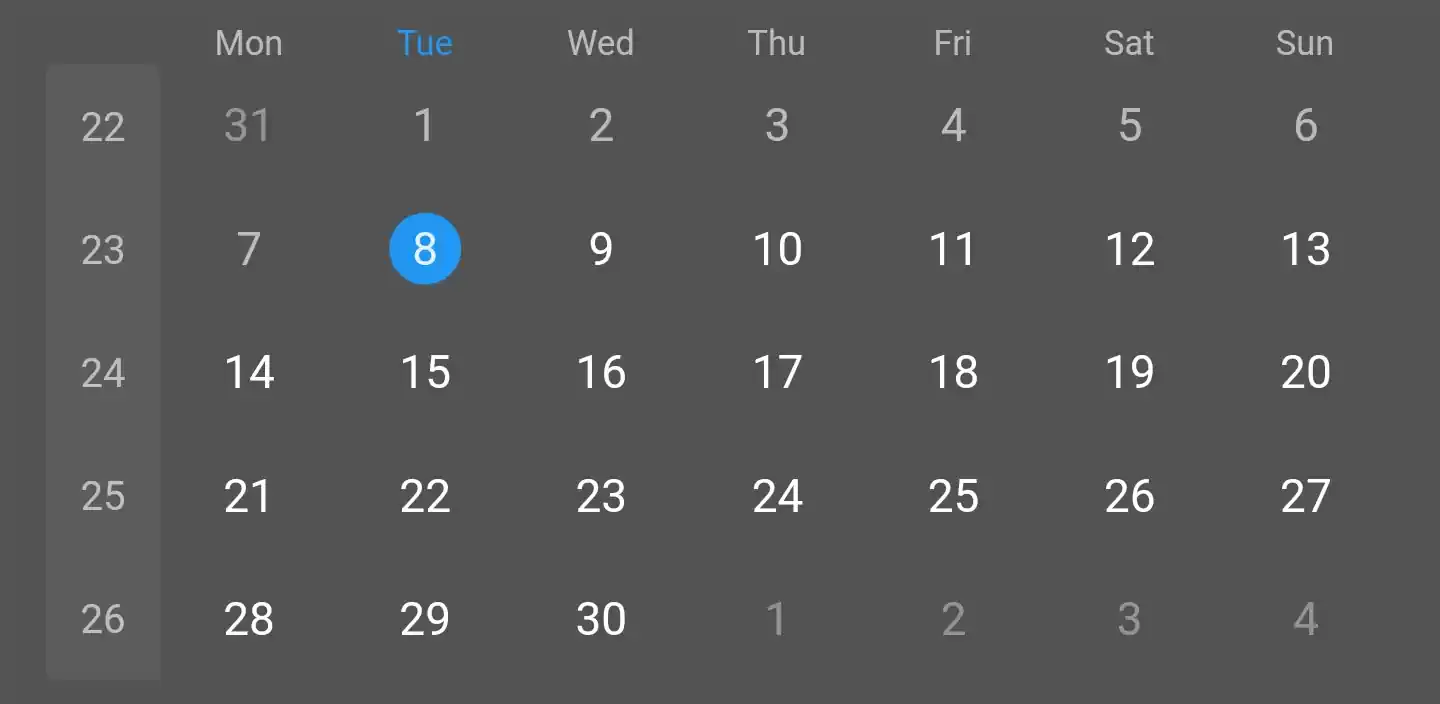
A Timetable widget that displays MonthWidgets in a page view.
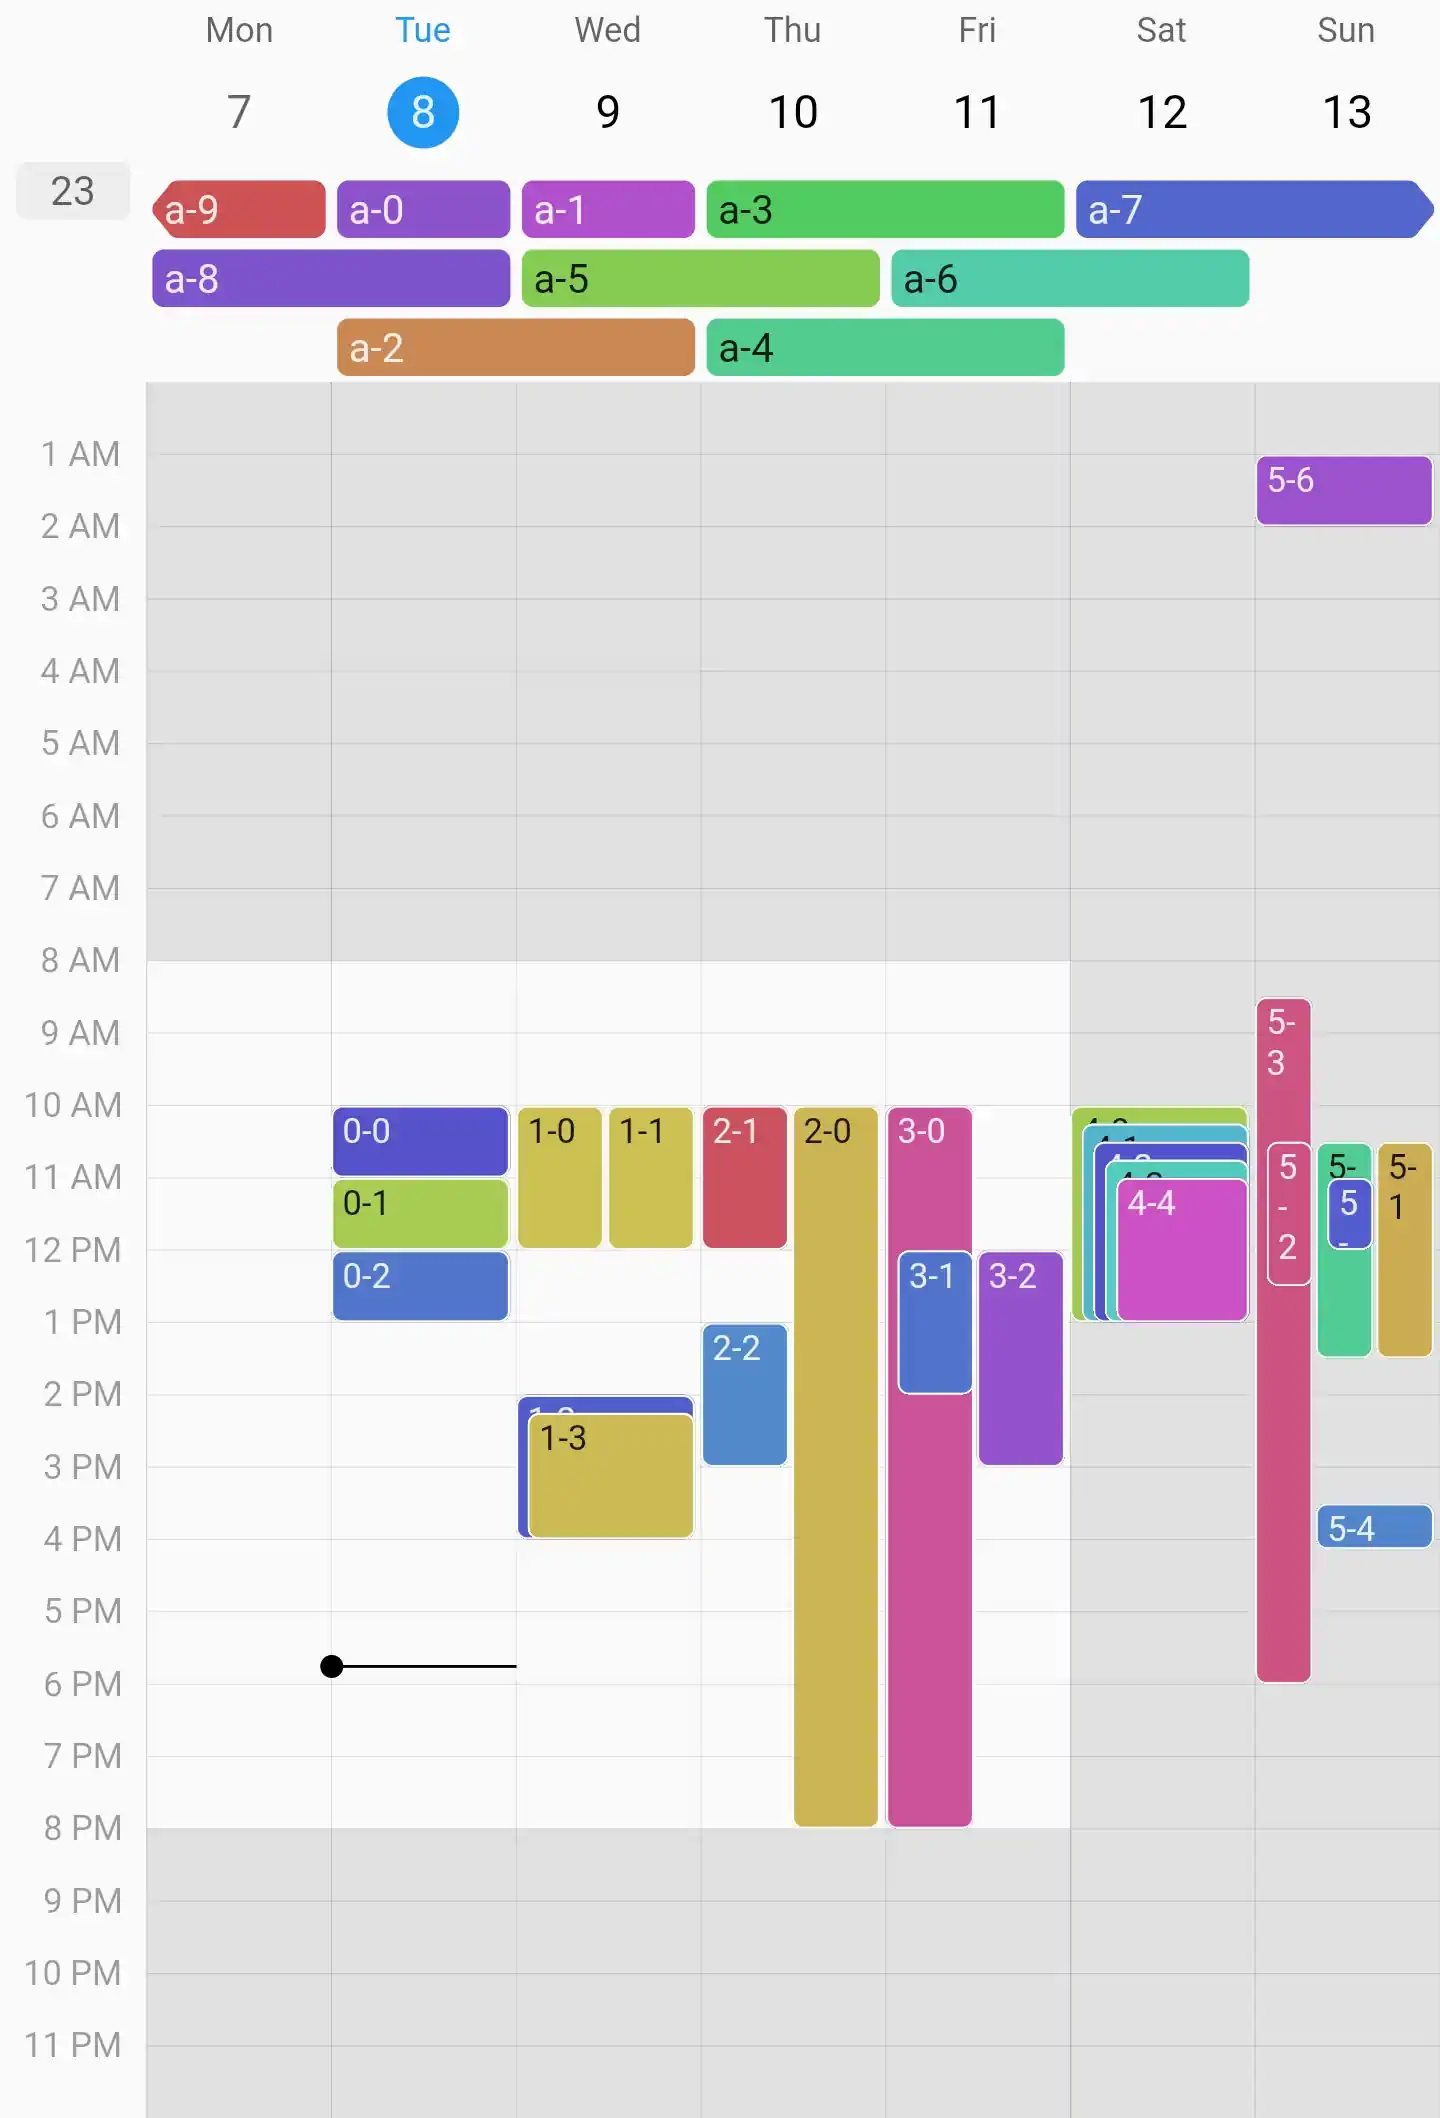
Light Mode
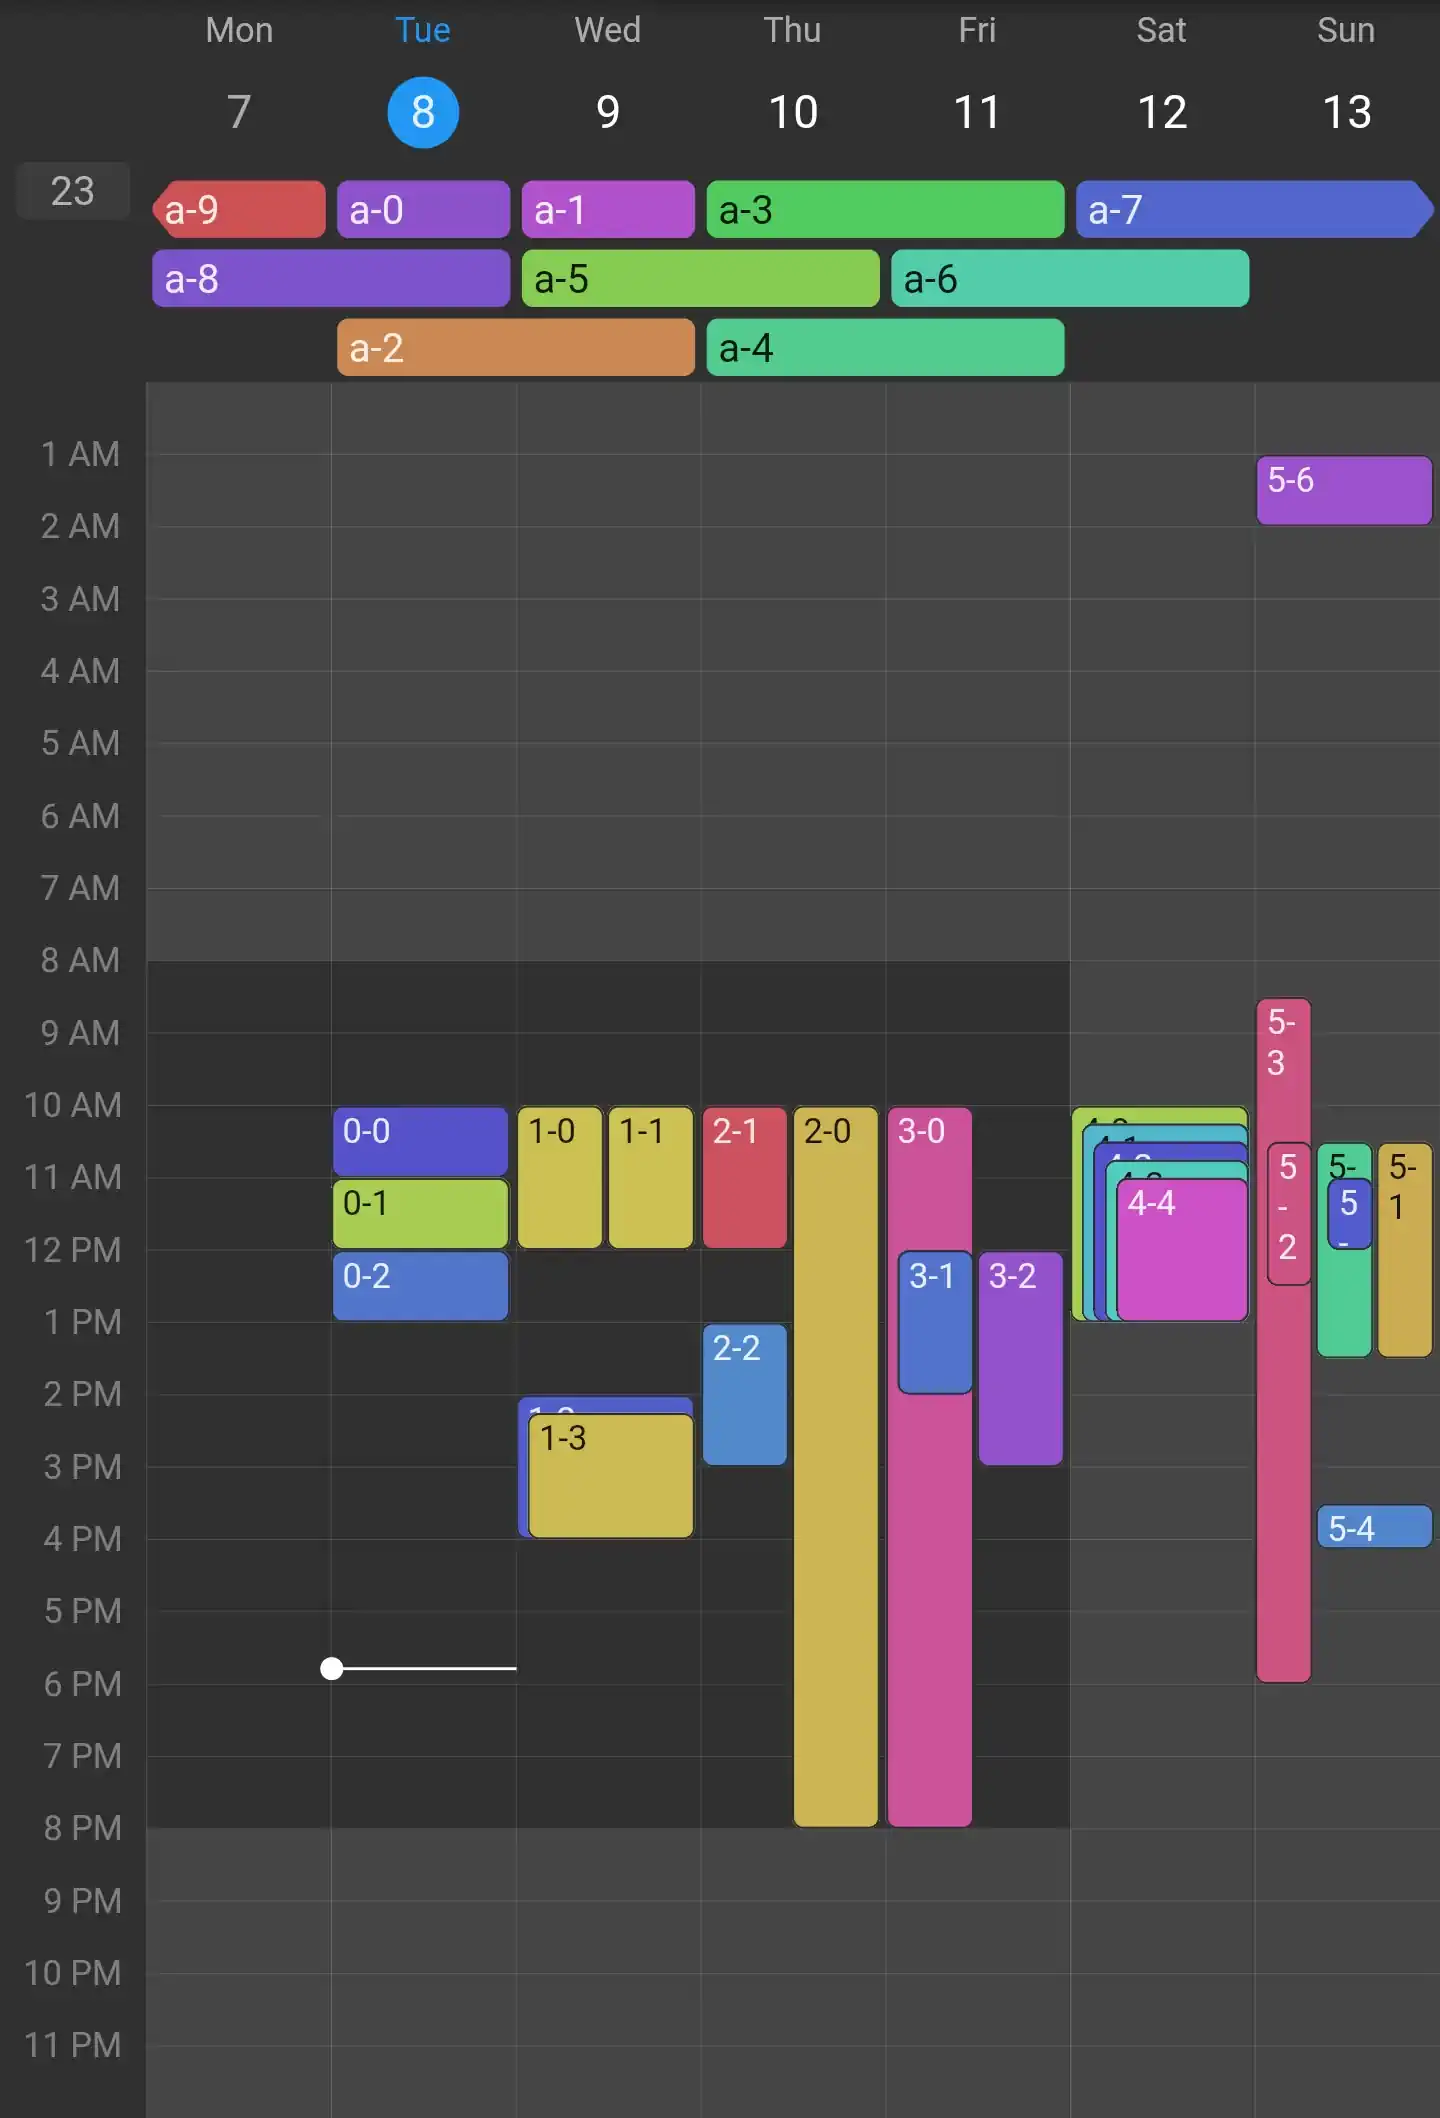
Dark Mode
Getting started
0. General Information
Timetable doesn't care about any time-zone related stuff.
All supplied DateTimes must have isUtc set to true, but the actual time zone is then ignored when displaying events.
Some date/time-related parameters also have special suffixes:
date: A DateTime with a time of zero.
month: A DateTime with a time of zero and a day of one.
Timetable currently offers localizations for Chinese, English, French, German, Hungarian, Italian, Japanese, Portuguese, and Spanish.
Even if you're just supporting English in your app, you have to add Timetable's localization delegate to your MaterialApp/CupertinoApp/WidgetsApp:
Events are provided as instances of Event.
To get you started, there's the subclass BasicEvent, which you can instantiate directly.
If you want to be more specific, you can also implement your own class extending Event.
⚠️ Most of Timetable's classes accept a type-parameter E extends Event.
Please set it to your chosen Event-subclass (e.g., BasicEvent) to avoid runtime exceptions.
In addition, you also need a Widget to display your events.
When using BasicEvent, this can simply be BasicEventWidget.
Similar to a ScrollController or a TabController, a DateController is responsible for interacting with Timetable's widgets and managing their state.
As the name suggests, you can use a DateController to access the currently visible dates, and also animate or jump to different days.
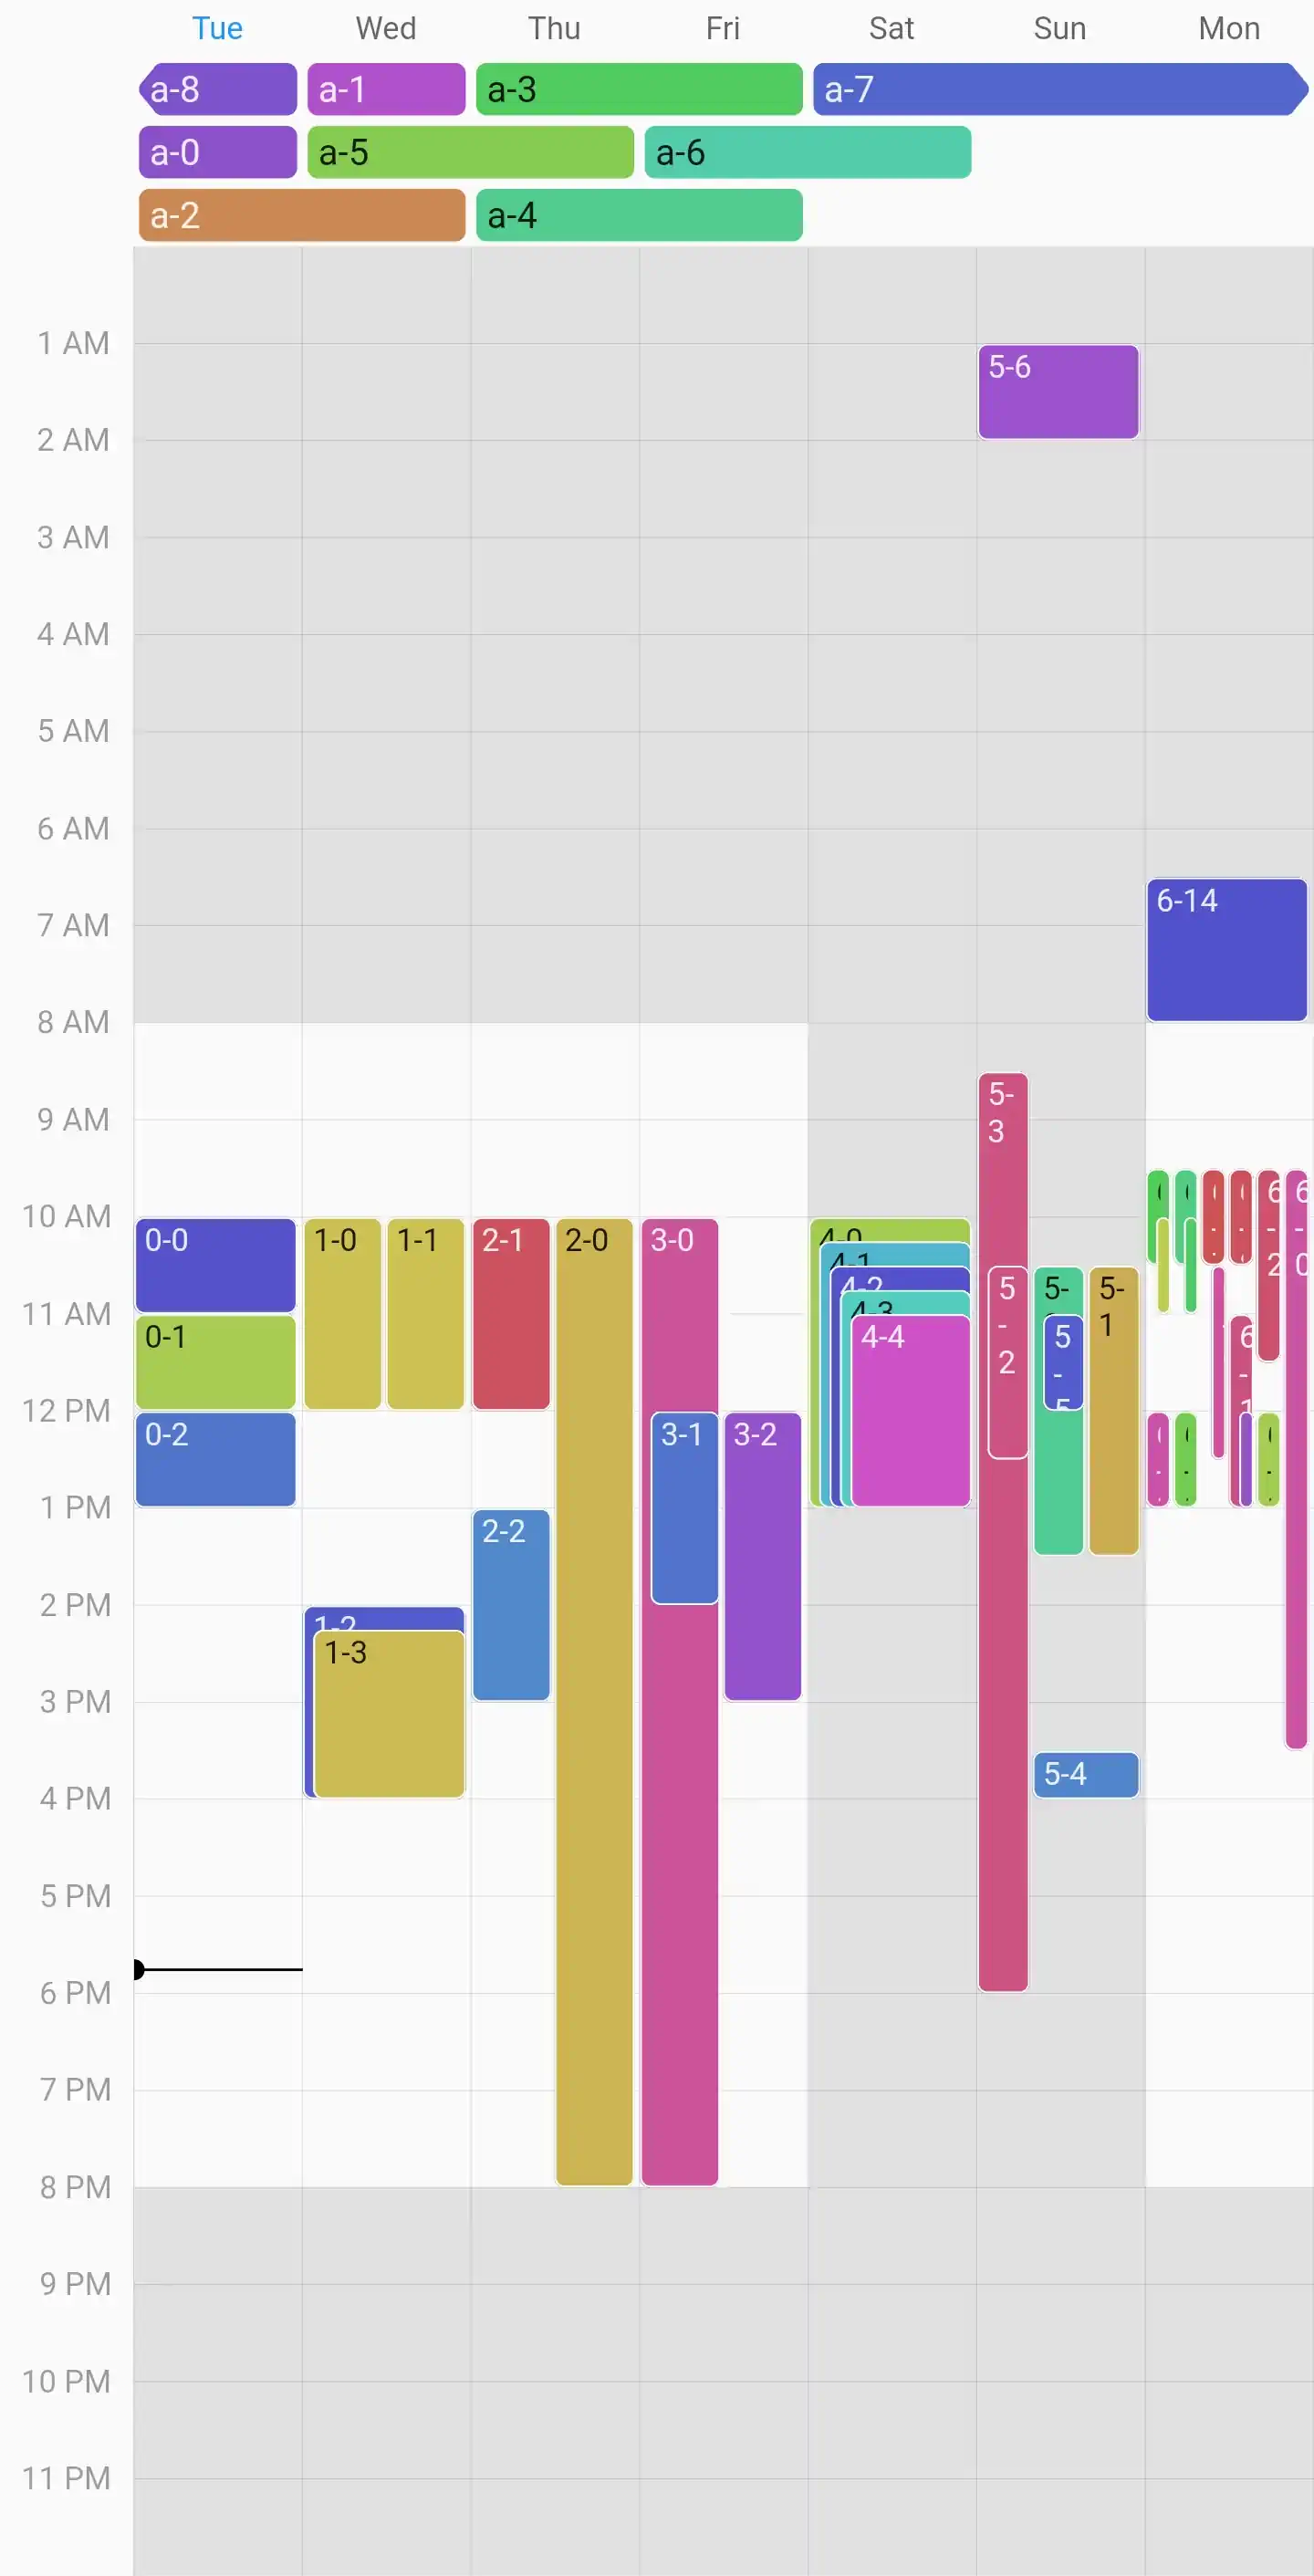
And by supplying a VisibleDateRange, you can also customize how many days are visible at once and whether they, e.g., snap to weeks.
final myDateController = DateController(
  // All parameters are optional and displayed with their default value.
  initialDate: DateTimeTimetable.today(),
  visibleRange: VisibleDateRange.week(startOfWeek: DateTime.monday),
);
VisibleDateRange.days: displays visibleDayCount consecutive days, snapping to every swipeRange days (aligned to alignmentDate) in the range from minDate to maxDate
VisibleDateRange.week: displays and snaps to whole weeks with a customizable startOfWeek in the range from minDate to maxDate
VisibleDateRange.weekAligned: displays visibleDayCount consecutive days while snapping to whole weeks with a customizable firstDay in the range from minDate to maxDate – can be used, e.g., to display a five-day workweek
Similar to the DateController above, a TimeController is also responsible for interacting with Timetable's widgets and managing their state.
More specifically, it controls the visible time range and zoom factor in a MultiDateTimetable or RecurringMultiDateTimetable.
You can also programmatically change those and, e.g., animate out to reveal the full day.
final myTimeController = TimeController(
// All parameters are optional. By default, the whole day is revealed// initially and you can zoom in to view just a single minute.
minDuration: 15.minutes, // The closest you can zoom in.
maxDuration: 23.hours, // The farthest you can zoom out.
initialRange: TimeRange(9.hours, 17.hours),
maxRange: TimeRange(0.hours, 24.hours),
);
This example uses some of time's extension methods on int to create a Duration more concisely.
Timetable already supports light and dark themes out of the box, adapting to the ambient ThemeData.
You can, however, customize the styles of almost all components by providing a custom TimetableThemeData.
TimetableConfig<BasicEvent>(
  theme: TimetableThemeData(
    context,
    startOfWeek: DateTime.monday,
    dateDividersStyle: DateDividersStyle(
      context,
      color: Colors.blue.withOpacity(.3),
      width: 2,
    ),
    dateHeaderStyleProvider: (date) =>
        DateHeaderStyle(context, date, tooltip: 'My custom tooltip'),
    nowIndicatorStyle: NowIndicatorStyle(
      context,
      lineColor: Colors.green,
      shape: TriangleNowIndicatorShape(color: Colors.green),
    ),
    // See the "Theming" section below for more.
  ),
  // Other properties...
)
TimetableThemeData and all component styles provide two constructors each:
The default constructor takes a BuildContext and sometimes a day or month, using information from the ambient theme and locale to generate default values.
You can still override all options via optional, named parameters.
The named raw constructor is usually const and has required parameters for all options.
PartDayDraggableEvent(
// The user started dragging this event.
onDragStart: () {},
// The event was dragged to the given [DateTime].
onDragUpdate: (dateTime) {},
// The user finished dragging the event and landed on the given [DateTime].
onDragEnd: (dateTime) {},
child: MyEventWidget(),
// By default, the child is displayed with a reduced opacity when it's// dragged. But, of course, you can customize this:
childWhileDragging: OptionalChildWhileDragging(),
)
Timetable doesn't automatically show a moving feedback widget at the current pointer position.
Instead, you can customize this and, e.g., snap event starts to multiples of 15 minutes.
Have a look at the included example app where we implemented exactly that by displaying the drag feedback as a time overlay.
final geometryKey = GlobalKey<MultiDateContentGeometry>();
final timetable = MultiDateTimetable(contentGeometryKey: geometryKey);
// Or `MultiDateContent(geometryKey: geometryKey)` if you build your timetable// from the provided, modular widgets.final draggableEvent = PartDayDraggableEvent.forGeometryKeys(
{geometryKey},
// `child`, `childWhileDragging`, and the callbacks are available here as// well.
);
// Alternatively, you can manually convert an offset to a `DateTime:`final dateTime = geometryKey.currentState!.resolveOffset(globalOffset);
You could even offer to drag the event into one of multiple timetables:
Give each timetable its own geometryKey and pass all of them to PartDayDraggableEvent.forGeometryKeys.
In the callbacks, you receive the geometryKey of the timetable that the event is currently being dragged over.
See PartDayDraggableEvent.geometryKeys for the exact behavior.
Time Overlays
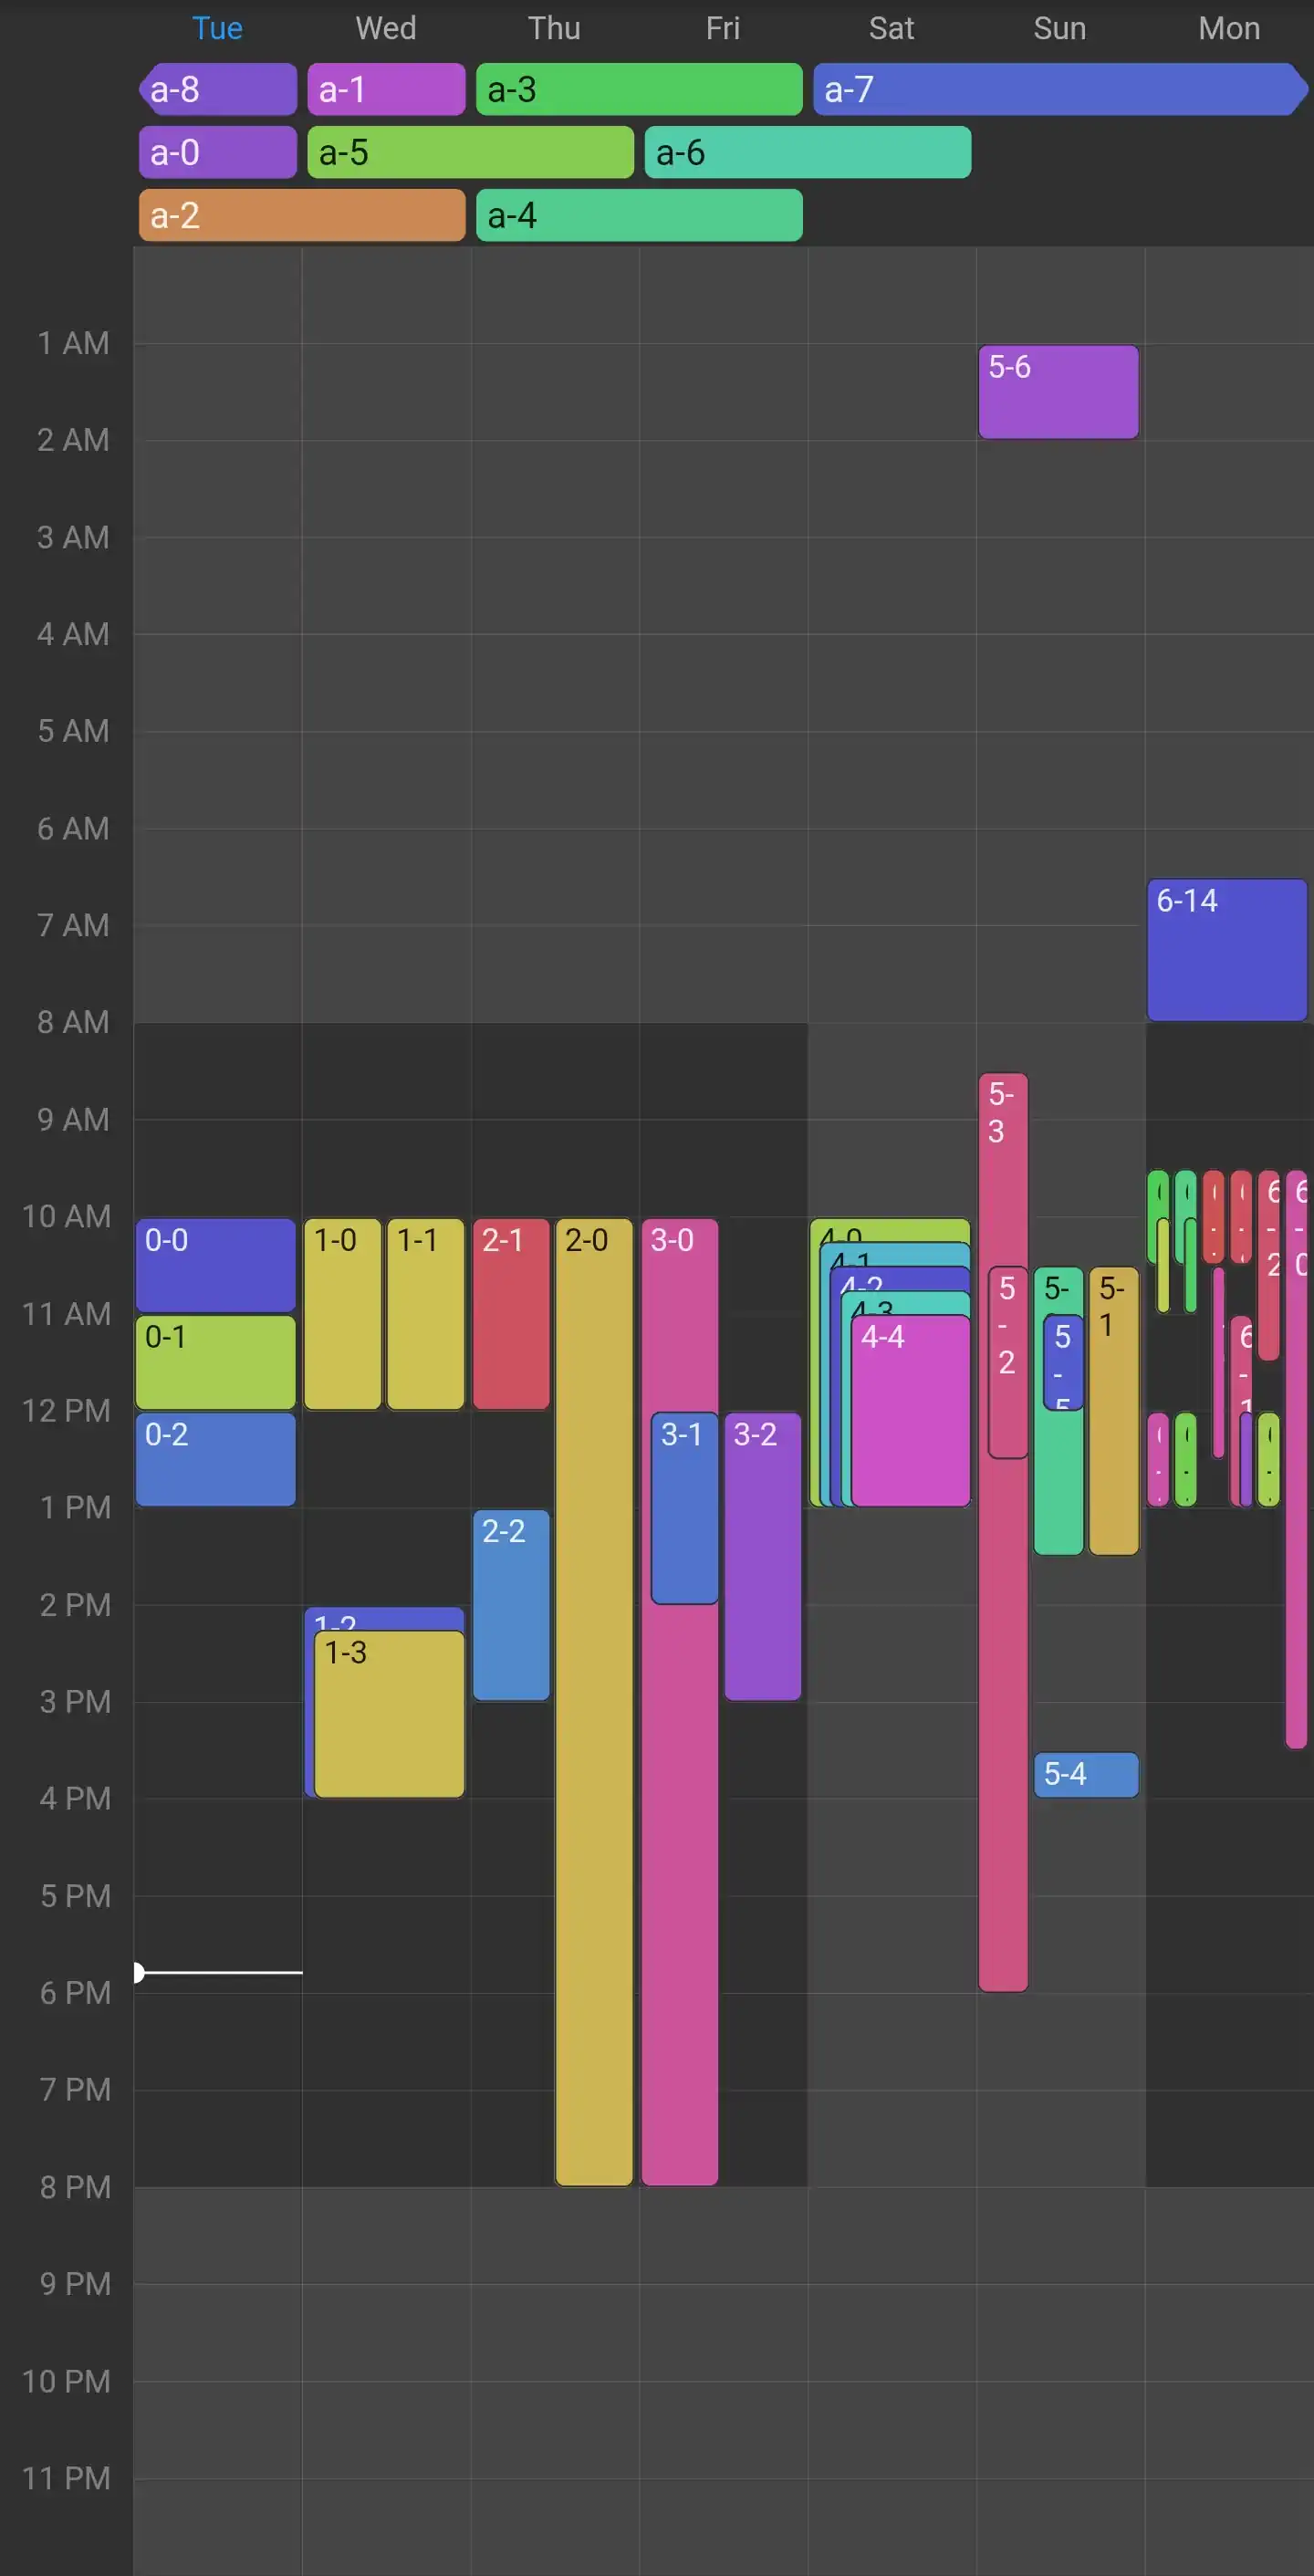
In addition to displaying events, MultiDateTimetable and RecurringMultiDateTimetable can display overlays for time ranges on every day.
In the screenshot above, a light gray overlay is displayed on weekdays before 8 a.m. and after 8 p.m., and over the full day for weekends.
Time overlays are provided similarly to events: Just add a timeOverlayProvider to your TimetableConfig<E> (or use a DefaultTimeOverlayProvider directly).
The provider is just a function that receives a date and returns a list of TimeOverlay for that date.
The example above therefore draws a light gray background before 8 a.m. and after 8 p.m. on every day.