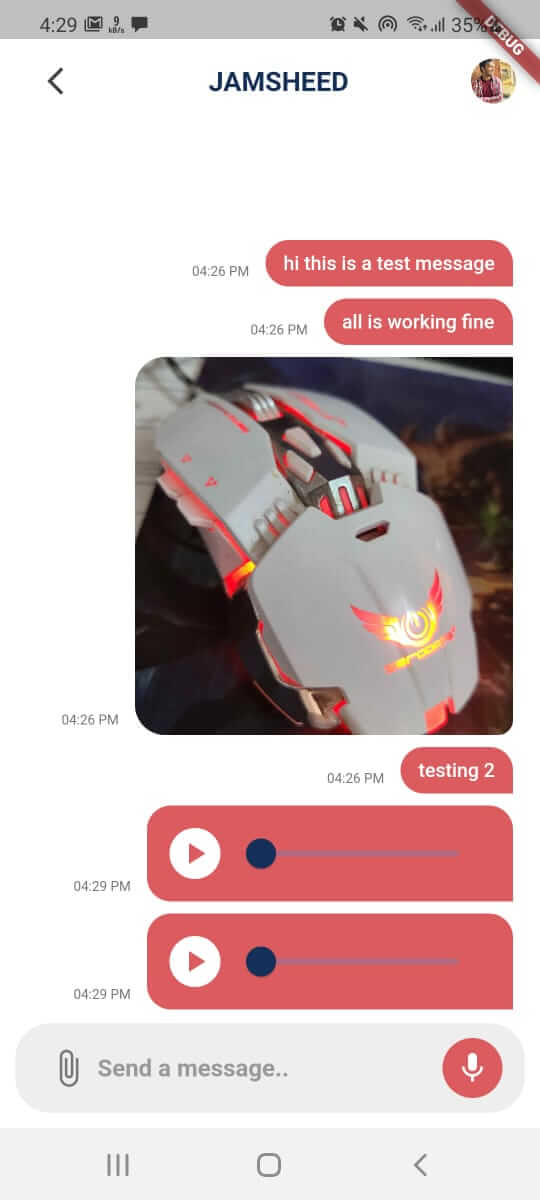
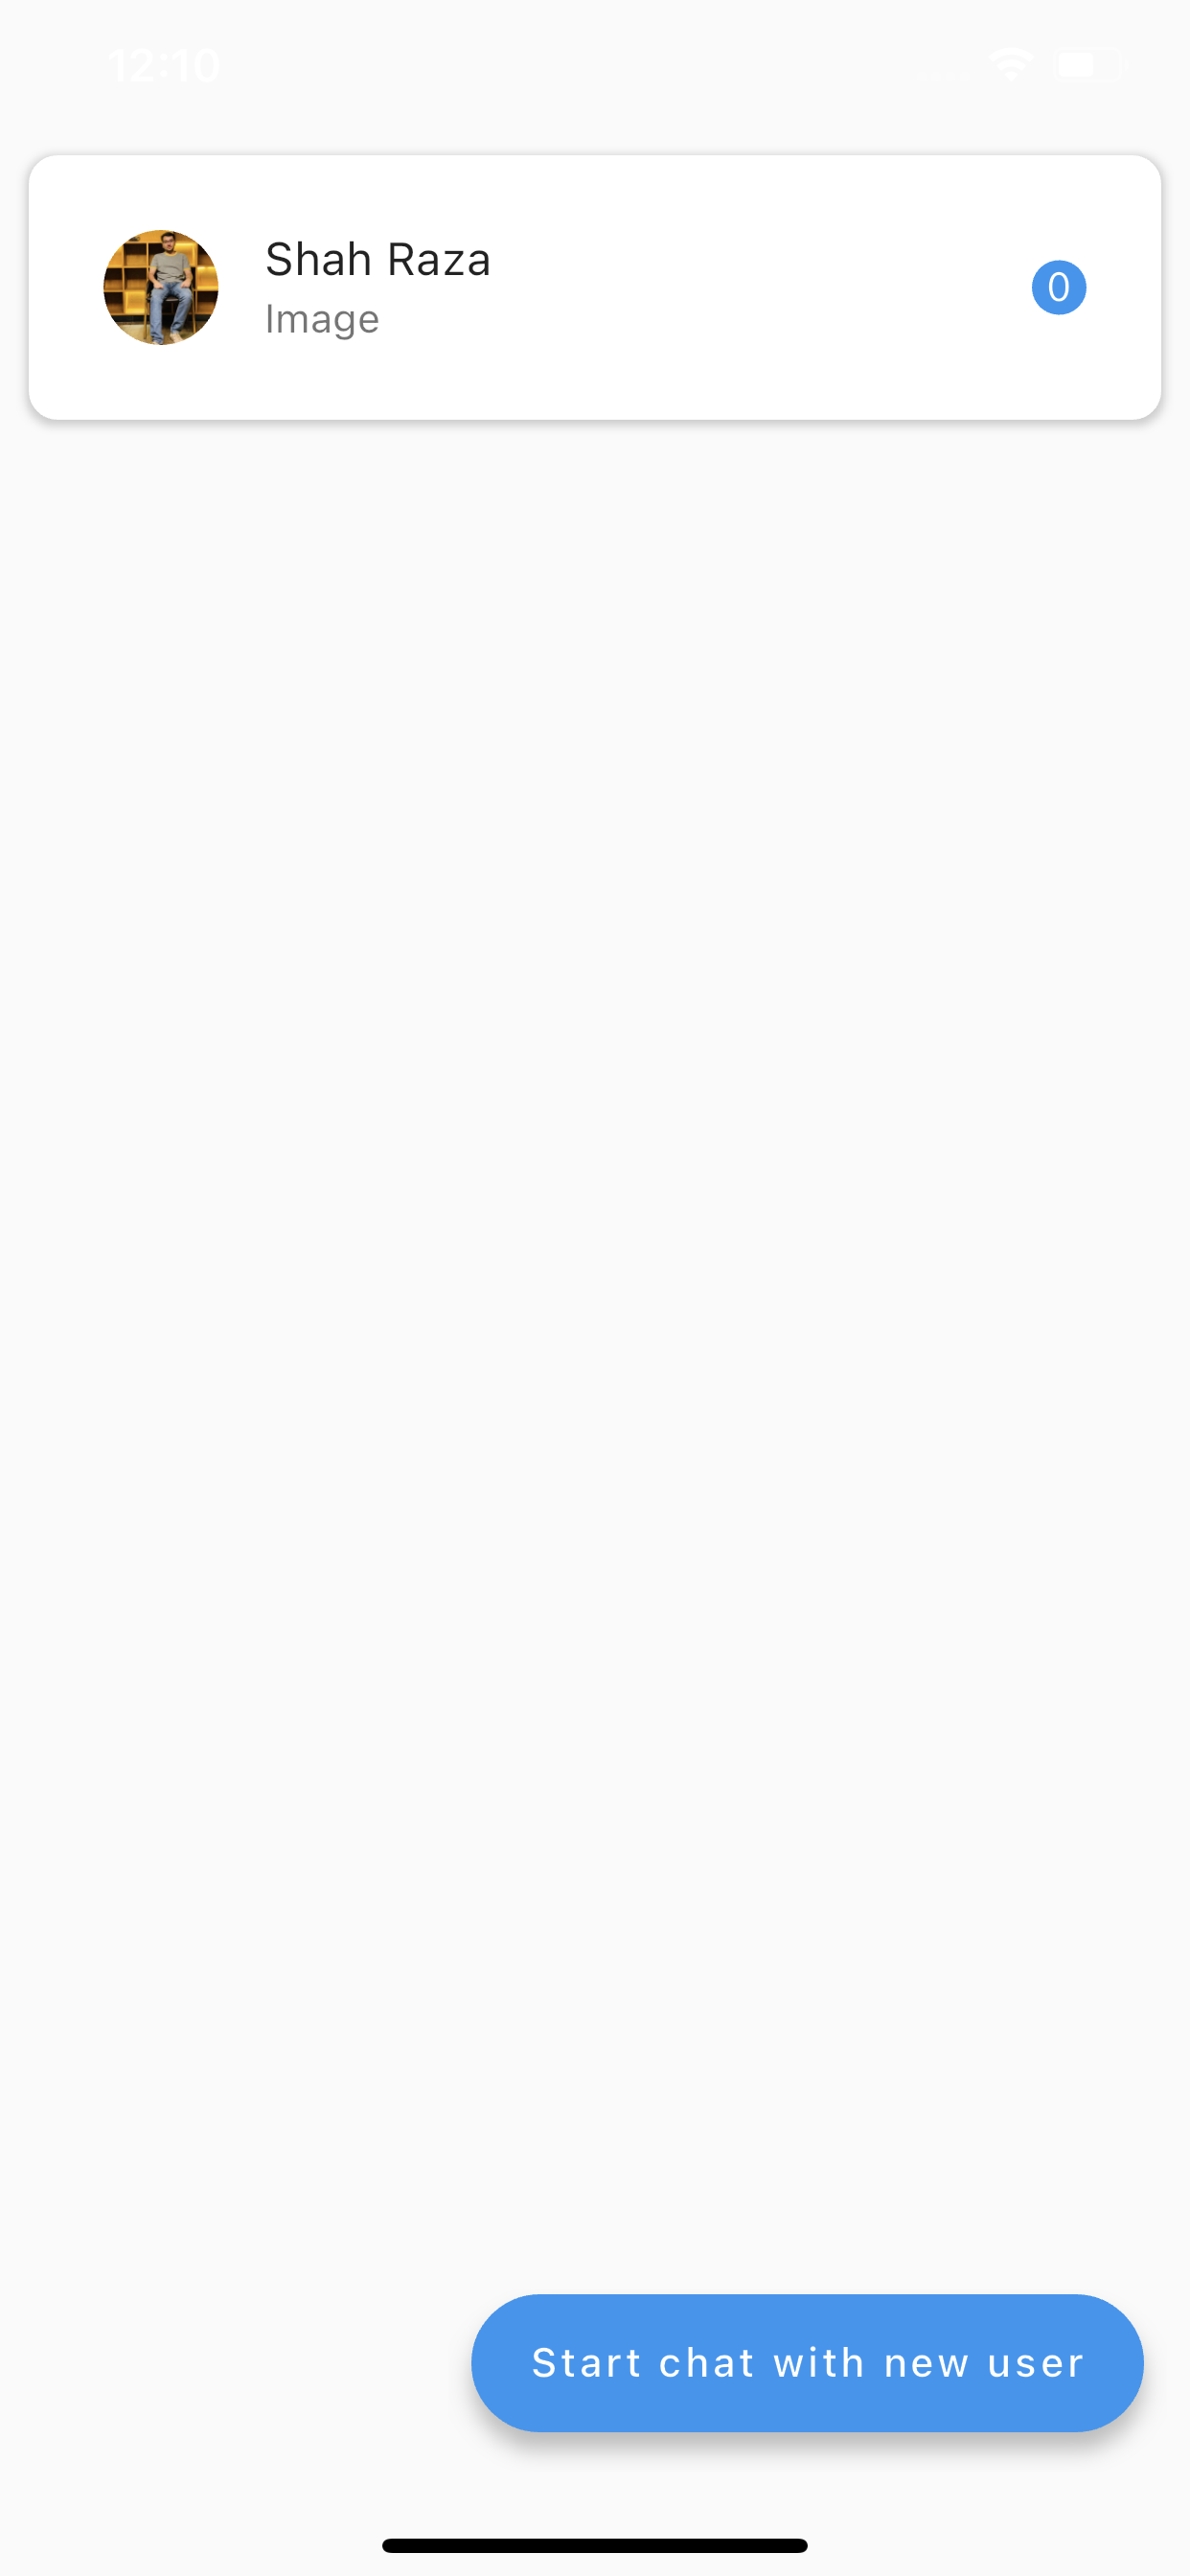
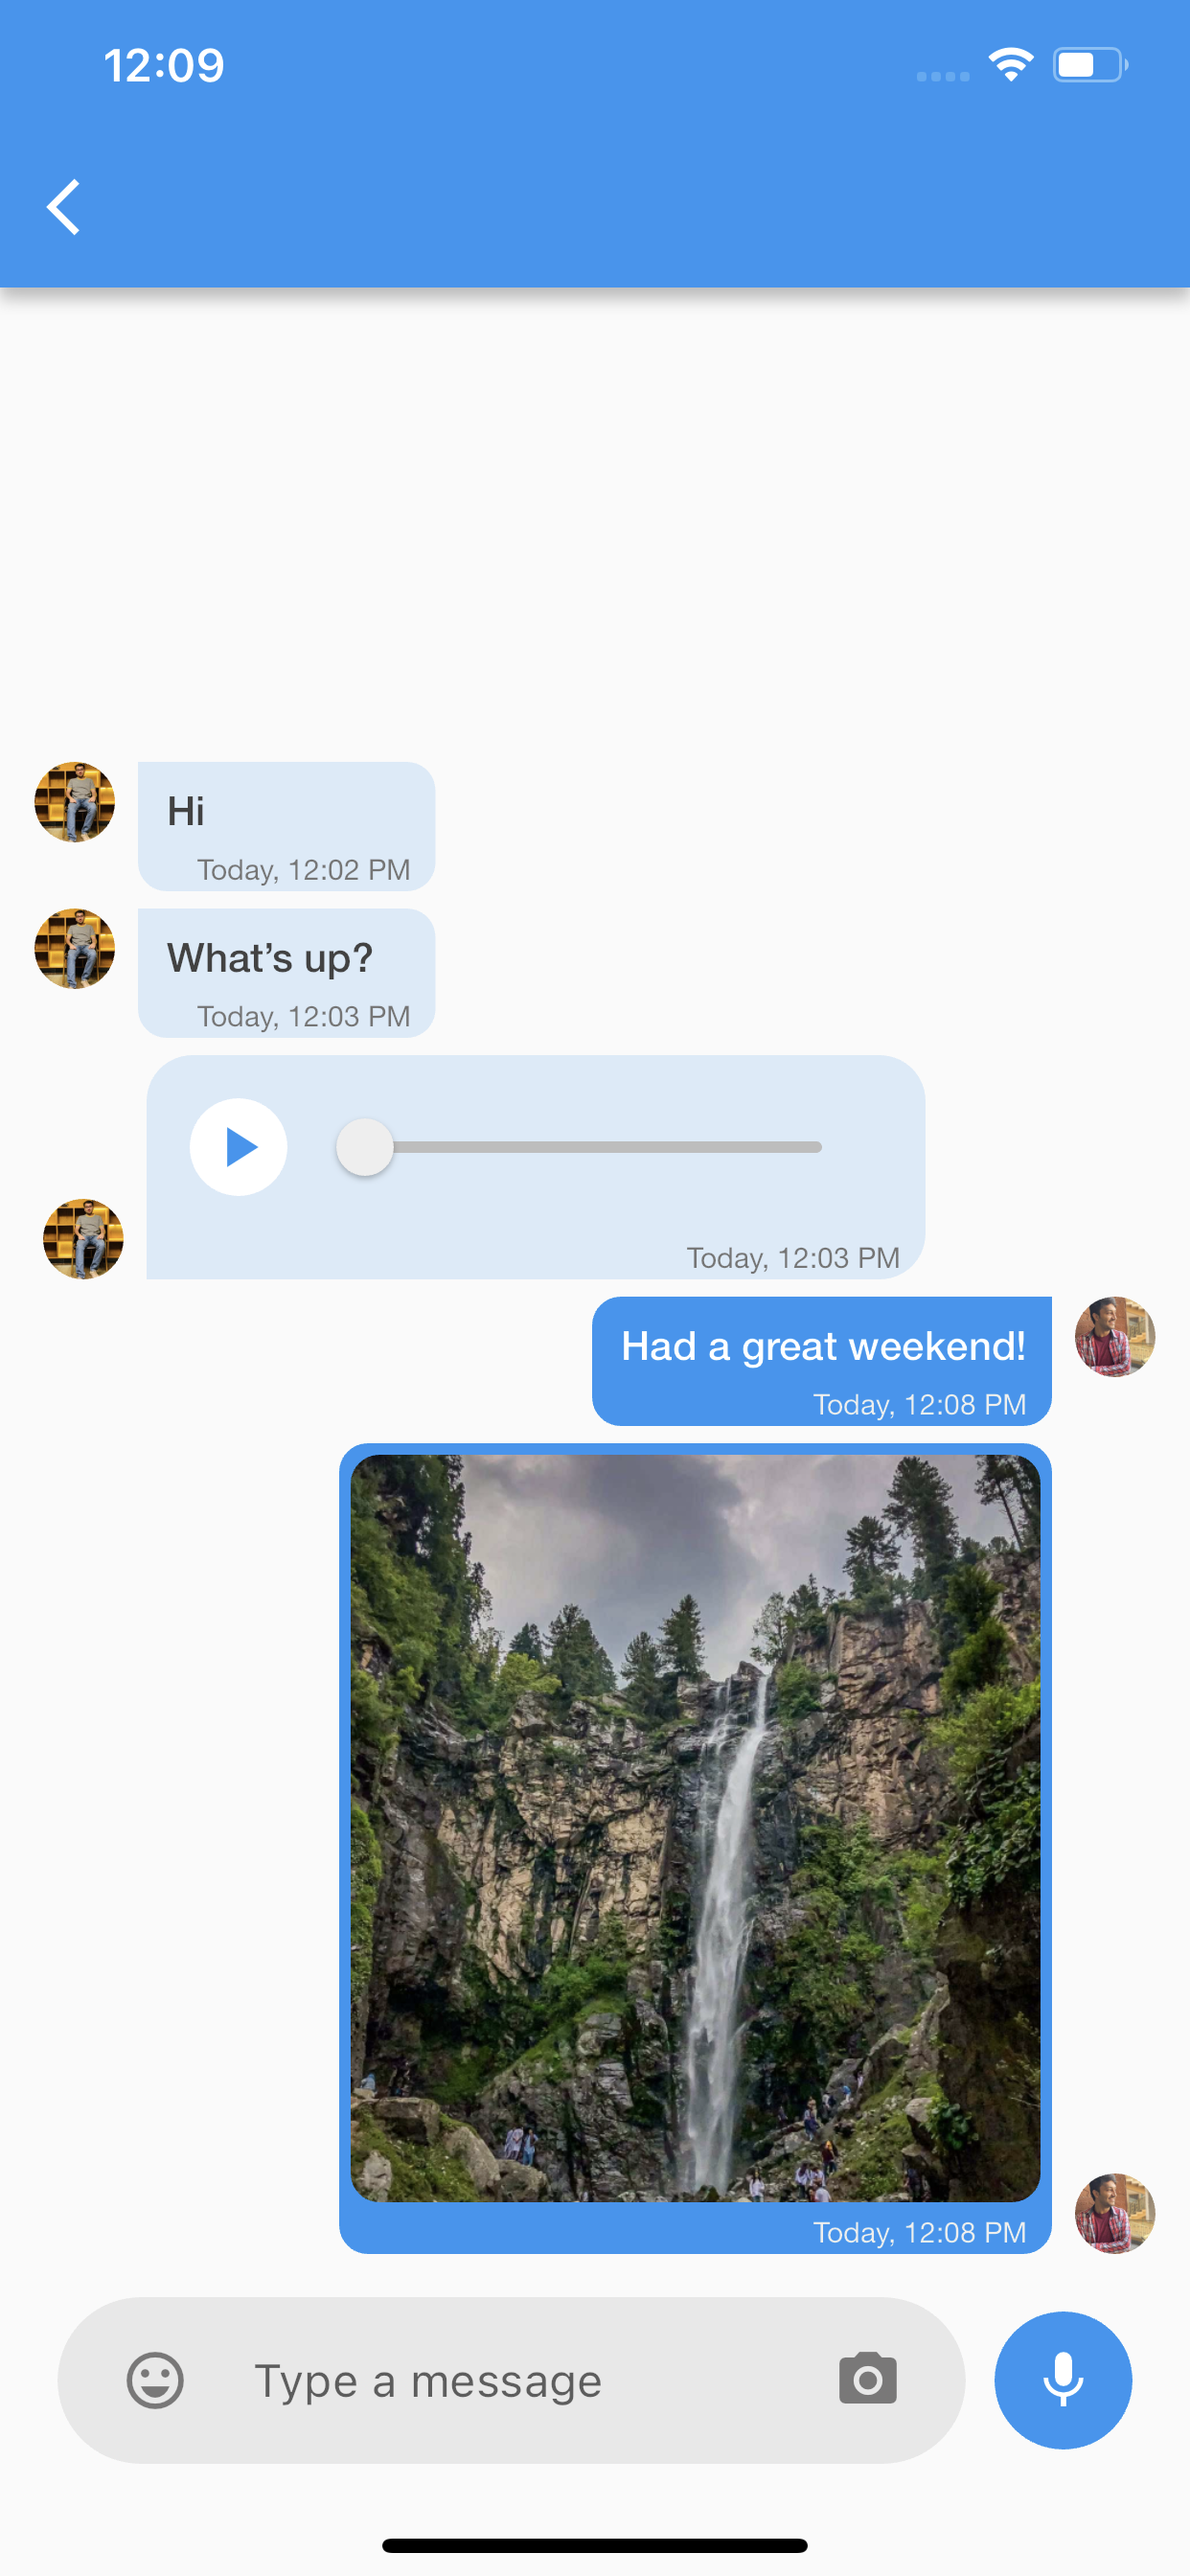
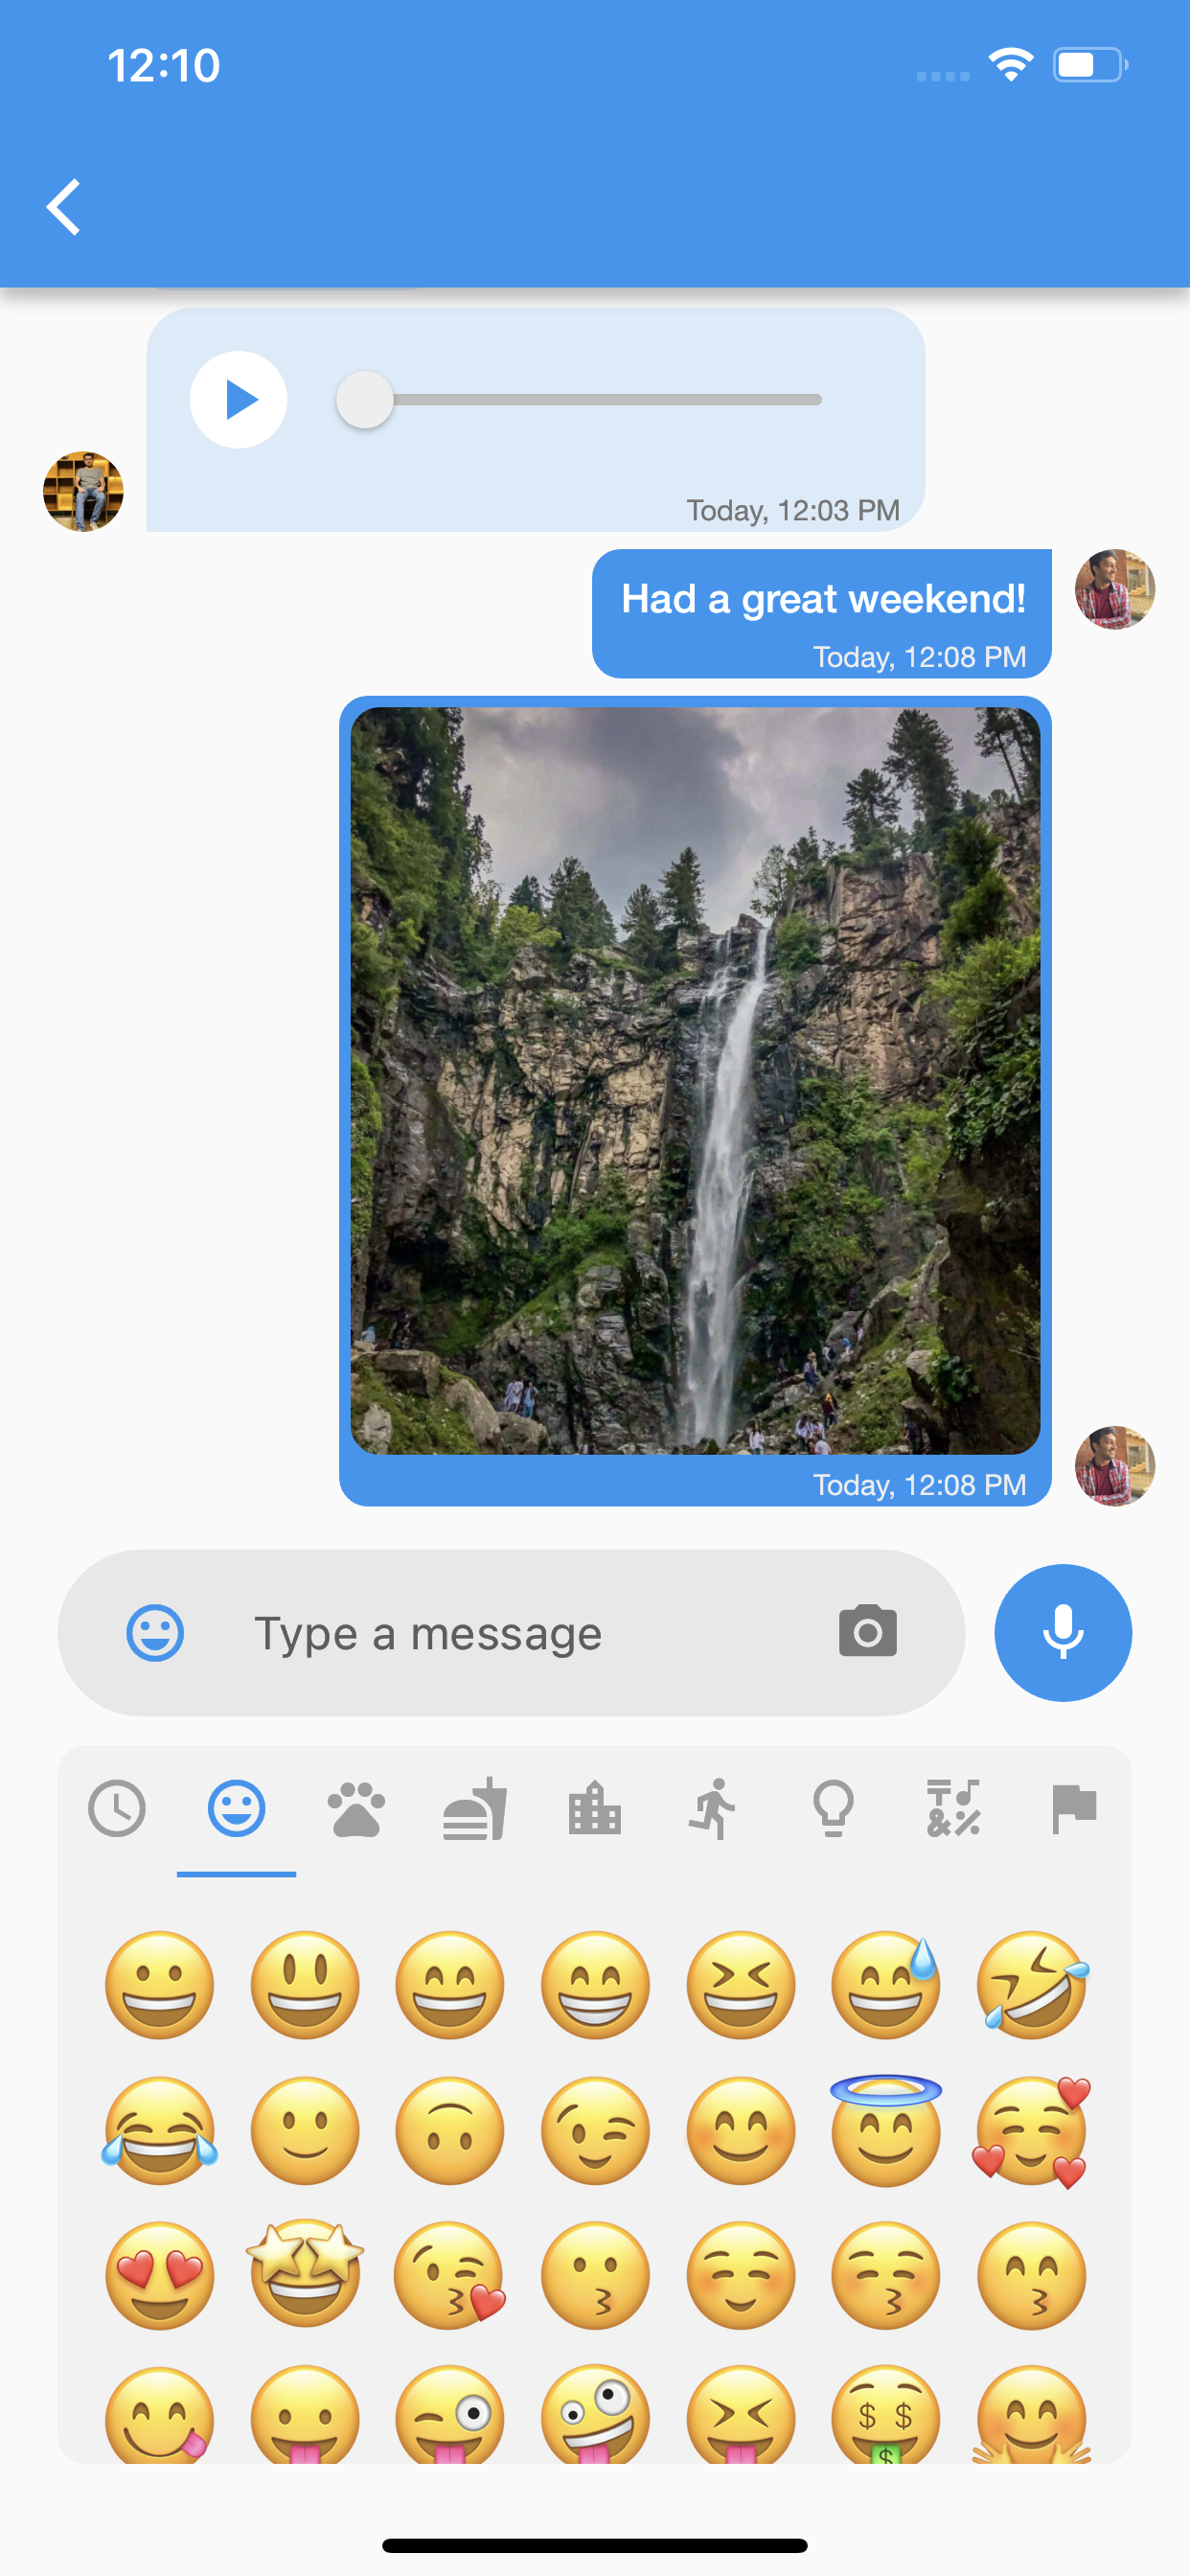
Apptex Chat는 애플리케이션 내 채팅 시스템 구현을 간편하게 만들어주는 Flutter 패키지입니다. 직관적이고 사용자 친화적인 인터페이스를 제공하며, 개발자가 메시지 전송, 입력 표시, 메시지 기록과 같은 채팅 기능을 최소한의 노력으로 관리할 수 있도록 도와줍니다. 보통 한 번의 클릭만으로도 가능합니다. 통합이 쉬운 설계로, 일반적인 채팅 기능을 간소화하여 개발 시간을 단축하면서도 깔끔하고 반응성이 뛰어난 디자인을 유지합니다. 복잡한 커스텀 코드 없이 실시간 통신이 필요한 앱에 이상적입니다.
사용 사례
즉시 메시징 앱
고객 지원 챗 인터페이스
앱 내 피어 투 피어 통신
실시간 협업 도구
내부 팀 메시징 시스템
주요 기능
한 번 클릭 기능 제어
사전 구축된 채팅 UI 컴포넌트
Firebase 또는 기타 백엔드와의 간편한 통합
메시지 기록 및 전달 상태 지원
사용자 정의 가능한 테마 및 스타일
적합한 대상
빠른 채팅 구현을 원하는 개발자
경량 채팅 기능이 필요한 앱
채팅 기능이 있는 MVP를 구축하는 팀
개발자 생산성을 우선 고려하는 프로젝트
고려 사항
제공된 테마 외의 사용자 정의 제한
외부 백엔드 서비스에 의존
내장 인증 없음
고급 기능을 사용하려면 추가 설정이 필요할 수 있습니다
원본 README
연결된 소스 저장소의 README 원문 스냅샷입니다. 최신 내용은 저장소에서 확인하세요.
This package is a powerful and versatile solution for implementing real-time chat functionality in your Flutter applications. Built on Firebase Firestore and Firebase Cloud, this package provides a unique and pre-designed chatting system with features such as push notifications and a customizable theme for the Inbox Screen and Chat Screen.
Platform Tested : Result OK
Android
iOS
macOS
Web
Linux
Windows
✔
✔
:x:
:x:
:x:
:x:
Key Features
Easy to use: The package offers a straightforward implementation process, allowing you to integrate chat functionality seamlessly into your app.
Direct Integration: Firebase Firestore and Firebase Cloud are directly integrated, ensuring reliable and efficient communication between users.
Pre-Build UI: The package comes with a pre-built user interface for the chat screens, eliminating the need for extensive design work.
Start Chat with a Single Function: Initiating a chat is as simple as calling a single function, enabling users to connect and communicate quickly.
Customizable Themes: Both the Home Screen and Chat Screen can be customized to match your app's design and branding.
Gallery
Installation
To get started, add the following dependency to your pubspec.yaml file:
dependencies:apptex_chat:^2.0.0
Then, run flutter pub get to install the package.
Usage
Step 1 : Firebase Configuration
Install Firebase in your project
Download google-services.json and GoogleService-Info.plist file for your project from firebase.
Inilize firebase in the main function.
Step 2 : User Authentication
To enable chat functionality, you need to authenticate users. When a user signs up or logs in, you can pass their information to AppTexChat using the initChat method.
// Here you can set the current user to the Apptex chatAppTexChat.instance.initChat(
currentUser: ChatUserModel(
uid: "{uid}",
profileUrl: "{Profile url}",
name: "{Currect User Name}",
fcmToken: "{Fcm Token}", //Pass empty string if you don't have fcm token
),
);
Replace Current User Name, uid, profile URL, and Fcm Token with the corresponding values for the user.
Step 3 : Starting a Chat
To start a chat with another user, call the startNewConversationWith function:
//Here you need to pass the other user's infoAppTexChat.instance.startNewConversationWith(
ChatUserModel(
uid: "Other user uid",
profileUrl: 'Other user profile',
name: 'Other user name',
fcmToken: 'Other user fcm token',
),
);
Show Conversations on Inbox Screen
To see a list of all the conversations, use the ConversationsScreen widget. It has a builder parameter which gives you the flexibility to list the conversation according to your app's design.
To see messages of a specific conversation, use the ChatScreen widget. It has an appBarBuilder(required) and
bubbleBuilder(optional) parameter which gives you the flexibility to create custom appbar and chat bubbles according to your app's design.
ChatScreen(
 conversationModel: conversationModel,
 showMicButton: false, //It is true by default, set it to false if you don't want voice messages
 appBarBuilder: ((currentUser, otherUser) => AppBar()), //Builder to create custom AppBar
);