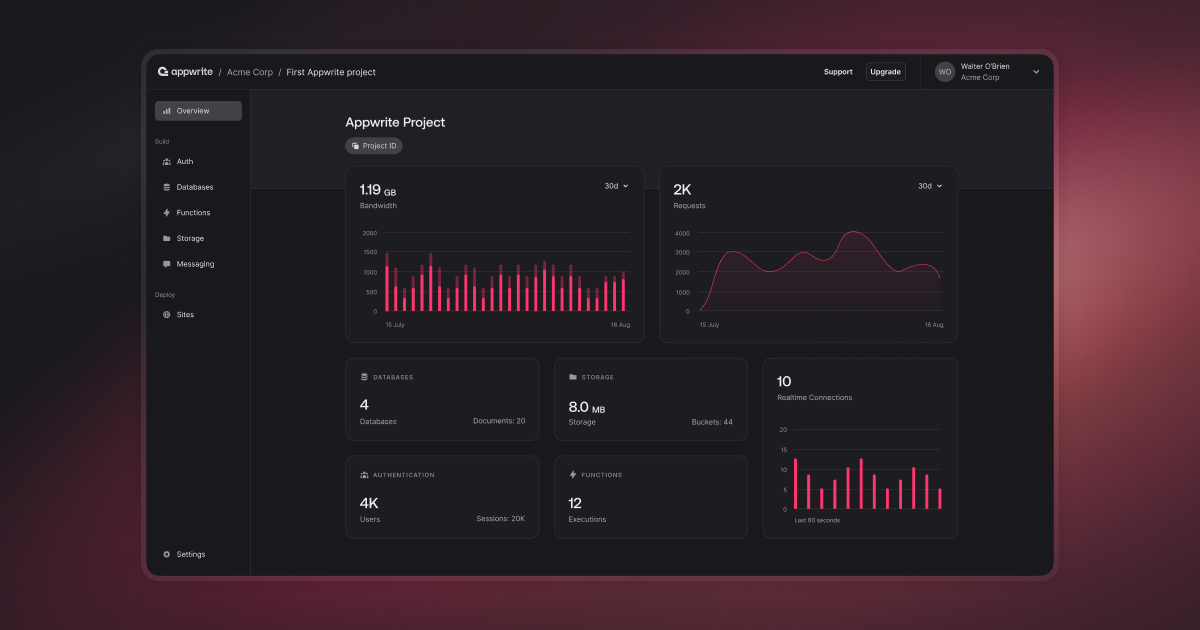
Appwrite ist ein Open-Source-Backend-Server, der komplexe und wiederholende Entwicklungsarbeiten hinter einer sehr einfachen REST-API abstrahiert und vereinfacht.
Aus öffentlichen Paketdaten erstellte Orientierung.
Appwrite ist ein Open-Source-Server für die eigene Hosting-Infrastruktur, der die Backend-Entwicklung mit einer sauberen REST-API vereinfacht. Er übernimmt alltägliche Aufgaben wie Authentifizierung, Dateispeicherung, Datenbankverwaltung und Echtzeit-Updates, sodass Entwickler sich auf die Entwicklung von Anwendungsfeatures konzentrieren können. Das Flutter SDK ermöglicht eine nahtlose Integration in plattformübergreifende Anwendungen für Android, iOS, Web, macOS, Windows und Linux. Mit vollständiger Kontrolle über Bereitstellung und Daten unterstützt Appwrite schnelle Prototypen und skalierbare Produktionsanwendungen ohne Abhängigkeit von Drittanbieterdiensten.
Anwendungsfälle
Erstellen von plattformübergreifenden mobilen und Web-Anwendungen
Benutzer-Authentifizierung und -Autorisierung implementieren
Flutter-Entwickler, die einen leichten Backend suchen
Startups, die kostengünstige Backend-Infrastruktur benötigen
Teams, die volle Kontrolle über ihre Daten wollen
Projekte mit schnellen Entwicklungszyklen
Apps, die Echtzeitfunktionen benötigen
Entwickler vermeiden Vendor-Lock-in
Hinweise
Benötigt Server-Einrichtung und -Wartung
Anfängliche Lernkurve für neue Benutzer
Ressourcenanforderungen für Self-Hosting
Eingeschränkte integrierte Analyse und Überwachung
Abhängig von stabiler Internetverbindung für Remote-Hosting
Möglicherweise ist in der Produktion zusätzliche Sicherheitsverstärkung erforderlich
Original-README
Originaler README-Schnappschuss aus dem verknüpften Quell-Repository. Aktuelle Inhalte finden Sie im Repository.
Appwrite Flutter SDK
This SDK targets Appwrite server version 2.0.x as shipped on Appwrite Cloud. Self-hosted releases can lag behind Cloud — if you run an older self-hosted build, use a matching older SDK from previous releases when APIs differ.
Appwrite is an open-source backend as a service server that abstracts and simplifies complex and repetitive development tasks behind a very simple to use REST API. Appwrite aims to help you develop your apps faster and in a more secure way. Use the Flutter SDK to integrate your app with the Appwrite server to easily start interacting with all of Appwrite backend APIs and tools. For full API documentation and tutorials go to https://appwrite.io/docs
Installation
Add this to your package's pubspec.yaml file:
dependencies:appwrite:^26.2.0
You can install packages from the command line:
flutter pub add appwrite
Getting Started
Add your Flutter Platform
To init your SDK and start interacting with Appwrite services, you need to add a new Flutter platform to your project. To add a new platform, go to your Appwrite console, choose the project you created in the step before, and click the 'Add Platform' button.
From the options, choose to add a new Flutter platform and add your app credentials. Appwrite Flutter SDK currently supports building apps for Android, iOS, Linux, Mac OS, Web and Windows.
If you are building your Flutter application for multiple devices, you have to follow this process for each different device.
Android
For Android first add your app name and package name, Your package name is generally the applicationId in your app-level build.gradle file. By registering your new app platform, you are allowing your app to communicate with the Appwrite API.
In order to capture the Appwrite OAuth callback url, the following activity needs to be added inside the <application> tag, along side the existing <activity> tags in your AndroidManifest.xml. Be sure to replace the [PROJECT_ID] string with your actual Appwrite project ID. You can find your Appwrite project ID in your project settings screen in the console.
<manifest...>
....
<application...>
....
<!-- Add this inside the <application> tag, alongside the existing <activity> tags --><activityandroid:exported="true"android:name="com.linusu.flutter_web_auth_2.CallbackActivity" ><intent-filterandroid:label="flutter_web_auth_2"><actionandroid:name="android.intent.action.VIEW" /><categoryandroid:name="android.intent.category.DEFAULT" /><categoryandroid:name="android.intent.category.BROWSABLE" /><dataandroid:scheme="appwrite-callback-[PROJECT_ID]" /></intent-filter></activity></application></manifest>
iOS
For iOS first add your app name and Bundle ID, You can find your Bundle Identifier in the General tab for your app's primary target in Xcode.
The Appwrite SDK uses ASWebAuthenticationSession on iOS 12+ and SFAuthenticationSession on iOS 11 to allow OAuth authentication. You have to change your iOS Deployment Target in Xcode to be iOS >= 11 to be able to build your app on an emulator or a real device.
In Xcode, open Runner.xcworkspace in your app's ios folder.
To view your app's settings, select the Runner project in the Xcode project navigator. Then, in the main view sidebar, select the Runner target.
For macOS add your app name and Bundle ID, You can find your Bundle Identifier in the General tab for your app's primary target in Xcode.
The Appwrite SDK uses ASWebAuthenticationSession on macOS 10.15+ to allow OAuth authentication. You have to change your macOS Deployment Target in Xcode to be macOS >= 10.15 to be able to build your app for macOS.
Web
Appwrite 0.7, and the Appwrite Flutter SDK 0.3.0 have added support for Flutter Web. To build web apps that integrate with Appwrite successfully, all you have to do is add a web platform on your Appwrite project's dashboard and list the domain your website will use to allow communication to the Appwrite API.
For web in order to capture the OAuth2 callback URL and send it to the application using JavaScript postMessage(), you need to create an html file inside ./web folder of your Flutter project. For example auth.html with the following content.
<!DOCTYPE html><title>Authentication complete</title><p>Authentication is complete. If this does not happen automatically, please close the window.</p><script>functionpostAuthenticationMessage() {
const message = {
'flutter-web-auth-2': window.location.href
};
if (window.opener) {
window.opener.postMessage(message, window.location.origin);
window.close();
} elseif (window.parent && window.parent !== window) {
window.parent.postMessage(message, window.location.origin);
} else {
localStorage.setItem('flutter-web-auth-2', window.location.href);
window.close();
}
}
postAuthenticationMessage();
</script>
Redirection URL passed to the authentication service must be the same as the URL on which the application is running (schema, host, port if necessary) and the path must point to created HTML file, /auth.html in this case. The callbackUrlScheme parameter of the authenticate() method does not take into account, so it is possible to use a schema for native platforms in the code.
Flutter Web Cross-Domain Communication & Cookies
While running Flutter Web, make sure your Appwrite server and your Flutter client are using the same top-level domain and the same protocol (HTTP or HTTPS) to communicate. When trying to communicate between different domains or protocols, you may receive HTTP status error 401 because some modern browsers block cross-site or insecure cookies for enhanced privacy. In production, Appwrite allows you set multiple custom-domains for each project.
Windows
For Windows add your app name and package name, Your package name is generally the name in your pubspec.yaml file. If you cannot find the correct package name, run the application in windows, and make any request with proper exception handling, you should get the application id needed to add in the received error message.
Init your SDK
Initialize your SDK with your project ID, which can be found in your project settings page.
If using a self-hosted instance, you will also need to set your Appwrite endpoint using the setEndpoint method. Before starting to send any API calls to your new Appwrite instance, make sure your Android or iOS emulators has network access to the Appwrite server hostname or IP address.
When trying to connect to a local Appwrite instance from an emulator or a mobile device, localhost is the hostname for the device or emulator and not your machine. You should replace localhost with your machine's private IP as the Appwrite endpoint's hostname (e.g. 192.168.1.100). You can also use a service like ngrok to proxy the Appwrite API.
Make Your First Request
Once your SDK object is set, access any of the Appwrite services and choose any request to send. Full documentation for any service method you would like to use can be found in your SDK documentation or in the [API References](https://appwrite.io/docs) section.
Account account = Account(client);

User user = await account.create(
  userId: ID.unique(),
  email: 'email@example.com',
  password: 'password',
  name: 'Walter O'Brien',
);
The Appwrite Flutter SDK raises AppwriteException object with message, type, code and response properties. You can handle any errors by catching AppwriteException and present the message to the user or handle it yourself based on the provided error information. Below is an example.
try {
User user = await account.create(...);
} onAppwriteExceptioncatch(e) {
// Handle the exception
}
Learn more
You can use the following resources to learn more and get help
This library is auto-generated by Appwrite custom SDK Generator. To learn more about how you can help us improve this SDK, please check the contribution guide before sending a pull-request.