Aus öffentlichen Paketdaten erstellte Orientierung.
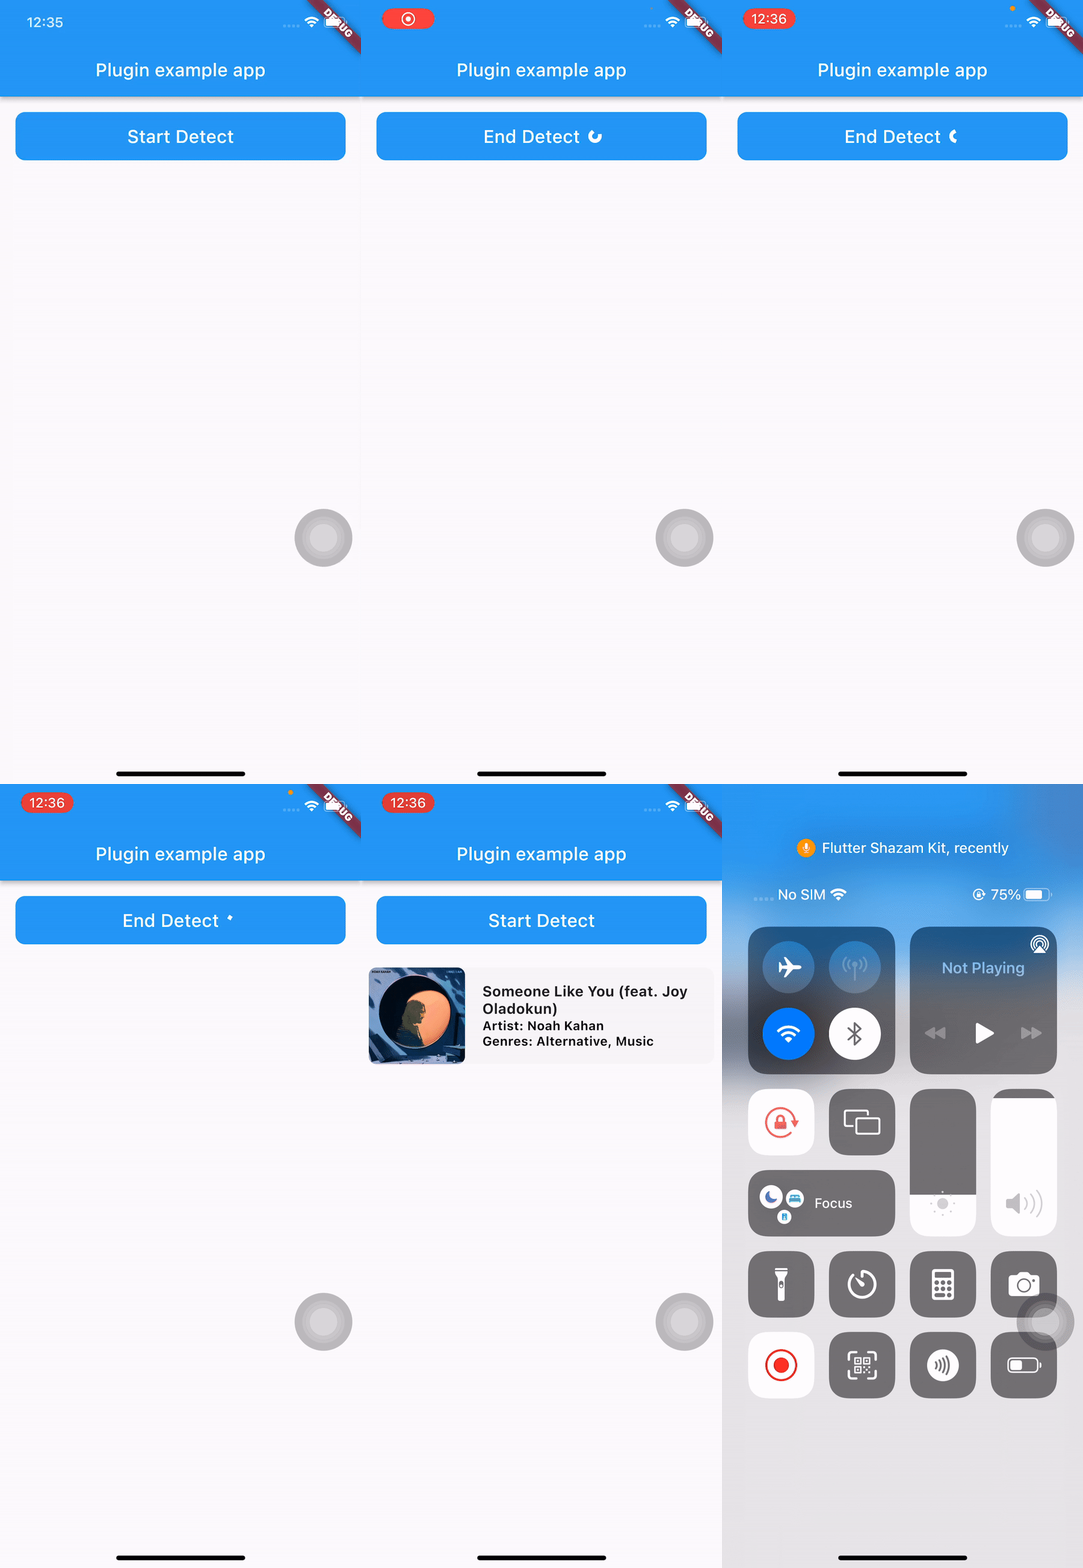
flutter_shazam_kit ist ein Flutter-Plugin, das die Audioerkennung ermöglicht, indem es das Mikrofon des Geräts nutzt, um Musik in Echtzeit zu identifizieren. Es integriert die leistungsstarke Musikdetektionstechnologie von Shazam in Flutter-Anwendungen und ermöglicht es Benutzern, Musik in ihrer Umgebung zu entdecken. Das Plugin unterstützt sowohl Android als auch iOS und bietet Entwicklern eine nahtlose Erfahrung beim Erstellen von Musikentdeckungsfunktionen. Mit minimalem Setup über pub add bietet es eine einfache API zum Starten der Songerkennung und Abrufen von Metadaten wie Titel, Künstler und Album. Ideal für Apps, die sich auf Musikentdeckung oder soziales Teilen konzentrieren.
Anwendungsfälle
Musikentdeckung in Echtzeit
Integration von Shazam-ähnlicher Funktionalität
Musik-Tagging in sozialen Medien
Audio-basierte Suchfunktionen
Live-Event-Musikerkennung
Hauptmerkmale
Echtzeit-Song-Erkennung
Unterstützt Android und iOS
Einfache Integration mit pub add
Holt Song-Metadaten ab
Verwendet das Mikrofon des Geräts
Geeignet für
Musikentdeckungs-Apps
Soziale Medienplattformen
Event-Apps
Audioerkennungstools
Entwicklerprototyping
Hinweise
Mikrofonberechtigung erforderlich
Abhängig von der Internetverbindung
Beschränkt auf Shazams Datenbank
Die Hintergrunddetektion kann eingeschränkt sein
Die Genauigkeit hängt von der Audioqualität ab
Original-README
Originaler README-Schnappschuss aus dem verknüpften Quell-Repository. Aktuelle Inhalte finden Sie im Repository.
Flutter Shazam Kit
A plugin that helps you detect songs through your device's microphone
Note:
This plugin depends on Apple's ShazamKit, requires IOS 15 or higher, and requires Android API level 23 (Android 6.0) or higher.
In the early versions of this plugin, I only use ShazamCatalog, it was the default catalog used as library for music detection and I plan to implement CustomCatalog in the future.
Go to this Download Page and download the latest version of ShazamKit for Android, once you have downloaded it, create a new folder called libs inside your android’s app folder and place the .aar file inside that libs folder.
Your android project’s structure should look like this:
Inside your app-level build.gradle, change minSdkVersion to 23 and sync your project again.
minSdkVersion 23
In order to use ShazamCatalog on Android, you need to have an Apple Developer Token to access ShazamKit service provided by Apple, please follow this link for more details.
If you don’t know how to do that, please follow those steps below:
On the top left, click the add button (+), then enter your key name.
Enable Media Services (MusicKit, ShazamKit) checkbox, the click Configure button on the right.
Select the Media ID you created earlier and click Save.
Click Continue and then click Register.
Download the private key (.p8 file) and remember your Key ID.
3/ Generate a Developer Token
Please refer to this link to learn how to generate a developer token.
Due to apple policy, Developer Token can only be valid for up to 6 months. So you should have a remote place to store and refresh your Developer Token once it is generated, you can either use a Backend Server or an alternative solution like Firebase Remote Config or something similar to store, generate and refresh your Developer Token.
For testing purposes you can use the following Node JS snippet or you can use my repository to create it.
Note: This code snippet use the famous jsonwebtoken library so you need to install this library first before using this code snippet.
"use strict";
const fs = require("fs");
const jwt = require("jsonwebtoken");
const privateKey = fs.readFileSync("<YOUR_P8_FILE_NAME>.p8").toString();
const teamId = "<YOUR_TEAM_ID>";
const keyId = "<YOUR_KEY_ID>";
const jwtToken = jwt.sign({}, privateKey, {
algorithm: "ES256",
issuer: teamId,
expiresIn: "180d", // due to apple policy, developer key can only valid for 180 daysheader: {
alg: "ES256",
kid: keyId,
typ: "JWT"
}
});
console.log(jwtToken);
_flutterShazamKitPlugin.onMatchResultDiscovered((result) {
if (result isMatched) {
print(result.mediaItems)
} elseif (result isNoMatch) {
// do something in no match case
}
});