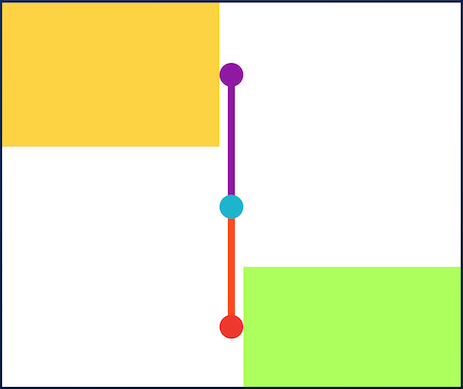
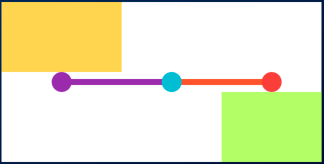
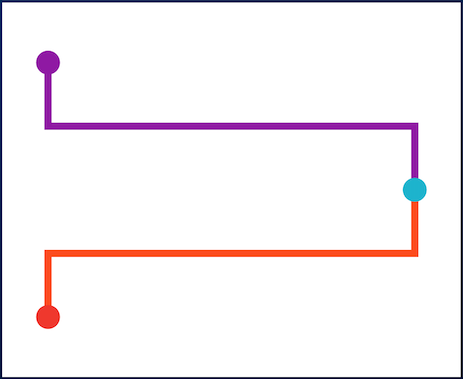
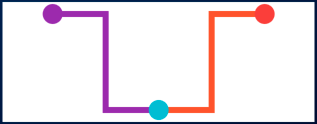
Aus öffentlichen Paketdaten erstellte Orientierung.
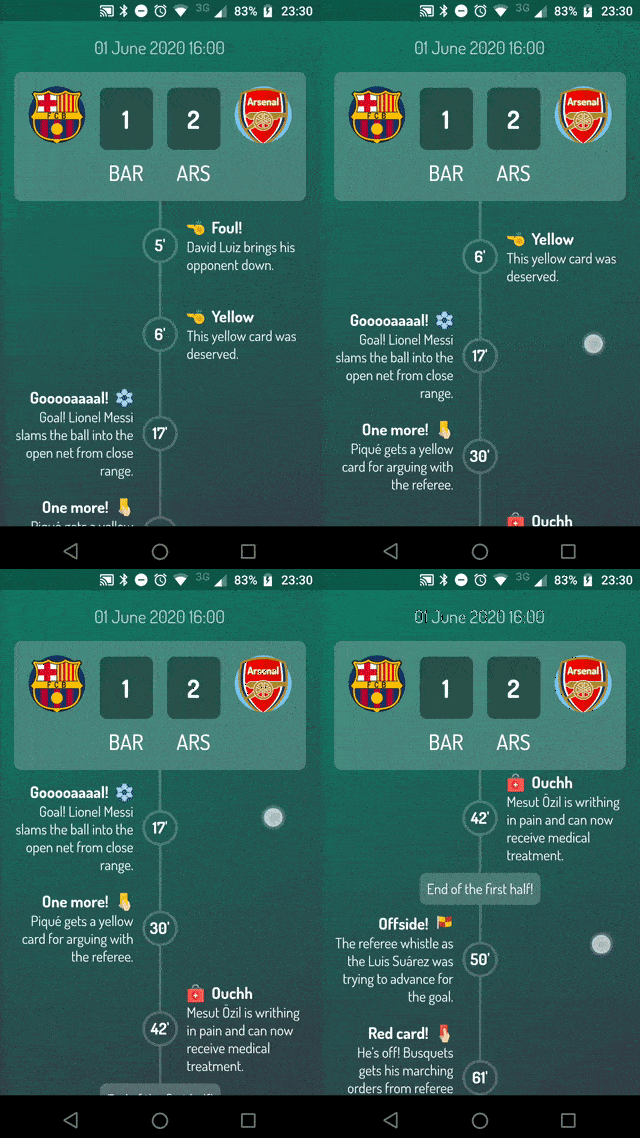
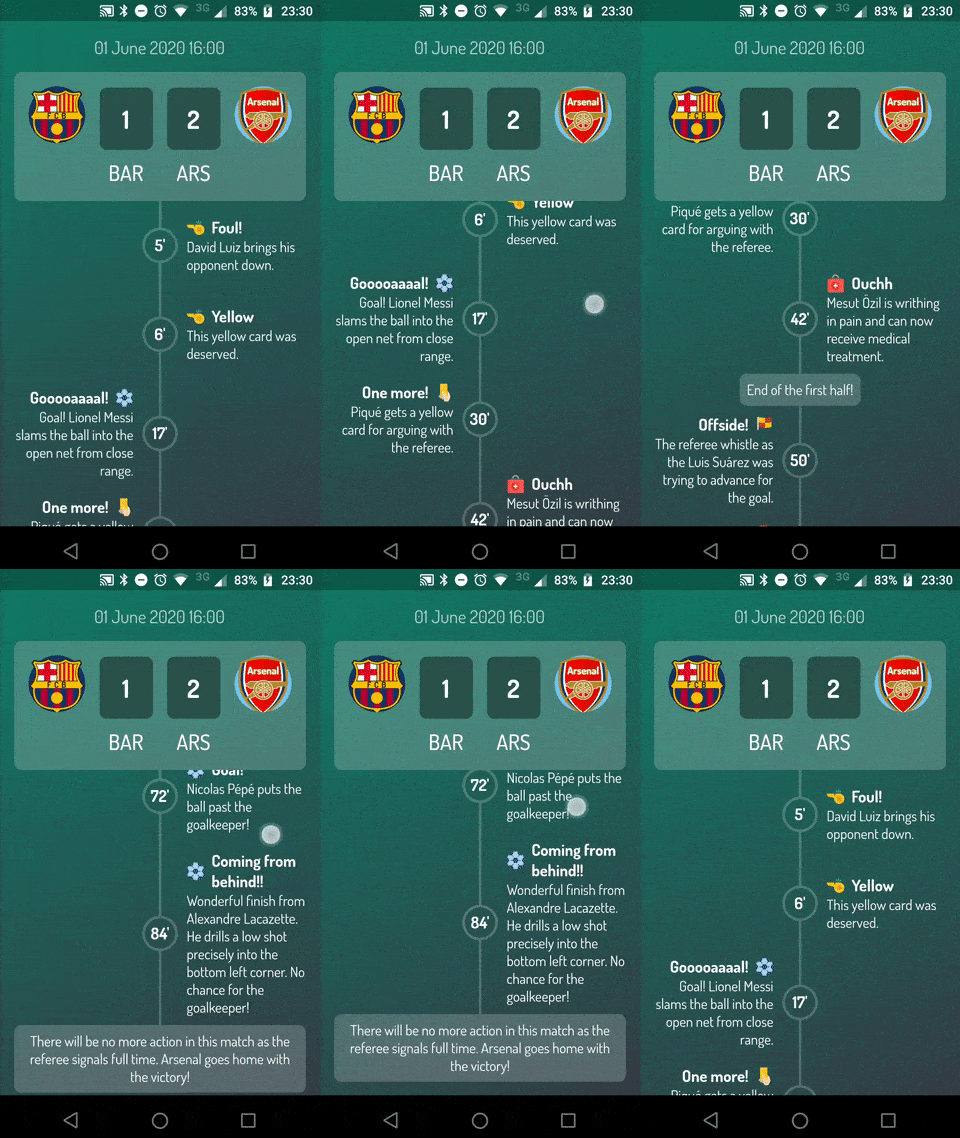
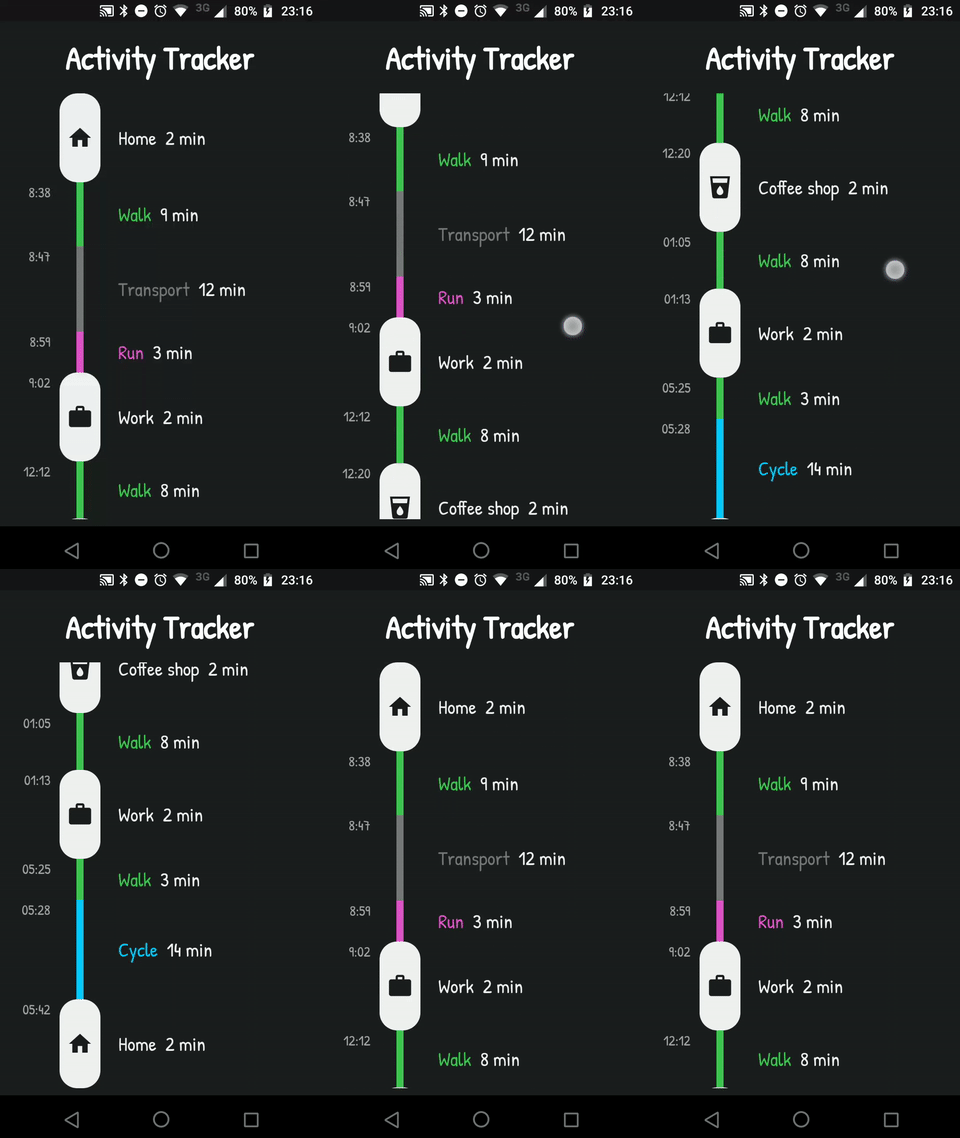
timeline_tile ist ein Flutter-Paket, das entwickelt wurde, um hochgradig anpassbare Zeitleisten einfach zu erstellen. Es bietet flexible Widgets zum Erstellen von vertikalen oder horizontalen Zeitleisten mit Unterstützung für verschiedene Stile, Farben und Inhaltslayouts. Entwickler können das Erscheinungsbild von Zeitleitungsindikatoren, Verbindern und Kacheln an das Design ihrer App anpassen. Das Paket ist leichtgewichtig und lässt sich nahtlos in bestehende Flutter-Projekte integrieren, wodurch es ideal für die ansprechende Darstellung von Ereignisverläufen, Projektfortschritten oder chronologischen Daten wird.
Anwendungsfälle
Anzeigen von Ereignisverläufen
Projektmeilensteine anzeigen
Schritt-für-Schritt-Prozesse visualisieren
Interaktive Zeitleisten erstellen
Darstellung historischer Daten
Verbesserung von Onboarding-Flows
Hauptmerkmale
Hochgradig anpassbare Timeline-Design
Unterstützung für vertikale und horizontale Layouts
konfigurierbare Indikatoren und Connector
Flexible Platzierung des Tile-Inhalts
Leichtgewichtig und einfach zu integrieren
Erweiterbare Widget-Struktur
Geeignet für
Entwickler, die chronologische Benutzeroberflächen erstellen
Apps, die eine visuelle Fortschrittsverfolgung erfordern
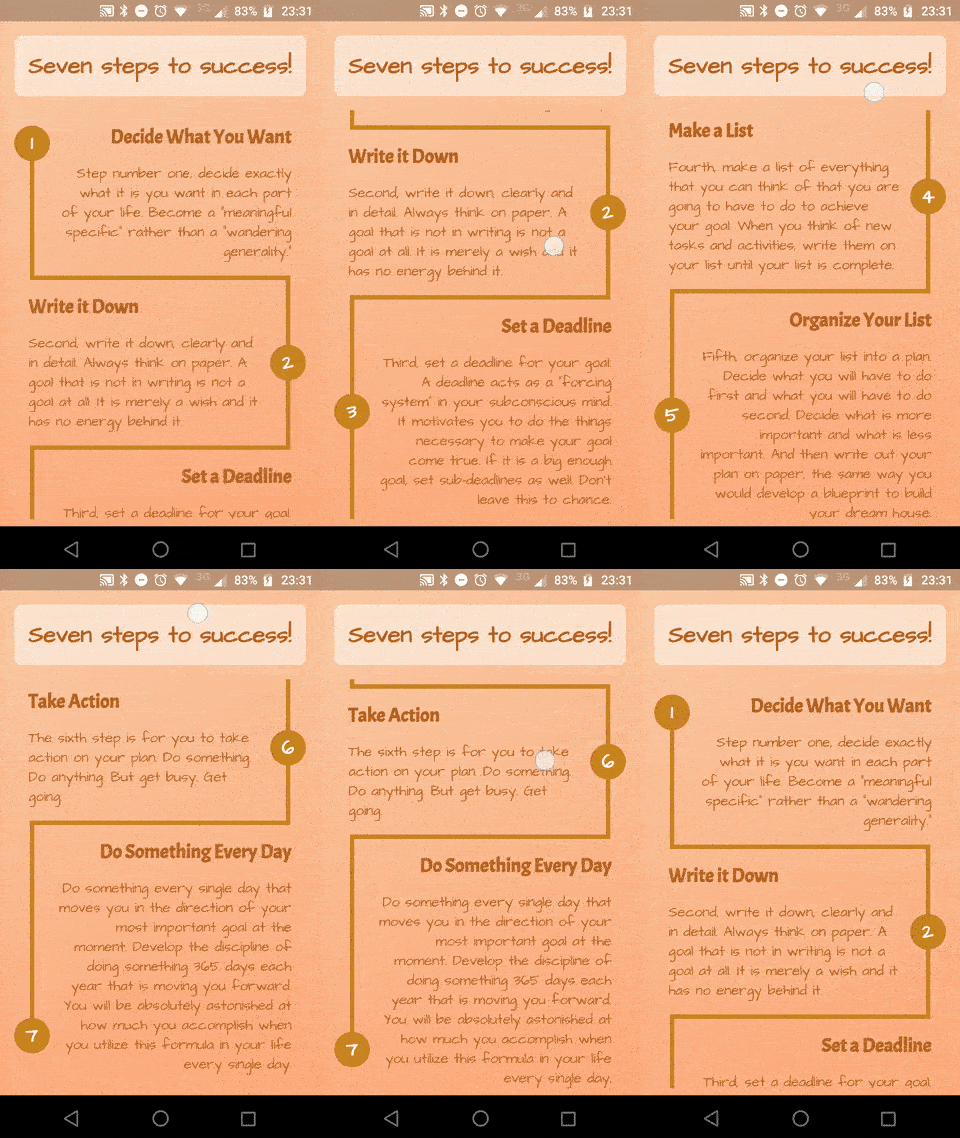
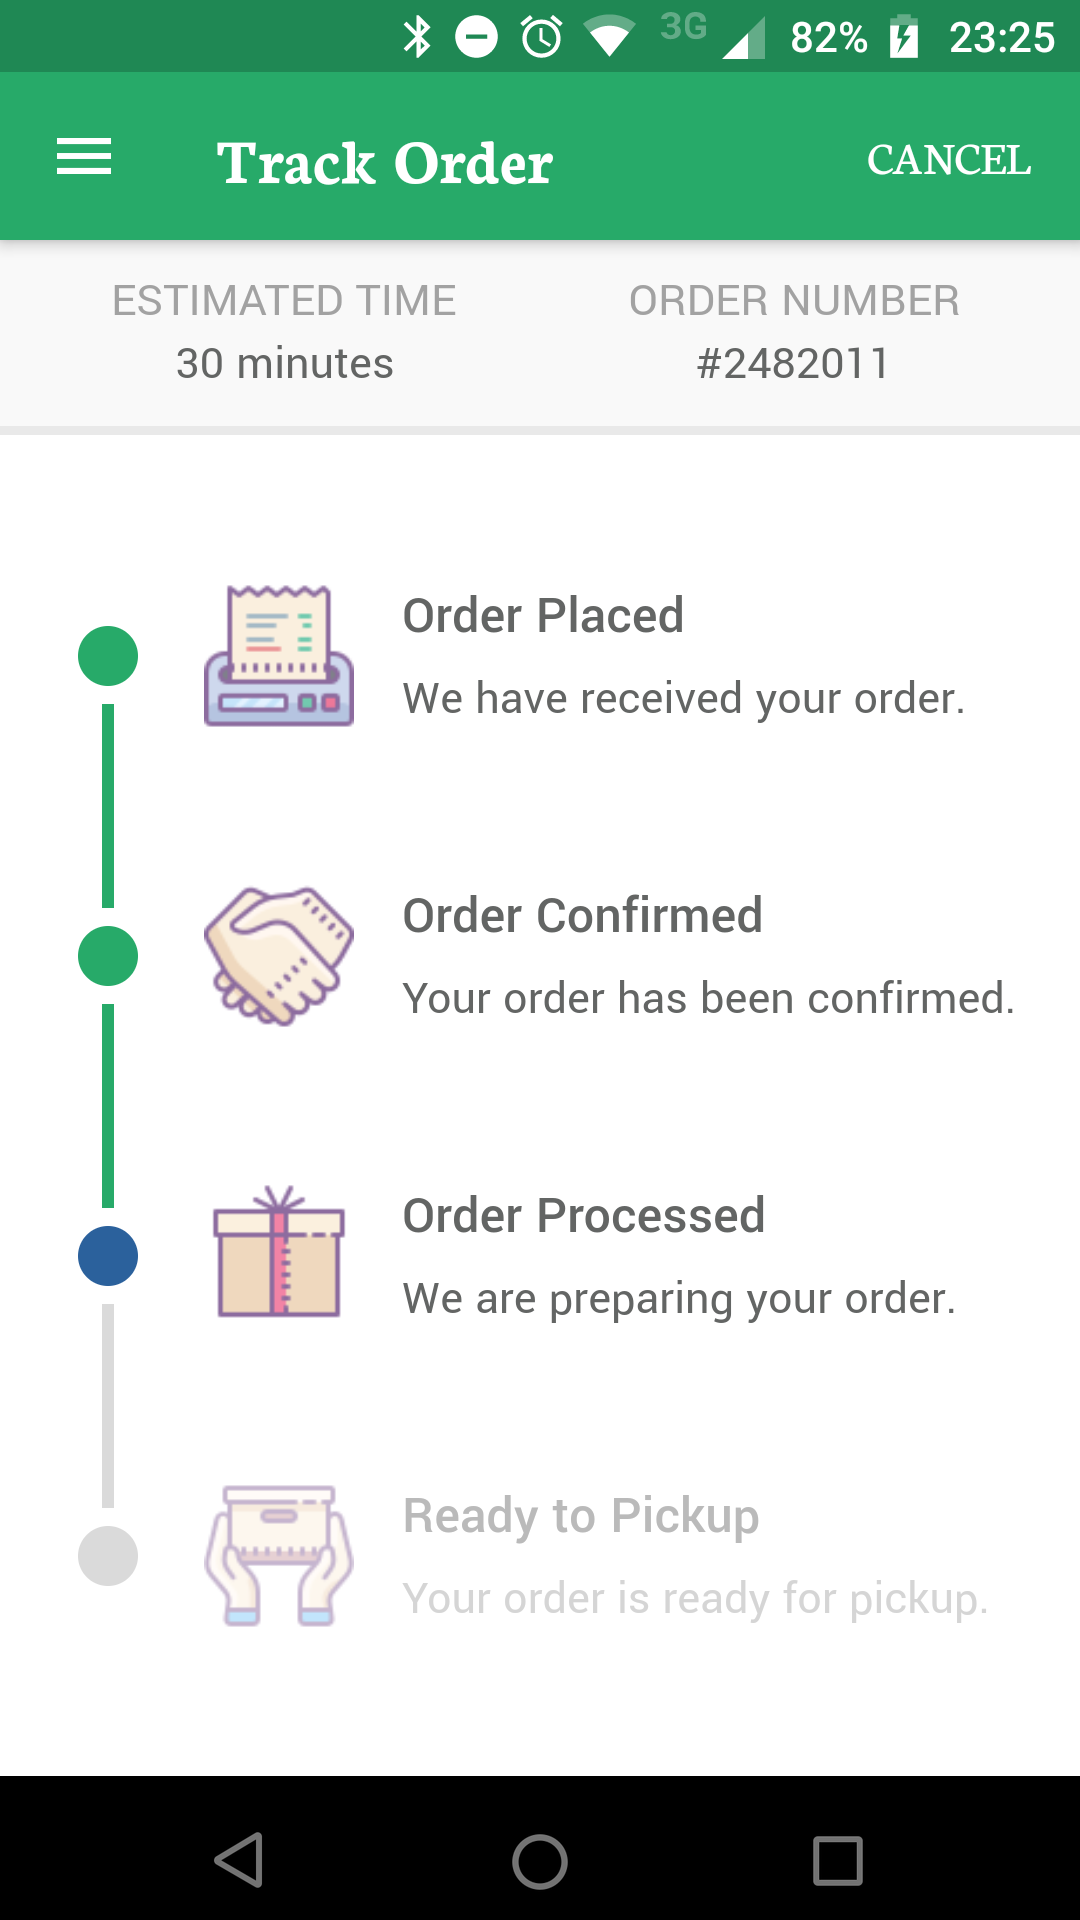
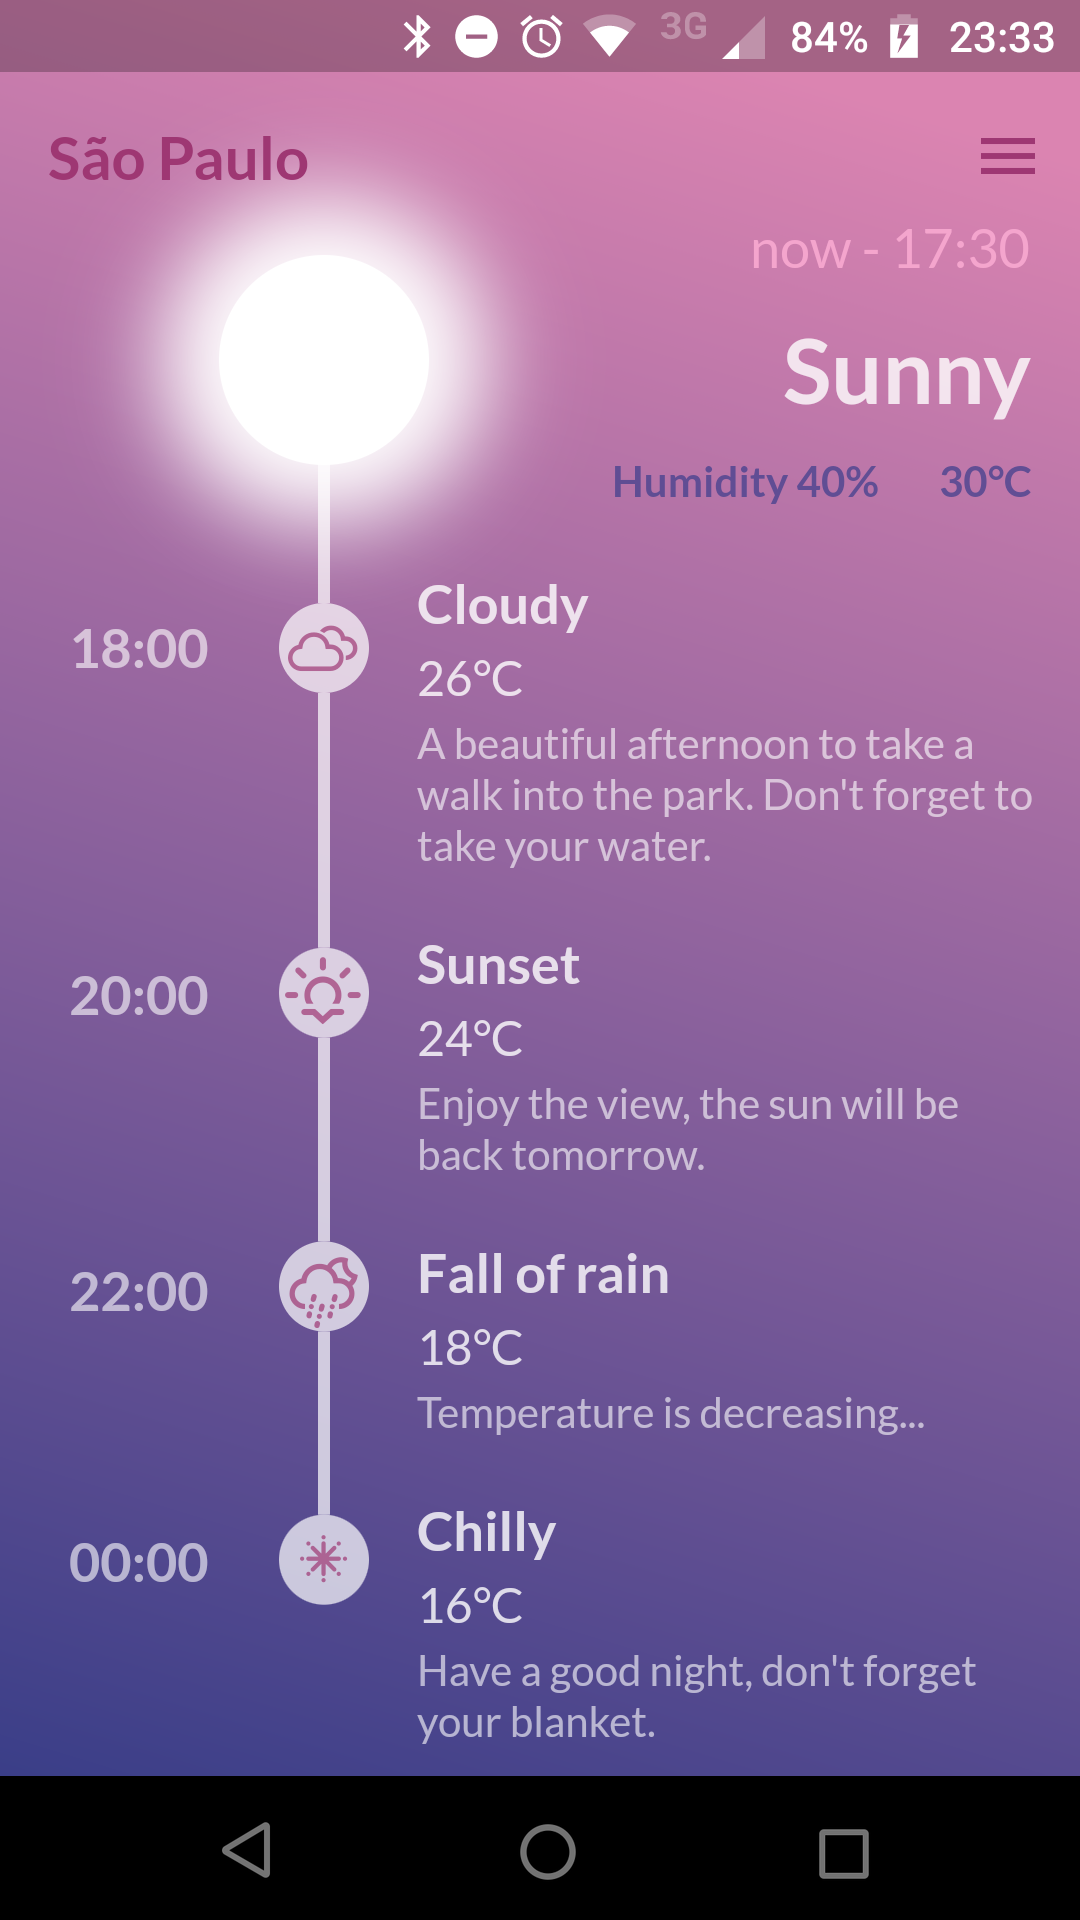
A Timeline consists in a group of TimelineTiles. To build a tile you can simply use:
TimelineTile()
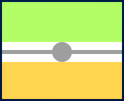
Which will build a default tile with a vertical axis, that aligns to the start, with a height of 100:
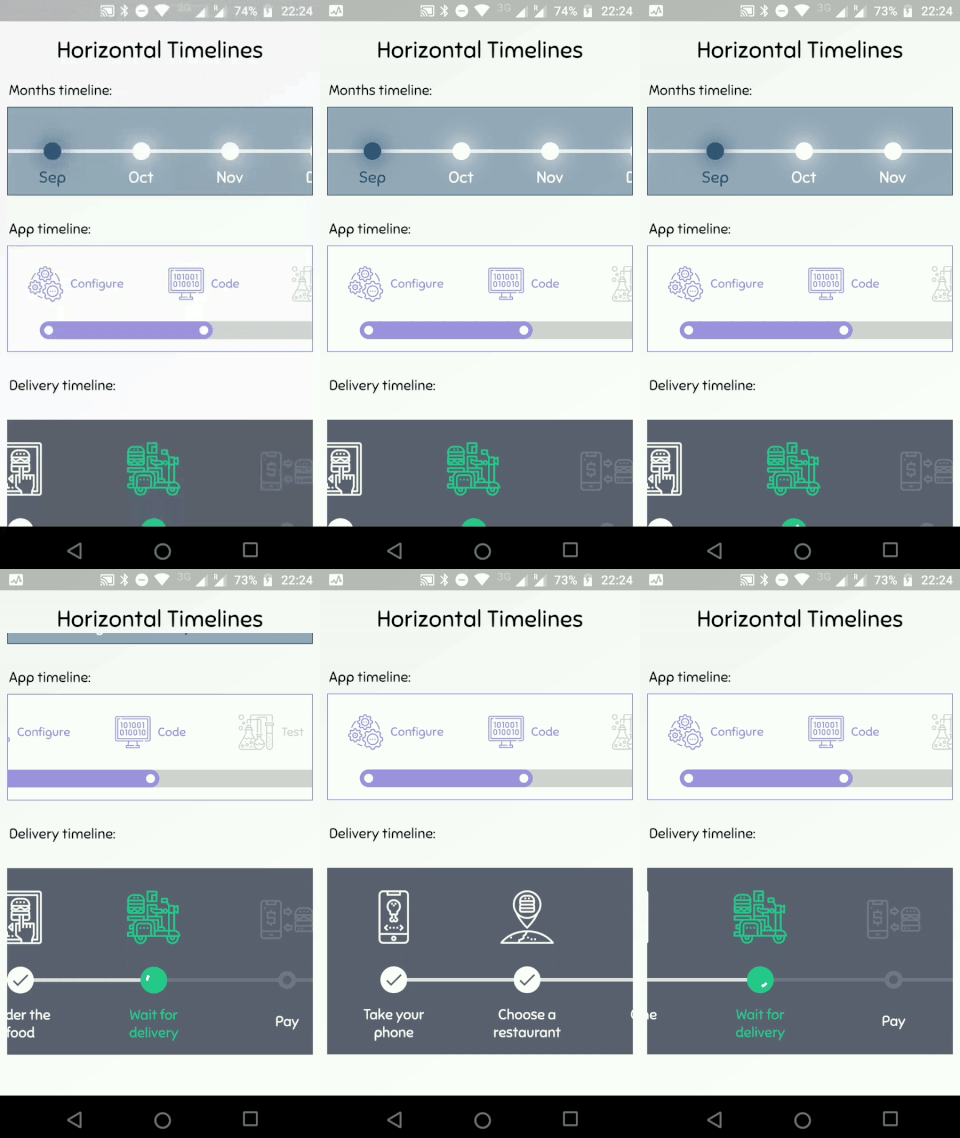
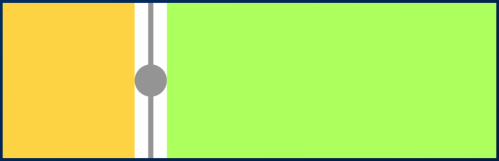
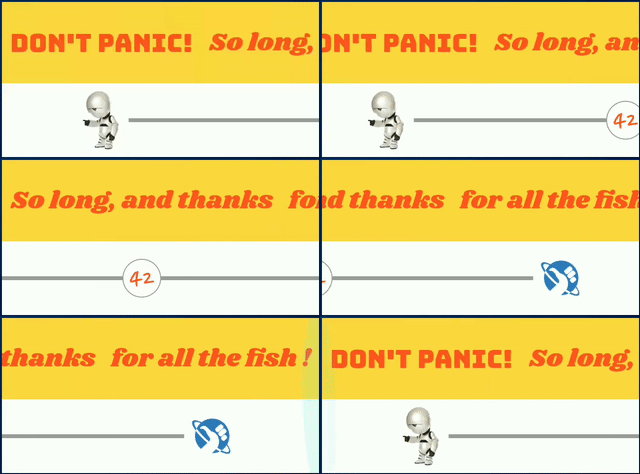
The axis can be switched to render an horizontal tile, aligned to the start, with a default width of 100:
TimelineTile(axis: TimelineAxis.horizontal)
There are 4 types of alignment.
TimelineAlign.start
TimelineAlign.end
TimelineAlign.center
TimelineAlign.manual
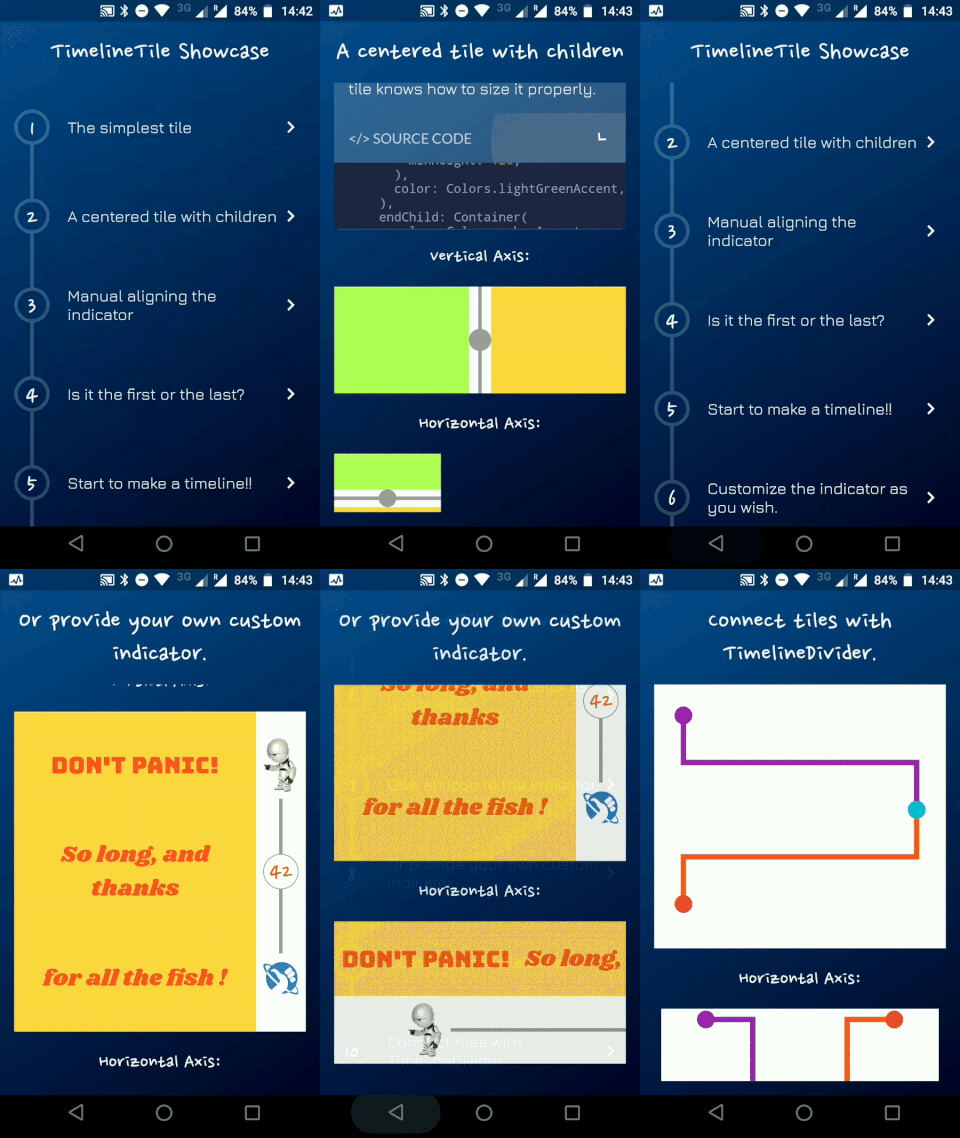
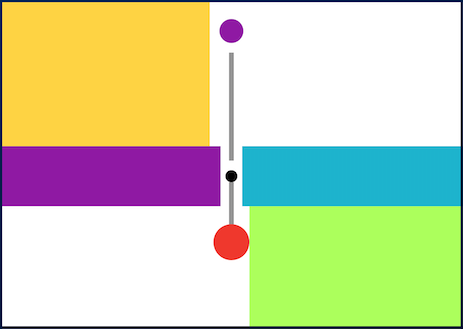
The start and end alignment allows a child in their opposite sides. On the other hand, both center and manual allows children on both sides. For example, one tile with alignment to the center:
When providing children to the vertical tile, the height will be as minimum as possible, so you can control it with a height constraint (at least minHeight). This way the tile knows how to size it properly.
If the axis is horizontal, the things are the opposite. The width will be as minimum as possible, so you can control it with a width constraint (at least minWidth). This way the tile knows how to size it properly.
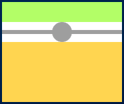
With TimelineAlign.manual you can provide the lineXY, which allows you to specify a value from 0.0 to 1.0, that represents a size percentage. For example, aligning at 30% of the width or height:
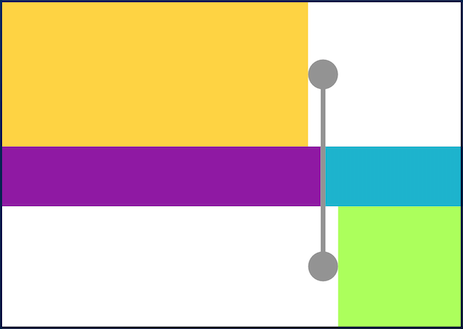
You can finally start to combine some tiles to make a Timeline. The flag hasIndicator can control whether an indicator should or shouldn't be rendered.
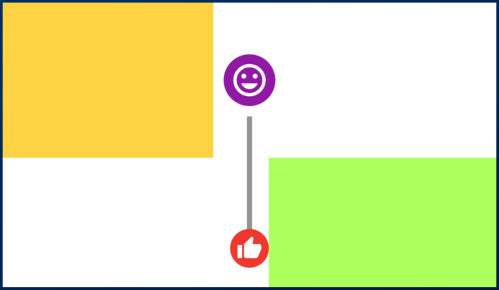
The default indicator is a circle, and you can customize it as you wish. With IndicatorStyle you can change the color, the X/Y position based on values from 0.0 to 1.0 or give it a padding. You must explicitly provide its width (vertical) or height (horizontal) though.
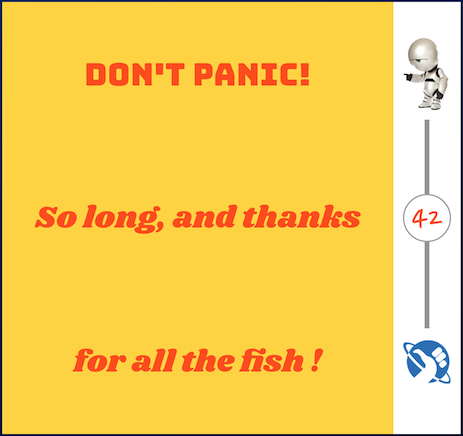
With the indicator parameter you can customize the tile with your own indicator. However, you must control its size through both width and height parameters.