सार्वजनिक जानकारी से बना चयन मार्गदर्शन। केवल संदर्भ हेतु।
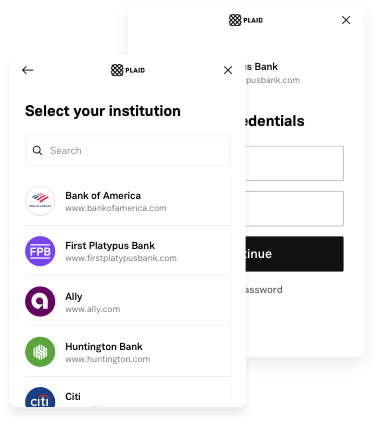
Plaid Flutter एक Flutter पैकेज है जो iOS, Android और Web के लिए Plaid के मूल स्क्रिप्ट को एकीकृत करता है, जिससे Flutter एप्लिकेशन में निरंतर वित्तीय डेटा पहुंच संभव होती है। यह पैकेज बैंक खातों को जोड़ने, लेनदेन डेटा प्राप्त करने और Plaid Link के माध्यम से पहचान की पुष्टि करने के लिए एक एकीकृत इंटरफ़ेस प्रदान करता है। यह पैकेज प्लेटफ़ॉर्म-विशिष्ट कार्यान्वयन को छिपाकर एकीकरण को सरल बनाता है, जबकि मूल प्रदर्शन और सुरक्षा मानकों को बनाए रखता है। डेवलपर्स Plaid की विश्वसनीय बुनियादी ढांचे का उपयोग करके विभिन्न प्लेटफ़ॉर्मों पर पहचान पुष्टि, आय पुष्टि और खाता संग्रहण कर सकते हैं।
उपयोग
बैंक खाता लिंकिंग
लेनदेन डेटा प्राप्त करना
पहचान सत्यापन
आय सत्यापन
वित्तीय खाता एकीकरण
रियल-टाइम बैलेंस अपडेट्स
मुख्य विशेषताएँ
मूल आईओएस और एंड्रॉइड SDK एकीकरण
Plaid Link के माध्यम से वेब समर्थन
एकीकृत Flutter API
सुरक्षित प्रमाणीकरण प्रवाह
क्रॉस-प्लेटफॉर्म सुसंगतता
रियल-टाइम डेटा सिंकिंग
इनके लिए उपयुक्त
फिनटेक ऐप्स
बजट टूल्स
लेंडिंग प्लेटफॉर्म
भुगतान प्रसंस्करण प्रणाली
धन प्रबंधन एप्लिकेशन
व्यय ट्रैकिंग एप्लिकेशन
विचार योग्य बातें
Plaid खाता और API कुंजियों की आवश्यकता है
प्लेटफॉर्म-विशिष्ट अनुमतियाँ आवश्यक हैं
लिंक UI का सीमित कस्टमाइजेशन
प्लैड की सेवा उपलब्धता पर निर्भर करता है
प्रारंभिक कनेक्शन के दौरान संभावित लेटेंसी
वित्तीय डेटा नियमों के अनुपालन
मूल README
संबंधित सोर्स रिपॉज़िटरी के मूल README का स्नैपशॉट। नवीनतम सामग्री के लिए रिपॉज़िटरी देखें।
In order to initialize Plaid Link, you will need to create a link_token at /link/token/create. After generating a link_token, you'll need to pass it into your app and use it to open Link:
...
LinkTokenConfiguration _configuration = LinkTokenConfiguration(
token: "<GENERATED_LINK_TOKEN>",
);
// Create the internal handler for Plaid Link.// This is a one-time use object that opens a Link session.// Must be called before `open()`.// Completes when Plaid is ready to open, or throws an error if setup fails.awaitPlaidLink.create(configuration: _configuration);
/// Open Plaid Link by calling open on the handler.PlaidLink.open();
...
Note that each time you open Link, you will need to get a new link_token from your server and create a new LinkTokenConfiguration with it.
A link_token can be configured for different Link flows depending on the fields provided during token creation. It is the preferred way of initializing Link going forward. You will need to pass in most of your Link configurations server-side in the /link/token/create endpoint rather than client-side where they previously existed.
If your integration is still using a public_key to initialize Plaid Link, the LinkConfiguration class has support for it. Check the migration guide to upgrade your app to the link_token flow.
(Identity Verification only) - Enable camera support
When using the Identity Verification product, the Link SDK may use the camera if a user needs to take a picture of identity documentation. To support this workflow, add a NSCameraUsageDescription entry to your ios/Runner/Info.plist with an informative string.
OAuth configuration
If your integration uses only Identity Verification or Monitor, this steps can be skipped; they are mandatory otherwise.
Registering your redirect URI:
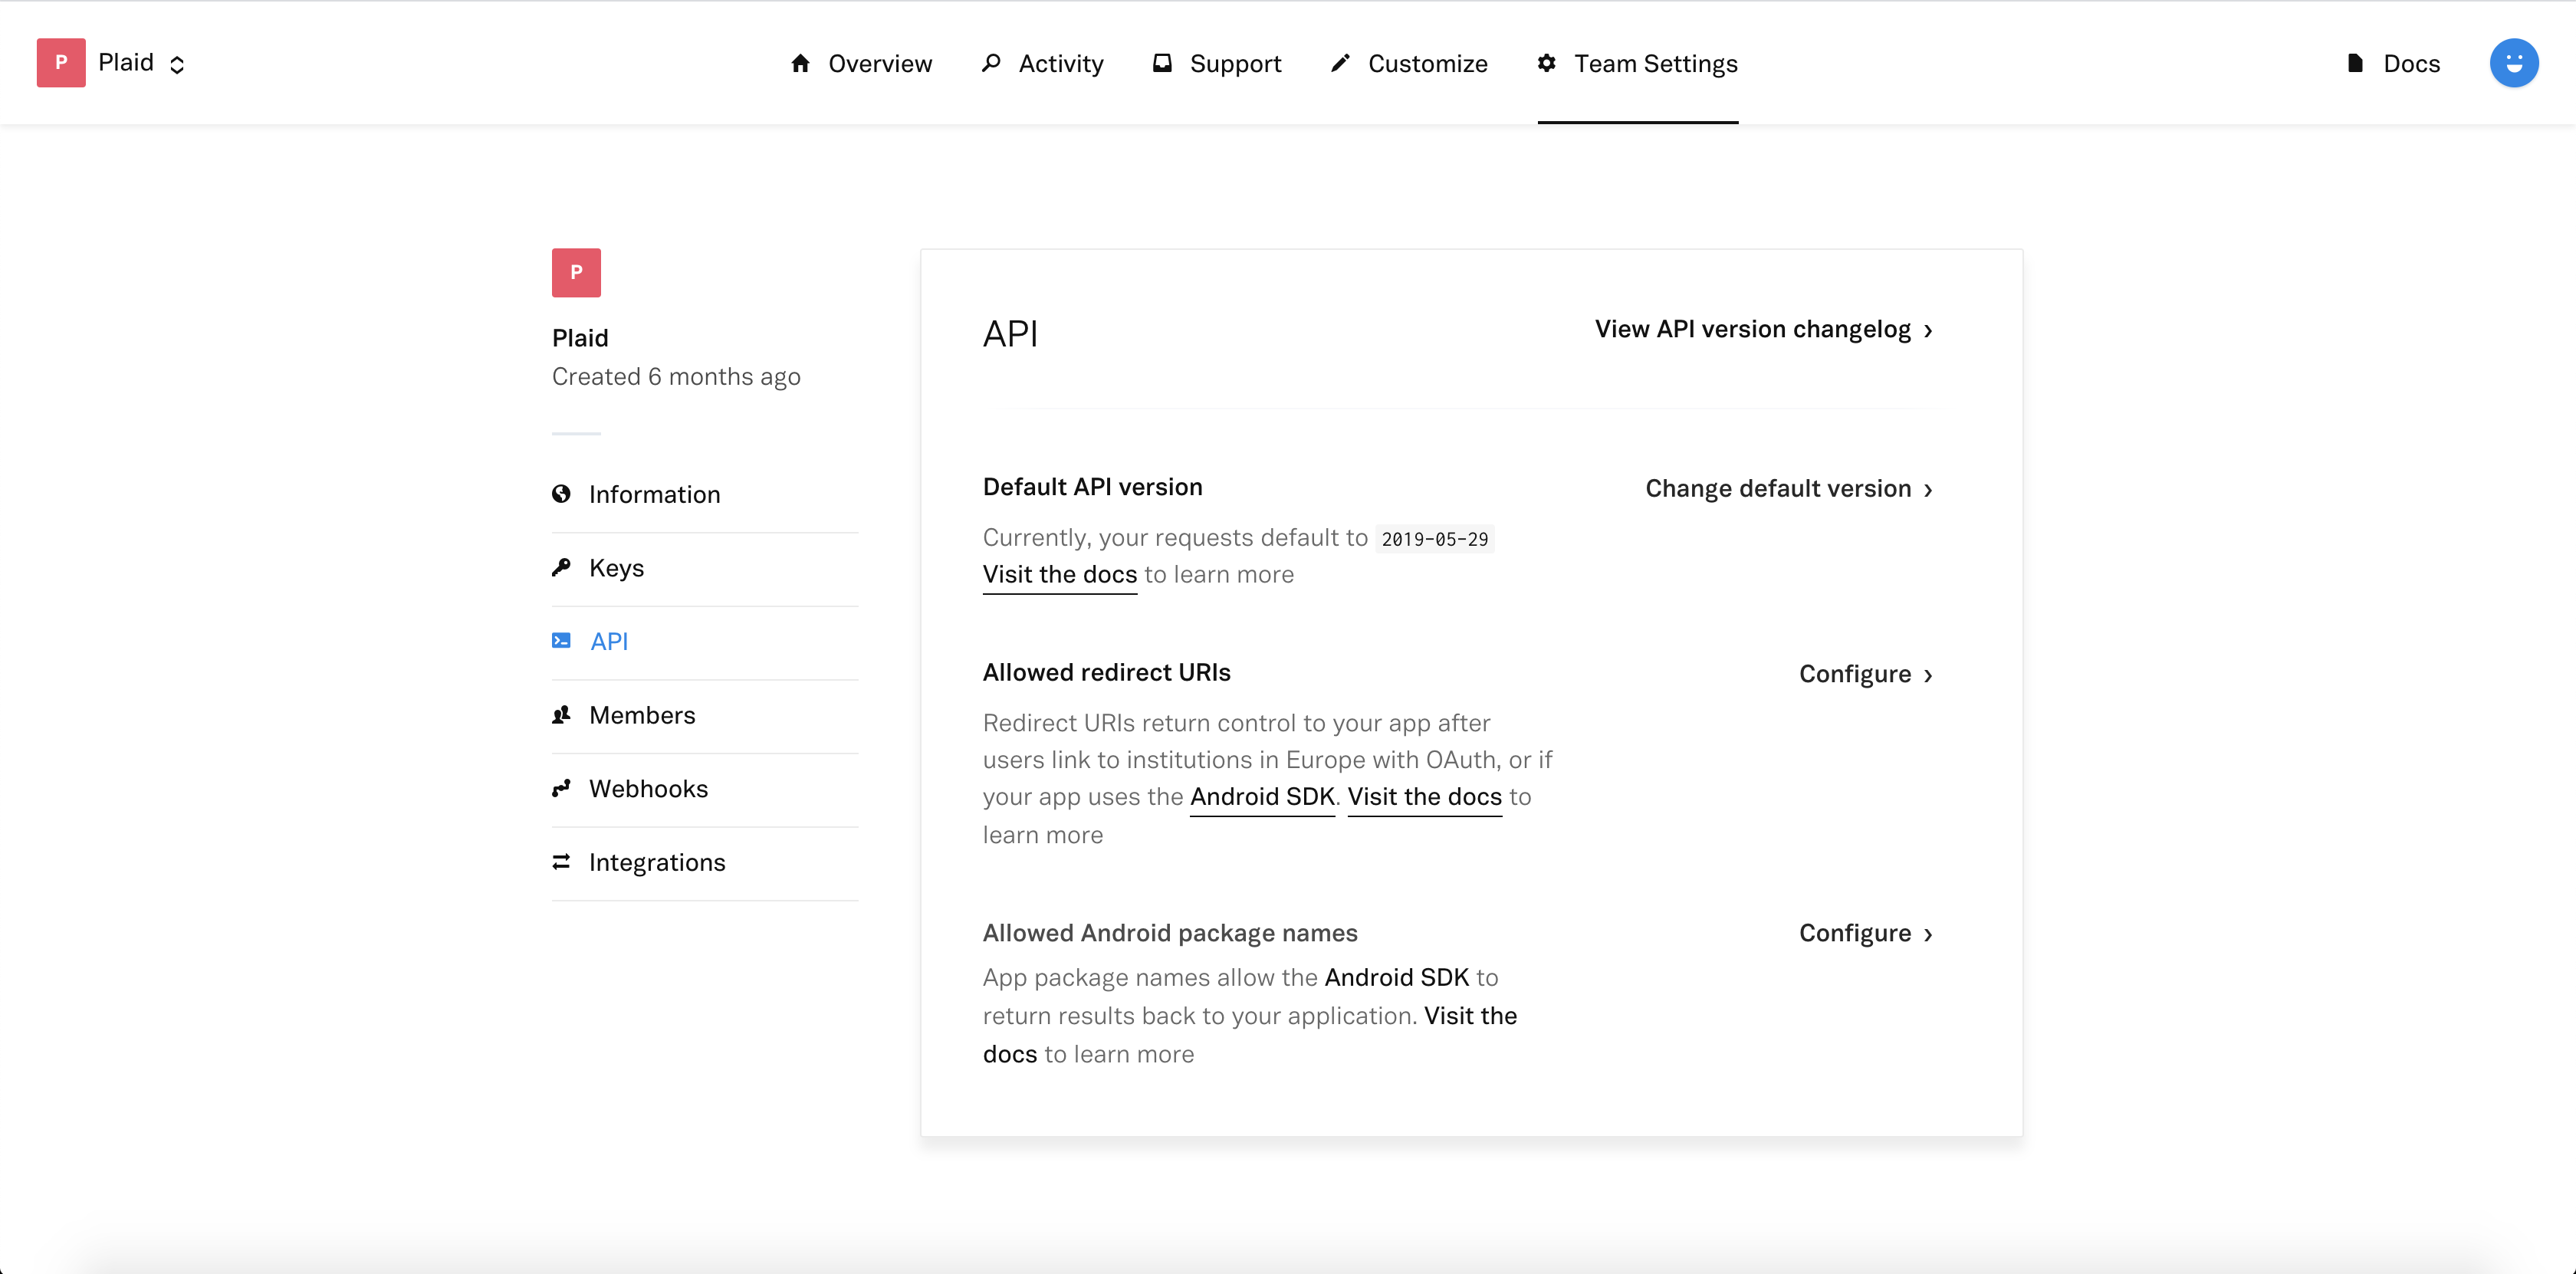
Sign in to the Plaid Dashboard and go to the Team Settings -> API page.
Next to Allowed redirect URIs click Configure then Add New URI.
Enter your redirect URI, which you must also set up as a Universal Link for your application, for example: https://app.example.com/plaid/.
Click Save Changes
These redirect URIs must be set up as Universal Links in your application.
Go to the project level android/app/build.gradle and make sure you are using a minSdk >= 21
(Identity Verification only) - Enable camera support
If your app uses Identity Verification, a user may need to take a picture of identity documentation or a selfie during the Link flow. To support this workflow, the CAMERA, WRITE_EXTERNAL_STORAGE, RECORD_AUDIO, and MODIFY_AUDIO_SETTINGS permissions need to be added to your application's AndroidManifest.xml.
Register your App ID
Sign in to the Plaid Dashboard and go to the Team Settings -> API page.
Next to Allowed Android Package Names click Configure then Add New Android Package Name.
Enter your package name, for example com.plaid.example.