सार्वजनिक जानकारी से बना चयन मार्गदर्शन। केवल संदर्भ हेतु।
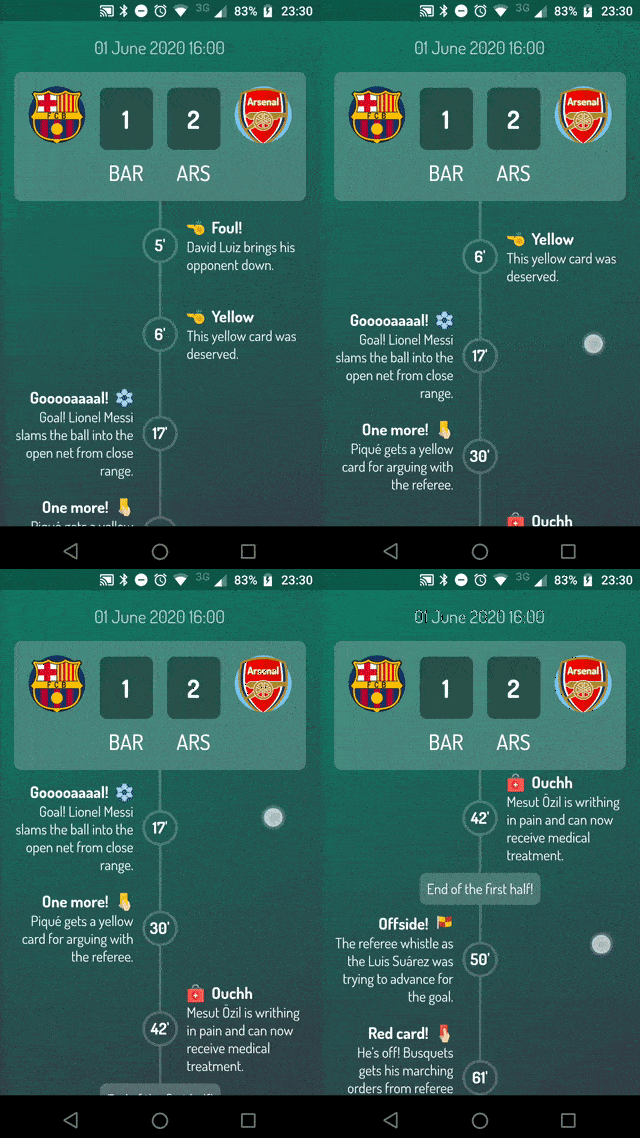
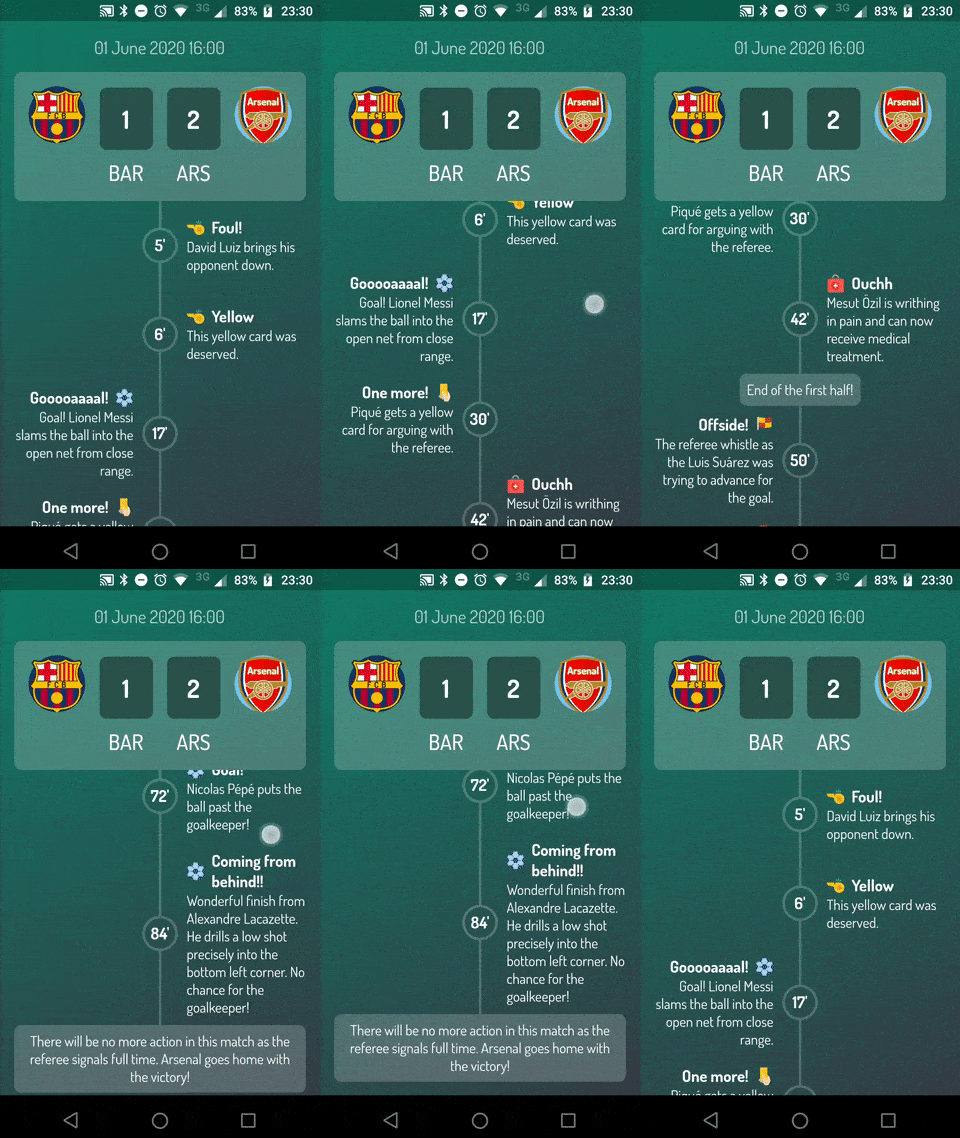
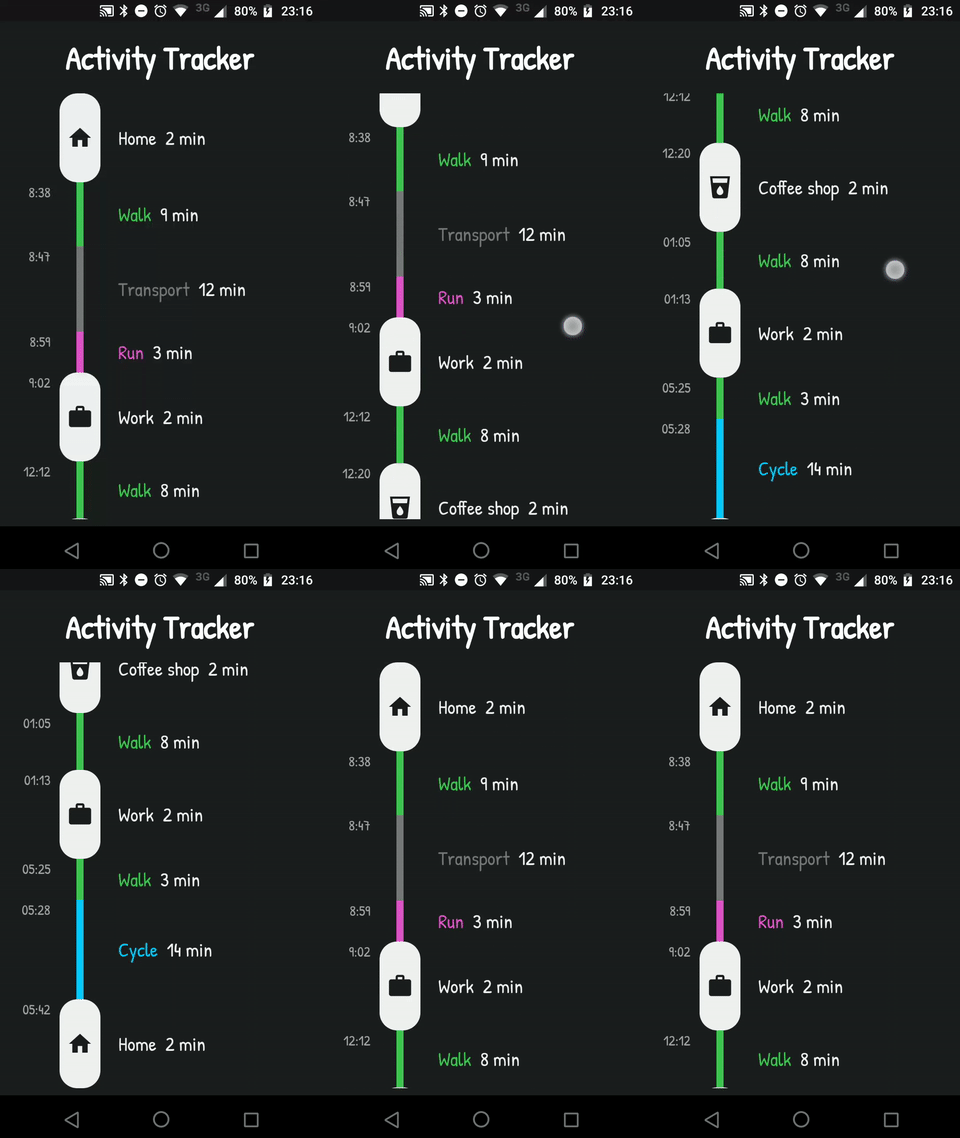
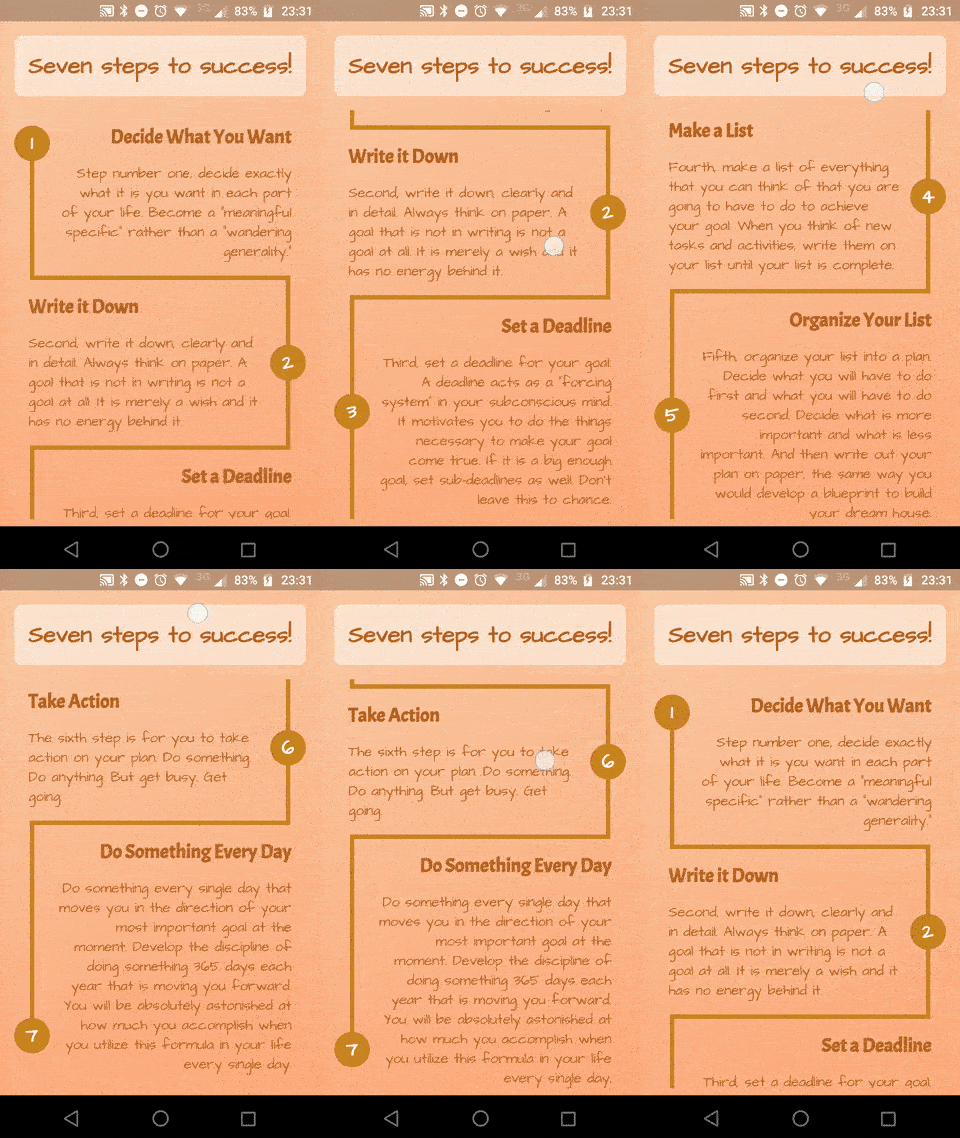
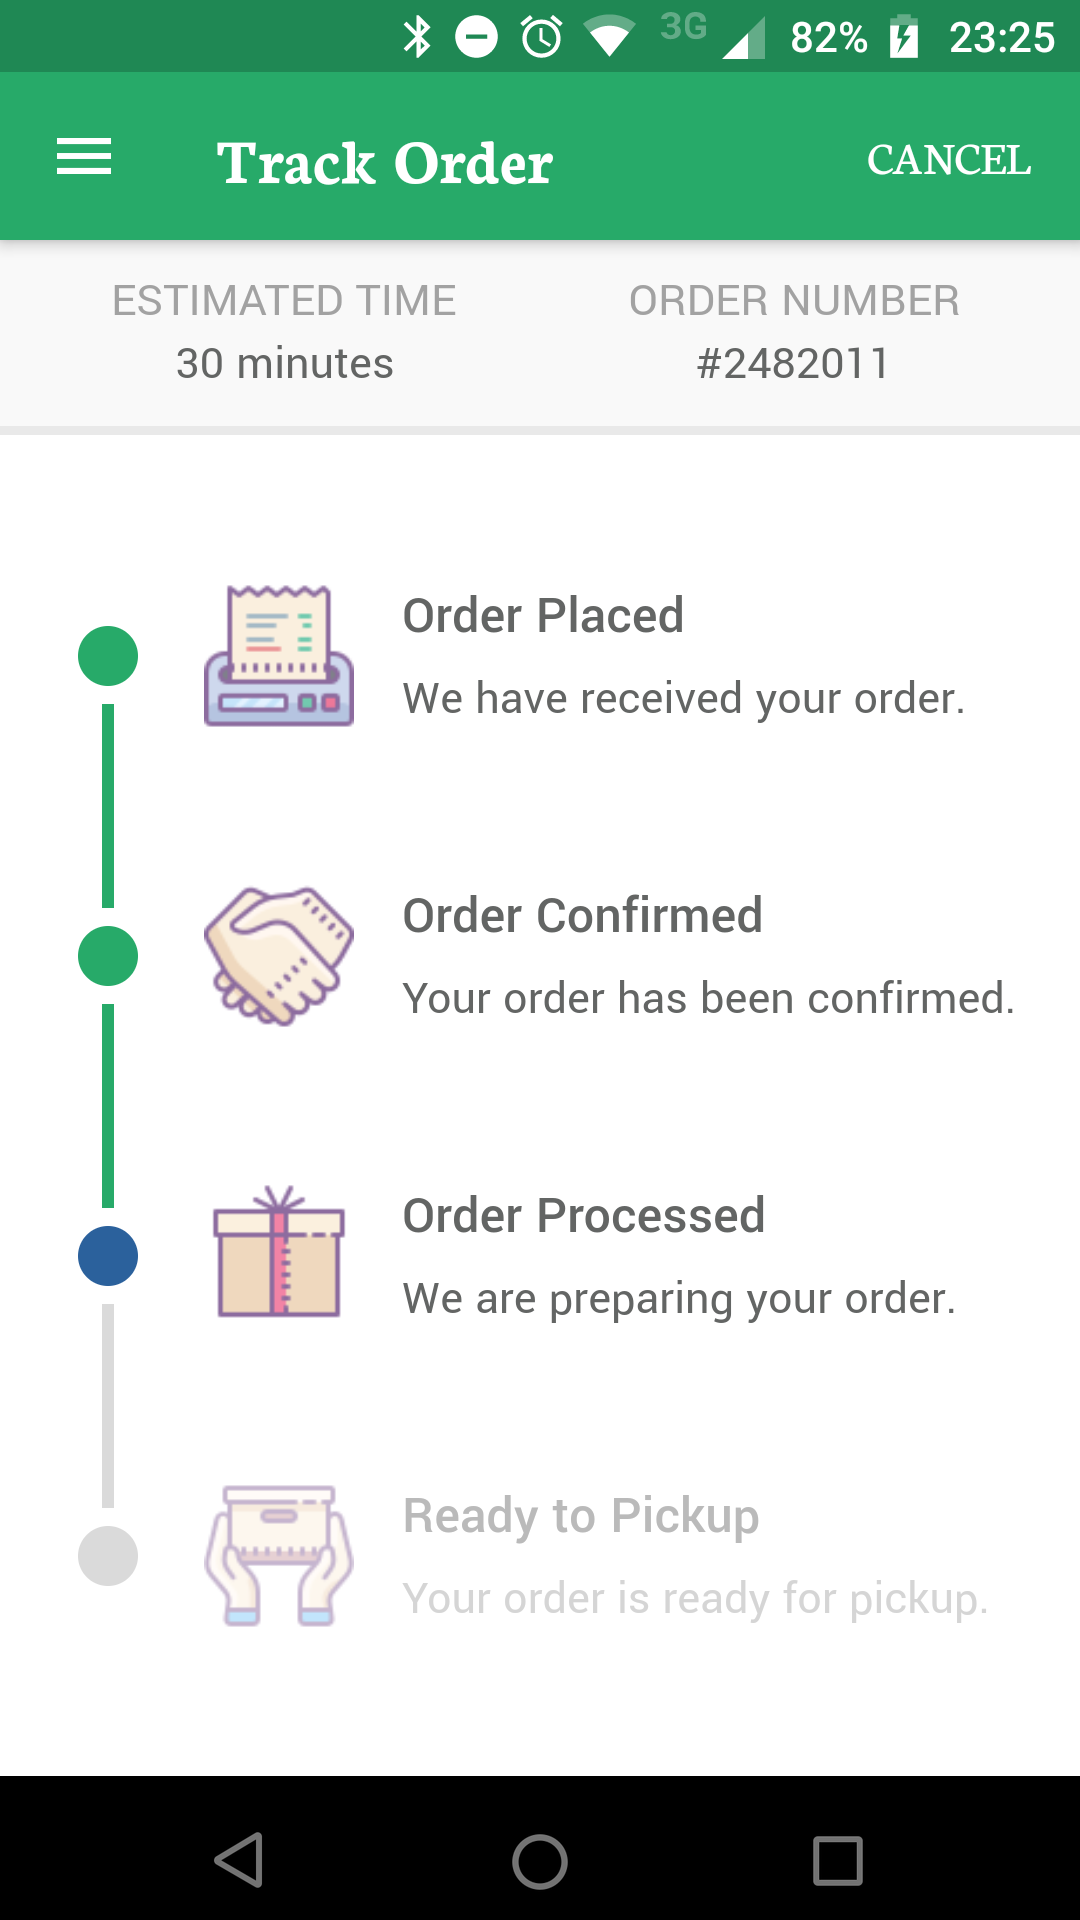
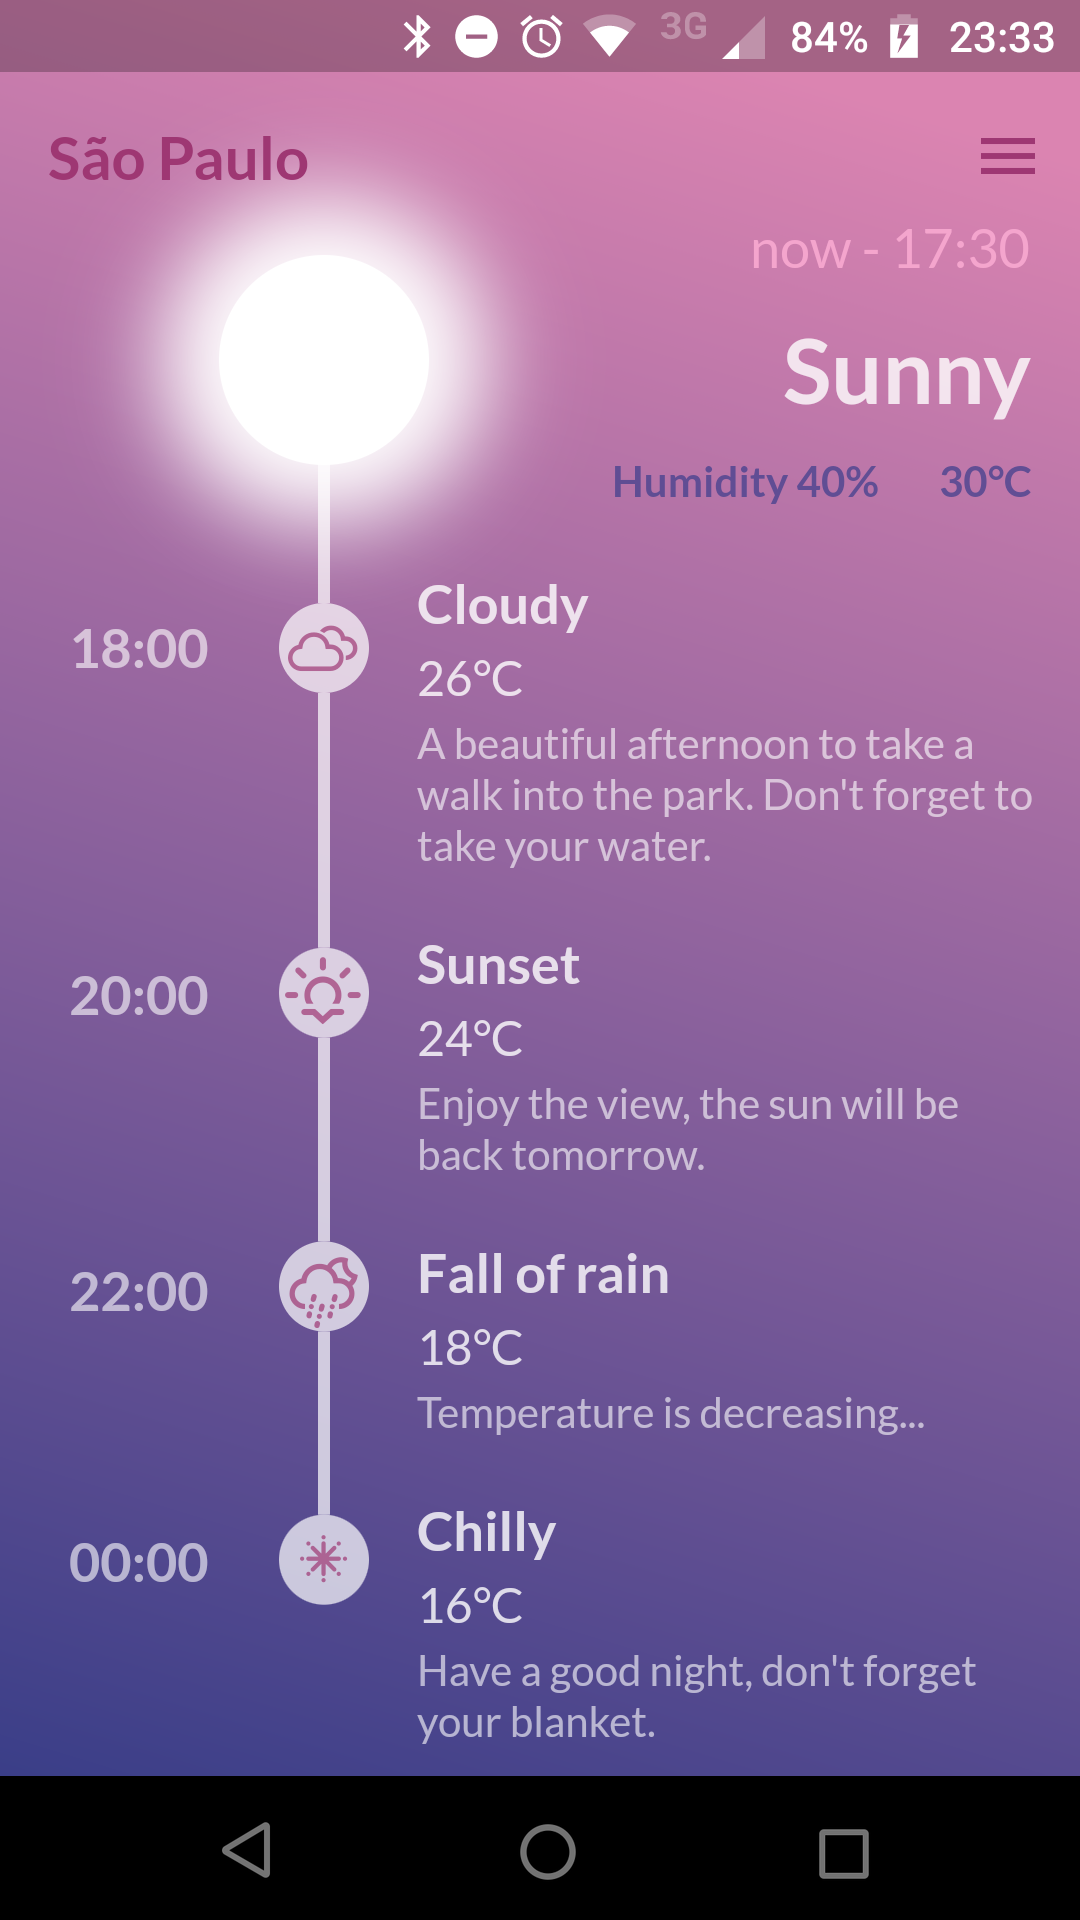
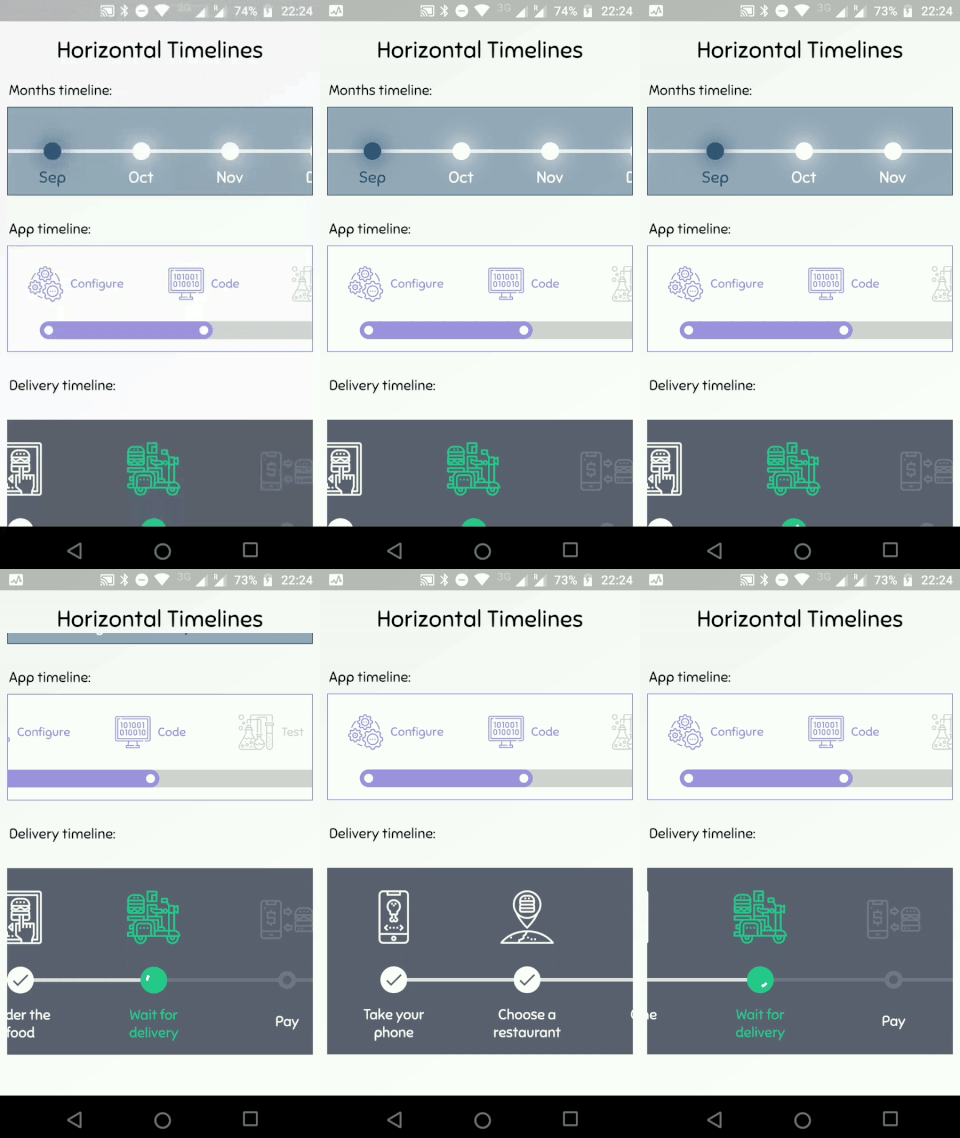
timeline_tile एक Flutter पैकेज है जिसका उपयोग आसानी से बहुत कस्टमाइज़ेबल टाइमलाइन बनाने के लिए किया जाता है। यह ऊर्ध्वाधर या क्षैतिज टाइमलाइन बनाने के लिए लचीले विजेट प्रदान करता है, जो विभिन्न शैलियों, रंगों और सामग्री लेआउट का समर्थन करते हैं। डेवलपर्स टाइमलाइन संकेतकों, कनेक्टर्स और टाइल्स के दिखावट को अपने ऐप के डिज़ाइन के अनुरूप कस्टमाइज़ कर सकते हैं। पैकेज हल्का है और मौजूदा Flutter प्रोजेक्ट में बिना किसी दिक्कत के एकीकृत हो जाता है, जिससे घटना इतिहास, प्रोजेक्ट प्रगति या कालक्रम डेटा को आकर्षक तरीके से प्रदर्शित करना संभव होता है।
उपयोग
घटना इतिहास प्रदर्शित करें
प्रोजेक्ट माइलस्टोन दिखा रहा है
चरण दर चरण प्रक्रियाओं का दृश्यीकरण
इंटरैक्टिव टाइमलाइन बनाना
ऐतिहासिक डेटा प्रस्तुत करना
ऑनबोर्डिंग फ्लो को बेहतर बनाना
मुख्य विशेषताएँ
अत्यधिक कस्टमाइज़ेबल टाइमलाइन डिज़ाइन
लंब और क्षैतिज लेआउट का समर्थन
निर्देशक और कनेक्टर कॉन्फ़िगरेबल
लचीला टाइल सामग्री स्थापना
हल्का और आसान एकीकरण
विस्तार्य विजेट संरचना
इनके लिए उपयुक्त
कालानुक्रमिक उपयोगकर्ता इंटरफेस बनाने वाले विकासकर्ता
दृश्य प्रगति ट्रैकिंग की आवश्यकता वाले ऐप्स
शैक्षिक या ओनबोर्डिंग इंटरफेस
प्रोजेक्ट प्रबंधन उपकरण
सामग्री-समृद्ध एप्लिकेशन
विचार योग्य बातें
जटिल डिज़ाइन के लिए हस्तकल्पित लेआउट कॉन्फ़िगरेशन की आवश्यकता होती है
सीमित निर्मित एनीमेशन
स्थिर या सरल गतिशील समयरेखाओं के लिए सबसे उपयुक्त
प्रतिक्रियाशील व्यवहार के लिए अतिरिक्त स्टाइलिंग की आवश्यकता हो सकती है
बहुत लंबे समयरेखा के लिए प्रदर्शन समायोजन के बिना अनअनुकूलित
मूल README
संबंधित सोर्स रिपॉज़िटरी के मूल README का स्नैपशॉट। नवीनतम सामग्री के लिए रिपॉज़िटरी देखें।
TimelineTile
A package to help build customisable timelines in Flutter.
Example
You can access the example project for a Timeline Showcase.
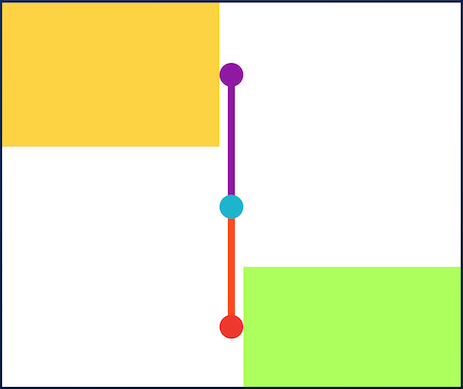
A Timeline consists in a group of TimelineTiles. To build a tile you can simply use:
TimelineTile()
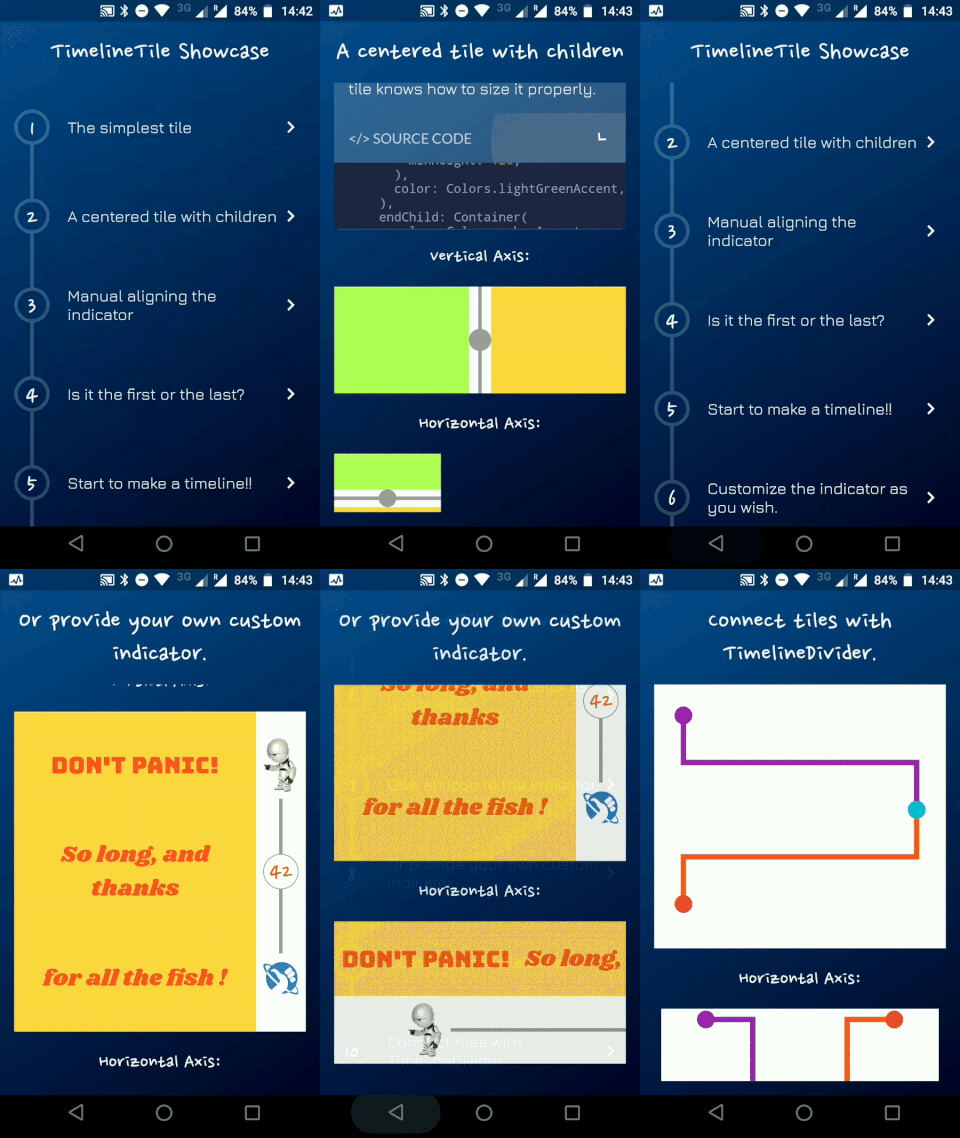
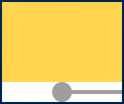
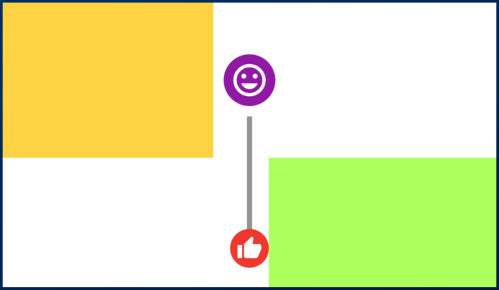
Which will build a default tile with a vertical axis, that aligns to the start, with a height of 100:
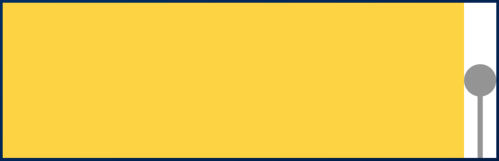
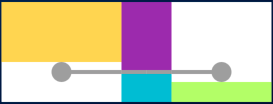
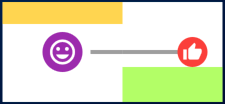
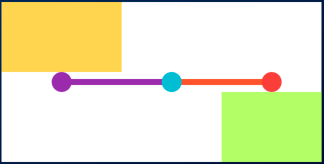
The axis can be switched to render an horizontal tile, aligned to the start, with a default width of 100:
TimelineTile(axis: TimelineAxis.horizontal)
There are 4 types of alignment.
TimelineAlign.start
TimelineAlign.end
TimelineAlign.center
TimelineAlign.manual
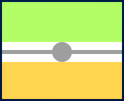
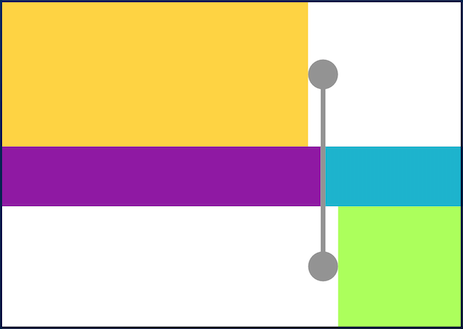
The start and end alignment allows a child in their opposite sides. On the other hand, both center and manual allows children on both sides. For example, one tile with alignment to the center:
When providing children to the vertical tile, the height will be as minimum as possible, so you can control it with a height constraint (at least minHeight). This way the tile knows how to size it properly.
If the axis is horizontal, the things are the opposite. The width will be as minimum as possible, so you can control it with a width constraint (at least minWidth). This way the tile knows how to size it properly.
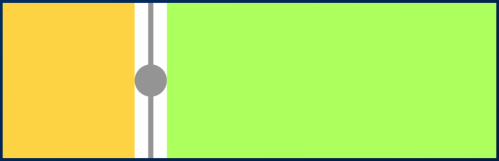
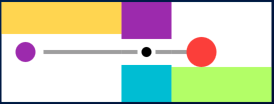
With TimelineAlign.manual you can provide the lineXY, which allows you to specify a value from 0.0 to 1.0, that represents a size percentage. For example, aligning at 30% of the width or height:
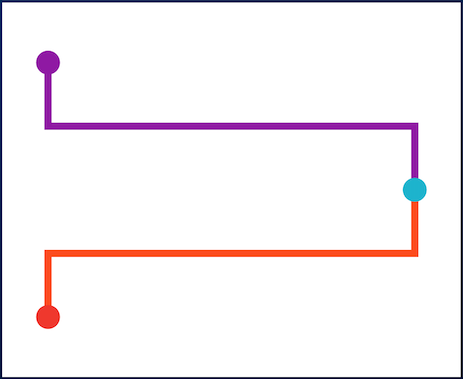
You can finally start to combine some tiles to make a Timeline. The flag hasIndicator can control whether an indicator should or shouldn't be rendered.
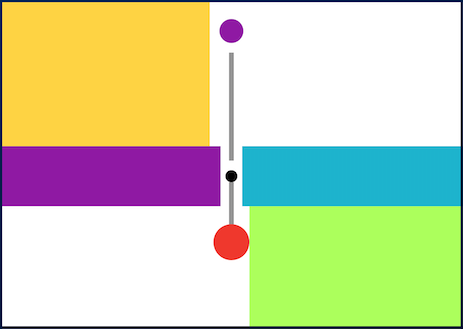
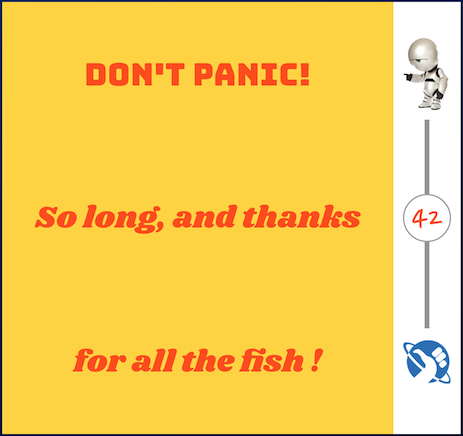
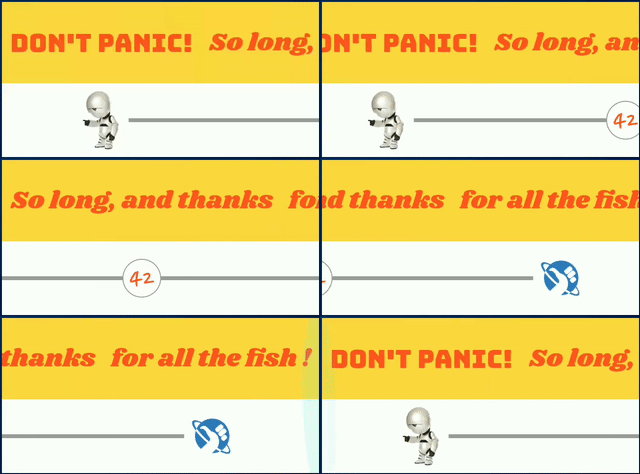
The default indicator is a circle, and you can customize it as you wish. With IndicatorStyle you can change the color, the X/Y position based on values from 0.0 to 1.0 or give it a padding. You must explicitly provide its width (vertical) or height (horizontal) though.
With the indicator parameter you can customize the tile with your own indicator. However, you must control its size through both width and height parameters.