패키지, 저장소 및 앱 카테고리 검색

bitsdojo_window 표지
패키지 상세v0.1.6

bitsdojo_window

Flutter 데스크톱에서 사용자 정의 창(사용자 정의 테두리, 제목 표시줄 및 최소화/최대화/닫기 버튼)을 만들고 Windows 및 macOS용 일반적인 데스크톱 창 작업(화면에 표시/숨기기/위치)을 도와주는 패키지

macOSWindowsLinux
30일 다운로드
2.8만
좋아요
1.1천
Pub 점수
120

패키지 설치

flutter pub add bitsdojo_window

패키지 개요

공개 정보를 바탕으로 생성한 선택 가이드입니다.

bitsdojo_window은 Windows, macOS, Linux에서 사용자 정의 데스크톱 창을 구축하기 위해 설계된 Flutter 패키지입니다. 사용자 정의 테두리, 제목 표시줄 및 컨트롤 버튼(최소화, 최대화, 닫기)이 있는 시각적으로 독특한 창을 만들 수 있도록 해줍니다. 이 패키지는 화면에 창을 표시하거나 숨기고, 창의 위치를 조정하는 등의 기본적인 창 작업을 지원합니다. 데스크톱 플랫폼 간에 네이티브처럼 보이지만 매우 유연하게 맞춤설정할 수 있는 UI 경험을 필요로 하는 애플리케이션에 적합합니다.

사용 사례

  • 데스크톱 앱을 위한 맞춤형 창 디자인
  • 브랜드화되거나 고유한 UI 만들기
  • 사용자 정의 제목 표시줄 구현
  • 창의 가시성 및 위치 관리
  • 크로스 플랫폼 데스크톱 앱 개발

주요 기능

  • 사용자 지정 창 테두리 및 제목 표시줄
  • 내장된 최소화/최대화/닫기 버튼
  • 윈도우 표시/숨기기 및 위치
  • Windows, macOS 및 Linux 지원
  • Flutter 데스크톱 앱과의 간편한 통합

적합한 대상

  • 데스크톱 중심의 플러터 앱을 개발하는 개발자
  • 창의 외관에 대한 완전한 제어를 원하는 디자이너
  • 크로스 플랫폼 데스크톱 호환성이 필요한 앱
  • 세련된 데스크톱 사용자 경험을 만드는 팀

고려 사항

  • Flutter 데스크톱 설정이 필요합니다
  • 제공된 컨트롤 외의 맞춤 설정이 제한적
  • 플랫폼별 스타일 조정이 필요할 수 있습니다
  • 모바일 또는 웹 플랫폼에 적합하지 않습니다

원본 README

연결된 소스 저장소의 README 원문 스냅샷입니다. 최신 내용은 저장소에서 확인하세요.

Pub Version Pub Popularity Pub Points

GitHub Stars Build Test GitHub License

bitsdojo_window

A Flutter package that makes it easy to customize and work with your Flutter desktop app window on Windows, macOS and Linux.

Watch the tutorial to get started. Click the image below to watch the video:

IMAGE ALT TEXT

Features:

  • Custom window frame - remove standard Windows/macOS/Linux titlebar and buttons
  • Hide window on startup
  • Show/hide window
  • Move window using Flutter widget
  • Minimize/Maximize/Restore/Close window
  • Set window size, minimum size and maximum size
  • Set window position
  • Set window alignment on screen (center/topLeft/topRight/bottomLeft/bottomRight)
  • Set window title

Getting Started

Add the package to your project's pubspec.yaml file manually or using the command below:

pub add bitsdojo_window

The pubspec.yaml file should look like this:

// pubspec.yaml

  ...

  dependencies:
    flutter:
      sdk: flutter
+ bitsdojo_window: ^0.1.6

  dev_dependencies:

  ...

For Windows apps

Inside your application folder, go to windows\runner\main.cpp and change the code look like this:

// windows/runner/main.cpp

  ...

  #include "flutter_window.h"
  #include "utils.h"

+ #include <bitsdojo_window_windows/bitsdojo_window_plugin.h>
+ auto bdw = bitsdojo_window_configure(BDW_CUSTOM_FRAME | BDW_HIDE_ON_STARTUP);

  int APIENTRY wWinMain(_In_ HINSTANCE instance, _In_opt_ HINSTANCE prev,

  ...

For macOS apps

Inside your application folder, go to macos\runner\MainFlutterWindow.swift and change the code look like this:

// macos/runner/MainFlutterWindow.swift

  import Cocoa
  import FlutterMacOS
+ import bitsdojo_window_macos

- class MainFlutterWindow: NSWindow {
+ class MainFlutterWindow: BitsdojoWindow {
+     override func bitsdojo_window_configure() -> UInt {
+     return BDW_CUSTOM_FRAME | BDW_HIDE_ON_STARTUP
+   }
      override func awakeFromNib() {

      ...

    }
  }

If you don't want to use a custom frame and prefer the standard window titlebar and buttons, you can remove the BDW_CUSTOM_FRAME flag from the code above.

If you don't want to hide the window on startup, you can remove the BDW_HIDE_ON_STARTUP flag from the code above.

For Linux apps

Inside your application folder, go to linux\my_application.cc and change the code look like this:

// linux/my_application.cc

  ...
  #include "flutter/generated_plugin_registrant.h"
+ #include <bitsdojo_window_linux/bitsdojo_window_plugin.h>

  struct _MyApplication {

  ...

  }

+  auto bdw = bitsdojo_window_from(window);
+  bdw->setCustomFrame(true);
-  gtk_window_set_default_size(window, 1280, 720);
   gtk_widget_show(GTK_WIDGET(window));

   g_autoptr(FlDartProject) project = fl_dart_project_new();

  ...

  }

Flutter app integration

Now go to lib\main.dart and change the code look like this:

// lib/main.dart

  import 'package:flutter/material.dart';
+ import 'package:bitsdojo_window/bitsdojo_window.dart';

 void main() {
   runApp(MyApp());

+   doWhenWindowReady(() {
+     const initialSize = Size(600, 450);
+     appWindow.minSize = initialSize;
+     appWindow.size = initialSize;
+     appWindow.alignment = Alignment.center;
+     appWindow.show();
+   });
 }

This will set an initial size and a minimum size for your application window, center it on the screen and show it on the screen.

You can find examples in the example folder.

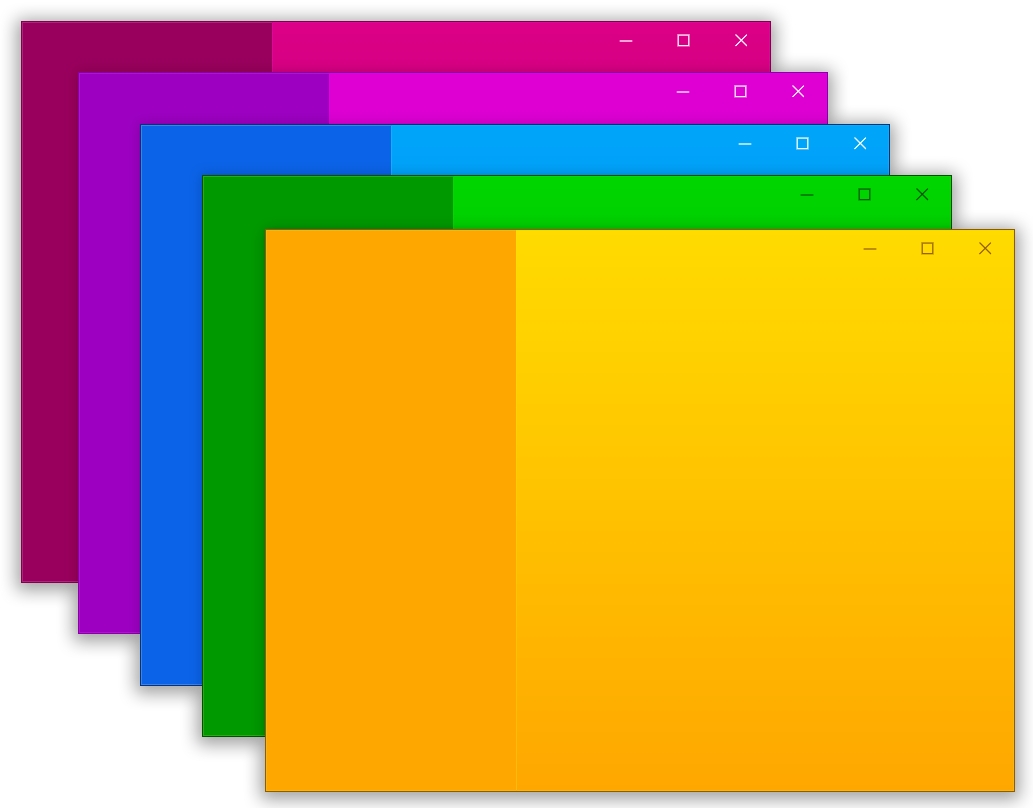
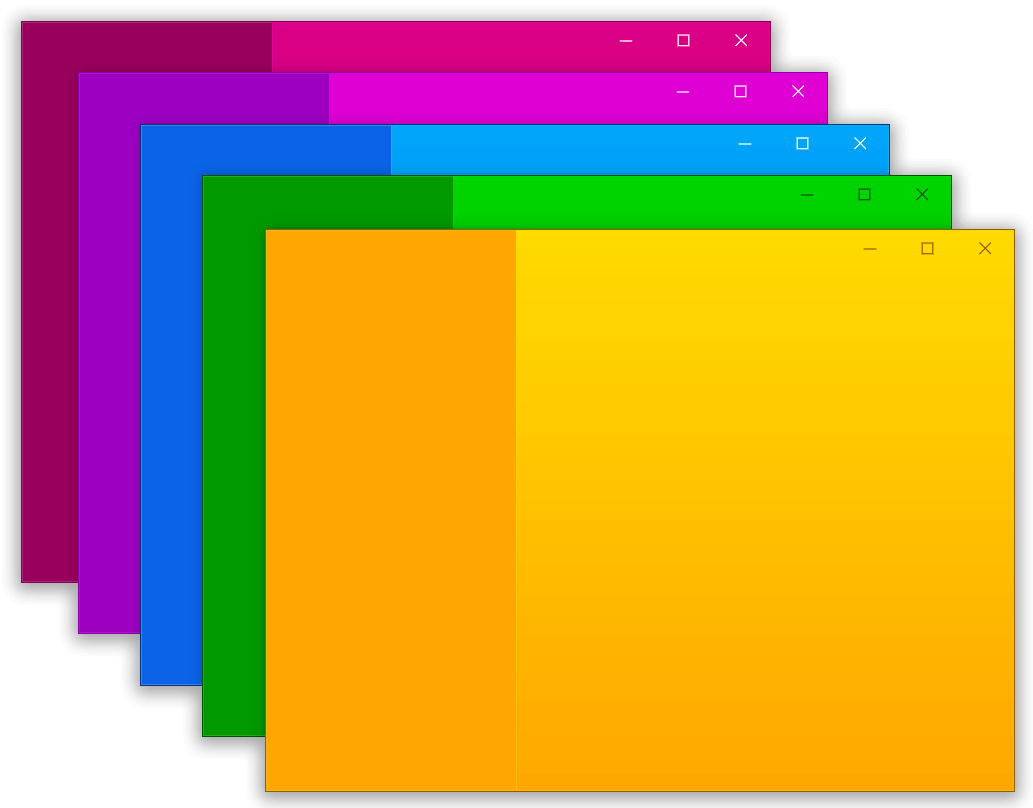
Here is an example that displays this window:

Click to expand
import 'package:flutter/material.dart';
import 'package:bitsdojo_window/bitsdojo_window.dart';

void main() {
  runApp(const MyApp());
  doWhenWindowReady(() {
    final win = appWindow;
    const initialSize = Size(600, 450);
    win.minSize = initialSize;
    win.size = initialSize;
    win.alignment = Alignment.center;
    win.title = "Custom window with Flutter";
    win.show();
  });
}

const borderColor = Color(0xFF805306);

class MyApp extends StatelessWidget {
  const MyApp({Key? key}) : super(key: key);

  @override
  Widget build(BuildContext context) {
    return MaterialApp(
      debugShowCheckedModeBanner: false,
      home: Scaffold(
        body: WindowBorder(
          color: borderColor,
          width: 1,
          child: Row(
            children: const [LeftSide(), RightSide()],
          ),
        ),
      ),
    );
  }
}

const sidebarColor = Color(0xFFF6A00C);

class LeftSide extends StatelessWidget {
  const LeftSide({Key? key}) : super(key: key);
  @override
  Widget build(BuildContext context) {
    return SizedBox(
        width: 200,
        child: Container(
            color: sidebarColor,
            child: Column(
              children: [
                WindowTitleBarBox(child: MoveWindow()),
                Expanded(child: Container())
              ],
            )));
  }
}

const backgroundStartColor = Color(0xFFFFD500);
const backgroundEndColor = Color(0xFFF6A00C);

class RightSide extends StatelessWidget {
  const RightSide({Key? key}) : super(key: key);
  @override
  Widget build(BuildContext context) {
    return Expanded(
      child: Container(
        decoration: const BoxDecoration(
          gradient: LinearGradient(
              begin: Alignment.topCenter,
              end: Alignment.bottomCenter,
              colors: [backgroundStartColor, backgroundEndColor],
              stops: [0.0, 1.0]),
        ),
        child: Column(children: [
          WindowTitleBarBox(
            child: Row(
              children: [Expanded(child: MoveWindow()), const WindowButtons()],
            ),
          )
        ]),
      ),
    );
  }
}

final buttonColors = WindowButtonColors(
    iconNormal: const Color(0xFF805306),
    mouseOver: const Color(0xFFF6A00C),
    mouseDown: const Color(0xFF805306),
    iconMouseOver: const Color(0xFF805306),
    iconMouseDown: const Color(0xFFFFD500));

final closeButtonColors = WindowButtonColors(
    mouseOver: const Color(0xFFD32F2F),
    mouseDown: const Color(0xFFB71C1C),
    iconNormal: const Color(0xFF805306),
    iconMouseOver: Colors.white);

class WindowButtons extends StatelessWidget {
  const WindowButtons({Key? key}) : super(key: key);
  @override
  Widget build(BuildContext context) {
    return Row(
      children: [
        MinimizeWindowButton(colors: buttonColors),
        MaximizeWindowButton(colors: buttonColors),
        CloseWindowButton(colors: closeButtonColors),
      ],
    );
  }
}

Want to help? Become a sponsor

I am developing this package in my spare time and any help is appreciated.

If you want to help you can become a sponsor.

🙏 Thank you!

☕️ Current sponsors:

No sponsors

카테고리

의존성

의존성 목록 4 개

  • bitsdojo_window_linux^0.1.4
  • bitsdojo_window_macos^0.1.4
  • bitsdojo_window_platform_interface^0.1.2
  • bitsdojo_window_windows^0.1.6

소스 저장소

이 패키지를 사용하는 프로젝트