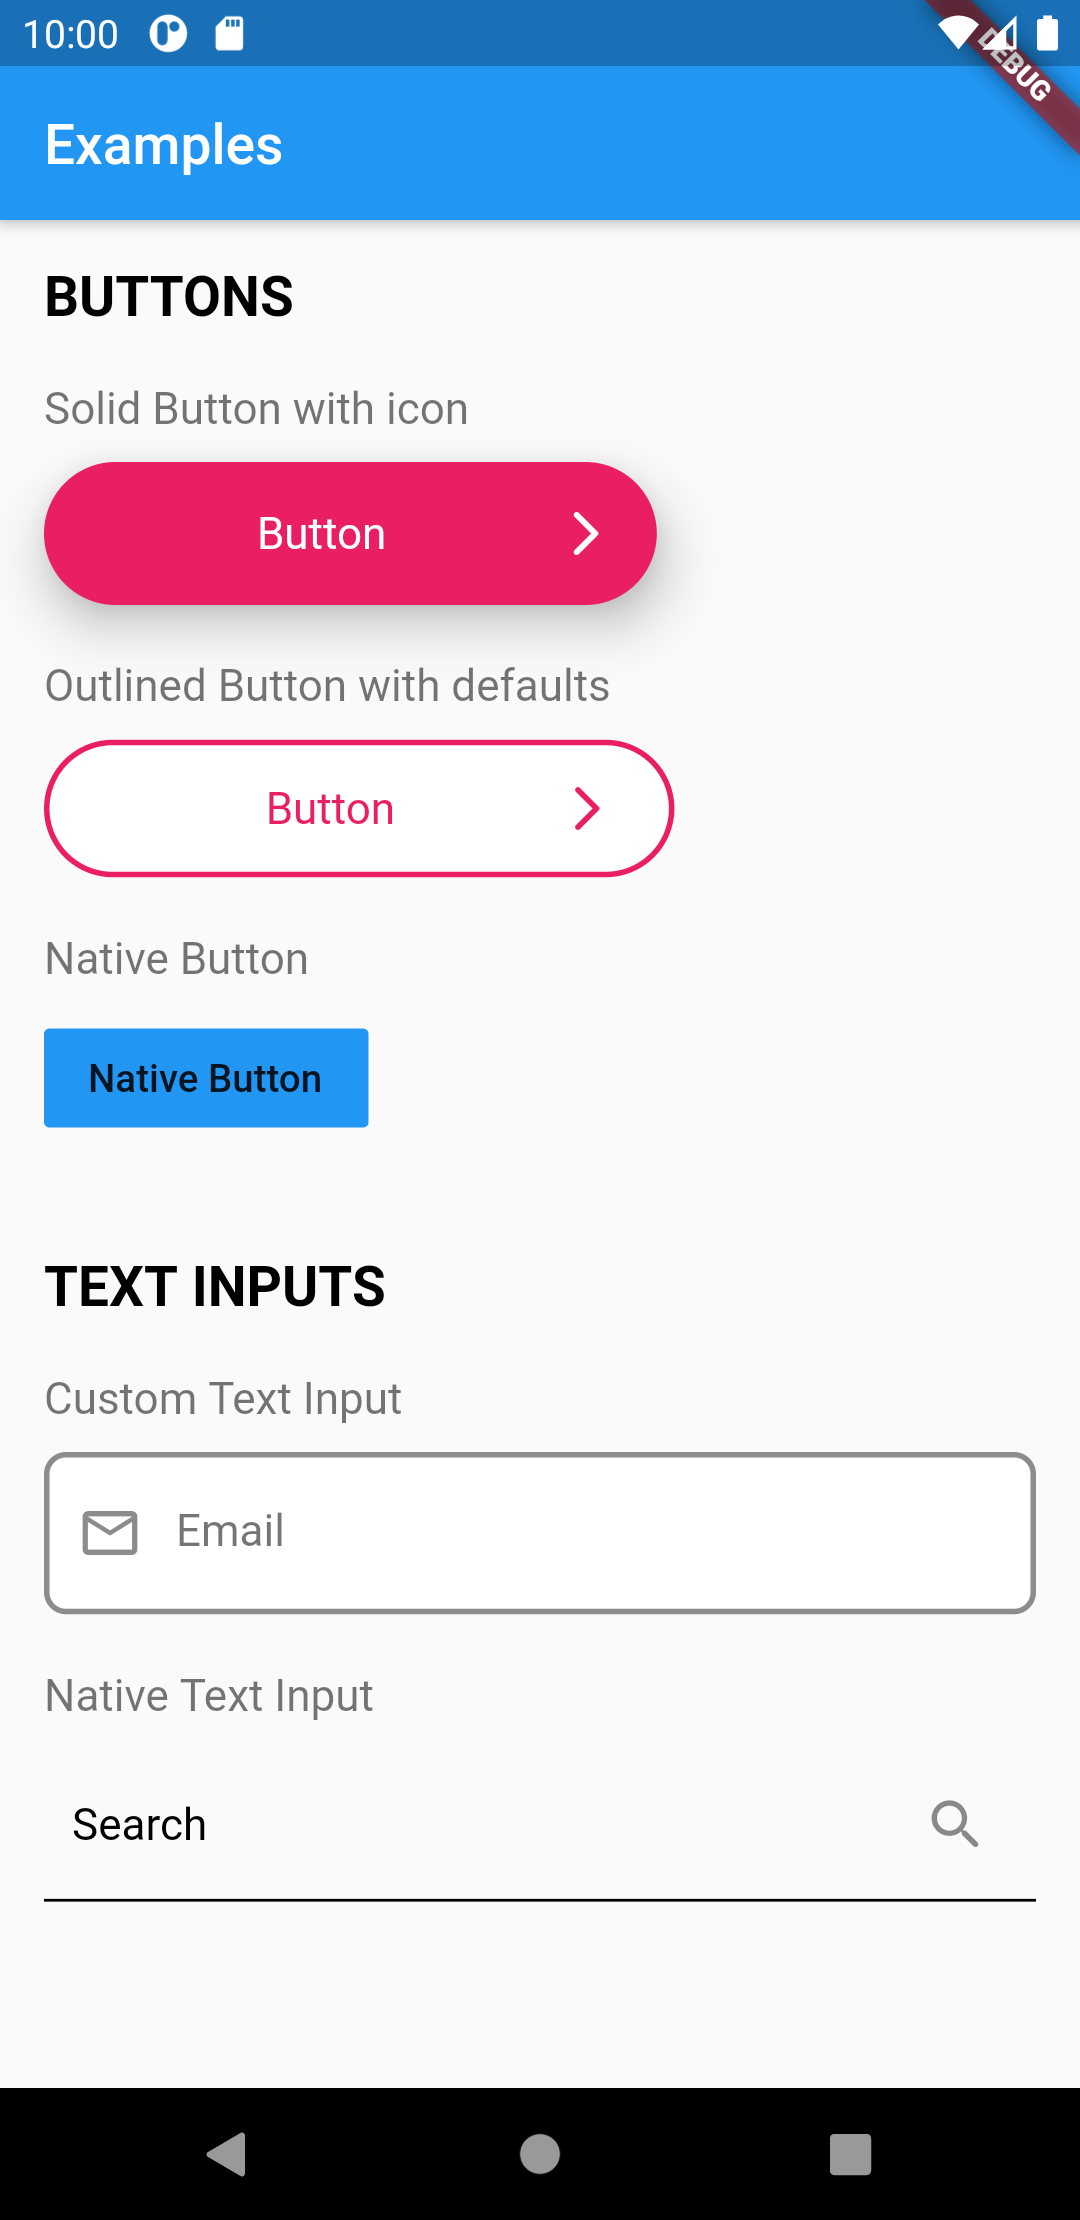
Flutter UI 工具包是一个全面的预构建可重用组件库,旨在加速应用开发。它受到 HTML 和 CSS 类的简洁性启发,使开发者能够快速使用现成的组件组装界面。该工具包强调一致性、可定制性和易用性,减少样板代码。它支持 Android、iOS、macOS、Windows 和 Linux 等多个平台,非常适合需要快速进行 UI 迭代的跨平台项目。
适合场景
快速原型设计
跨平台应用程序开发
一致的用户界面设计
减少重复的部件代码
简化UI组件复用
主要特点
预构建的、可自定义的小部件
用于样式的类似 CSS 的类系统
多平台支持
最小的样板代码
通过 pub 轻松集成
适合对象
前端开发人员
以用户界面为重点的团队
快速发展的初创企业
设计系统实施
初学者到中级 Flutter 用户
使用建议
可能限制对小部件行为的细粒度控制
依赖外部维护
不适用于需要扩展的高度自定义UI
如果包含未使用的部件,可能会导致膨胀
基于类的样式方法的学习曲线
原始 README
以下为关联源码仓库的 README 原文快照,最新内容请访问源码仓库。
Flutter UI Toolkit
The development of this  package is still in progress. More widgets are to come.
However because the widgets are purely Flutter widgets, you can use it with no fear :)
Flutter UI Toolkit is a pre-built collection of the most used widgets to create apps,
the basic ones like: Buttons, Inputs, Headings, Dialogs, Action Sheets, etc..
The idea is that you can use these widgets the way you use classes in HTML and CSS and be a simple helper.
The widgets can receive an argument called as that will carry the widget's styles.
The advantage of this approach is that we don't need to repeat styling every time we create a new widget.
In addition to custom styles, this package also provides native look and feel to the widgets.
This is useful when you want to have one widget that displays the right look and feel based on the Platform.
We can also add custom styles to UIHeading as well
/// Use Google Fonts to set font family and extend stylyes

final articleTitleLato = UIHeadingDefaults(
    color: Colors.pink,
    style: GoogleFonts.lato(
      fontSize: 40.0,
    ),
);
Then use the headings anywhere in your application.
import'styles/headings.dart'// Use articleTitleUIHeading(
as: articleTitle,
text: 'Article Title',
),
// Use articleTitleLatoUIHeading(
as: articleTitleLato,
text: 'Big title using font Lato',
),
UIBottomSheet
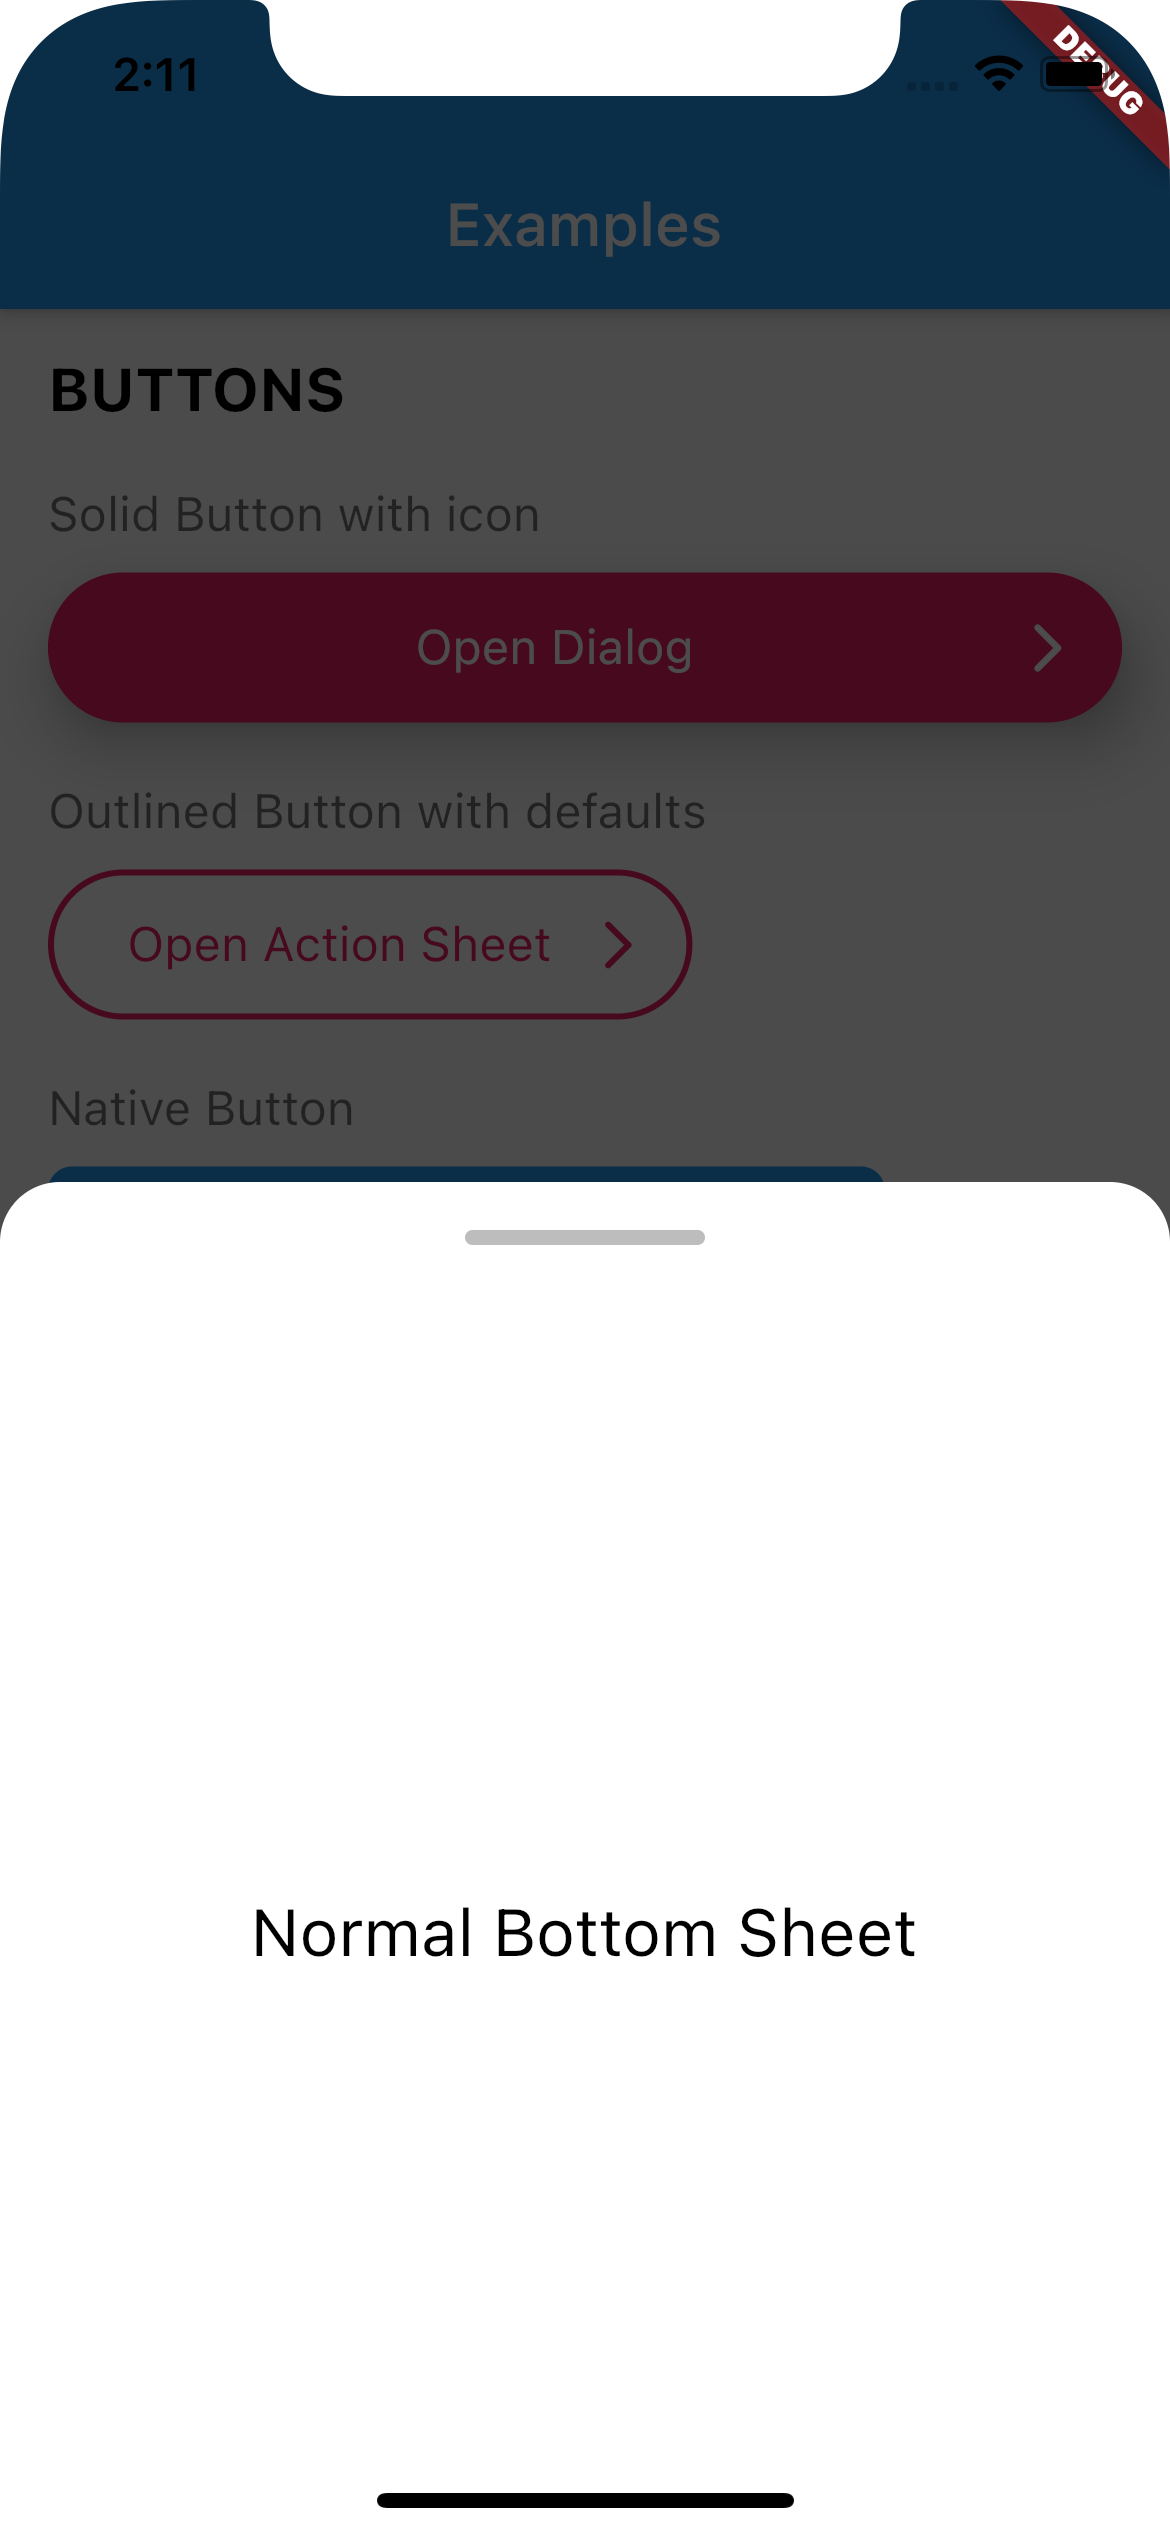
Use UIBottomSheet when you want to display a bottomsheet.
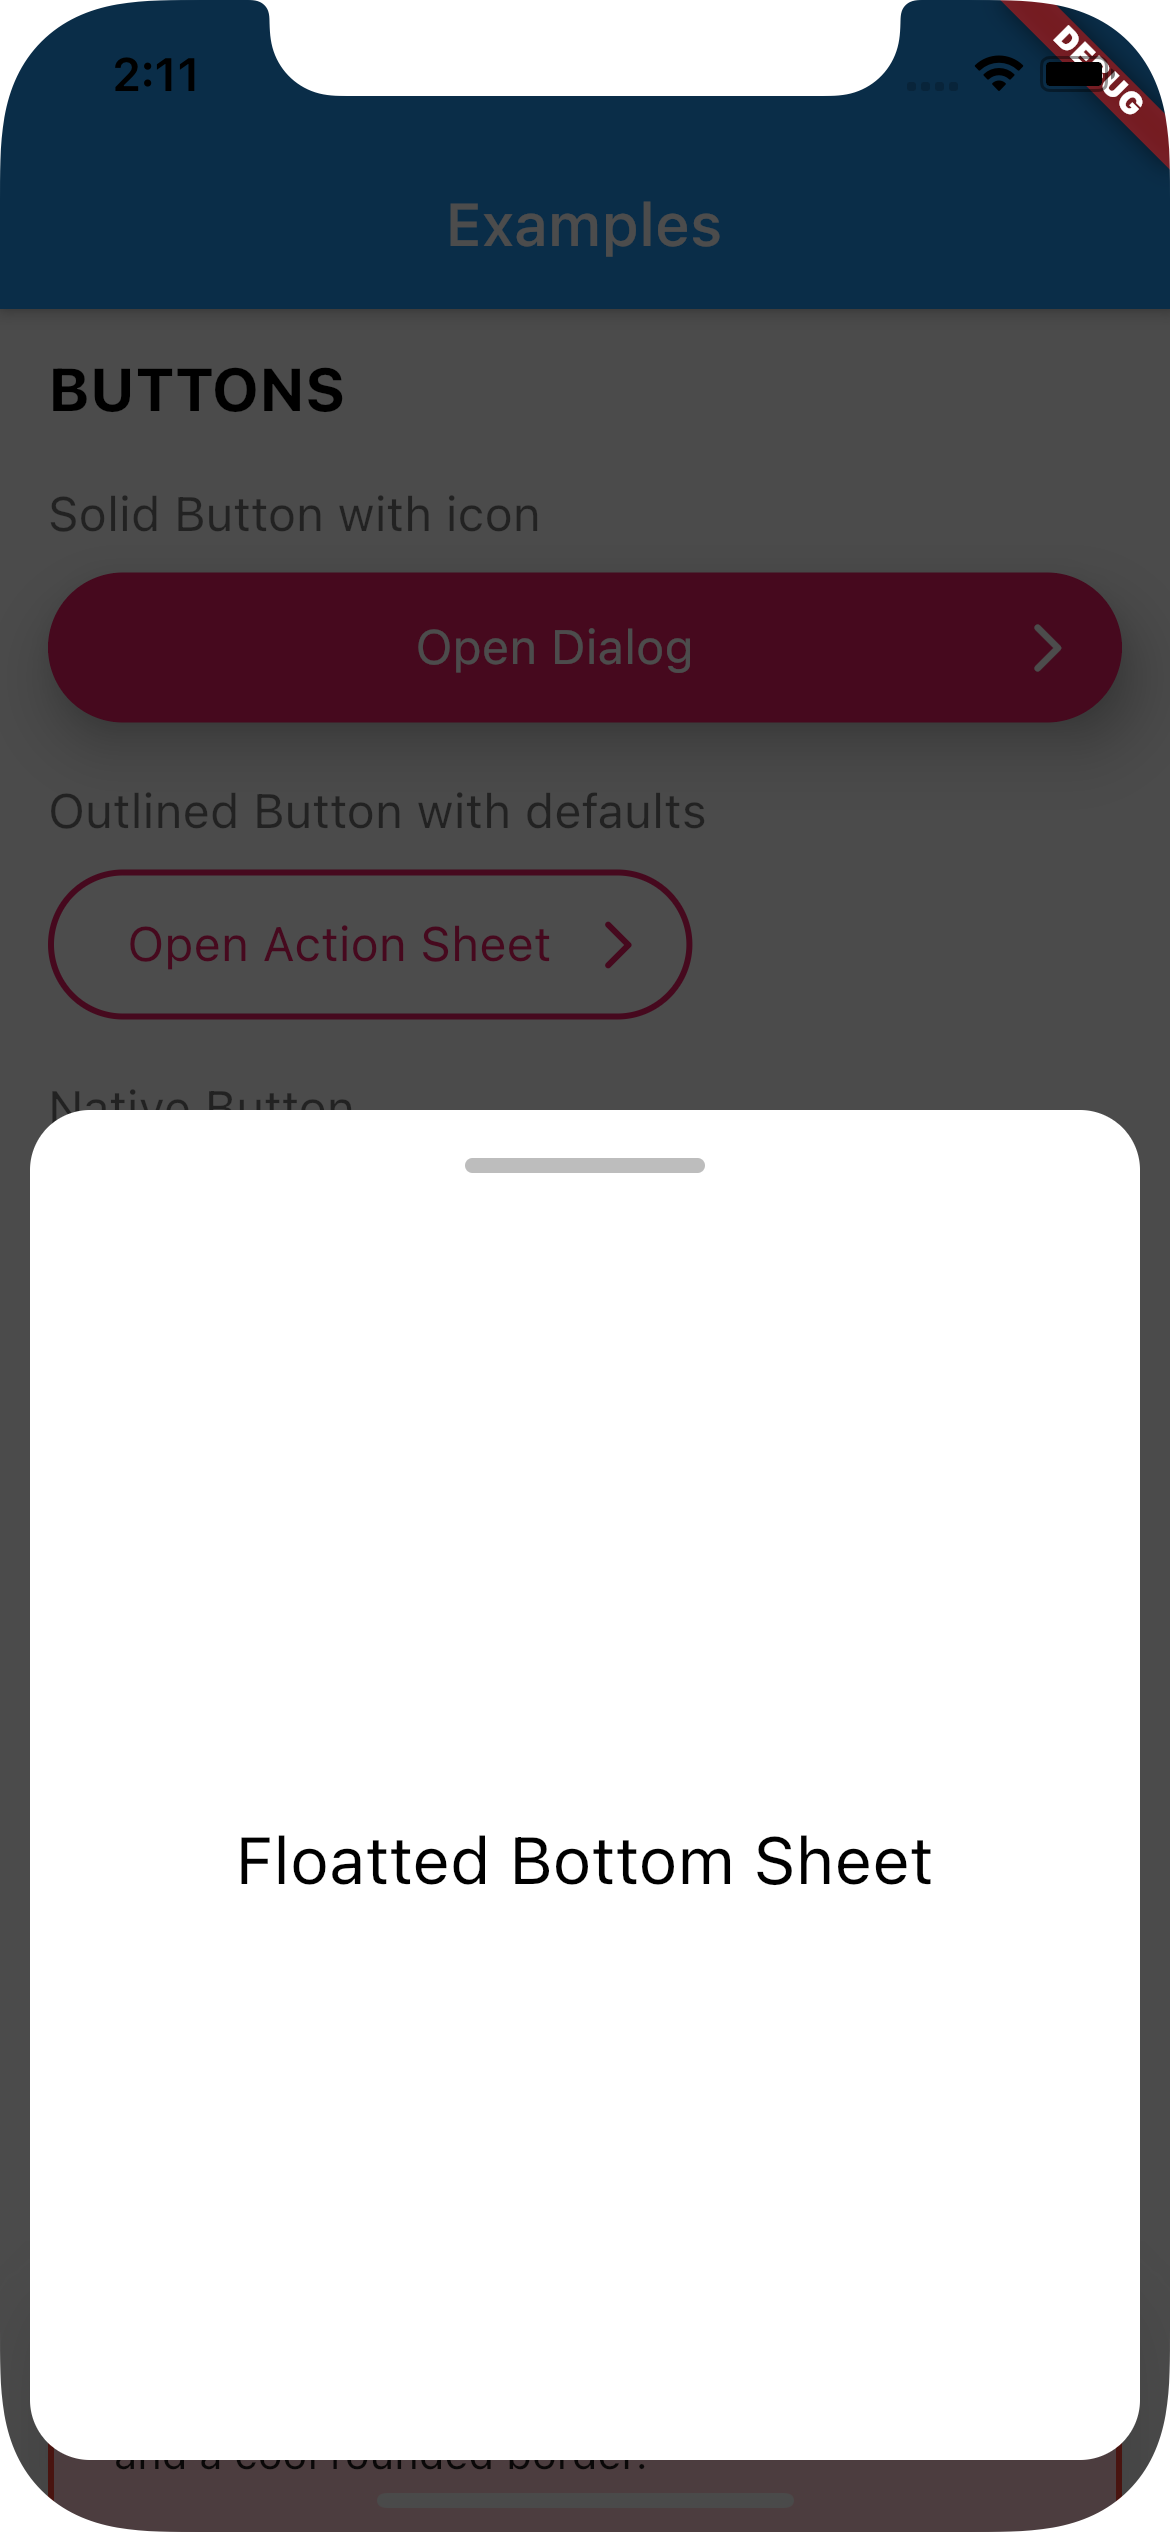
Set floatted: true if you want the bottom sheet to be floatted (have margin all around it, like some iOS bottom sheets)
You can also have a trailing Widget that can be useful for a close button when you have enableDrag set to false.
Full Width
Floatted
How to use:
Create a function that calls UIBottomSheet.show().
Call the function when you need it (eg.: on tap on a button)
// Set up the bottom sheetFuture<void> _openBottomSheet(BuildContext context) async {
awaitUIBottomSheet.show(
context: context,
floatted: true,
hideHead: false,
content: Container(
alignment: Alignment.center,
height: 400,
child: UIHeading(
heading: 3,
text: 'Some cool content',
),
),
);
}
// Open the bottom sheet UIButton.native(
label: 'Open Bottom Sheet',
onPressed: () async {
// OPEN BOTTOM SHEET// and wait until it's closedawait_openBottomSheet(context);
// proceedprint('Bottom sheet closed');
},
),
UITextField
This widget renders a input text field.
There are two kind of text fields you can choose from:
UITextField(),
UITextField.native(),
To create default styles for the text field you need to create a class of type UITextFieldDefaults.
You can have a separated directory where you add all your default styles.
import'styles/containers.dart';
// Show container with error stylingUIContainer(
as: errorContainer,
child: Text('This is a box with a nice shadow\nand a cool rounded border.'),
),
UIActionSheet
This widget creates a Native Action Sheet.
Compared with the other classes in this package,UIActionSheet is a bit more verbose.
However you write once for all platforms.
How to use:
Create a function that calls UIActionSheet.show().
The actions need to be of type UIAction.
Call the function when you need it (eg.: on tap on a button)
See example below:
// Creates a Native Action Sheet Factoryvoid_openActionSheet(BuildContext context) {
UIActionSheet.show(
context,
/// TITLE
title: UIHeading(
text: 'Select you favorite color',
color: Colors.blue,
textAlign: TextAlign.center,
heading: 5,
),
/// CONTENT
content: Text('We will use the color on your profile.'),
/// ACTIONS
actions: [
UIAction(
child: Text('Red'),
onPressed: () => Navigator.of(context).pop(),
),
UIAction(
child: Text('Green'),
onPressed: () => Navigator.of(context).pop(),
),
UIAction(
child: Text('Bue'),
onPressed: () => Navigator.of(context).pop(),
),
UIAction(
child: Text('Pink'),
onPressed: () => Navigator.of(context).pop(),
),
],
/// CANCEL BUTTON
cancel: UIAction(
child: UIHeading(
text: 'Cancel',
color: Colors.red,
heading: 4,
),
onPressed: () => print('Cancel'),
),
);
}
// Will open action sheet based on the current OSUIButton.solid(
as: solidButtonStyles,
label: "Open Action SHeet",
onPressed: () => _openActionSheet(context),
),
UIDialog
This widget creates a Native Dialog.
Compared with the other classes in this package, UIDialog is a bit more verbose.
However you write once for all platforms.
How to use:
Create a function that calls UIDialog.show().
The actions need to be of type UIAction.
Call the function when you need it (eg.: on tap on a button)
See example below:
// Creates a Native Dialog Factoryvoid_openDialog(BuildContext context) {
UIDialog.show(
context,
/// TITLE
title: Text('Are you sure?'),
/// CONTENT
content: Text('You cannot reverse this action.'),
/// ACTIONS
actions: [
UIAction(
child: Text('YES'),
onPressed: () => print('YES'),
),
UIAction(
child: Text('NO'),
onPressed: () => Navigator.of(context).pop(),
),
],
);
}
// Will open a dialog based on the current OSUIButton.solid(
as: solidButtonStyles,
label: "Open Dialog",
onPressed: () => _openDialog(context),
),
If you find any bug or want to request a feature, feel free to open an issue on Github.