flutter_micro_app 是一个专为加速在大型 Flutter 应用中开发微应用而设计的 Flutter 包。它提供了一种结构化的方法,用于组织模块化、可独立维护的组件,这些组件可以分别进行开发、测试和部署。该包简化了微应用模块的路由、依赖管理及生命周期处理,促进了可扩展性和团队协作。基于跨平台支持构建,它可在 Android、iOS、macOS、Windows 和 Linux 上无缝运行。
适合场景
构建模块化的 Flutter 应用程序
启用基于团队的独立功能开发
简化大规模应用中的功能集成
支持增量应用更新
创建可重用的 UI 模块
促进插件式组件分发
主要特点
模块化架构支持
微应用的内置路由
隔离的依赖管理
跨平台兼容性
通过 pub add 轻松集成
生命周期感知的模块加载
适合对象
大型 Flutter 项目,涉及多个团队
需要功能模块化的应用
寻求可扩展应用结构的开发者
使用 CI/CD 流水线的功能团队
旨在加快特定模块迭代速度的项目
使用建议
需要理解模块化设计模式
可能增加初始设置复杂性
最适合具有明确功能边界的应用程序
不太适合简单或单模块应用
依赖于项目结构的一致性遵循
原始 README
以下为关联源码仓库的 README 原文快照,最新内容请访问源码仓库。
This package is designed to streamline the organization and maintain consistency when implementing a micro-app architecture in Flutter applications, ensuring a standardized and efficient development process.
💾 The Flutter Micro App package provides a Flutter DevTools Extension, so you can inspect the app event handlers, inspect the routes in Widget Tree through the Flutter Widget Inspector, dispatch events to control the app from outside, search for routes and export all routes to an Excel file (.xlsx), and stubbing feature flags.
In order to stub Remote Config, you need to load initial data as a json/Map, and then you will be able to use it, and switch between the real and mock data easily through Devtools.
// If you are using Firebase Remote Config, you can do this way:FmaRemoteConfig.updateConfig(
config: FirebaseRemoteConfig.instance.getAll()
.map((key, value) => MapEntry(key, value.asString()))
.cast<String, String>()
);
// or convert boolen values to switch in DevToolsFmaRemoteConfig.updateConfig(
config: FirebaseRemoteConfig.instance.getAll().map((key, value) {
final stringValue = value.asString();
returnMapEntry(key, stringValue == 'true' ? true : stringValue == 'false' ? false : stringValue);
});
);
// If you are using a json file from assets(You also can download this file from Firebase Remote Config Defaults):final jsonData = await json.decode(await rootBundle.loadString('assets/default_remote_config.json'));
FmaRemoteConfig.updateConfig(config: jsonData);
// If you are using a Map(or want customize it dynamically), you can do this way:FmaRemoteConfig.updateConfig(
config: {
'key1': true, // Boolean values will be shown as a switch automatically'key2': 1.2,
'key3': 3,
'key4': 'value',
}
);
// Example of a custom implementation of a remote configclassRemoteConfigExampleextendsFmaRemoteConfig{
finalFirebaseRemoteConfig firebaseRemoteConfig;
RemoteConfigExample(this.firebaseRemoteConfig)
: super(
getAll: firebaseRemoteConfig.getAll, // Optional
getInt: firebaseRemoteConfig.getInt, // Optional
getDouble: firebaseRemoteConfig.getDouble, // Optional
getString: firebaseRemoteConfig.getString, // Optional
getBool: firebaseRemoteConfig.getBool, // Optional
getValue: firebaseRemoteConfig.getValue // Optional
);
}
// laterfinal remoteConfig = RemoteConfigExample(FirebaseRemoteConfig.instance);
final myFlag = remoteConfig.getBool('my_flag');
In order to see all connections between dart files, you can use the Connections tab.
Create a file called connection_rules.json in root project folder, and add all rules desired using glob patterns. see example:
[{"description":"All .dart files should have a maximum of 50 dependencies","source":"**/*.dart","maxDependencies":50},{"description":"Usecases should not depend on datasources or screens","source":"**/usecases/*.dart","cannotDependOn":["**/datasources/*.dart","**/*_screen.dart"]},{"description":"Presentation files should not depend on datasources","source":"**/presentation/**/*.dart","cannotDependOn":["**/datasources/*.dart"]}]
Connections that violate rules are highlighted with a red line. Use the Connection Rules Violations panel to view all violations and fix them.
⚙️ Define micro app configurations and contracts
Configure the preferences (optional)
MicroAppPreferences.update(
MicroAppConfig(
nativeEventsEnabled: true, // If you want to dispatch and listen to events between native(Android/iOS) [default = false]
nativeNavigationCommandEnabled: true,
nativeNavigationLogEnabled: true,
pathSeparator: MicroAppPathSeparator.slash // It joins the routes segments using slash "/" automatically// The [MicroPageTransitionType.platform] is a dynamic transition type, // for iOS it will use Cupertino, and for others it will use Material.
pageTransitionType: MicroPageTransitionType.platform,
// When pushing routes, if the route is not registered, this will be triggered,// and it will abort the navigation// // [onUnknownRoute] will not be dispatched, since the navigation was aborted.//// To makes this works, do:// - Use root navigator(from MaterialApp) call NavigatorInstance.push...() without context, or// - Use MicroAppNavigatorWidget as your nested navigators, or// - Use RouterGenerator.onGenerateRoute mixin in your custom navigators
onRouteNotRegistered: (route, {arguments, type, context}) {
print('[OnRouteNotRegistered] Route not found: $route, $arguments, $type');
},
)
);
🚀 Initialize the micro host, registering all micro apps
MyApp(Widget) needs to extends MicroHostStatelessWidget or MicroHostStatefulWidget
The MicroHost is the root widget, and it has all MicroApps, and the MicroApps has all Micro Pages and associated MicroRoutes.
voidmain() {
runApp(MyApp());
}
classMyAppextendsMicroHostStatelessWidget{ // Use MicroHostStatelessWidget or MicroHostStatefulWidget@overrideWidgetbuild(BuildContext context) {
returnMaterialApp(
navigatorKey: NavigatorInstance.navigatorKey, // Required
onGenerateRoute: onGenerateRoute, // Required - [onGenerateRoute] this is created automatically, so just use it, or override it, if needed.
initialRoute: '/host_home_page',
navigatorObservers: [
NavigatorInstance// [Optional] Add NavigatorInstance here, if you want to get didPop, didReplace and didPush events
],
);
}
// Register all Host [MicroAppPage]s here@overrideList<MicroAppPage> get pages => [
MicroAppPage(
route: '/host_home_page',
pageBuilder: PageBuilder(
widgetBuilder: (_, __) => constHostHomePage()
),
description: 'The initial page of the application',
),
MicroAppPage(
route: '/modal_page',
pageBuilder: PageBuilder(
modalBuilder: (settings) => ModalExamplePage(
title: '${settings.arguments}'), // extends PopupRoute
),
description: 'ModalBuilder can be used to show [PopupRoute]',
)
];
// Register all [MicroApp]s here@overrideList<MicroApp> get initialMicroApps => [MicroApplication1(), MicroApplication2()];
}
The example above shows how to use a classic routing strategy, but you can use GoRouter to leverage an advanced routing system.
// Register routes using classic routing or GoRouter// In order to use GoRouter, you need to add package https://pub.dev/packages/fma_go_router// IMPORTANT: See example code, in order to understand how GoRouter integration worksFmaGoRoute(
description: 'This is a example of GoRouter page',
path: 'page_with_id/:id',
parameters: ExamplePageA.new, // If using `.new`, the parameters will be passed automatically, but you can use a String if you want to pass manually
builder: (context, state) {
returnExamplePageA(state.pathParameters['id']);
},
),
// or use classic routingMicroAppPage(
route: '/page2',
parameters: Page2.new,
pageBuilder: PageBuilder(
widgetBuilder: (_, settings) =>
Page2(title: settings.arguments asString?)),
),
You can structure your application in many ways, this is one of the ways I usually use it in my projects.
🤲 Handling micro apps events
🗣 Dispatches events to all handlers that listen to channels 'user_auth'
🌐 It is possible to wait for other micro apps to respond to the event you issued, but make sure someone else will respond to your event, or use timeout parameter to set a wait limit time, otherwise you will wait forever 😢
remember, with great power comes great responsibility
.getFirstResult() will return the first response(fastest) among all micro apps that eventually can respond to this same event.
For example, if you request a JWT token to all micro apps(broadcast), the first response(if more than one MA can respond) will end up your request with the resultSucces value or with a resultError, from the fastest micro app.
final result = awaitMicroAppEventController()
.emit(MicroAppEvent<Map<String, String>>(
name: 'get_jwt',
payload: const {'userId': 'ABC123'},
channels: const ['jwt'],
)
).getFirstResult(); // This will return the first response(fastest) among all micro app that eventually can respond to this same the eventprint(result);
Later, when some micro app that is listening to same channel get triggered, it can answer success or error.
// results success
event.resultSuccess(['success message by Wally West', 'your token, Sir.']);
// results error
event.resultError(['error message by Barry Allen', 'my bad 🤦']);
// Who will respond faster? native? flutter?// If you don't want to take that risk, just deal with the List<Future> response.
Dealing with errors and timeout:
timeout is an optional parameter, use only if you intends to wait for
the event to be sent back, otherwise this can throw uncaught timeout exceptions.
If you need an EDA approach, use the MicroAppEventHandler as a consumer, in order to get all event dispatched by producers.
try {
final result = awaitMicroAppEventController()
.emit(
MicroAppEvent<String>(
name: 'event_from_flutter',
payload: 'My payload',
),
timeout: constDuration(seconds: 2)
)
.getFirstResult();
logger.d('Result is: $result');
} onTimeoutExceptioncatch (e) {
logger.e(
'The native platform did not respond to the request',
error: e);
} onPlatformExceptioncatch (e) {
logger.e(
'The native platform respond to the request with some error',
error: e);
} onException {
logger.e('Generic Error');
}
or
final futures = MicroAppEventController().emit(
MicroAppEvent(
name: 'show_snackbar',
payload: 'Hello World!',
channels: const ['show_snackbar'],
),
timeout: constDuration(seconds: 3)
);
futures
.getFirstResult()
.then((value) => {
// 2 - this line will be executed later
logger.d(
'** { You can capture data asyncronously later } **')
})
.catchError((error) async {
logger.e(
'** { You can capture errors asyncronously later } **',
error: error);
return <dynamic>{};
});
// 1 - this line will be executed first
logger.d('** { You do not need to wait for a TimeoutException } **');
🦻 Listen to events (MicroApps)
Use the mixin HandlerRegisterMixin in order to get the method registerEventHandler
classMyMicroApplicationextendsMicroAppwithHandlerRegisterMixin{
MyMicroApplication() {
// It listen to all events// Avoid using such a generic handler, prefer to use handlers by type // and with channels for a granular and specialized treatmentregisterEventHandler(
MicroAppEventHandler(
(event) => logger.d([ event.name, event.payload])
);
);
}
}
Some example scenarios:
// It listen to events with channels "chatbot" and "user_auth"registerEventHandler(
MicroAppEventHandler((event) {
// User auth feature, asked to show a popup :)
myController.showDialog(event.payload);
}, channels: ['chatbot', 'user_auth']);
);
// It listen to events with type String (only)
registerEventHandler<String>(
MicroAppEventHandler((event) {
// Use .cast() to automatically cast the payload data to String? type
logger.d(event.cast());
});
);
// It will be fired for every event, even if the value is the same (distinct = false)registerEventHandler(
MicroAppEventHandler((event) {
logger.d(event.cast());
}, distinct: false);
);
Listen to events inside widgets (If need BuildContext or if you need to unregister event handlers automatically)
It can be achieved, registering the event handlers and unregistering them manually, but is advised to use a mixin called HandlerRegisterStateMixin to dispose handlers automatically when widget is disposed
🦻 Initiating an event subscription anywhere in the application
Take care when registering an event handler directly in the controller, as you will need to manually unregister them when they are no longer needed.
Always prefer to use the HandlerRegisterStateMixin and HandlerRegisterMixin mixins, as they take care to unregister event handlers when they are no longer useful.
Using subscription
final subscription = MicroAppEventController().stream.listen((MicroAppEvent event) {
logger.d(event);
});
// later, in dispose method of the widget@overridevoiddispose() {
subscription.cancel();
super.dispose();
}
Using handler
MicroAppEventController().registerHandler(MicroAppEventHandler(id: '1234'));
// later, in dispose method of the widget@overridevoiddispose() {
MicroAppEventController().unregisterHandler(id: '1234');
super.dispose();
}
🏭 Using the pre-built widget MicroAppWidgetBuilder to display data on the screen
It can be used to show visual info on the screen.
In this example, it shows a button and the label changes when user clicks on the button
ℹ️ When user dispatched an event in the same channel that the widget is listening to, the widget redraw the updated info on the screen.
// Using Go Router (Advanced and flexible)finalFmaGoRouter fmaGoRouter = FmaGoRouter(
name: 'GoRouter Example',
description: 'This is an example of GoRouter',
goRouter: GoRouter(
navigatorKey: NavigatorInstance.navigatorKey,
routes: <RouteBase>[
FmaGoRoute(
description: 'This is the boot page',
path: '/',
parameters: BaseHomePage.new,
builder: (BuildContext context, GoRouterState state) {
returnconstBaseHomePage();
},
routes: <RouteBase>[
FmaGoRoute(
description: 'This page has path parameter',
parameters: ExamplePageA.new,
path: 'page_with_id/:id',
builder: (context, state) {
returnExamplePageA(
'page with id = ' + (state.pathParameters['id'] ?? ''));
},
),
FmaGoRoute(
description: 'This is the first page',
path: 'page1',
parameters: ExamplePageA.new,
builder: (context, state) {
returnconstExamplePageA('page1');
},
),
],
),
],
),
);
// Using MicroApp defaults (Simple and easy to use)import'package:micro_routes/exports.dart';
classApplication1MicroAppextendsMicroApp{
final routes = Application1Routes();
@overrideList<MicroAppPage> get pages => [
MicroAppPage<Initial>(
description: 'The initial page of the micro app 1',
route: routes.baseRoute.route,
parameters: Initial.new,
pageBuilder: PageBuilder(
widgetBuilder: (context, settings) => constInitial(),
transitionType: MicroPageTransitionType.slideZoomUp
),
),
MicroAppPage<Page1>(
description: 'Display all buttons of the showcase',
route: routes.page1,
parameters: Page1.new,
pageBuilder: PageBuilder(
modalBuilder: (settings) => Page1(), // if Page1 extends PopupRoute, use `modalBuilder`
)
),
MicroAppPage<Page2>(
description: 'The page two',
route: routes.page2,
pageBuilder: PageBuilder(
widgetBuilder: (context, settings) {
final page2Params.fromMap(settings.arguments);
returnPage2(params: page2Params);
}
)),
];
}
🗺 Create all routes outside the app project
This is just a suggestion of routing strategy (Optional)
It's important that all routes are availble out of the projects, avoiding dependencies between micro apps.
Create all routes inside a new package, and import it in any project as a dependency. This will make possible to open routes from anywhere in a easy and transparent way.
Create the routing package: flutter create --template=package micro_routes
or keep the routes in common package.
It needs native implementation, you can see an example inside Android directory
Examples and new modules to Android, iOS and Web soon
// If not implemented, always return nullfinal isValidEmail = awaitNavigatorInstance.pushNamedNative<bool>(
'emailValidator',
arguments: 'validateEmail:lorem@ipsum.com'
);
print('Email is valid: $isValidEmail');
Listening to navigation events
// Listen to all flutter navigation eventsNavigatorInstance.eventController.flutterLoggerStream.listen((event) {
logger.d('[flutter: navigation_log] -> $event');
});
// Listen to all native (Android/iOS) navigation events (if implemented)NavigatorInstance.eventController.nativeLoggerStream.listen((event) {});
// Listen to all native (Android/iOS) navigation requests (if implemented)NavigatorInstance.eventController.nativeCommandStream.listen((event) {});
📝 Overriding onGenerateRoute method
If it fails to get a page route, ask for native(Android/iOS/Desktop/Web) to open the page
@overrideRoute? onGenerateRoute(RouteSettings settings, {bool? routeNativeOnError}) {
//! If you wish native app receive requests to open routes, IN CASE there//! is no route registered in Flutter, please set [routeNativeOnError: true]returnsuper.onGenerateRoute(settings, routeNativeOnError: true);
}
If it fails to get a page route, show a default error page
@overrideRoute? onGenerateRoute(RouteSettings settings, {bool? routeNativeOnError}) {
final pageRoute = super.onGenerateRoute(settings, routeNativeOnError: false);
if (pageRoute == null) {
// If pageRoute is null, this route wasn't registered(unavailable)returnMaterialPageRoute(
builder: (_) => Scaffold(
appBar: AppBar(),
body: constCenter(
child: Text('Page Not Found'),
),
));
}
return pageRoute;
}
⫸ Nested Navigators
It's possible to use a MicroAppBaseRoute inside a nested navigator MicroAppNavigatorWidget
IMPORTANT: use the context.maNav to navigate:
context.maNav.push(baseRoute.page2);
final baseRoute = ApplicationRoutes();
MicroAppNavigatorWidget(
microBaseRoute: baseRoute,
initialRoute: baseRoute.page1
);
// later, inside [page1]final settings = MicroAppNavigator.getInitialRouteSettings(context);
//orfinal settings = context.maNav.getInitialRouteSettings();
//IMPORTANT: use the context to navigate
context.maNav.push(baseRoute.page2);
It can be registered inside MicroPages list.
final routes = ApplicationRoutes();

List<MicroAppPage> get pages => [
  MicroAppPage(
      route: routes.baseRoute.route,
      description: 'The nested navigator',
      pageBuilder: PageBuilder(
        widgetBuilder: (context, arguments) =>
          MicroAppNavigatorWidget(
            microBaseRoute: baseRoute,
            initialRoute: Application2Routes().page1)
          )
      )
]
📊 Micro Board
The Micro Board (dashboard) enables you to inspect all micro apps, routes and event handlers.
Inspect which handler channels are duplicated
Inspect the types and amount of handlers and their channels per micro app
Inspect the types and amount of handlers and their channels by Widget
Inspect orphaned handlers
Inspect all registered routes from the application
Show Micro Board button (longPress hides the button, and click opens the Micro Board)
This will create a draggable floating button, that enables you to open the Micro Board. By default it is not displayed in release mode.
MicroBoard.showButton();
MicroBoard.hideButton()
or
MicroBoard().showBoard();
🌐 Micro Web (Webview Controllers)
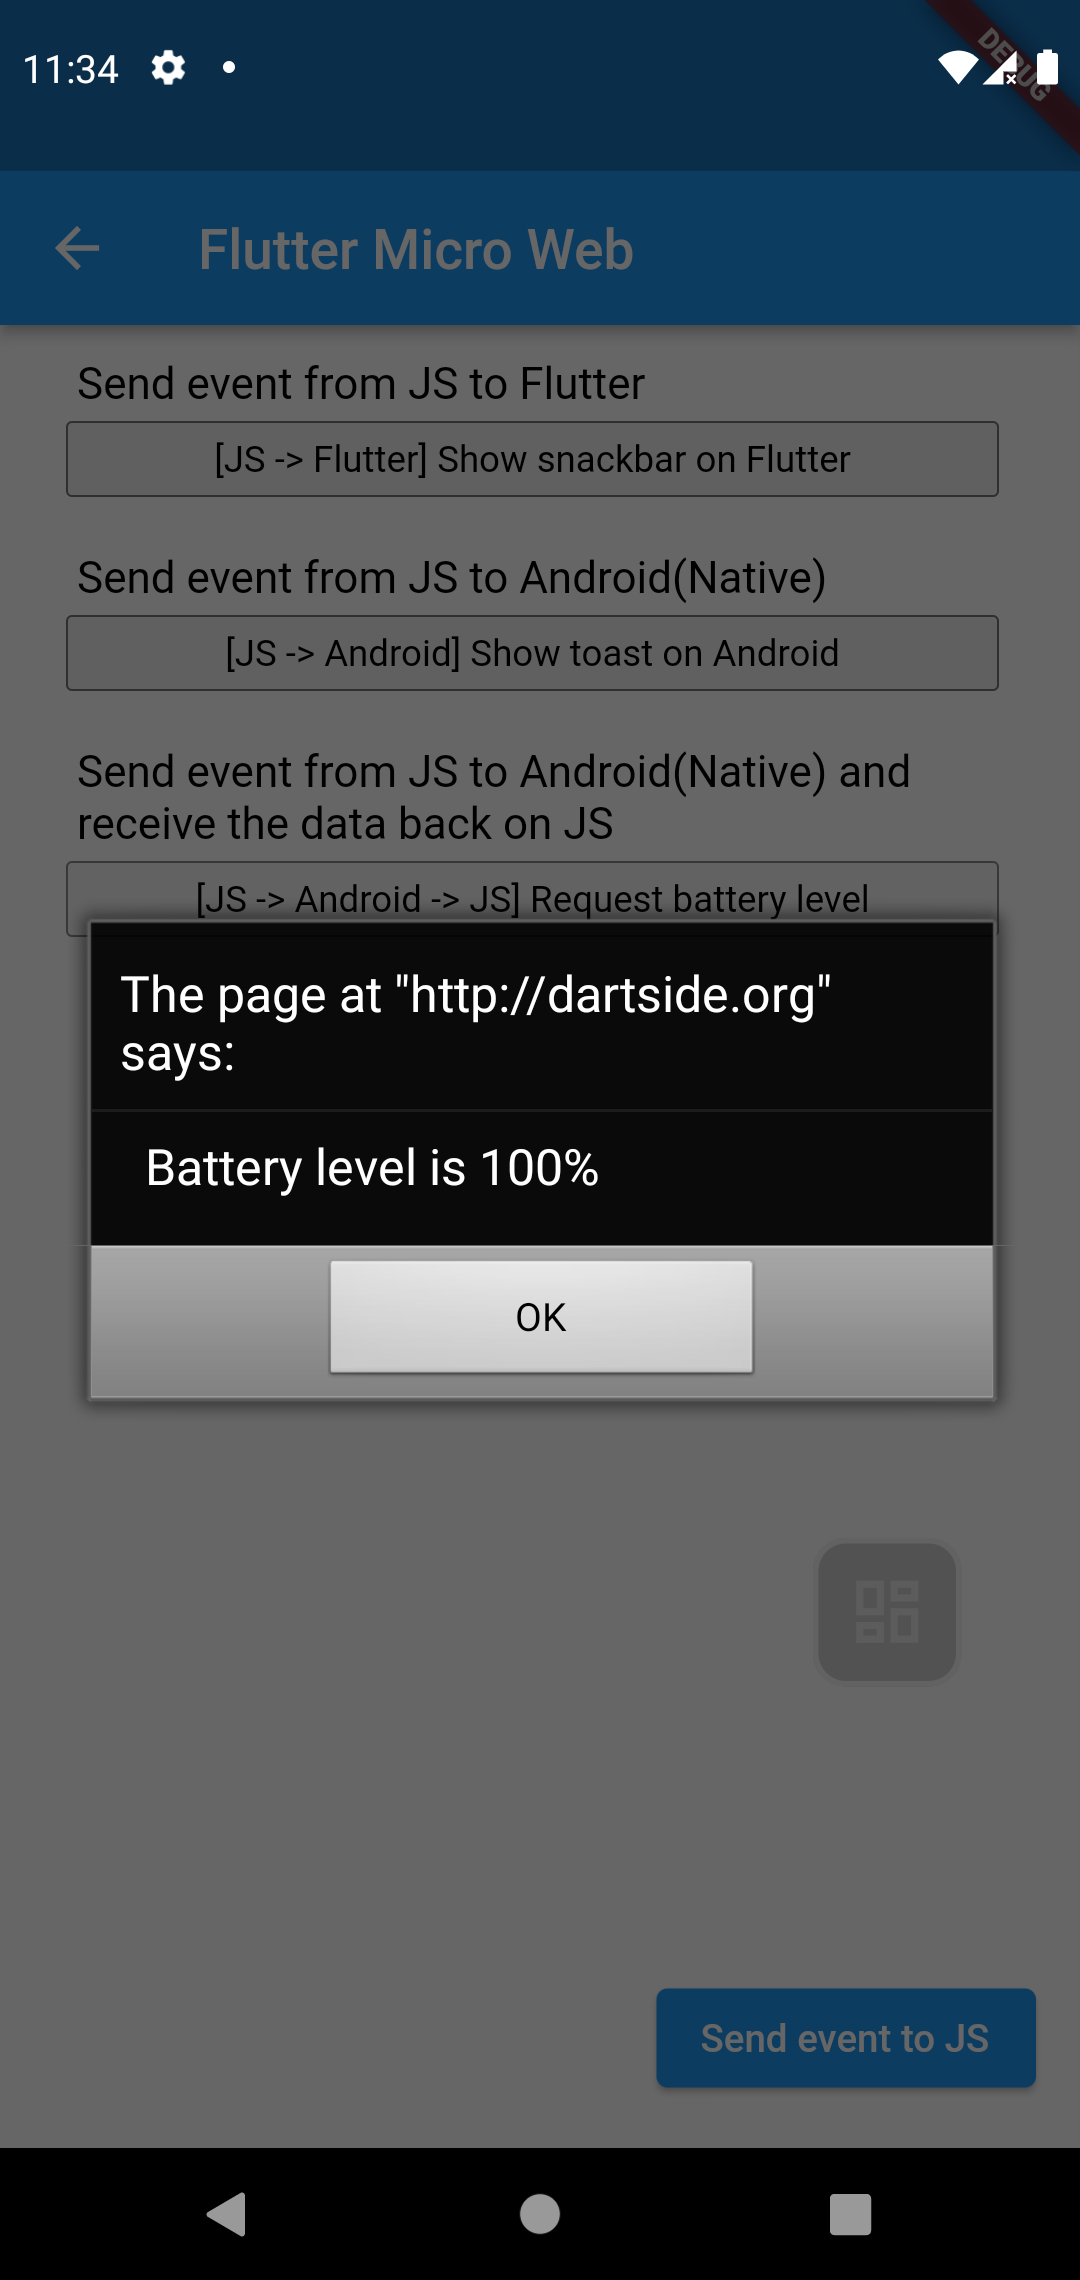
Take a look at https://pub.dev/packages/fma_webview_flutter
📎 The following table shows how Dart values are received on the platform side and vice versa