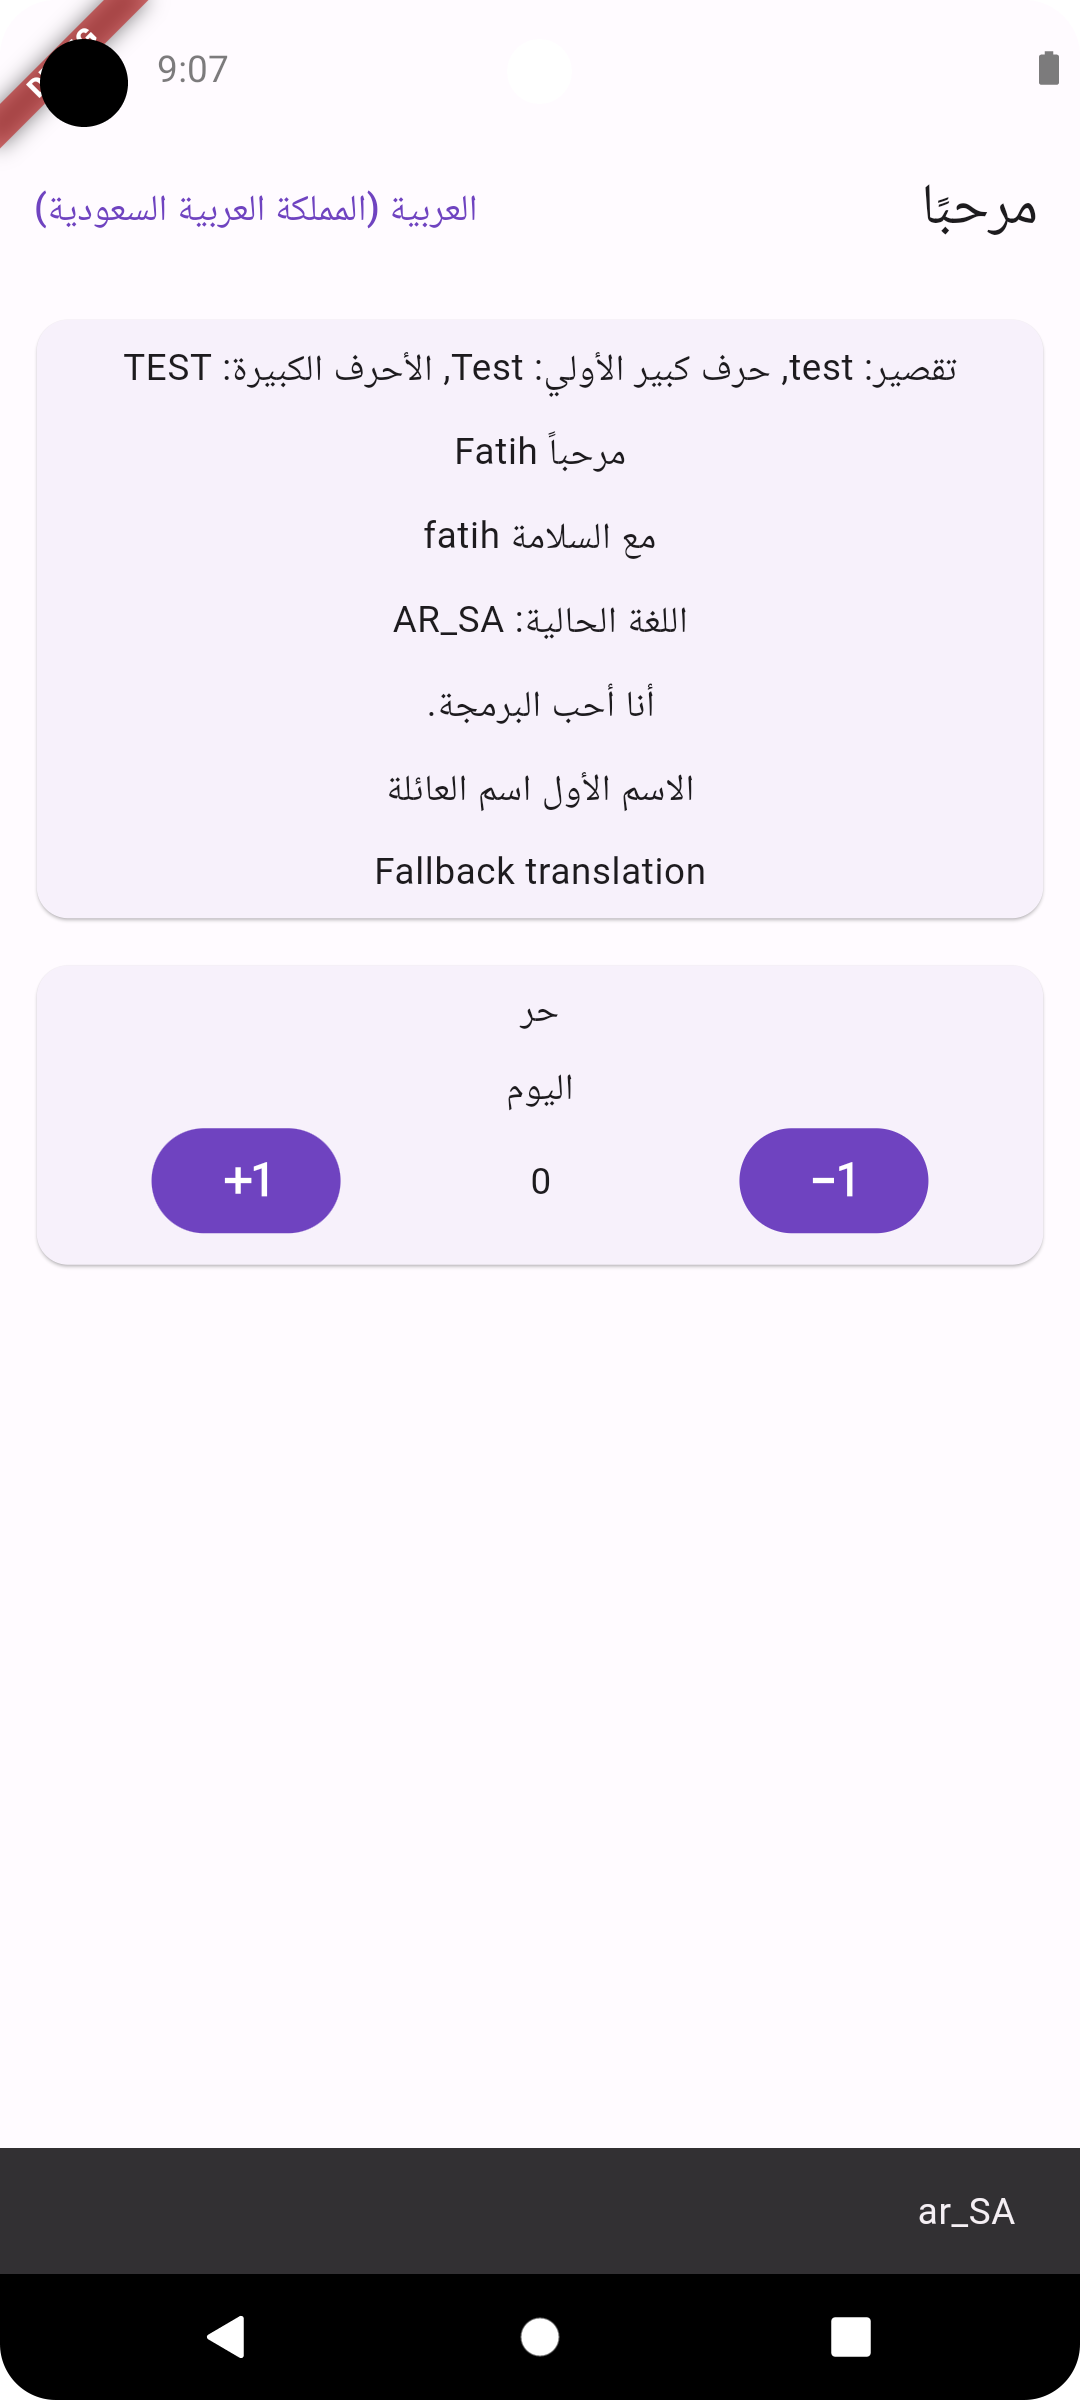
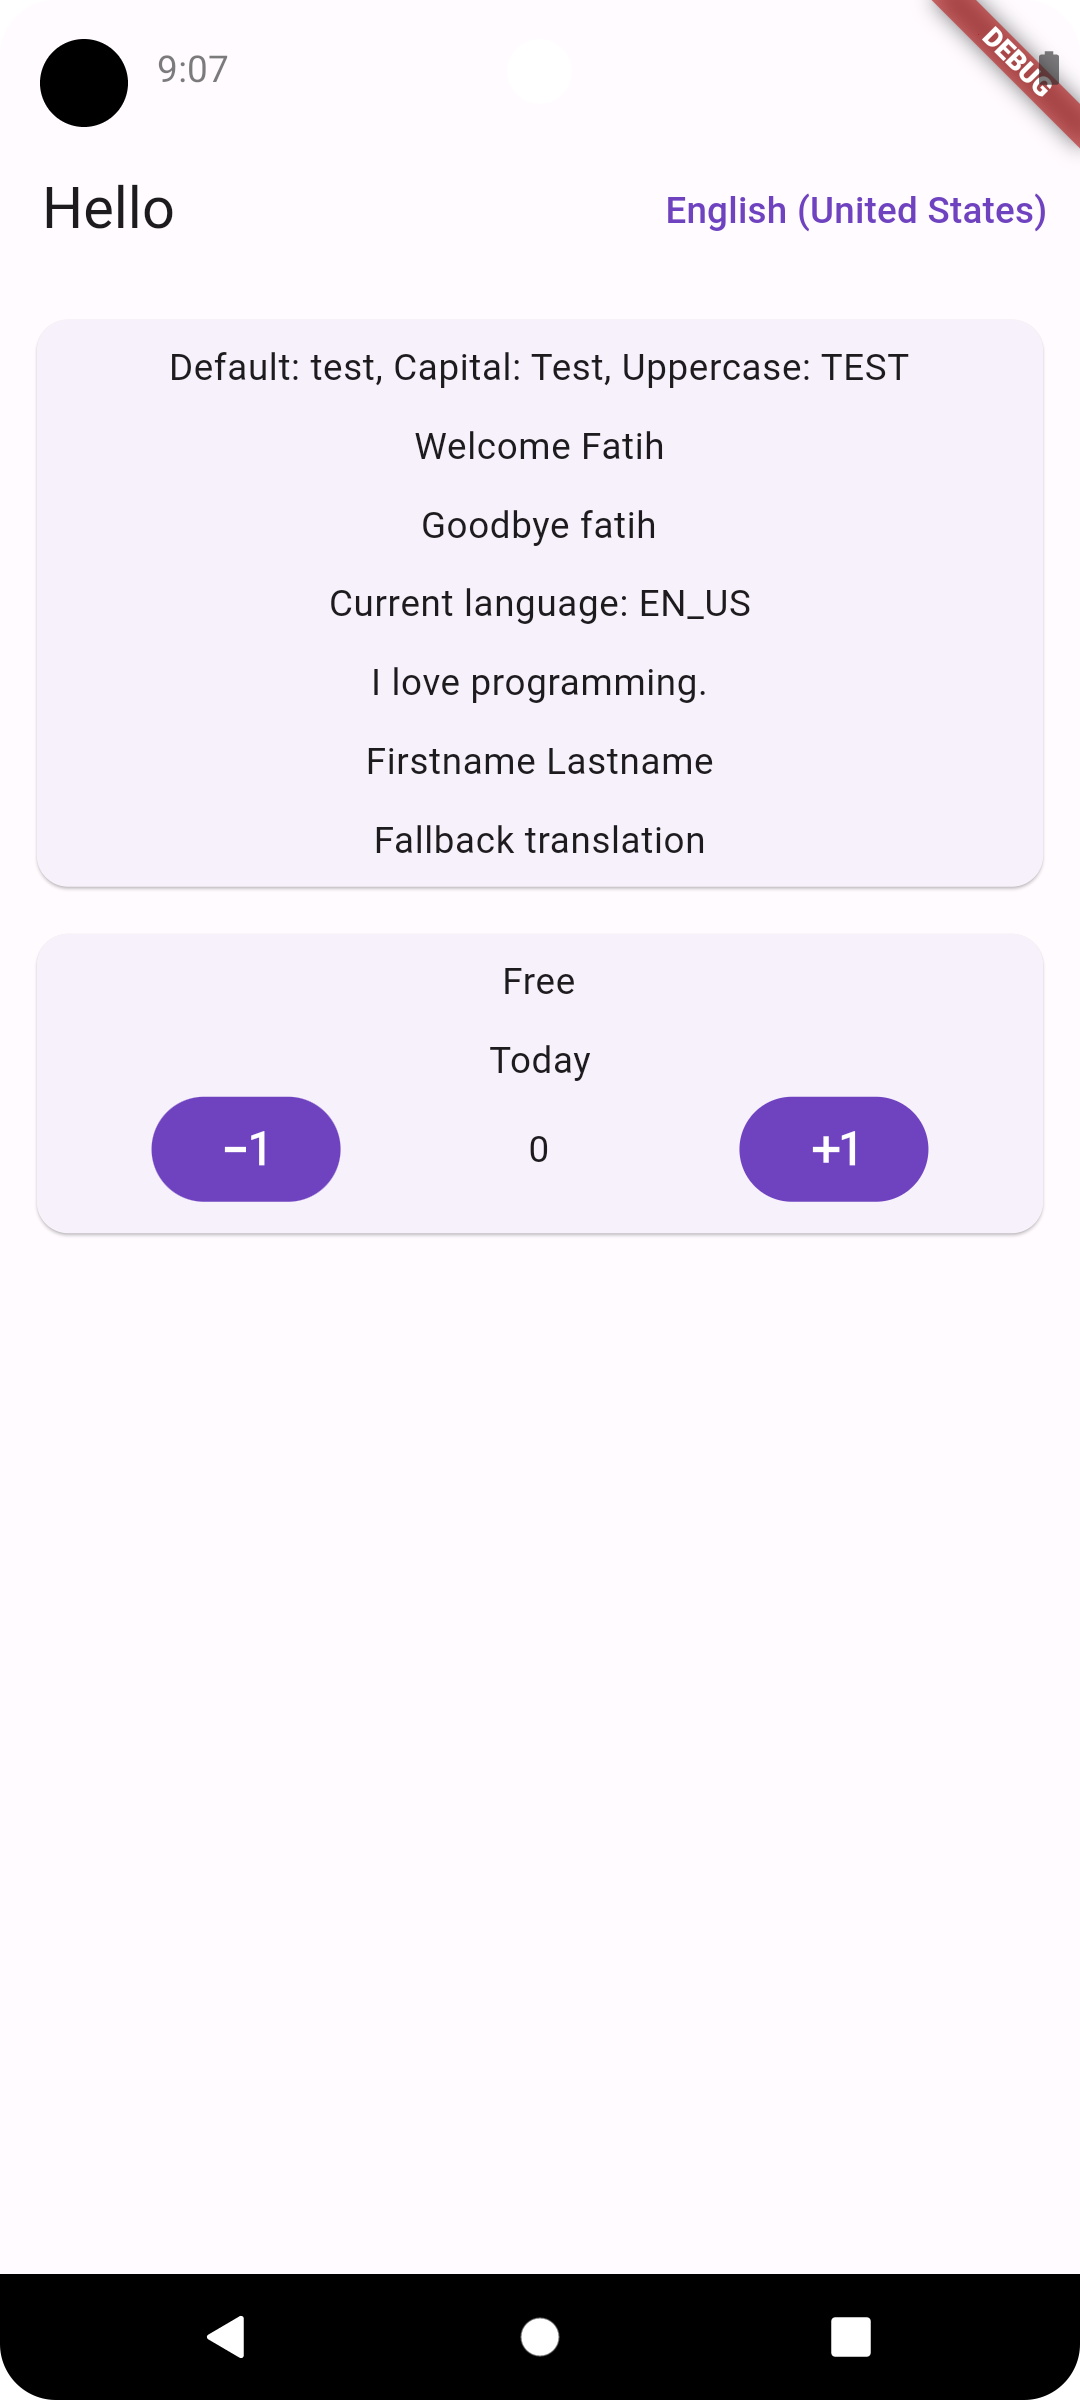
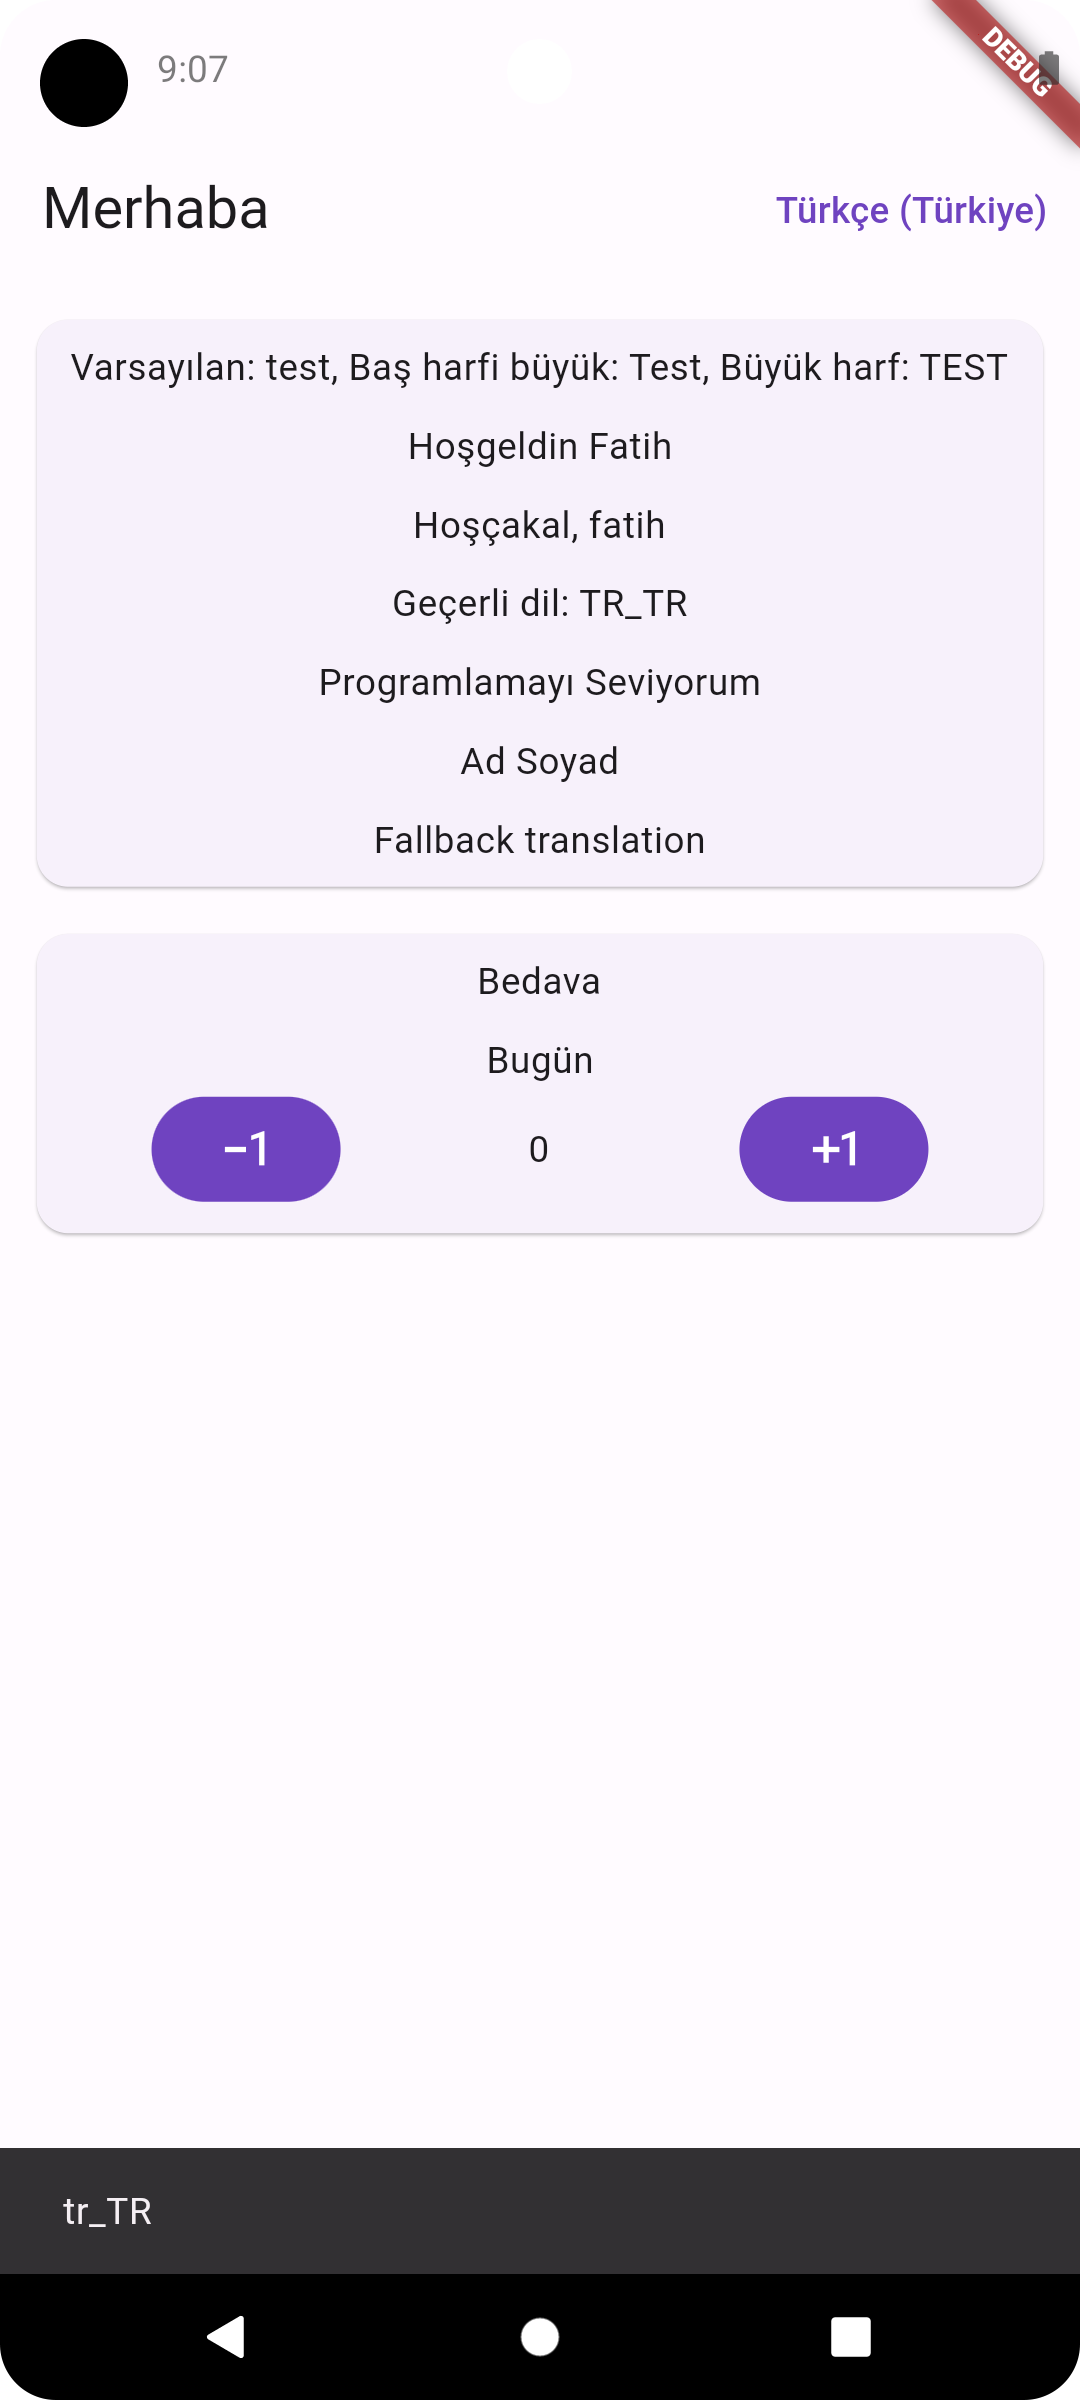
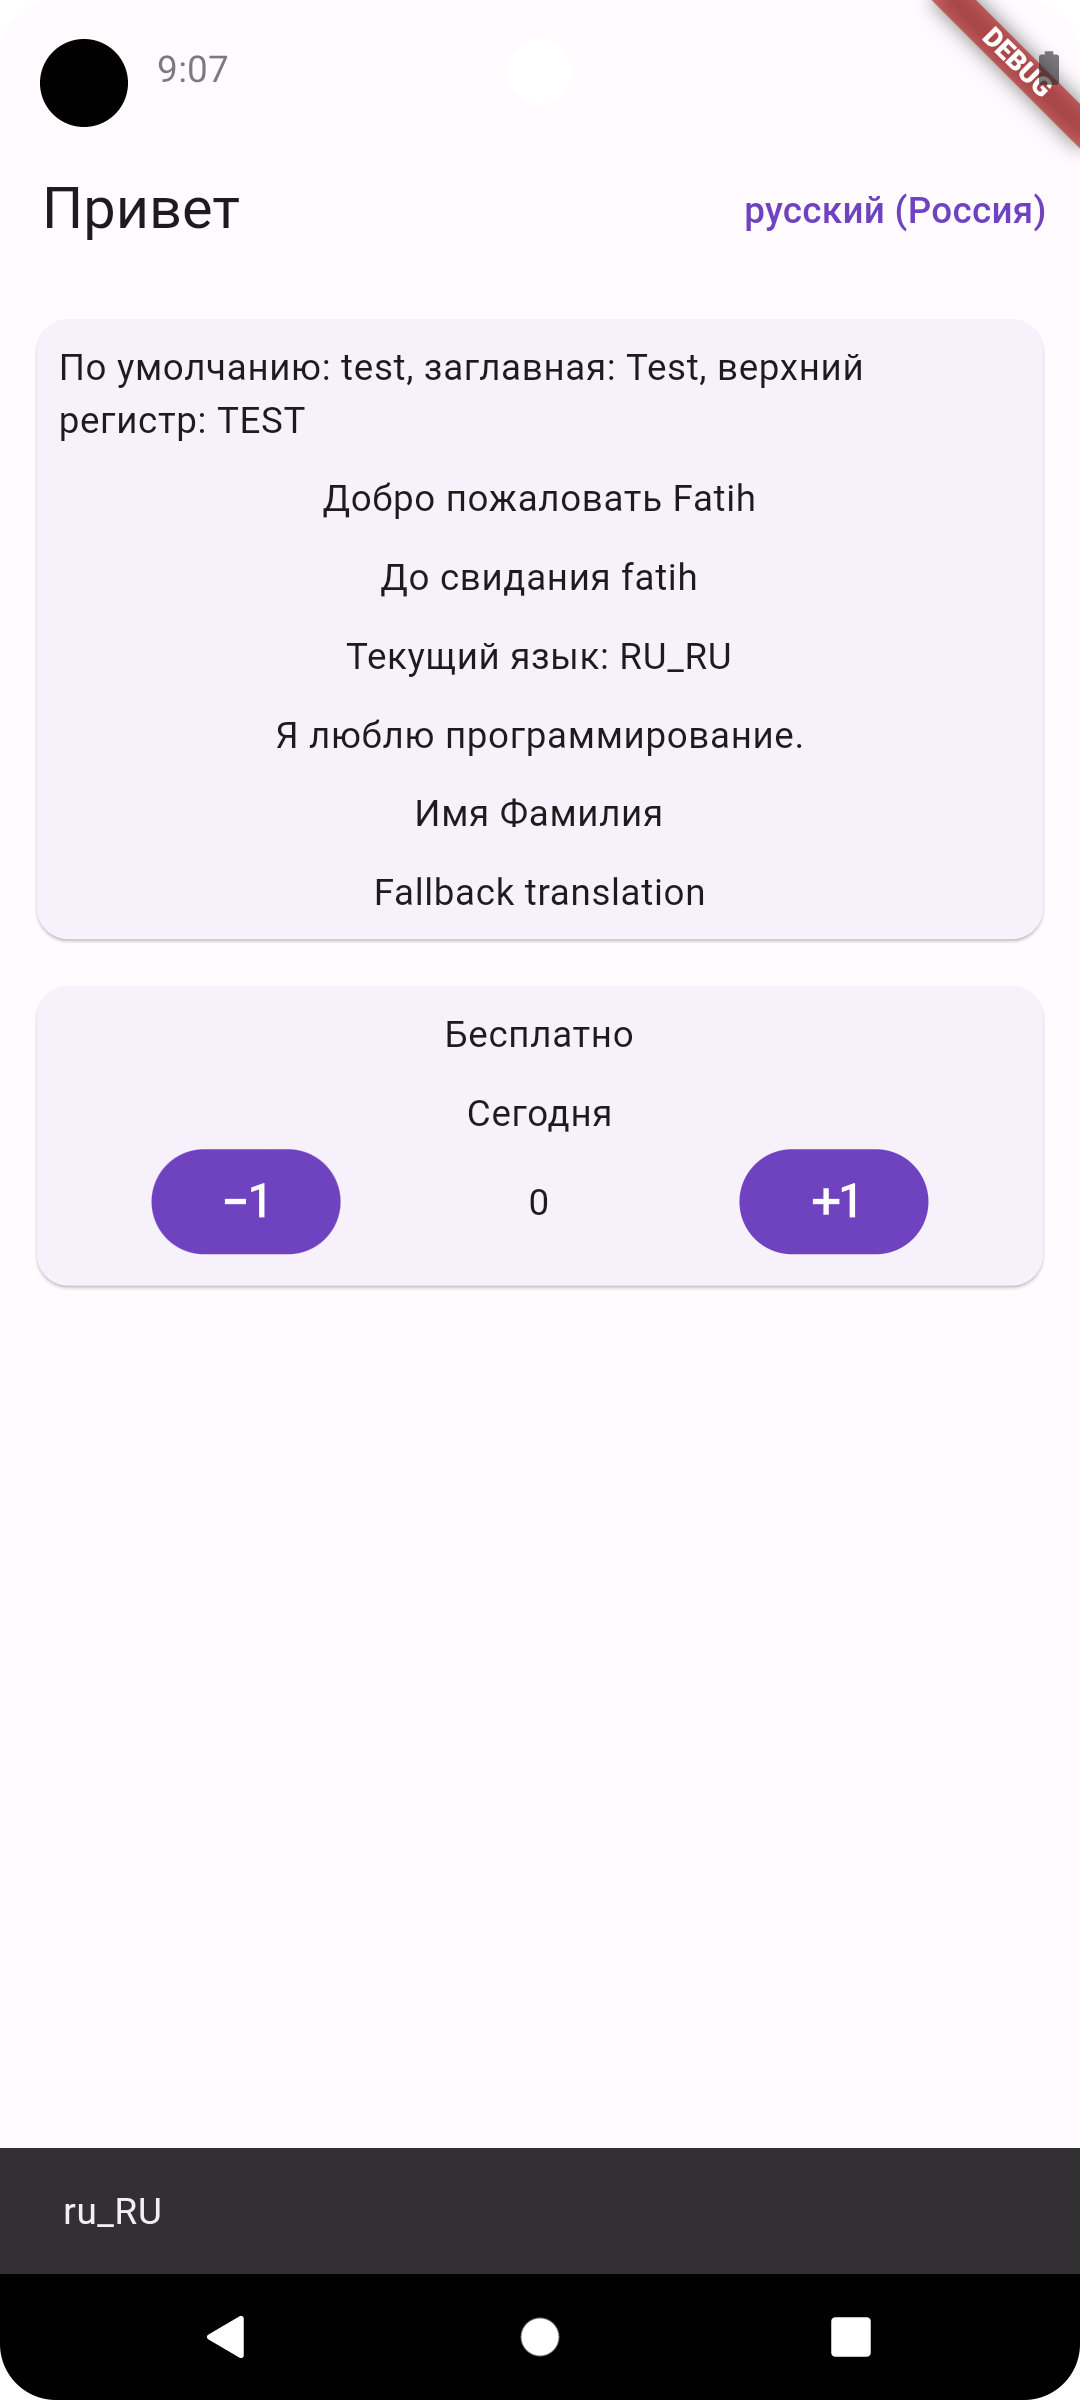
Package selection guidance compiled from public package information, community data, and project usage.
Localization_plus is a lightweight, high-performance package for adding internationalization (i18n) to Dart and Flutter applications. It enables easy management of multiple languages with support for pluralization, gender, and complex message formatting. Designed for both simplicity and advanced use cases, it offers fast runtime performance and seamless integration across Android, iOS, macOS, Windows, and Linux platforms. The package supports JSON-based translation files and provides a clean API for dynamic language switching and fallback mechanisms.
If a localization key is not found in the locale file, try to use the fallbackLocale file. sets the first supported language as fallback if fallback locale is not set
fallbackLocale
false
Set the locale to be used as an alternative if a localization key is not found in the locale file
startLocale
false
If there is no saved language, set the language in which the system will start
📄 LocalizationPlus widget properties
Properties
Required
Default
Description
key
false
Widget key.
child
true
Place for your main page widget.
controller
true
LocalizationPlusController instance .
Replacing Parameters In Translation Strings
If you wish, you may define placeholders in your translation strings. All placeholders must be between curly brackets. For example, you may define a welcome message with a placeholder name:
{"welcome":"Welcome, {name}"}
If your placeholder contains all capital letters, or only has its first letter capitalized, the translated value will be capitalized accordingly:
"welcome":"Welcome, {NAME}"// Welcome, USER"welcome":"Welcome, {Name}"// Welcome, User
Usage/Examples
import'package:flutter/material.dart';
import'package:localization_plus/localization_plus.dart';
voidmain() async {
WidgetsFlutterBinding.ensureInitialized();
// If you wish, you can define it so that it can be accessed // from anywhere in the system with a package such as the getIt libraryLocalizationPlusController controller = awaitLocalizationPlusController.init(
path: 'i18n',
);
runApp(
LocalizationPlus(
controller: controller,
supportedLocales: [
'en_US'.toLocale(),
'ar_DZ'.toLocale(),
'tr_TR'.toLocale(),
'ru_RU'.toLocale(),
],
child: constMyApp()
),
);
}
classMyAppextendsStatelessWidget{
@overrideWidgetbuild(BuildContext context) {
returnMaterialApp(
// Localizations
localizationsDelegates: context.localizationDelegates,
supportedLocales: context.supportedLocales,
locale: context.locale,
home: MyHomePage()
);
}
}
You can replace parameters sequentially from a list without specifying a name key inside {}.
Example:
{"welcome":"Welcome {} to {}"}
'welcome'.trans(args: ["John", "Flutter"]) // Welcome John to Flutter
Arguments:
Name
Type
Description
arguments
Map<String, String>
Map of localized strings. Replaces the name keys {key_name} according to its name
namedArgs
Map<String, String>
Alias for arguments. Map of localized strings.
args
List<String>
List of localized strings. Replaces {} sequentially from left to right.
gender
String
Gender switcher. Changes the localized string based on gender string mapping.
🔥 Gender Selection
Changes the translated string based on a requested gender output.
Example:
{"profile":{"male":"He is {}, reading {}","female":"She is {}, reading {}","other":"They are {}, reading {}"}}
'profile'.trans(gender: "female", args: ['Jane', 'a book'])
// She is Jane, reading a book
🔥 Plurals plural()
Pluralization is a complex problem, as different languages have a variety of complex rules for pluralization; however, Localization Plus can help you translate strings differently based on pluralization rules that you define.
You can use extension methods of [String] or [Text] widget, you can also use plural() as a helper function.
🚨 Key "other" required!
Example:
{"clicked":{"zero":"Today","one":"Tomorrow","two":"2 days later","few":"A few days later","many":"Weeks later","other":"After a long time"}}
// String'clicked'.plural(0) // Today'clicked'.plural(1) // Tomorrow'clicked'.plural(2) // 2 days late'clicked'.plural(3) // A few days later (Depends on the language)'clicked'.plural(11) // Weeks later (Depends on the language)'clicked'.plural(1250) // After a long time (Depends on the language)// TextText('clicked').plural(0) // TodayText('clicked').plural(1) // TomorrowText('clicked').plural(2) // 2 days lateText('clicked').plural(3) // A few days later (Depends on the language)Text('clicked').plural(11) // Weeks later (Depends on the language)Text('clicked').plural(1250) // After a long time (Depends on the language)plural('clicked', 0) // Todayplural('clicked', 1) // Tomorrowplural('clicked', 2) // 2 days lateplural('clicked', 3) // A few days later (Depends on the language)plural('clicked', 11) // Weeks later (Depends on the language)plural('clicked', 1250) // After a long time (Depends on the language)// With Number format'clicked'.plural(1000000, format: NumberFormat.compact(locale: 'en')) // 1M days later
Arguments:
Name
Type
Description
arguments
Map<String, String>
Map of localized strings. Replaces the name keys {key_name} according to its name
namedArgs
Map<String, String>
Alias for arguments. Map of localized strings.
args
List<String>
List of localized strings. Replaces {} sequentially from left to right.
name
String
Name of the number formatted into the output string ({$name}).
format
NumberFormat
Use NumberFormat to parse and format injected numbers automatically.
🔥 Trans Choice transChoice()
You may create more complex pluralization rules which specify translation strings for multiple ranges of values.
You can use extension methods of [String] or [Text] widget, you can also use transChoice() as a helper function.
Map of localized strings. Replaces the name keys {key_name} according to its name
🔥 Listening for locale change
You can listen to locale changes with the help of the controller.
controller.addListener(() {
// Locale changed// Refetch language dependent remote data etc.
});
🔥 Linked translations:
If there's a translation key that will always have the same concrete text as another one you can just link to it. To link to another translation key, all you have to do is to prefix its contents with an @: sign followed by the full name of the translation key including the namespace you want to link to.
You can also do nested anonymous and named arguments inside the linked messages.
Formatting linked translations:
If the language distinguishes cases of character, you may need to control the case of the linked locale messages. Linked messages can be formatted with modifier @.modifier:key
The below modifiers are available currently.
upper: Uppercase all characters in the linked message.
lower: Lowercase all characters in the linked message.
capitalize: Capitalize the first character in the linked message.
xample:
{
...
"hello":"Hello","world":"World","hello_world":"@.upper:hello @.lower:world"// HELLO world
...
}
context.currentLocale // get current locale

context.deviceLocale // get device locale

context.fallbackLocale // get fallback locale

context.supportedLocales // get supported locales

context.localizationDelegates // get localization delegates