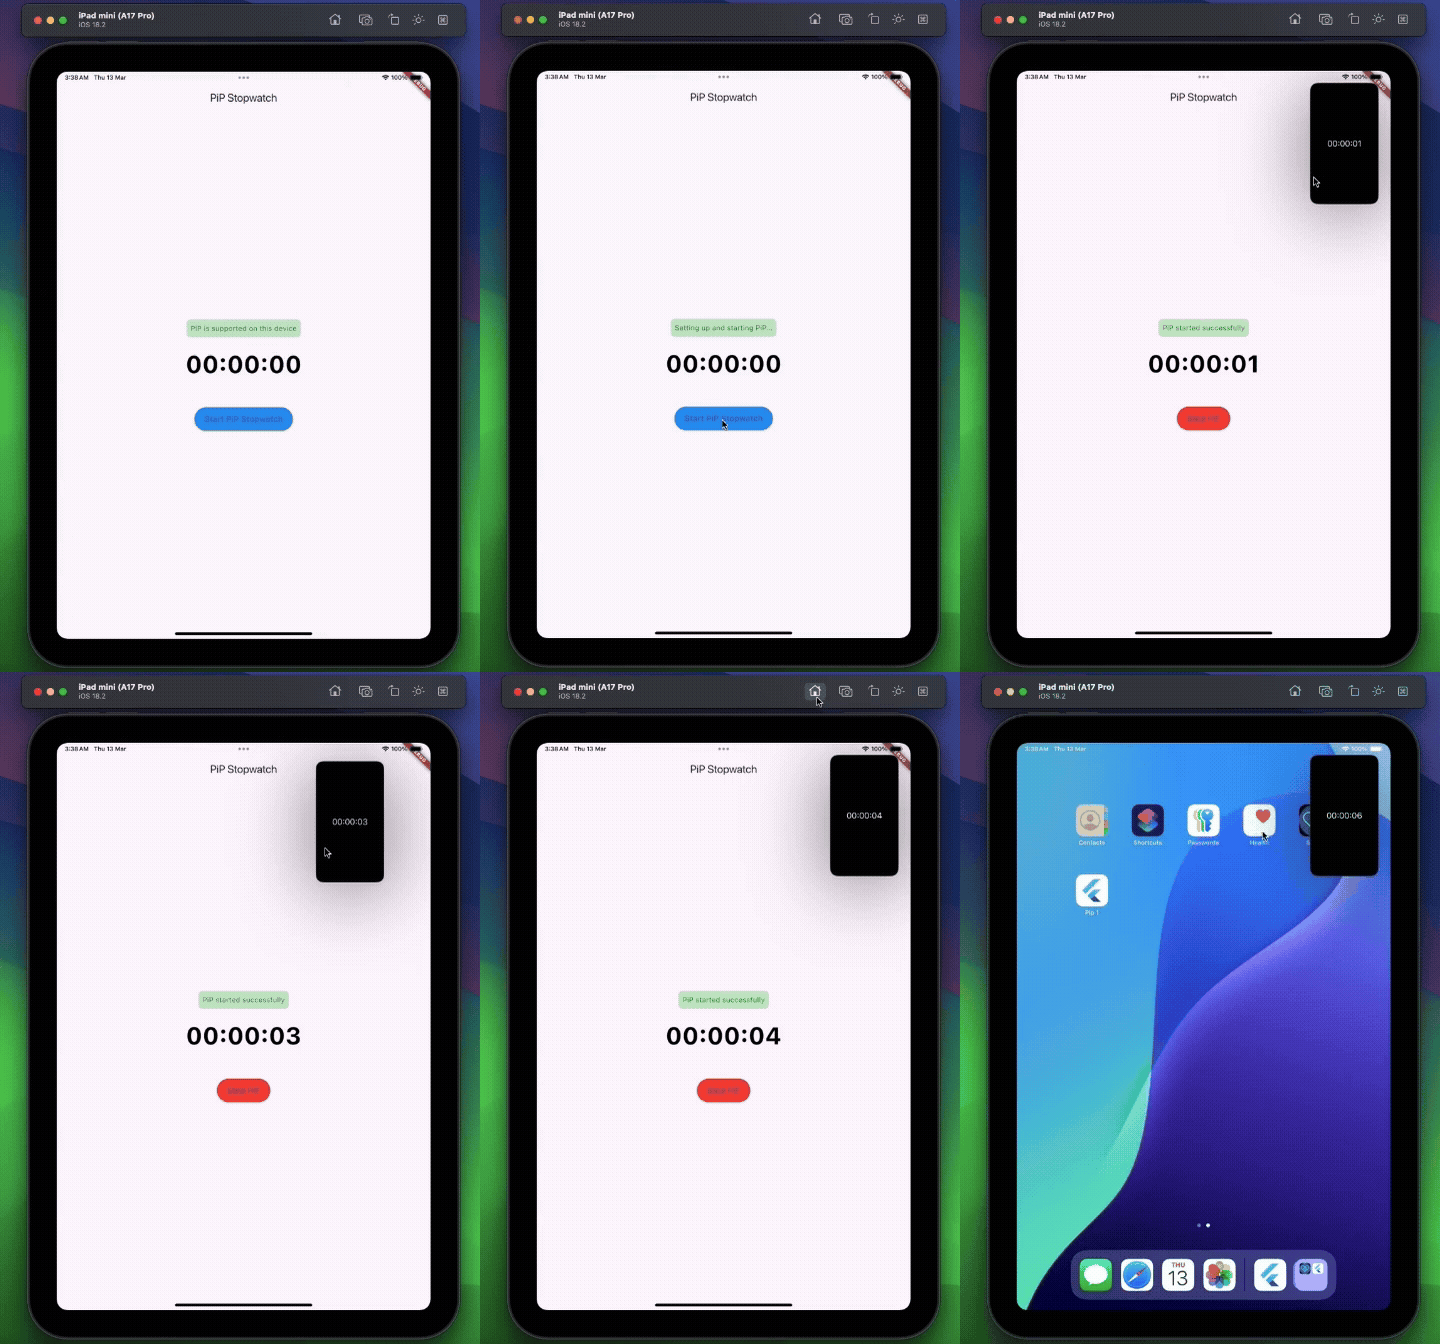
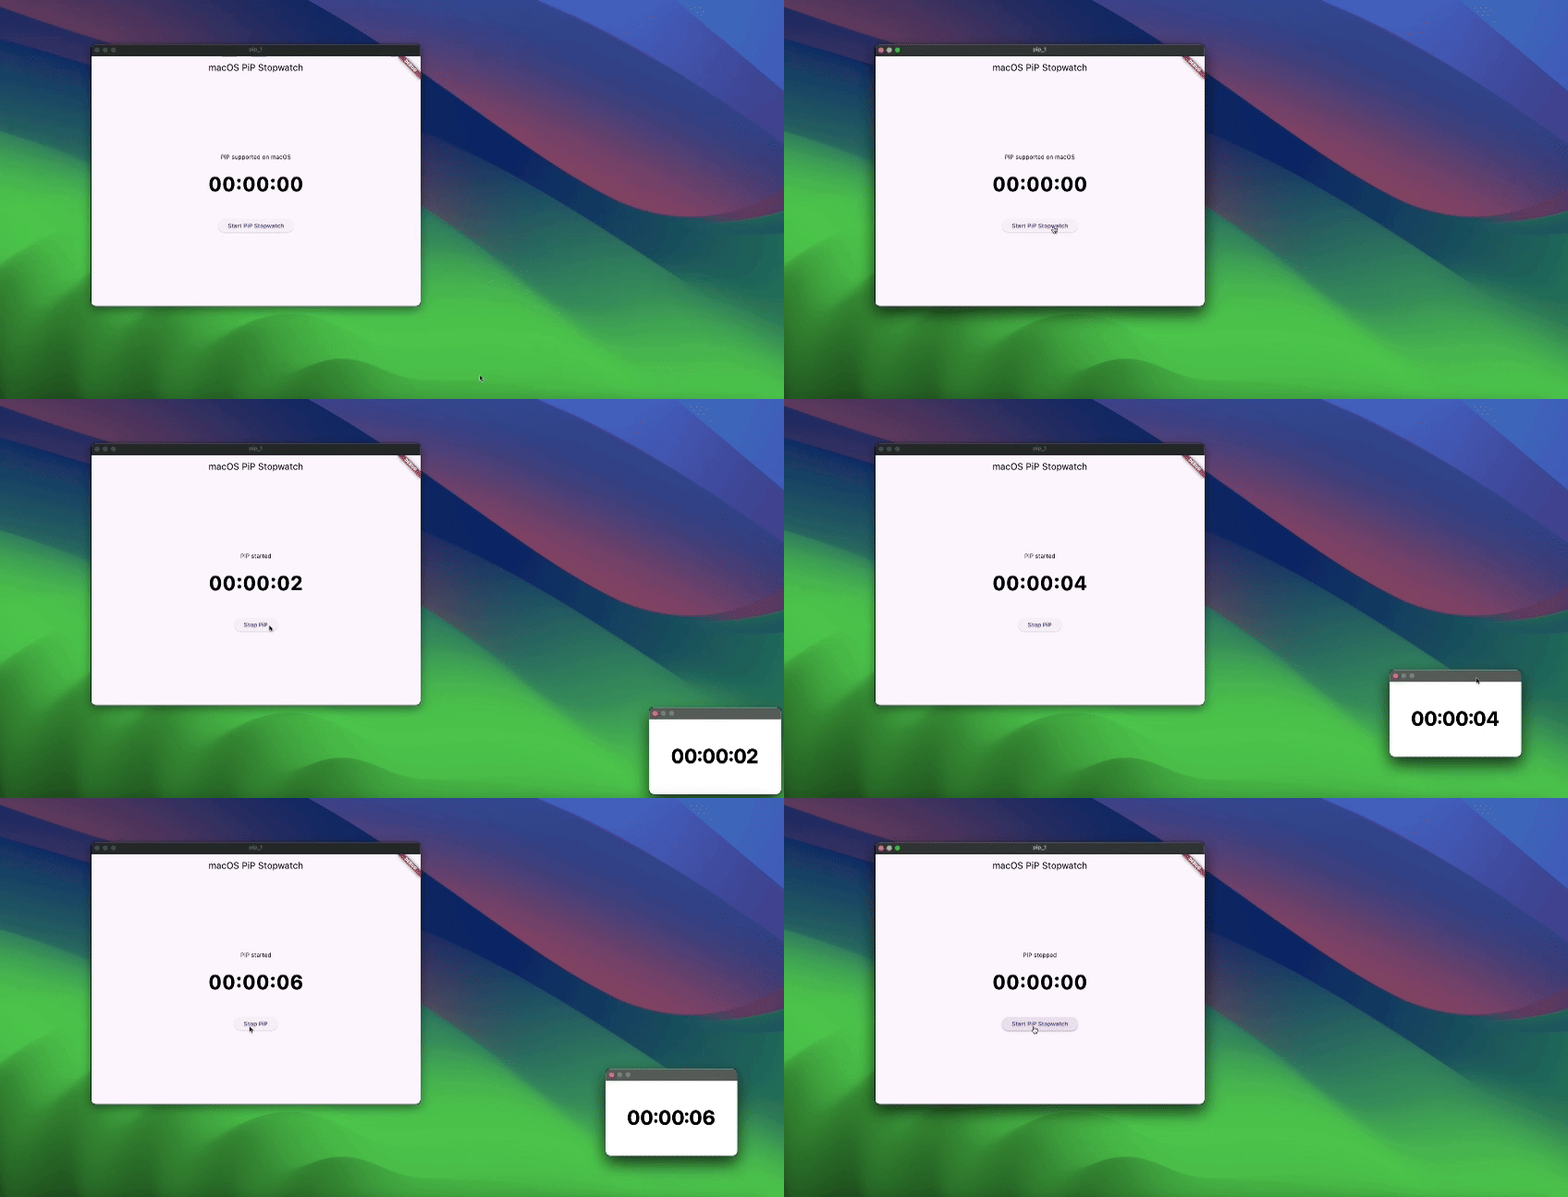
Package selection guidance compiled from public package information, community data, and project usage.
The pip_plugin is a Flutter package that enables developers to display customizable text overlays within Picture-in-Picture (PiP) mode across Android, iOS, Web, macOS, Windows, and Linux. It provides a consistent API to show floating text layers on top of PiP windows, useful for annotations, timers, or status indicators. The plugin integrates seamlessly with Flutter’s platform-agnostic architecture and supports dynamic content updates. It is designed for apps requiring persistent visual feedback during video playback or multitasking scenarios.
Use cases
Live video streaming with on-screen labels
Educational apps with real-time annotations
Video conferencing with participant status overlays
Multitasking apps needing persistent UI hints
Interactive tutorials with guided instructions
Key features
Cross-platform PiP text overlays
Customizable text styling and positioning
Dynamic content updates without restart
Supports all major desktop and mobile platforms
Simple integration via Flutter pub
Real-time overlay rendering
Suitable for
Developers building media-rich Flutter apps
Apps requiring persistent on-screen information in PiP
Educational or training applications
Streaming or live event platforms
Multi-window or multitasking interfaces
Considerations
Requires PiP mode support on target platform
Text visibility may vary on different screen sizes
Performance impact with frequent updates
Limited to text-only overlays (no images or complex widgets)
Platform-specific PiP behavior may affect layout
Original README
Original README snapshot from the linked source repository. Visit the repository for the latest content.
pip_plugin
⚠️ Experimental
A Flutter plugin that enables a customizable Picture-in-Picture window displaying text.
pip_plugin is an experimental Flutter plugin that lets you display text overlays in Picture-in-Picture mode on Android, iOS, Web, and Desktop. It exposes a simple Dart API to configure the PiP window’s appearance and control its lifecycle.
Wrap your main activity with the provided helper—this is the simplest integration.
Kotlin
import cl.puntito.simple_pip_mode.PipCallbackHelperActivityWrapper

class MainActivity: PipCallbackHelperActivityWrapper() {
    // No additional code needed
}
Java
import cl.puntito.simple_pip_mode.PipCallbackHelperActivityWrapper;

public class MainActivity extends PipCallbackHelperActivityWrapper {
    // No additional code needed
}
Once inherited, PiP callbacks and the PiP widget become available automatically.
2. Callback Helper
If you prefer not to subclass your activity, you can manually wire up the callbacks:
Kotlin
import cl.puntito.simple_pip_mode.PipCallbackHelper
import io.flutter.embedding.engine.FlutterEngine
import io.flutter.embedding.android.FlutterActivity
import android.content.res.Configuration

class MainActivity: FlutterActivity() {
  private val pipHelper = PipCallbackHelper()

  override fun configureFlutterEngine(flutterEngine: FlutterEngine) {
    super.configureFlutterEngine(flutterEngine)
    pipHelper.configureFlutterEngine(flutterEngine)
  }

  override fun onPictureInPictureModeChanged(
    isInPipMode: Boolean,
    newConfig: Configuration?
  ) {
    super.onPictureInPictureModeChanged(isInPipMode, newConfig)
    pipHelper.onPictureInPictureModeChanged(isInPipMode)
  }
}
Java
import cl.puntito.simple_pip_mode.PipCallbackHelper;
import io.flutter.embedding.engine.FlutterEngine;
import io.flutter.embedding.android.FlutterActivity;
import android.content.res.Configuration;

public class MainActivity extends FlutterActivity {
    private final PipCallbackHelper pipHelper = new PipCallbackHelper();

    @Override
    public void configureFlutterEngine(@NonNull FlutterEngine flutterEngine) {
        super.configureFlutterEngine(flutterEngine);
        pipHelper.configureFlutterEngine(flutterEngine);
    }

    @Override
    public void onPictureInPictureModeChanged(
      boolean isInPipMode,
      Configuration newConfig
    ) {
        super.onPictureInPictureModeChanged(isInPipMode, newConfig);
        pipHelper.onPictureInPictureModeChanged(isInPipMode);
    }
}
iOS
In your Info.plist, add PiP to the background modes:
Import the main plugin class and manage PiP mode:
⚠️ Initialize first: call setupPip(...) before using other PiP methods.
/// Prepares PiP with an optional title and configuration.Future<bool> setupPip({
/// On desktop platforms, you can optionally set a `windowTitle`.String? windowTitle,
PipConfiguration? configuration,
});
/// Enters Picture-in-Picture mode.Future<bool> startPip();
/// Exits Picture-in-Picture mode./// (On Android this is a no-op, as PiP closes automatically.)Future<bool> stopPip();
/// Returns whether PiP is supported on the current platform.Future<bool> isPipSupported();
/// Dynamically updates the PiP window’s appearance:/// - backgroundColor, textColor, textSize, textAlign, ratioFuture<bool> update({
Color? backgroundColor,
Color? textColor,
double? textSize,
/// Only `left`, `right`, and `center` are supported.TextAlign? textAlign,
/// ignored on Web platforms.
(int, int)? ratio,
});
/// Changes the displayed text in PiP.Future<bool> updateText(String text);
/// Emits `true`/`false` whenever PiP becomes active/inactive.Stream<bool> get pipActiveStream;
/// Whether the plugin has been initialized.boolget isInitialized;
/// Releases any resources held by the plugin.voiddispose();
Showing Text in PiP
Android: Wrap your UI with the built-in TextPipWidget to render the PiP text overlay, then drive it with the plugin API.
All other platforms: No widget required—just invoke the PipPlugin methods directly.